Amazon Lightsail: Host your website from $3.5/month in 5 minutes

How does hosting a full Wordpress (or any other site) for $3.5/month sound to you? Enticing? What if I told you it is also hosted on the leading cloud services platform - Amazon Web Services? Sounds good? And what if I told you it takes less than 5 minutes to set up? Convinced? Let’s go!
What is Amazon Lightsail?
Amazon Lightsail is a new-ish service that allows you to quickly create and launch a virtual server, with some optional preinstalled applications, and host your website from $5/month $3.5/month. It is powered by the most successful and feature-filled web services provider - Amazon - and it couldn’t be simpler to set up and manage.
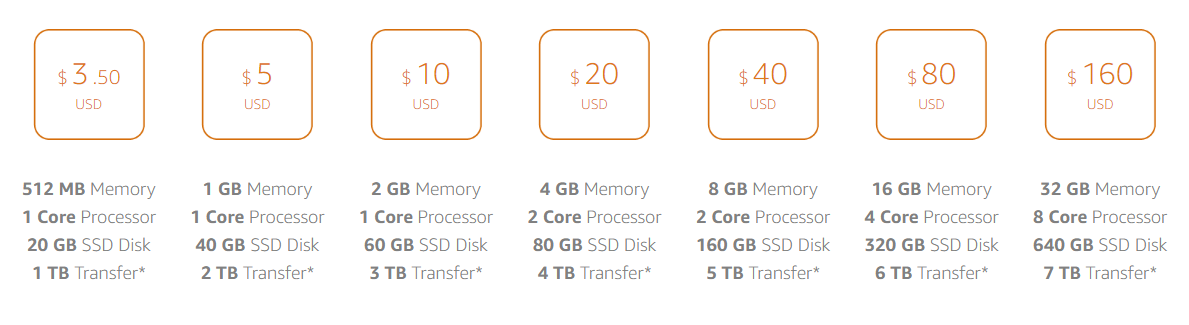
The basic configuration gives you 512MB of RAM, 1 virtual CPU, 20GB SSD drive and 1TB of monthly transfer, which should be enough to run a small-to-medium sized website.
I think Amazon is going after the low cost virtual and shared hosting market - and they might be winning. The providers that give you a cheap virtual server ‘of your own’ to host your website, but then limit your database connections or traffic and fail just when you have some traffic coming your way? Yes, those!
I’m not saying all virtual hosting providers are bad, and certainly (for a certain price), there are good hosting companies out there that don’t sacrifice quality or features for a quick buck. But at $3.5 per month starting price for a full virtual machine, spinned up in minutes, I think Amazon’s Lightsail needs you to give it a go.
How is Amazon Lightsail billed?
As with most Amazon Web Services, Lightsail is billed hourly. The prices on the website (during the set up wizard) are shown in monthly totals, but the pricing on Amazon Lightsail is an on-demand hourly rate. Depending on the plan you use, or the size of your virtual server, you pay the fixed hourly price, up to the maximum monthly plan cost (hours in a month vary). The cheapest Amazon Lightsail plan costs $3.50 per month, which comes to about $0.0047/hour. Not expensive, am I right?
Personally, I use little Amazon Lightsail virtual server instances when I record my Wordpress video tutorials - I fire up an instance, with a fresh install of Wordpress, record my video and then destroy it into thin air!
How do you start hosting on Lightsail?
In order to use Lightsail you need an Amazon Web Services account. If you don’t have one, it’s free to register. Just access https://aws.amazon.com and create a free account. There’s a short verification process where Amazon calls you on your mobile phone to check that you are a real person and verify your identity and then you’re in!
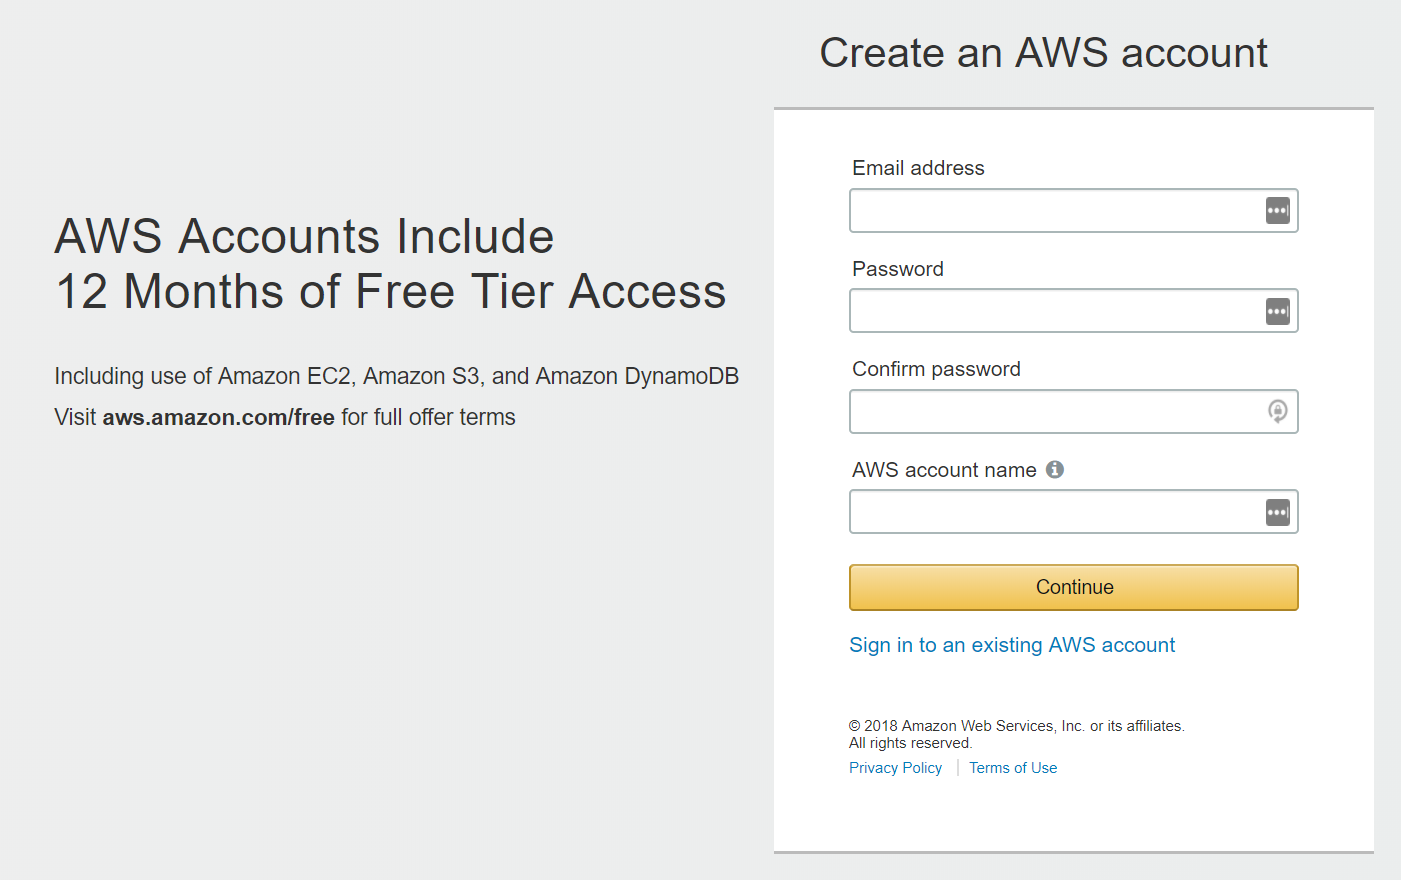
If you have not had an Amazon Web Services (AWS) account before, you are in luck: you get access to the ‘AWS Free Tier’ for the first year. The Free Tier gives you access to a lot of Amazon Web Services up to certain capacities or usage hours for the first year. Unfortunately, Lightsail is not included in the Free Tier - with Lightsail you get only the first month free.
Watch the video of the entire tutorial or keep reading
Access Amazon Lightsail
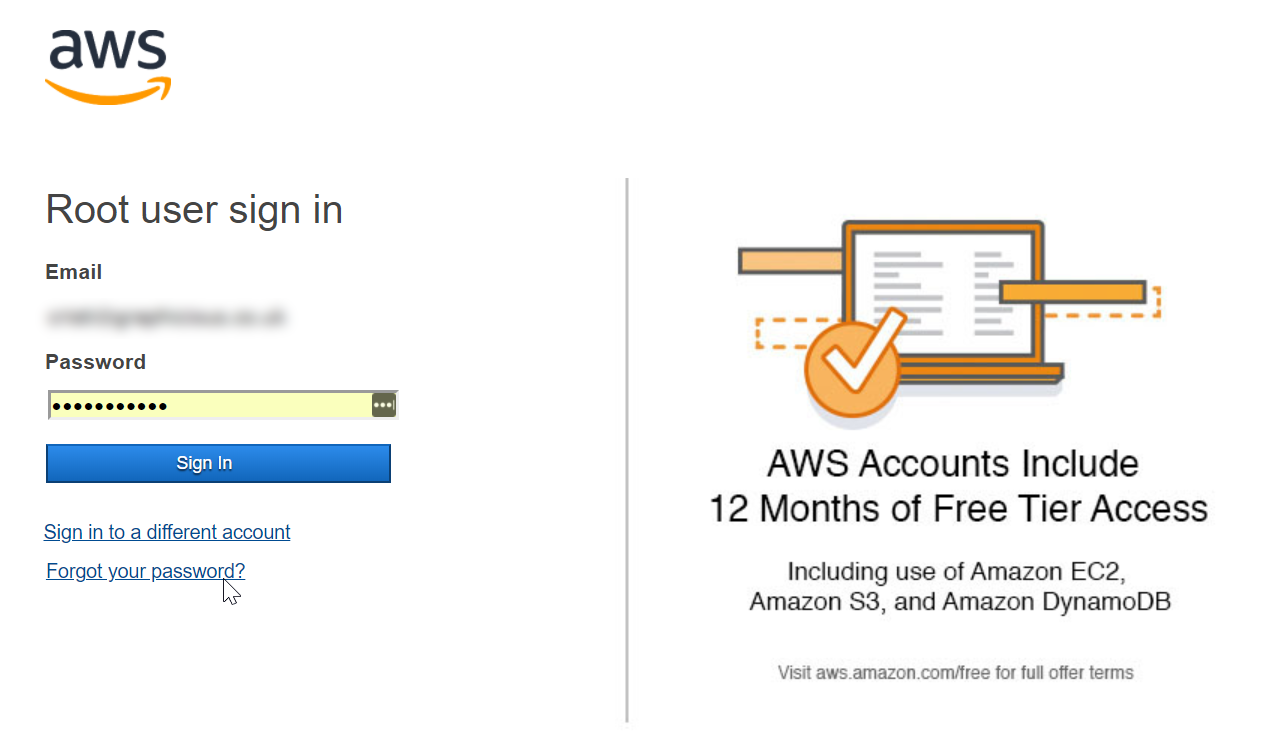
To start using Lightsail, just browse to https://aws.amazon.com/lightsail and register with an AWS account (see above) or just login if you already have an account.
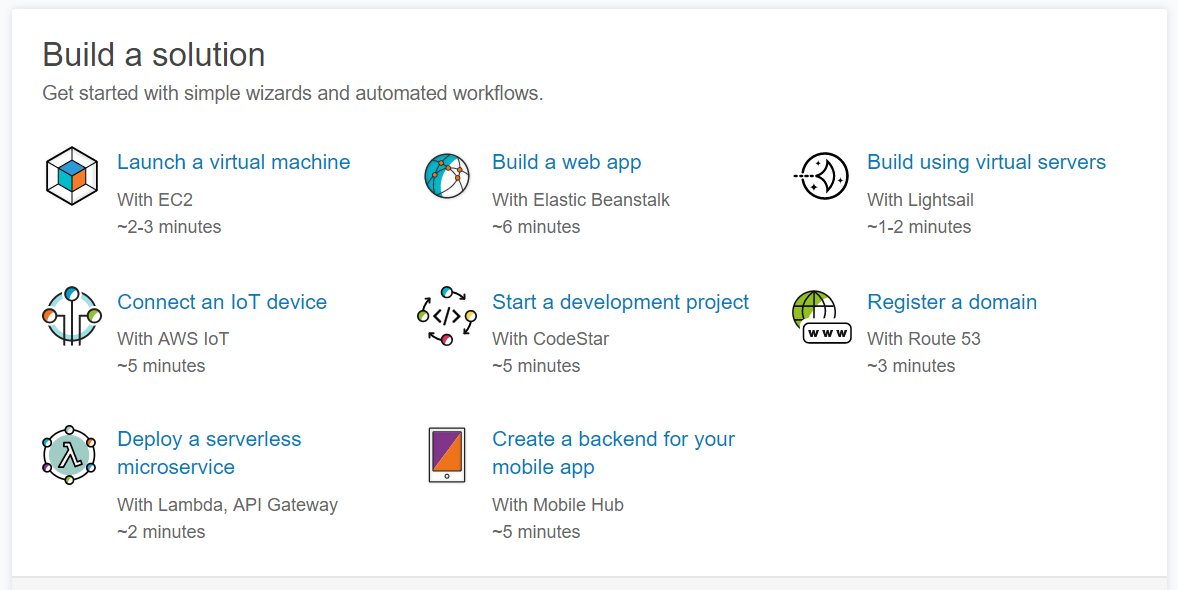
When you are taken to the Amazon Web Services console, look for the Lightsail service and click on it.
Create an instance
An 'instance' is a fancy name for a virtual server. Theoretically, you can create an instance, configure it, install everything you want and then you can replicate it by creating more 'instances' from it.
If you don’t have any instances created already, you should be presented with the “Create an instance” screen and the first choice is which region you want to create your new Lightsail instance. Amazon has numerous regions distributed around the world (at the time of writing, 54 zones in 18 geographical locations). It is important to choose an availability zone that is closest to where you expect the audience for your website is located. If you’re going to host mainly UK-oriented websites, then it makes sense to locate your instance somewhere in the UK.

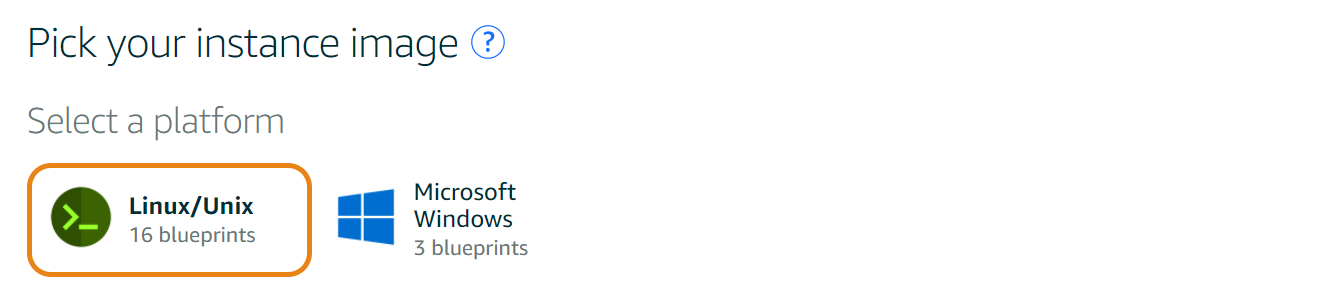
The next step is to choose the platform for your instance. Whether you want to launch a Linux instance or a Windows, is completely up to you. If you’re going to host Wordpress websites then a Linux instance should work well. For Windows, you may have to choose a larger specification because Windows typically takes more memory and disk space to run and provide the user interface, etc.
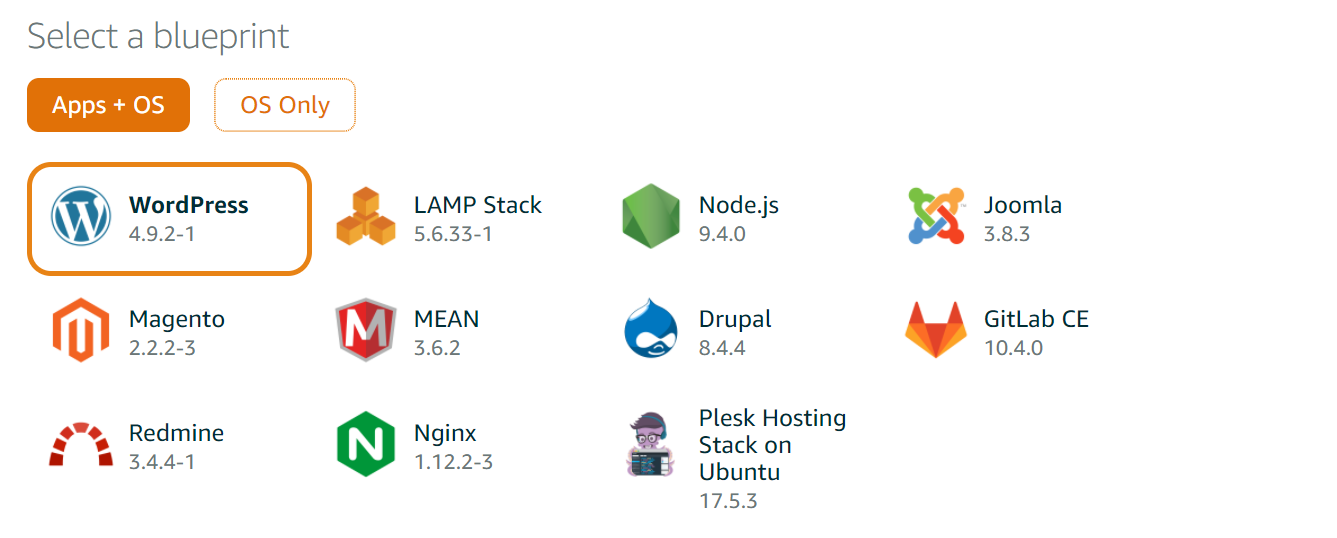
With Linux, you can choose from numerous ‘blueprints’ or images with preinstalled software and applications, ready to go. In my example here, I’ve chosen Linux with Wordpress pre-configured, so as soon as the instance launches, I’ll be ready to go with Wordpress, apart from maybe a few updates.
The next step is to choose your ‘plan’. This determines how much you are paying every month for your instance and the amount of resources your virtual machine is allocated (such as memory, computing power, disk storage and data transfer). To start, choose the $3.5/month plan as shown below - you get a free month with any plan.
The beauty of cloud computing and virtual instances is that as you grow, if you need more capacity, you can always shut down the instance, change its size (move to the next plan up), restart it and you’re back online without losing any data or requiring any reinstalling or reconfiguring.
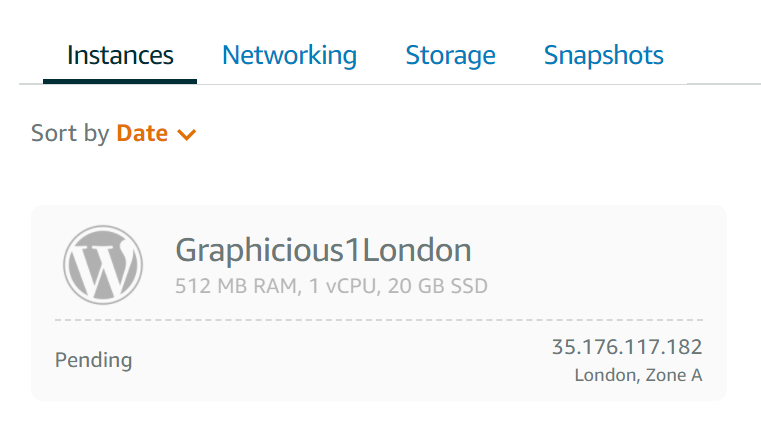
Finally, give your instance an easily recognizable name and start the installation.

The creation of the instance shouldn’t take more than a couple minutes. While it’s being created, you should see the status as ‘Pending’.
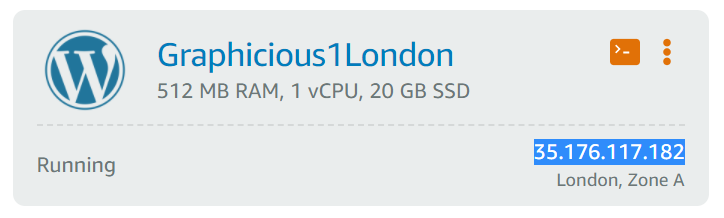
Once the instance has launched, it shows as ‘Running’ and the icon becomes coloured.

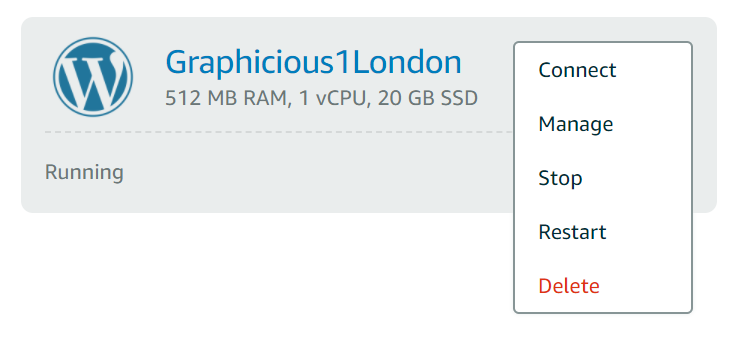
If you notice the little orange icons on the top-right corner, one of them is the console login and the other is a menu with some basic function that control the instance - connect, manage, stop, restart or delete.
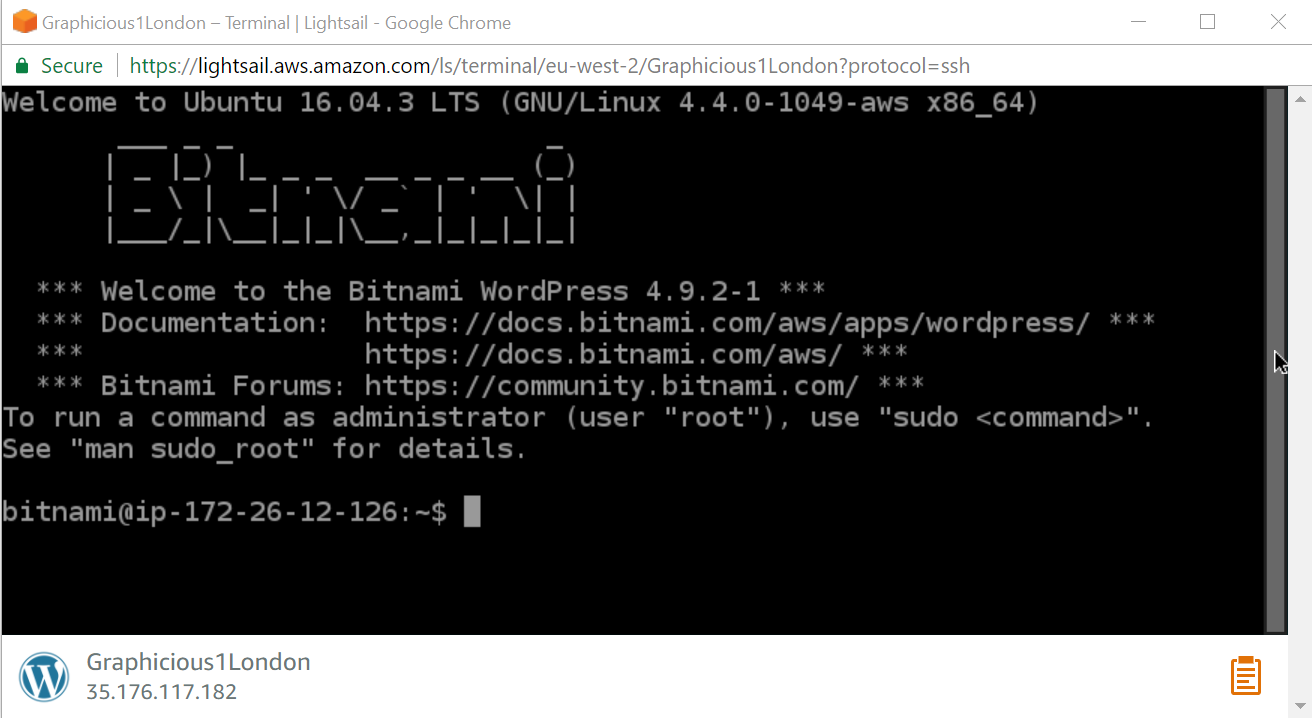
Click on the console and you should be logged in to the instance’s ‘command prompt’ (console). This is where you can run administrative commands and retrieve your password for the Wordpress login, for example. During normal running, you shouldn’t need to hang around here for too long.
Obtain the Wordpress password
Quickly, using some Linux-based commands will get you the password. Type ‘ls’ to list the contents of the current directory:

Among other things, you should see a file called ‘bitnami_application_password’ (if your blueprint is something else, you may not have this exact name, but something similar, depending on the applications you’ve chosen for your blueprint).

In order to see the password, you can use another Linux command ‘tail’. Just type ‘tail’ followed by the name of the bitnami_application_password file:

After pressing ENTER, you should see the password listed. Make a note of it, as you will need it shortly:

You may have noticed that your instance has been allocated a public IP address the moment you created it. Please note that this IP changes every time you restart the instance. It is not very useful if you’re trying to host a website on your instance. If you try to change this IP in your domain name’s DNS, you will find that your website won’t be accessible after a restart because the IP will have changed - so for websites, you need to obtain a static IP from Amazon.
The advantage of having a static IP is also that if you should ever need to delete the instance or create a new one for the same domain name/website, all you have to do is re-allocate that same IP to the new instance and your website will appear from the new instance, without having to change the DNS of your domain.
As long as a public IP is attached to an instance, it is free. For an IP that is not allocated to an instance, you pay $0.005/hour.
Browse your website on the Lightsail instance
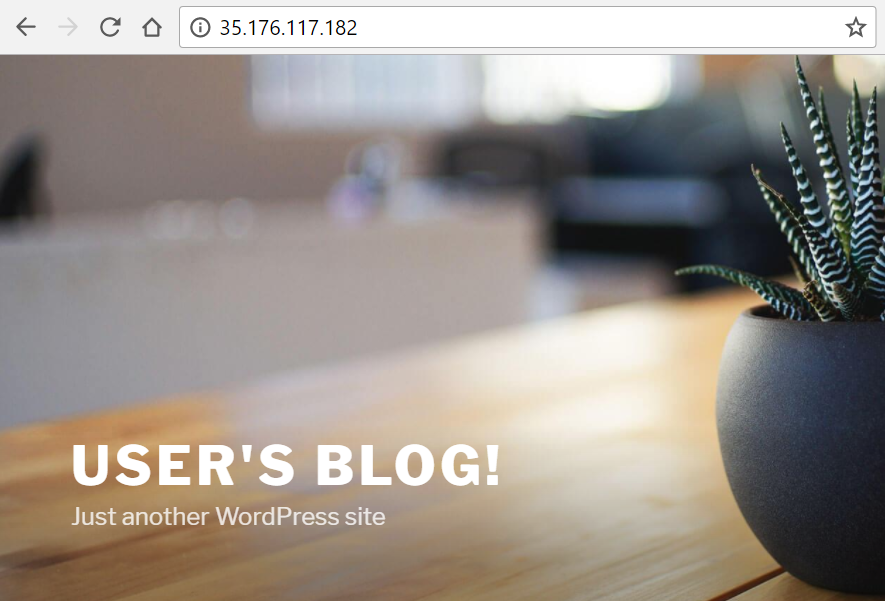
For the moment, let’s copy the IP you have been allocated for this instance and in the browser, type: http:// followed by the IP address:

This should take us straight to our newly installed Wordpress website:
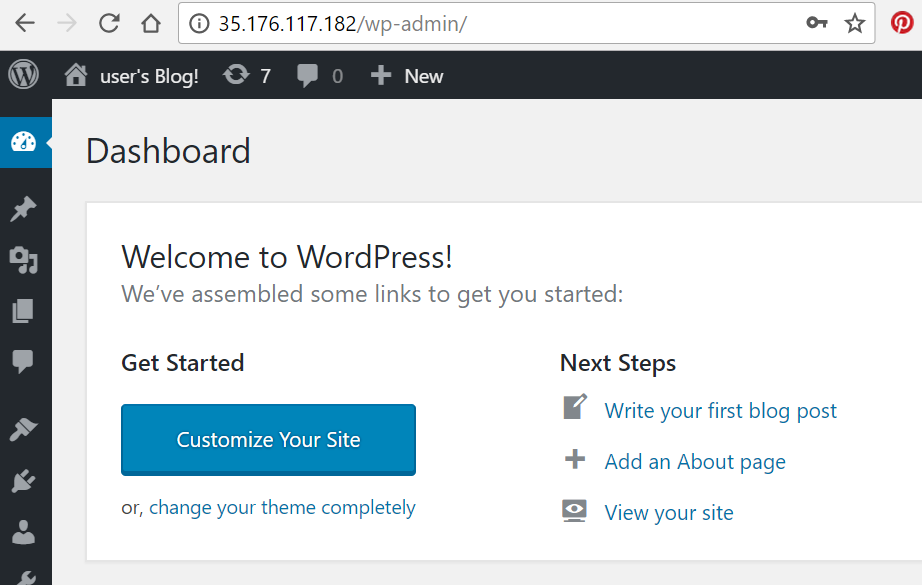
If you want to access the administration of the website, just add /wp-admin after the IP address and type ENTER:

You should be presented with the administration login of your Wordpress website. The default username is ‘user’ and the password is the one you obtained from the console, a few steps above:
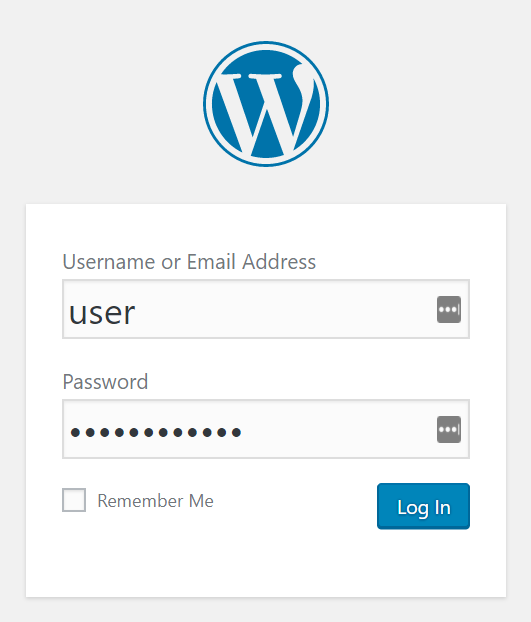
If the password was correct, you should now be logged in to your Wordpress administration interface:
That’s as far as this tutorial goes. The whole process of setting up a new virtual server instance on Amazon Lightsail should not have taken you more than 5 minutes! Depending on the blueprint or application and flavour of OS you have chosen, various administration and back-up options are available to you. The Lightsail instances work just like any other Amazon EC (Elastic Compute) instances: you can create snapshots, backups, replicate them, scale them, etc.

Cristian
I specialize in providing clear one-on-one training in software such as Camtasia and Descript, helping you make the most of these programs.
Whether you're interested in learning how to create training videos and tutorials for your company or for YouTube, or are hoping to create your own course or start a podcast, I'm here to help you get started and give you all the shortcuts.
Categories