
How to speed up, protect and secure your website with CloudFlare - for free!


CloudFlare is not a very new player in the Content Delivery Network (CDN) game, but they do lots of things well and brag that thay have more customers than Akamai and Amazon CloudFront combined (a 35% market share they say, as of March 2018, protecting 7,000,000 websites)! That is no small claim!
I suppose a contributing factor to that is that they offer a basic set of services for free and offer upgrades for more advanced features. Nonethless, for a small or start-up website, the basic and free services are quite useful and help introduce you to the wonderful world of CDN.
This tutorial will show you how you can quickly set up CloudFlare and put it in front of your website, in order to protect it, speed it up, secure it with a free SSL certificate and more.
Just what is CloudFlare anyway?
The name that stuck for CloudFlare so far seems to be 'Next Generation CDN' - but it is more than 'just' a Content Delivery Network. Even in the basic (free) plan they offer a great set of services aimed at accellerating and protecting your website and its visitors from internet threats.
CloudFlare works by taking over your website's DNS and routing all incoming requests through their network. They don't host your website for you, but just protect it and for the most part, you don't have to make any changes to your website to activate it!
If you activate CloudFlare for your website and configure the DNS properly, the visitors to your website (and more importantly, attackers) will not be able to see and connect to your server's IP directly, as CloudFlare sits in front of it and routes requests to your site as if it were hosted on CloudFlare 's servers. This prevents attackers from, for example, running a DDoS attack on your website that hit your server directly.
Will I have to move my website?
Not at all! Cloudflare is not a hosting service, and you don't have to make any changes to your current website or your hosting. The migration to CloudFlare is just a nameserver change for your domain and then you manage your DNS on CloudFlare's platform instead of the one you have now (for example GoDaddy).
Here are some of the main headlines with services you can activate from the CloudFlare dashboard:

In short, some of the benefits and features that CloudFlare offers are:
Protects your website and hides your real server from attackers
By taking over your Domain Name Service (DNS), Cloudflare is able to hide your real server's IP address so that attackers can't target it directly. All traffic goes through Cloudflare's network and using intelligent analysis and rules, it is able to identify if a certain visitor is a regular person, an attacker, a bot, and take action based on that information.
Installs, maintains and updates a free SSL certificate for your website
Cloudflare will activate a free universal SSL certificate on your website and keep it updated automatically. This means that all traffic between your website and your visitors will be securely encrypted and protected from snooping - even without you having to install and maintain a SSL certificate on your own server.
Last year, Google started to rank websites that use SSL certificates a little higher and now considers 'https' to be the standard, instead of http. CloudFlare's free SSL certificate achieves just that and it's absolutely pain - and cost - free! Just make sure you change your website's root URL to use https:// instead of http:// for all requests, after you activate CloudFlare.
Protects website against attacks by limiting or challenging suspicious visitors
CloudFlare is able to identify suspicious traffic or IP addresses with a bad reputation and, depending on your selection, ask visitors to confirm they are legitimate users and not bots by presenting a challenge page or prevent them from accessing your website for a custom time period. You can adjust your security level and even switch to a very tight mode called 'I'm under attack!'. It allows you to also whitelis or blacklist various IPs (using the IP firewall) or set rules for a Web Application Firewall that checks the integrity of the browser headers and more.
Accelerates traffic and speeds it up by employing caching
CloudFlare automatically identifies content from your website that can be cached on their own network and serve that faster to your visitors from 'edge' locations. These are servers in Cloudflare's network spread around the world that store your static content, enabling them to serve it to your customers from the closest location to them - therefore speeding up access and saving you bandwidth.
You can see how many requests have been served from the cache and how much bandwidth they are saving you from your account's statistics dashboard.
Speeds up loading by compressing files and minifying your static scripts
CloudFlare can minify your static script files (such as .js, .css) - this makes them smaller by removing spaces and newlines. It can also compress and optimise your images so they are smaller and load faster. There are a bunch of other speed-related services you can activate (some of them are not free) - just check them out in the 'Speed' section.
Analytics
Cloudflare will show you information about your visitors, how many they are, where they come from, threats and more - and they boast more analytics than usual services (such as Google Analytics).
There are much more services you get and can activate for certain fees based on usage, but let's start with a free account and go from there:
1. Create a free CloudFlare account
Just head over to cloudflare.com and register for a free account.
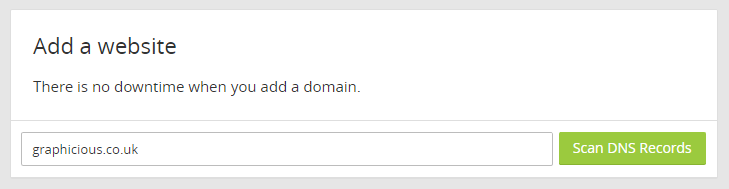
2. Add a new website to your CloudFlare account
Once you're in, add a new website to your account and start the set up process.

Type your domain name (without www.) and click 'Scan DNS Records'.
Don't worry, this won't make any changes to your website or DNS yet - it will just scan your DNS and show you the records it found. Nothing will actually change on your site until a few steps later.
While it is scanning your DNS records, you can see a quick video about how CloudFlare works.
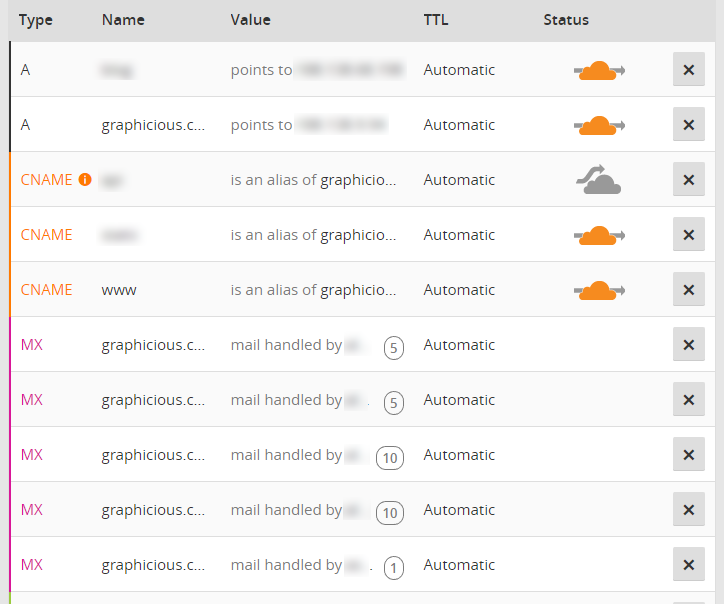
3. Check your DNS records
After a few seconds, you are presented with a screen similar to this. The status column is what's interesting - it shows which domain and subdomain is routed through CloudFlare's network and which ones are left to be passed through and hit your server directly.
If you don't have any specific applications or services that need different DNS access, I recommend you click the grey cloud icon to change the option and route all traffic through CloudFlare's network. This will ensure your server is protected. The running services won't be impacted at all.
Make sure all domain names and subdomain names are there. On a couple occasions, I discovered that CloudFlare either couldn't read or had 'lost' one subdomain and after the migration, the application hosted on that subdomain was not accessible. It was a quick fix by adding it straight into CloudFlare's DNS and in a few seconds it was back online.
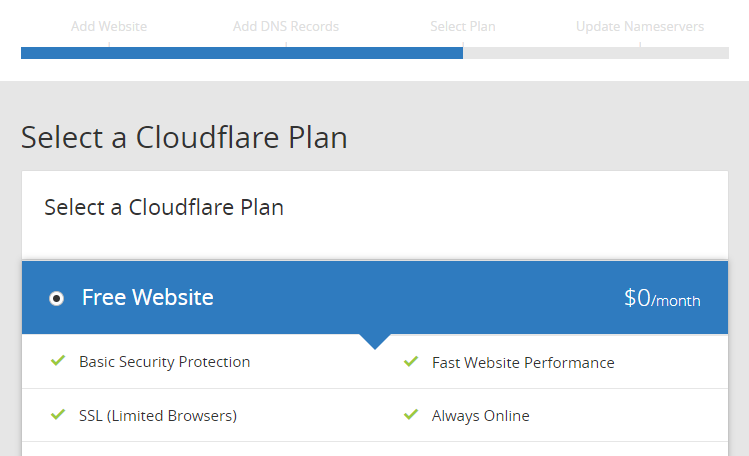
4. Select your plan
After you've made all the decisions about the DNS routing, you continue to the plan selection.
Depending on your plan, certain services may or may not be available - while some other services are charged on a usage basis.
But for now, as we've said above, we'll go with the free plan which gives us quite a few benefits.
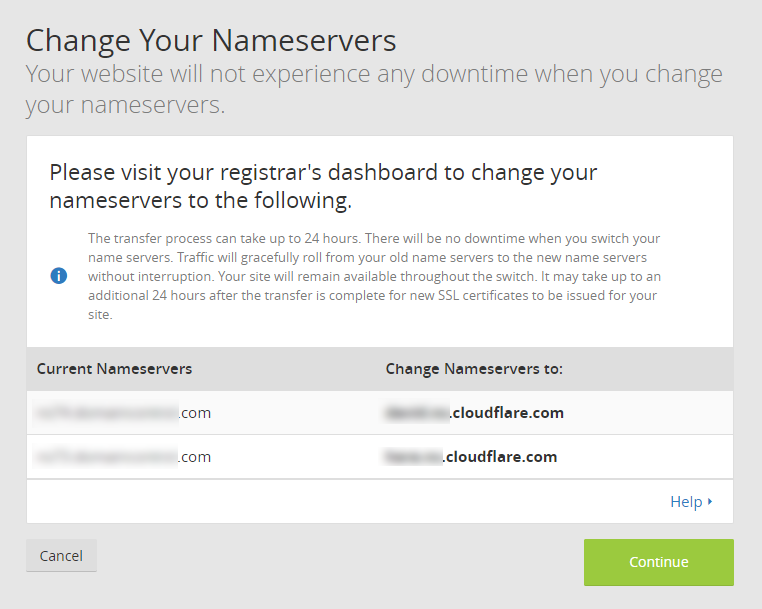
5. Change your nameservers
This is the step that actually activates things and routes the traffic through CloudFlare's nework. It involves changing the nameservers from your registrar's default ones, to CloudFlare's.
CloudFlare displays the current nameservers for your domain name and indicates what you should change them to.
If you don't have access to your domain's management interface with your registrar, you can ask your administrator.
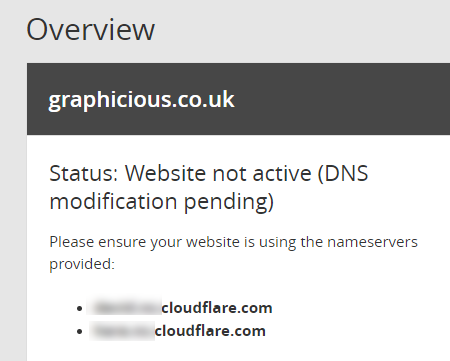
CloudFlare will not work until you make this change.
If your domain was purchased or is managed by GoDaddy, here's a quick tutorial on how to change the nameservers:
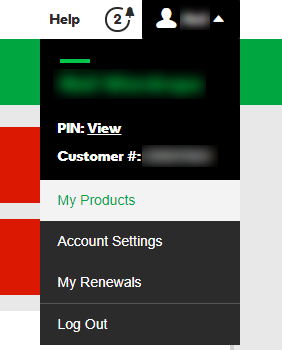
Login to your GoDaddy account
...and access your 'My products' area.
Go to manage domains
Click 'Manage all' if the domain name is not among the most recent ones:

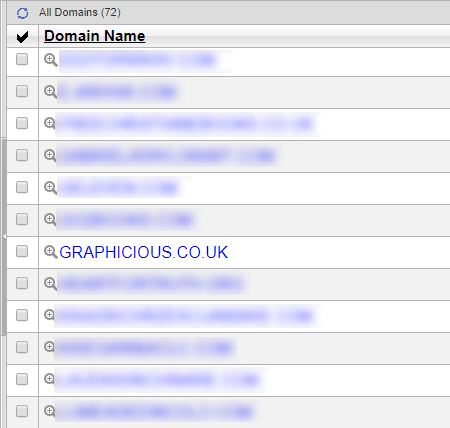
Find the domain name you want to activate CloudFlare for in the list.
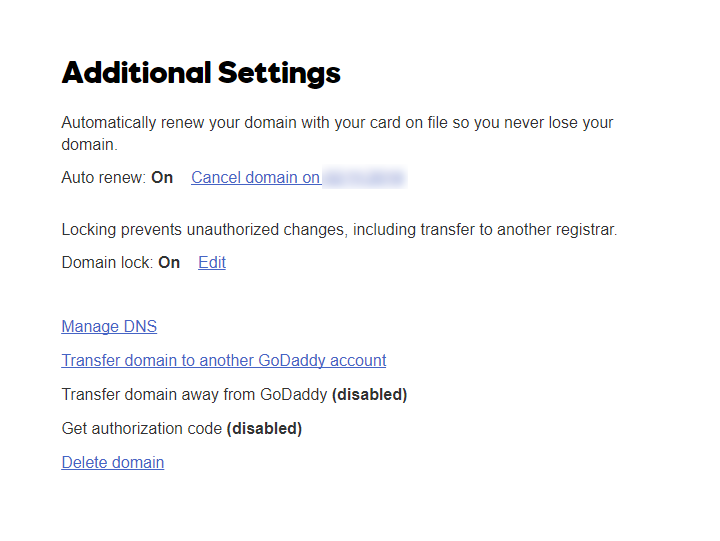
After you click the domain name, click on 'Manage DNS':
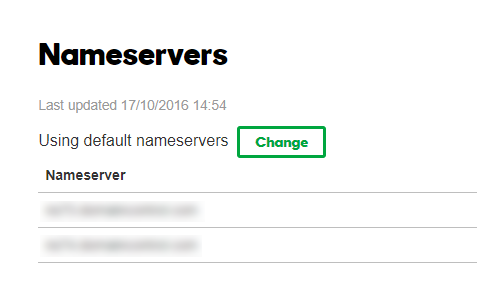
Then, as you scroll down you see the 'Nameservers' section. Click 'Change'
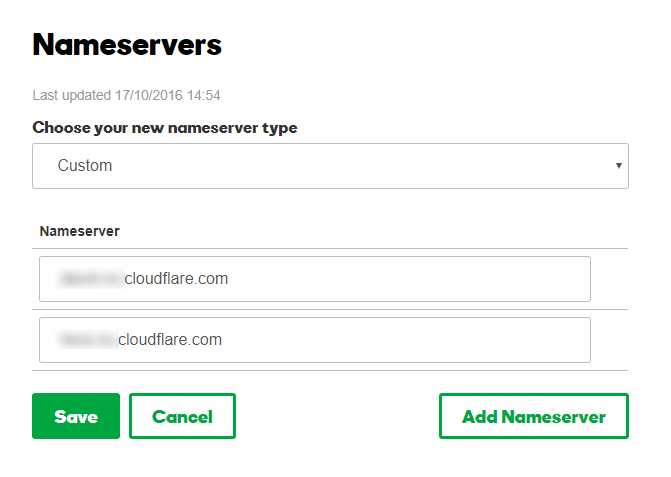
Set the nameserver type to 'Custom' and fill in the nameservers you have received from CloudFlare. If you only have one field, you can add more by clicking 'Add Nameserver':
When you are done, click 'Save' and allow a few minutes for the DNS change to take effect.
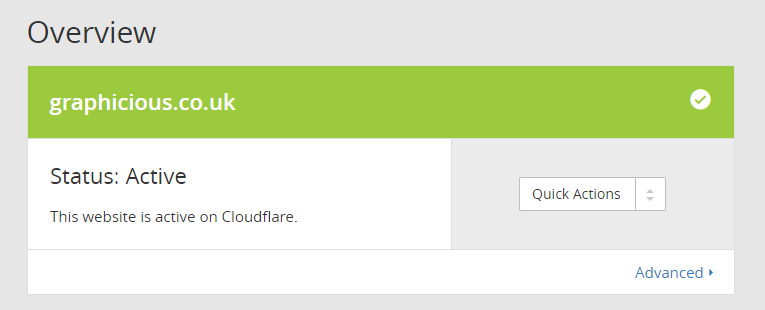
If all goes well, in a few minutes, refresh your CloudFlare account and the domain name should be active on CloudFlare.
Now is also a good time to check if things still work fine by trying to browse your website.
I found that for a minute or two, the website was giving errors - but it was ok after that.
Also, CloudFlare states that SSL certificates could take up to 24 hours to fully activate, so if you don't already have a SSL certificate installed on your website, I would wait until the next day to switch your website's requests to https, to give the CloudFlare SSL certificate a chance to be properly installed and propagated on all endpoints.