Multi-Track Editing with Riverside.fm: A Feature-by-Feature Guide
Riverside's powerful multi-track editing capabilities allow you to take complete control over your audio and video editing.

Let me walk you through Riverside's powerful multi-track editing capabilities, which allows you to take complete control over your audio and video editing.
Whether you're creating podcasts, video interviews, or social media clips, mastering these features will transform your editing process in Riverside.fm and improve your content quality.
Step 1: Riverside's New Multi-Track Editor
The introduction of Riverside's multi-track editor is amazing for content creators, and a feature I've been waiting on for a long time. This feature allows you to edit each track independently, enabling control over audio and video.
No longer are you limited to making blanket edits that affect all participants; you can now fine-tune each individual track.
Imagine being able to adjust the volume levels of different speakers, mute crosstalk, or even change the framing of each individual track. The multi-track editing functionality opens up a world of editing possibilities.
If you’re eager to learn more about Riverside and wish to have a one-on-one Riverside coaching session, feel free to book a call with me.
I’m here to help you with any questions you have and to guide you through the best workflows, tips, workarounds, or just answer any questions you may have!
Step 2: Navigating the Riverside Studio
Once you've launched Riverside.fm, navigating the studio is straightforward. Your recordings will be displayed prominently, allowing you to select the one you wish to edit.
To get started, simply click on the desired recording, and then hit the 'edit' button. This will create a new 'edit'. You can create multiple edits from the same source recording.
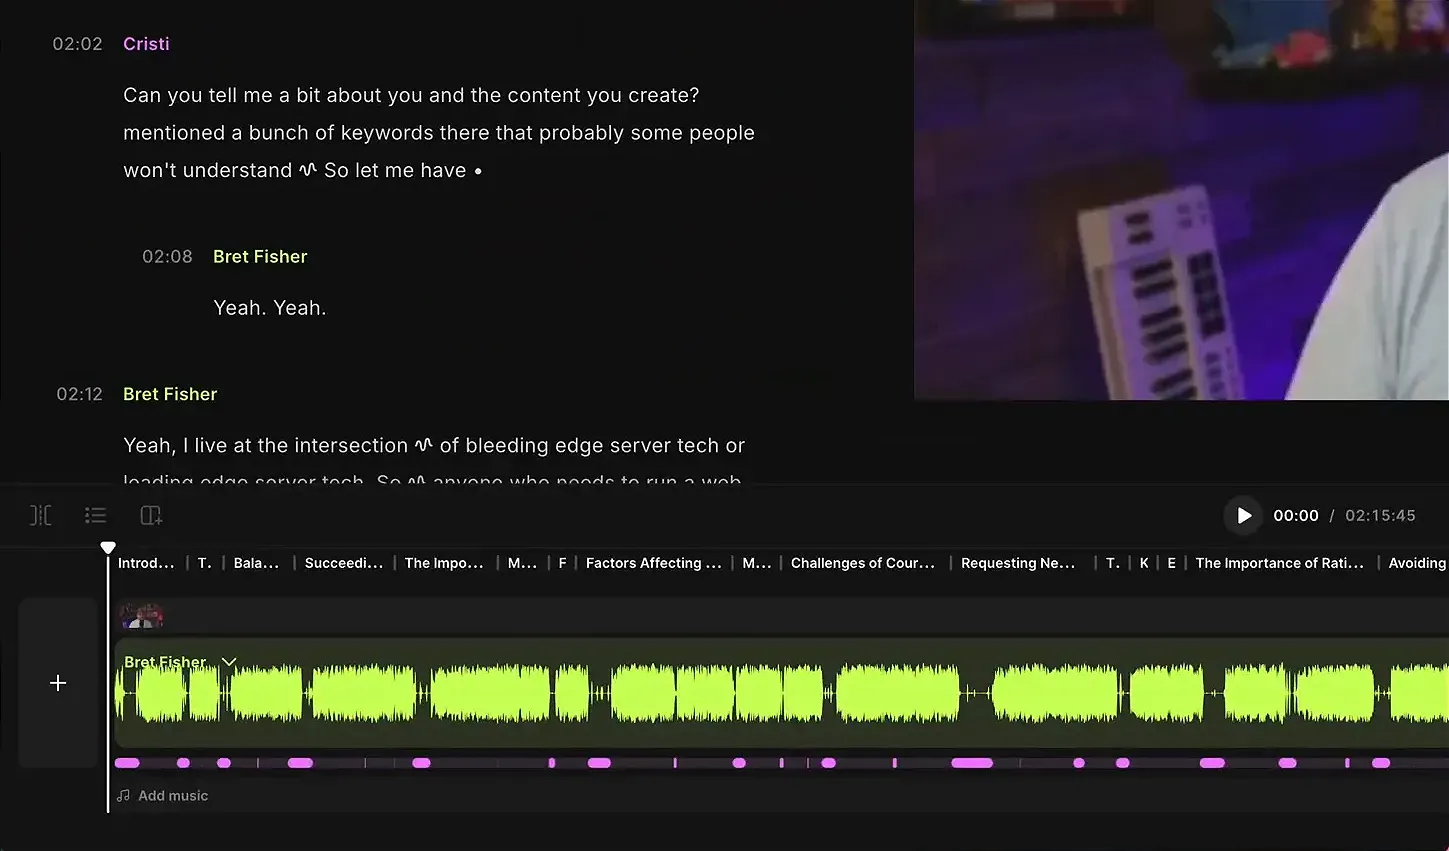
Upon entering the editing interface, you will see a timeline that represents your recording. This timeline is not just a static feature; it allows you to scrub through the content while simultaneously viewing a transcript of your dialogue.
This means you can easily locate sections that require editing without having to listen to the entire recording.
Understanding the Layout
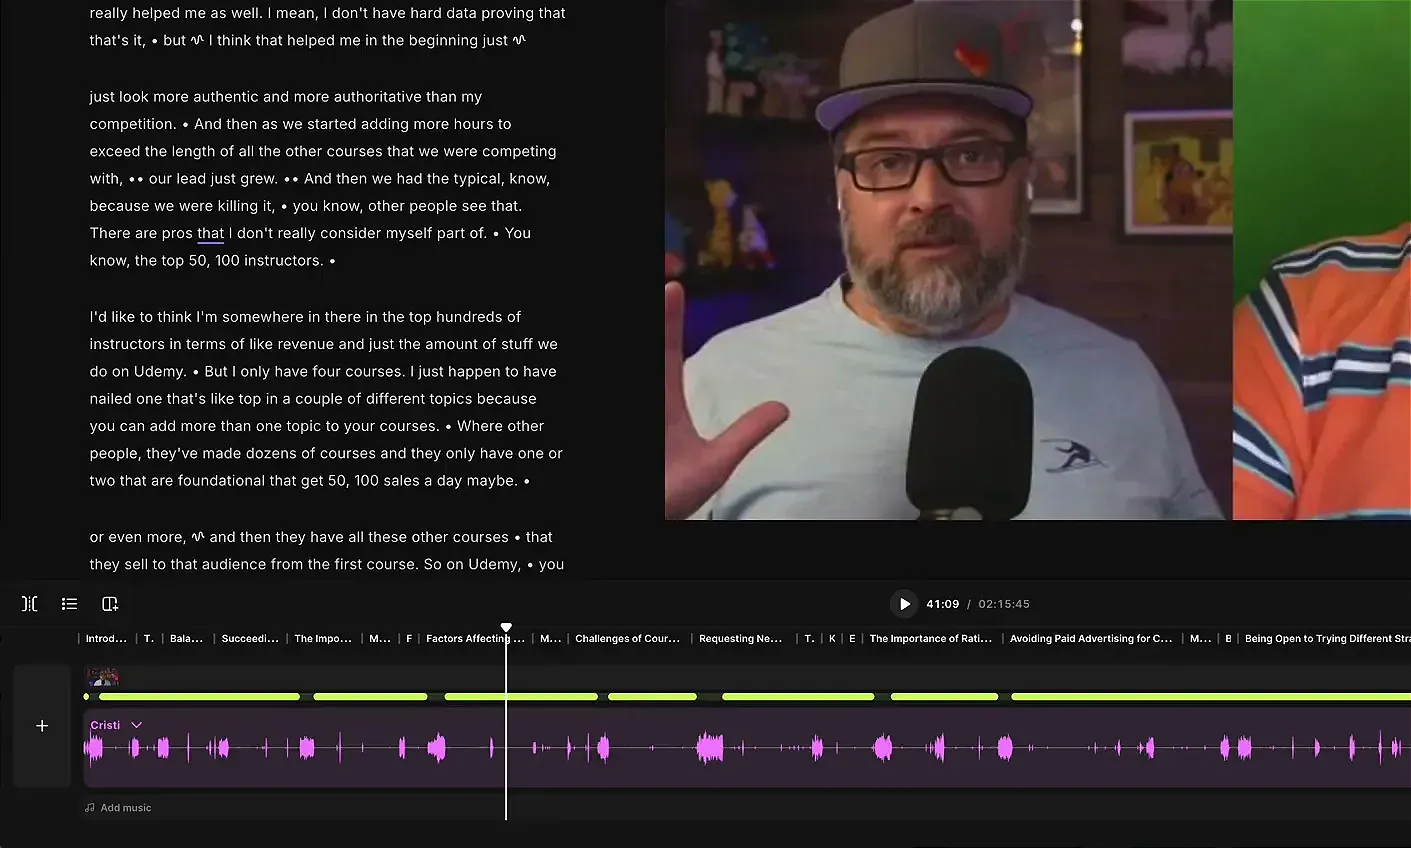
At the bottom of the screen (in the timeline), you will notice the speaker tracks, each highlighted in different colours corresponding to the speakers' names. This makes it easy to identify whose track you are working on.
You can expand the tracks to see individual audio waveforms, allowing for precise editing.
Update: A recent update improved the multi-track view in the timeline even more - you can now expand all tracks vertically for a big-picture view!
Step 3: Editing with Multi-Track: Feature by Feature Guide
Now that you're familiar with the layout, let's look at the specific editing features available in Riverside's multi-track editor.
Scene Management
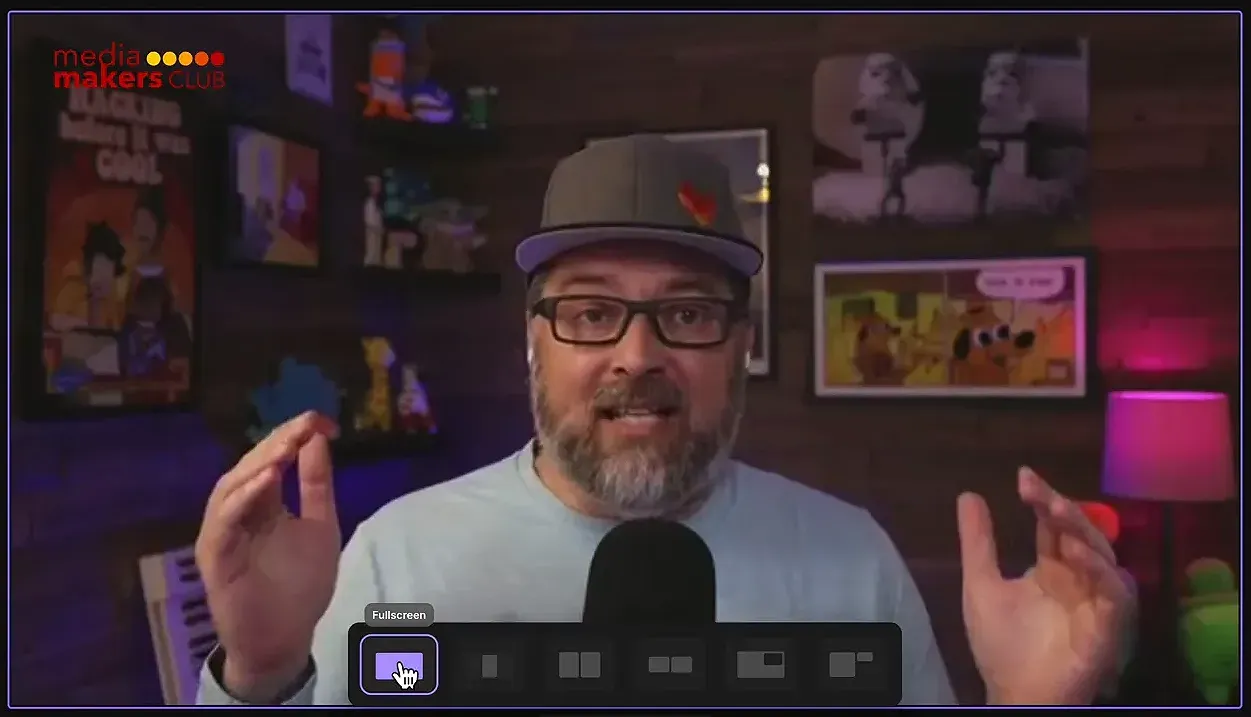
One of the most powerful features of the multi-track editor is the ability to create scenes. Scenes allow you to segment your recording into distinct sections, each with its own layout. For instance, you can set one scene to display a side-by-side view while another can be full screen, showing only one speaker for a while.
AI-Driven Layout Changes
Riverside also harnesses the power of AI to automate scene transitions with "Smart Scenes." This means you don’t have to manually switch between layouts; the software can intelligently determine when to switch based on who is speaking.
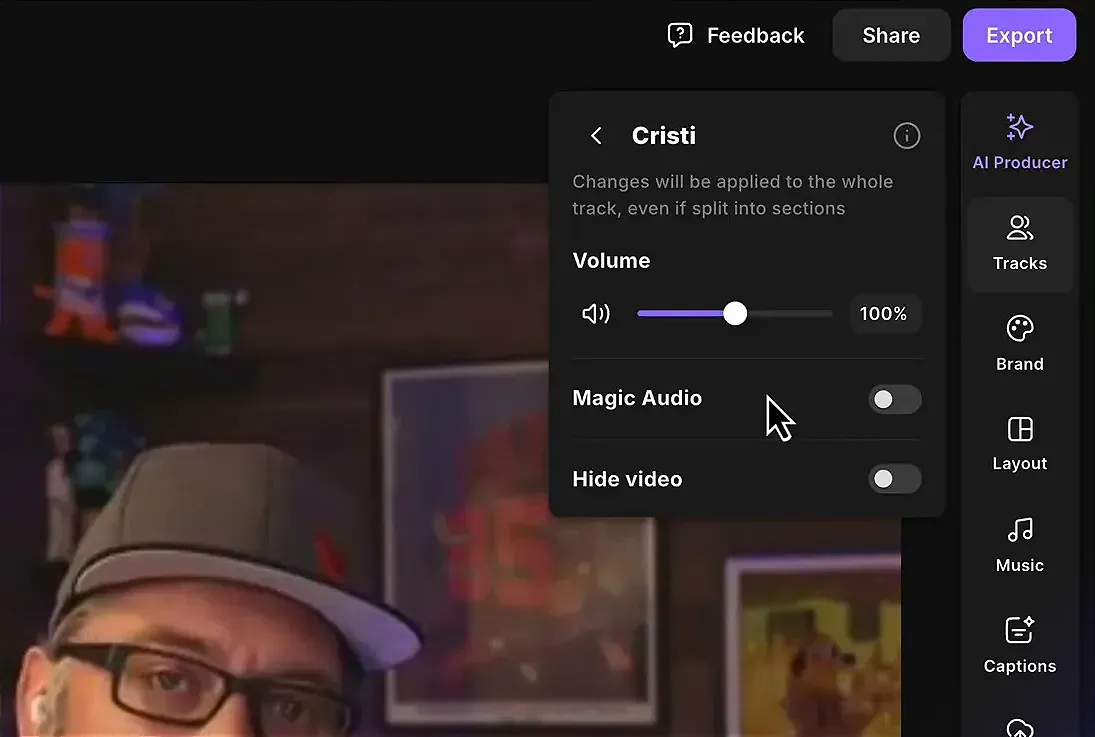
Volume Control and Audio Enhancement
With multi-track editing, you have the ability to control the volume of each track independently. This is necessary for balancing audio levels, especially if one speaker is significantly louder than the other.
Additionally, Riverside offers a 'Magic Audio' feature that uses AI to enhance sound quality by removing background noise and improving clarity. This is similar to Descript's "Studio Sound", Adobe's "Voice Enhance", Auphonic, DaVinci Resolve's "Voice Isolation" and others.
Step 4: Using Scenes for Dynamic Layouts
Scenes are a powerful tool within Riverside's multi-track editor, allowing you to craft dynamic and engaging layouts for your recordings. By creating scenes, you can effortlessly switch between different visual configurations.
To add a scene, simply position your playhead where you want the scene change to occur, click 'Add scene', and adjust the layout options as needed. For instance, you may want to display a full-screen shot of a guest during their speaking segment while maintaining a side-by-side view during discussions and quicker exchanges.
Automating Scene Changes with AI and Smart Scenes
Riverside takes scene management a step further with its smart scene feature. This AI-driven functionality analyses your entire recording to determine the best layouts based on dialogue flow.
It can automatically switch between different layouts, ensuring that the visual presentation complements the conversation naturally.

I particularly like the fact that it detects when there is a quicker exchange and it doesn't switch the camera very often in that portion, instead showing the speakers side-by-side.
Step 5: Automating Scene Changes with AI and Smart Scenes
As mentioned earlier, the smart scene feature enhances how you approach scene transitions. By automating these changes, Riverside saves you time and effort while ensuring that the viewer remains engaged throughout the recording.
To set this up, navigate to the layout side panel and select the 'smart scene' option. Riverside will analyse your recording and determine the best layout for each segment, switching between full screen and side-by-side views as needed.
The AI evaluates the dialogue and determines when to switch between layouts, helping maintain a dynamic viewing experience. This is particularly beneficial for fast-paced discussions, where manual switching would be cumbersome and disruptive.
Fine-Tuning Your Edits
Even with smart scenes, you retain full control over your edits. If the AI’s decisions don’t align with your vision, you can manually adjust scene boundaries and layouts. Simply grab the boundary and move it to where you want the switch to occur.

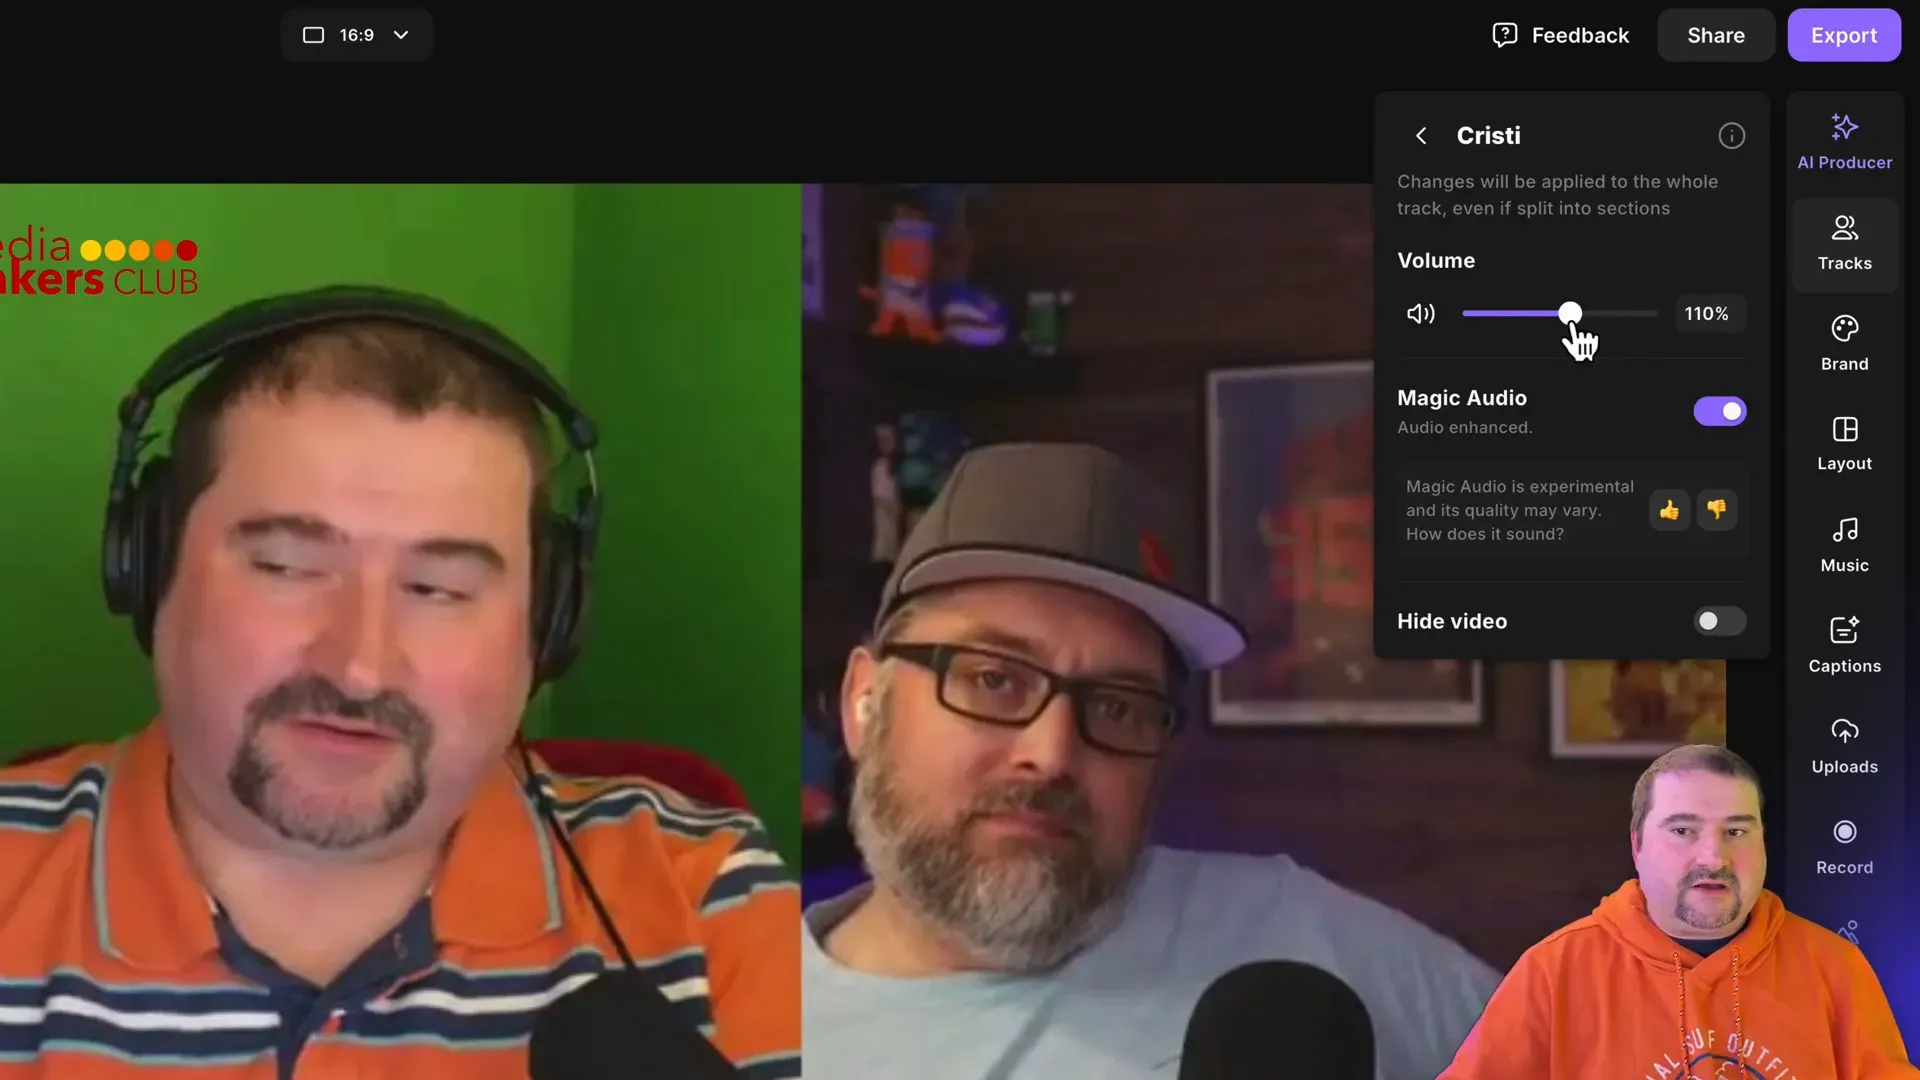
Step 6: Magic Audio to Clean Up and Enhance Sound
Audio quality can make or break your content. Riverside's 'Magic Audio' feature uses AI technology to enhance sound quality by removing background noise and improving clarity. This is especially useful in multi-track editing, where each speaker's audio can be processed individually for optimal results.
To activate this feature, simply click on the track you want to enhance, and select 'magic audio' from the options.
Volume Control for Each Track
Riverside also allows you to adjust the audio levels for each individual track. This means you can ensure that quieter speakers are amplified and louder speakers are toned down, creating a harmonious audio landscape.
Step 7: Flexibility for Creating Social Media Clips
Creating social media clips from your recordings is a breeze with Riverside's multi-track editing capabilities. Riverside allows you to isolate speakers and create tailored clips that resonate with your audience.
To create a social media clip, select the segment you want to highlight, and either copy it into a new edit, or simply delete any unnecessary portions. You can turn off the video for speakers who are not relevant to the clip, ensuring that the focus remains on the main speaker.
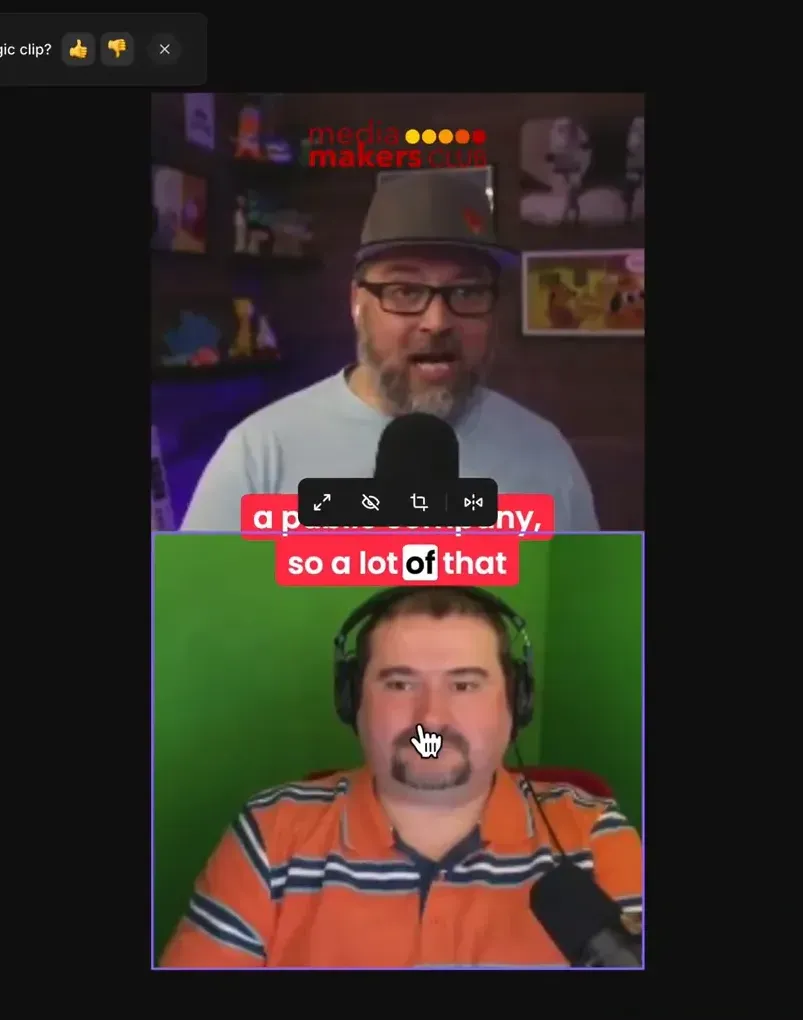
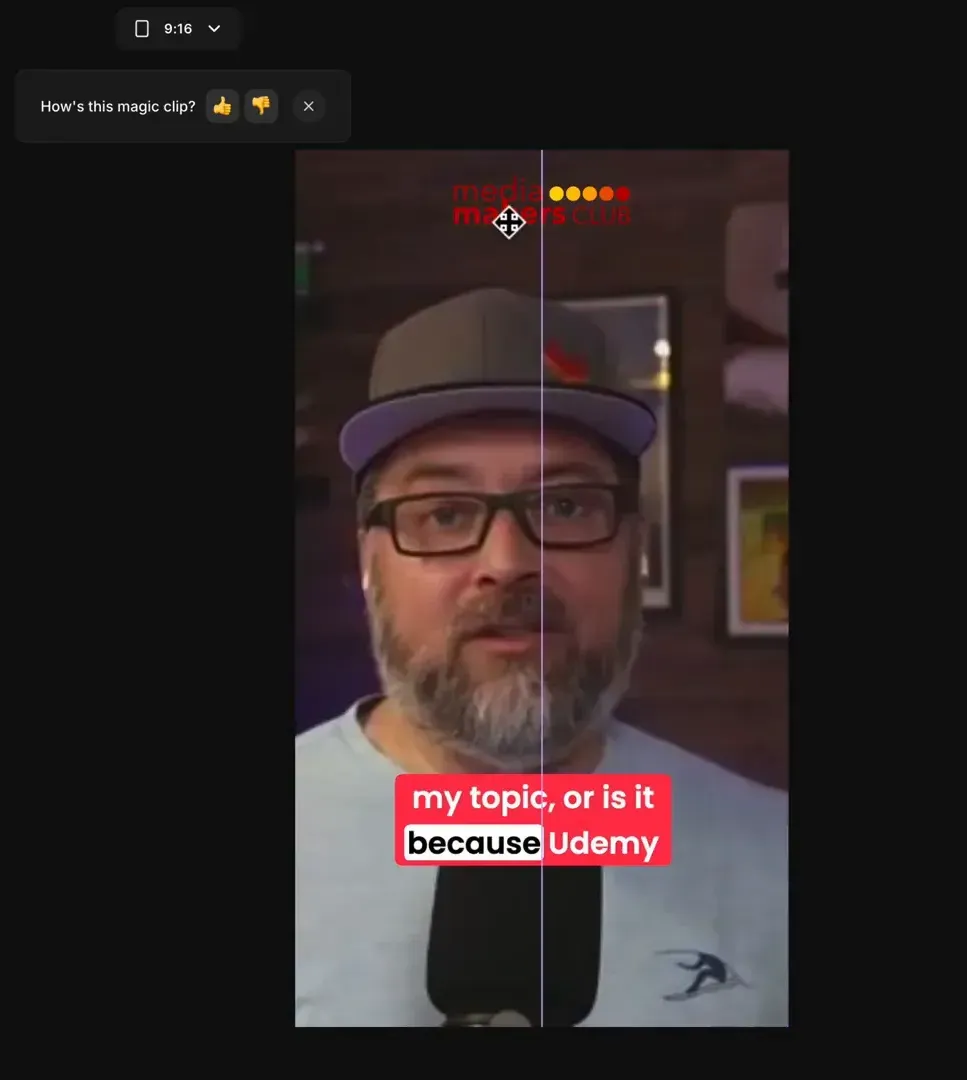
Customising Social Media Clips
Once you've isolated the relevant portions, you can further customise the clip by adjusting the cropping and layout. This is particularly useful when you want to maintain branding elements like logos and captions while ensuring that the main speaker is prominently featured.
If you’re eager to learn more about Riverside and wish to have a one-on-one Riverside coaching session, feel free to book a call with me.
I’m here to help you with any questions you have and to guide you through the best workflows, tips, workarounds, or just answer any questions you may have!