Transcribe Your Own Files with Riverside: A Step-by-Step Guide
Upload, Transcribe, Edit and Repurpose audio and video with Riverside.

Riverside offers a robust platform that allows you to upload, transcribe, edit, and repurpose your audio and video files seamlessly. In this guide, I'll walk you through the process step-by-step:
Step 1: Upload and Transcribe Your Video
The first step in using Riverside is to upload your existing video or audio files for transcription. This process is straightforward and user-friendly. Here's how to do it:
For example, let's say you have a video titled "Cristi on iPhone camera." Simply drag that file into the upload area and click on "Upload."
Riverside will begin processing your file, uploading it to the cloud.
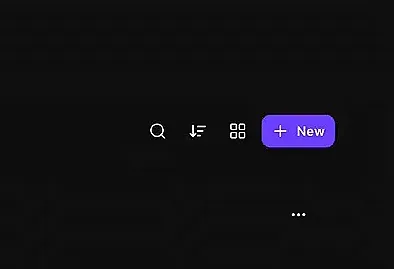
While the file is uploading, you can give it a title. Riverside will automatically transcribe the file for you once the upload is complete.
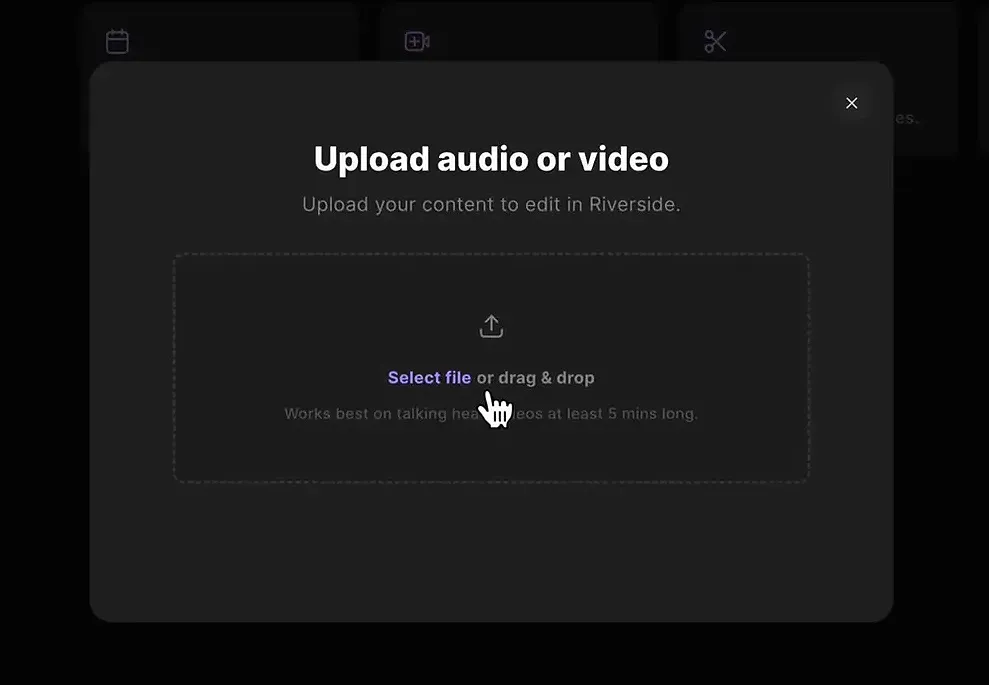
This transcription is available for editing, making it easy to create social media clips or an entire podcast episode from the content.
If you’re eager to learn more about Riverside and wish to have a one-on-one Riverside coaching session, feel free to book a call with me.
I’m here to help you with any questions you have and to guide you through the best workflows, tips, workarounds, or just answer any questions you may have!
Step 2: Editing with the Uploaded File
Once your file is uploaded and transcribed, it's time to edit. Riverside provides a comprehensive editing interface that allows you to refine your content easily.
To get started, navigate to the files area where you'll see both your uploaded file and the transcript. Here, you can:
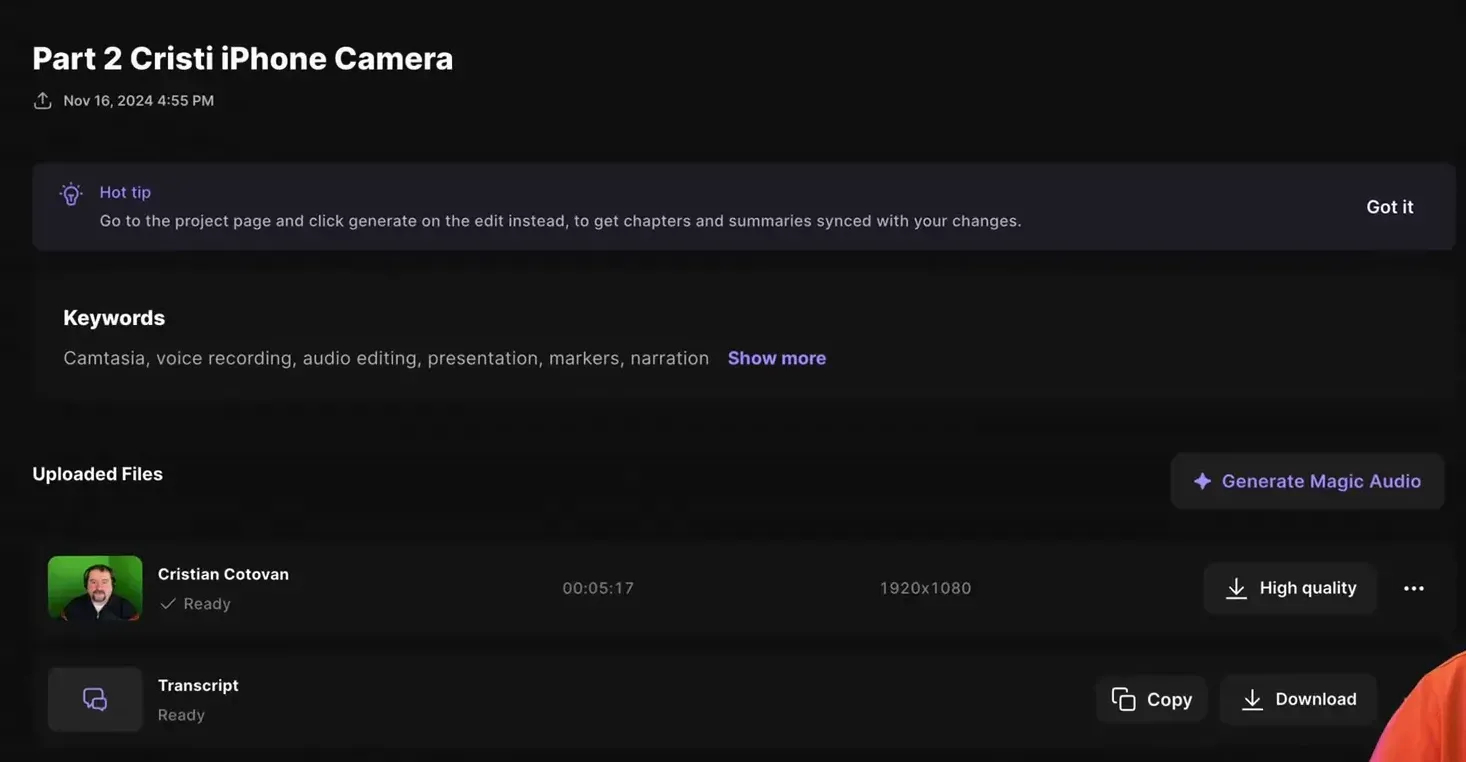
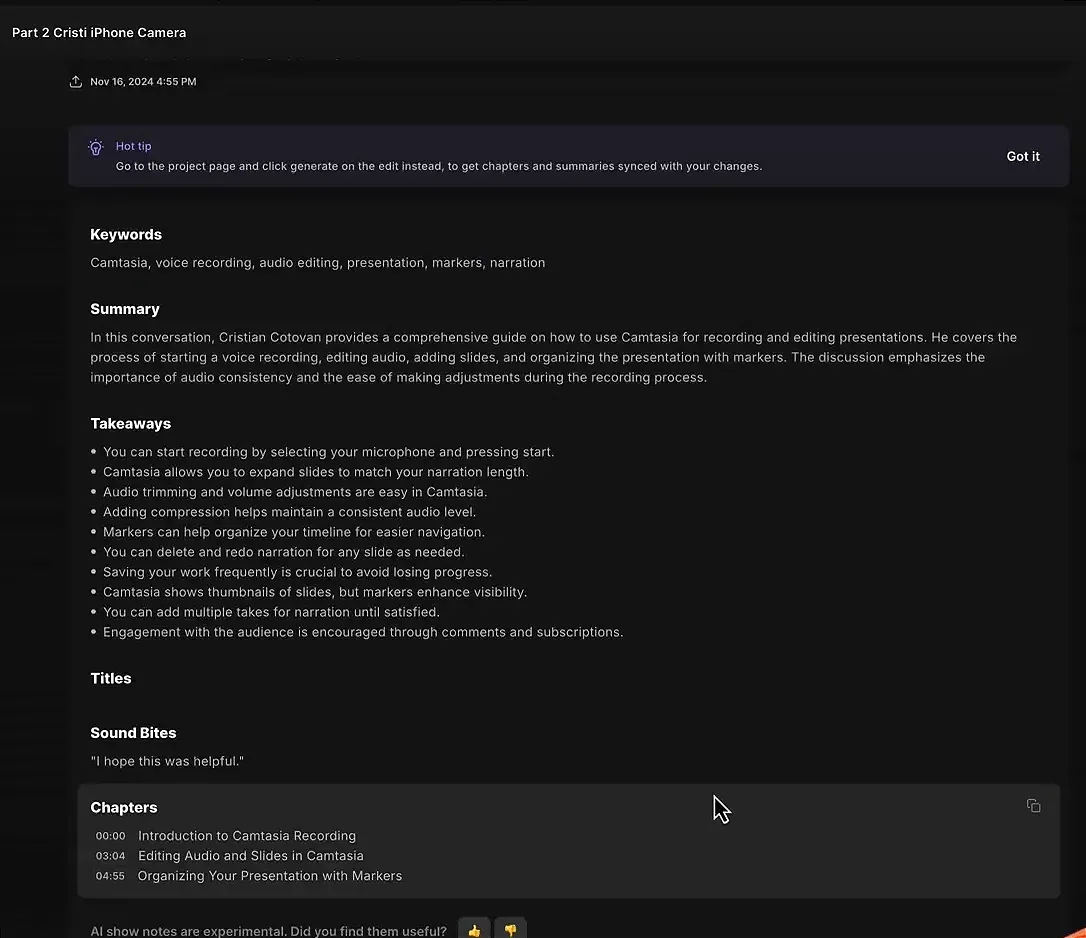
Riverside also generates initial show notes and chapters based on the transcript.
While these automated show notes can be useful, remember to create your own after finishing your edits to ensure they reflect the final content accurately.
Step 3: Exploring Additional Features
Riverside is packed with features that enhance your editing and content creation process. Here are some highlights:

These features not only save you time but also enhance the quality of your content, making it more engaging for your audience.
Step 4: Edit with Riverside's AI Tools
Riverside’s AI tools simplify the editing process and improve the overall quality of your recordings. Here's what you can do:
These tools enable you to focus on content rather than getting bogged down in technical details, making it easier to produce high-quality results.
Conclusion
Whether you're creating a podcast, social media clips, or show notes, Riverside.fm provides all the resources you need to maximize your content's potential.
Ready to get started? Check out Riverside for high-quality podcast and video recording and editing. Don't forget to use the coupon code "CRISTI15" for an exclusive discount on your first three months!
If you’re eager to learn more about Riverside and wish to have a one-on-one Riverside coaching session, feel free to book a call with me.
I’m here to help you with any questions you have and to guide you through the best workflows, tips, workarounds, or just answer any questions you may have!


