
How to reverse video in ShotCut Free Editor | Play video backwards tutorial

If you want to make a video play in reverse in ShotCut editor, it is very simple, and in with this tutorial, you can learn how to do that and also how to separate or mute the audio, or to change the quality of the video conversion.
Step 1: Import your video
First, add your video to the timeline and click to select it:
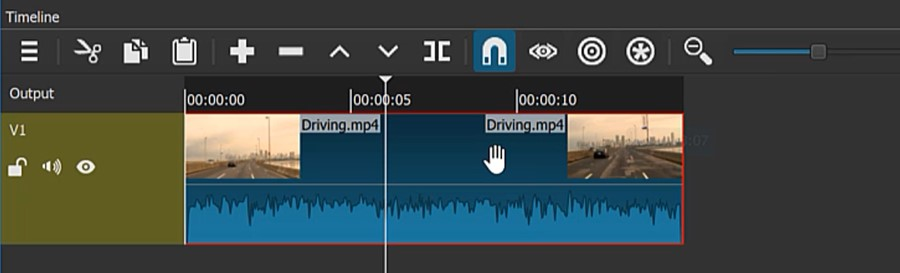
Import the video you want to reverse on the Shotcut timeline and click it
Step 2: With the video selected, click on “Properties” in the top bar, to bring up the properties panel on the left.
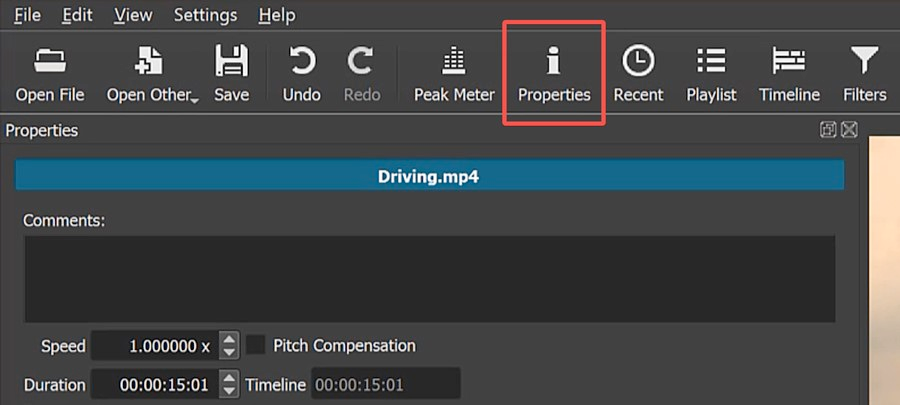
Click Properties on the top bar, while you have the clip selected
Step 3: In this new panel, a “Reverse” function should appear near the bottom. If you don’t see this function, to make the video play backwards, it could be because you have an older version, and this function can be found hidden in the menu with the three lines:
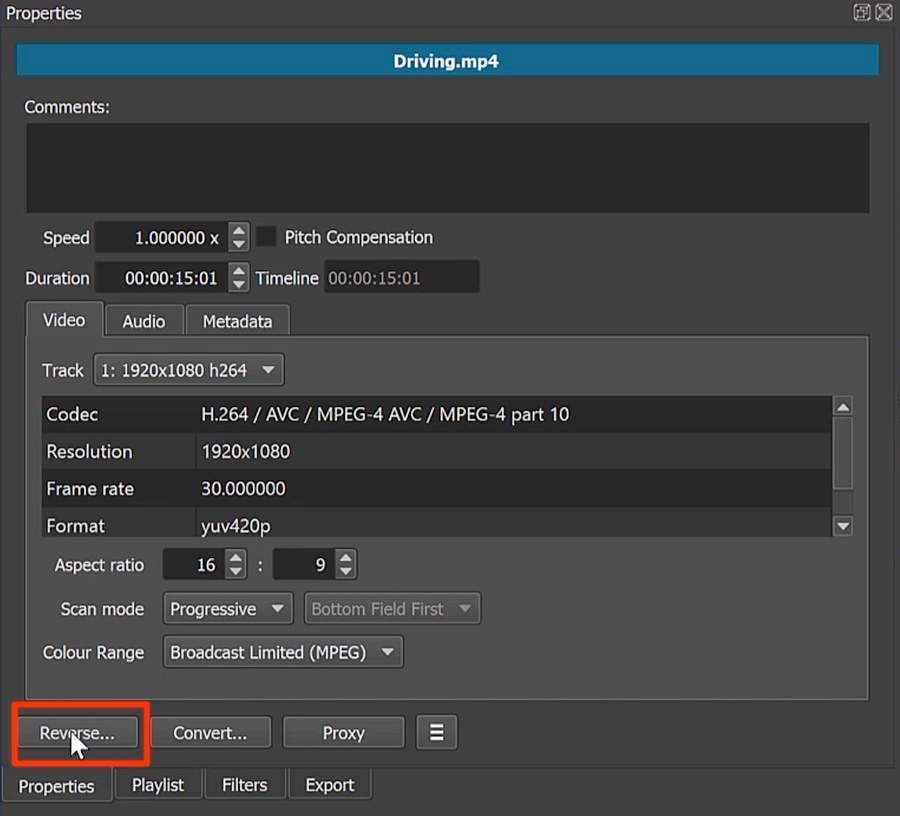
The Reverse function in Shotcut is at the bottom of the properties for the clip
Clicking “Reverse” will bring up a panel with a slider where you can choose the quality of the conversion. If you intend to edit the video further, it may be best to move the slider towards “best.”
As soon as you finish, you will be able to save the new reversed video on your hard drive. In the right panel, a conversion process will begin and the original video will be replaced with the reversed video.
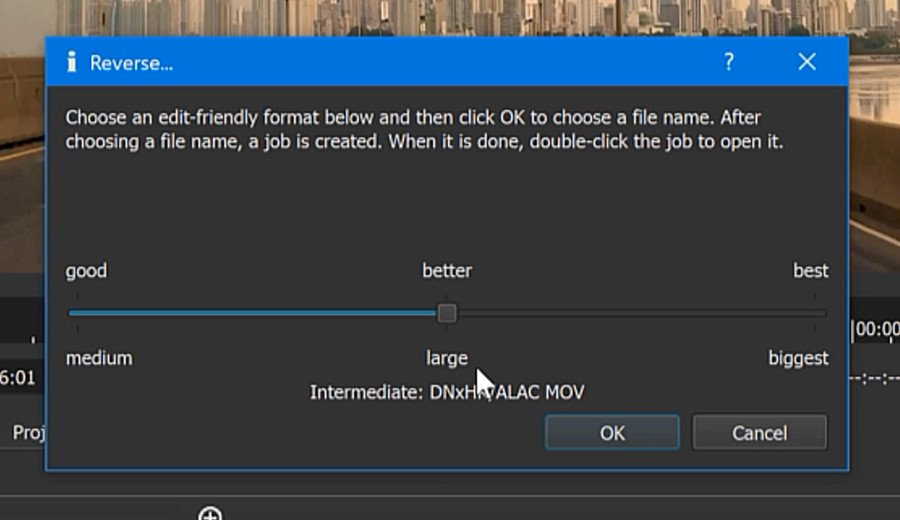
Choosing the conversion quality of the reversed clip in Shotcut
By default, this function reverses both audio and video, so if you don’t want that, or if you want the video to be muted, you can separate audio from video by right-clicking on the video on the timeline and clicking “Detach audio.” Now, you can remove the audio or change it for something else.
Alternatively, you can mute the audio by adding a filter in the “filters” menu on the top bar while the video is selected, and picking from the list “Mute.” Now the video is silent.
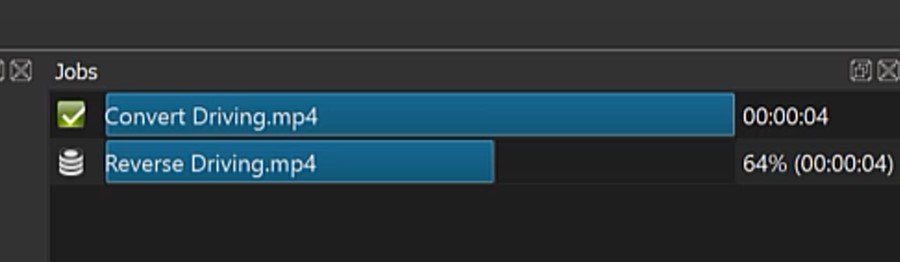
Once you start the conversion, a job is added in the Jobs panel in Shotcut
For more video editing tutorials, check out recommendations below or visit my YouTube channel.


