
How to Create Frame-by-Frame Animations and Animated GIFs in Xara Designer Pro

Xara Designer Pro can create simple frame-by-frame animations and export them as animated GIFs or Flash files. While it’s primarily a vector graphics program, this animation capability is useful for creating simple web animations, banner ads, or fun GIFs.
How Animation Works in Xara
Xara uses a frame-based approach to animation. Each frame is a separate layer that represents one moment in the sequence. You draw slightly different content on each frame, and when played in sequence, they create the illusion of motion — just like a flipbook.
Creating Animation Frames
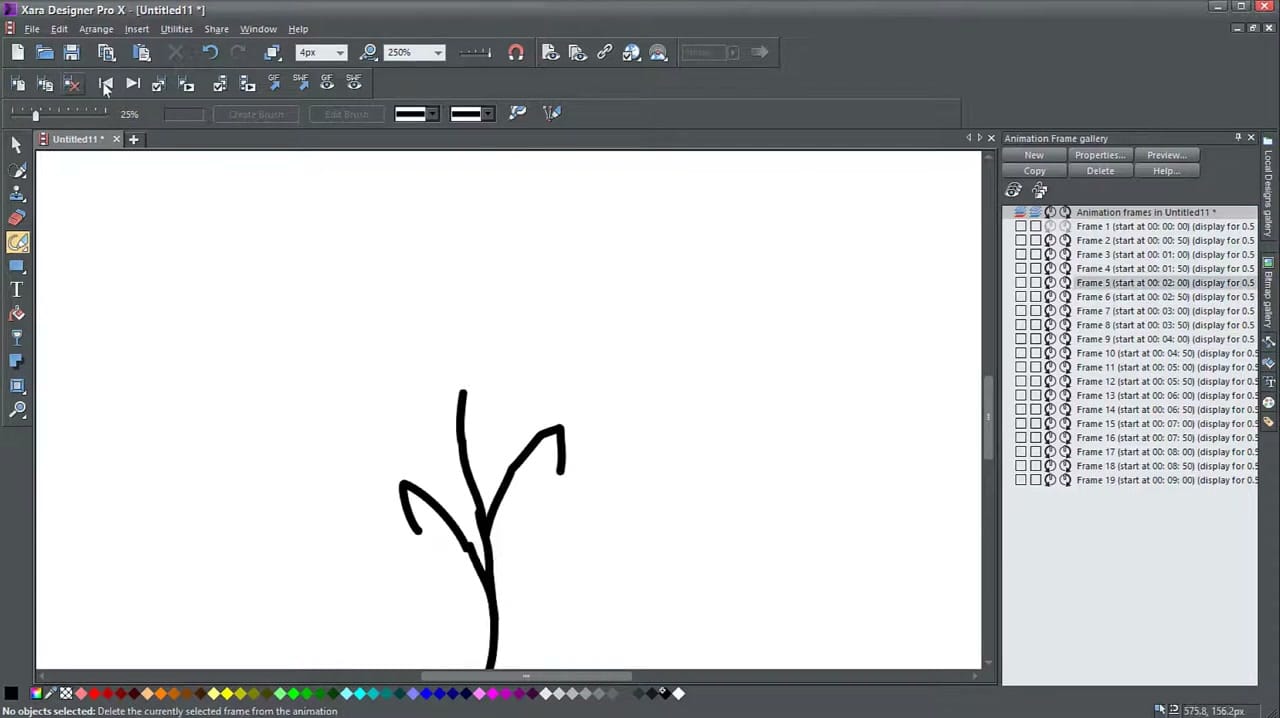
Open the Animation Frame gallery from the Utilities menu. Click New to create additional frames. Each frame appears as a separate entry in the gallery, showing its start time and display duration. Switch between frames by clicking them in the gallery, then draw or modify the content for that frame.
In this example, I create a simple plant growing animation by drawing the stem slightly taller in each successive frame, adding leaves and petals progressively.
Setting Frame Timing and Loop Options
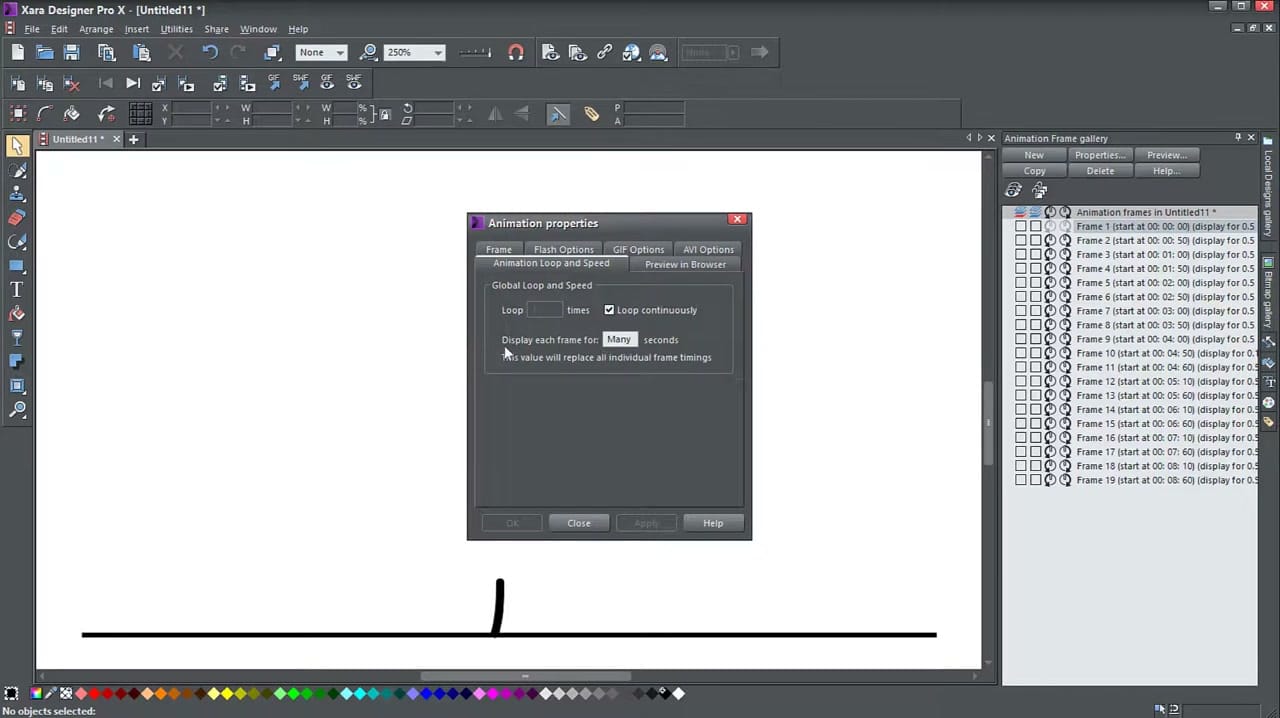
Click Properties in the Animation Frame gallery to open the animation settings. Here you can control:
- Loop continuously or set a specific number of loops.
- Display duration per frame — controls the overall speed of the animation. A shorter duration means faster playback.
- Individual frame timing — you can also adjust timing for specific frames if some need to display longer than others.
Previewing and Exporting
Click Preview to see your animation in a browser window. When you’re happy with the result, export using File → Export Animation. Choose GIF for web-compatible animated images, or SWF for Flash format. The GIF export preserves the frame timing and loop settings you configured.