How to Create Photo Slideshows with Music in Shotcut (Free Video Editor)

Shotcut includes a built-in Slideshow Generator that turns a folder of photos into a fully-transitioned slideshow in seconds. Combined with an audio track for background music, you can create polished slideshows without any manual timeline editing.
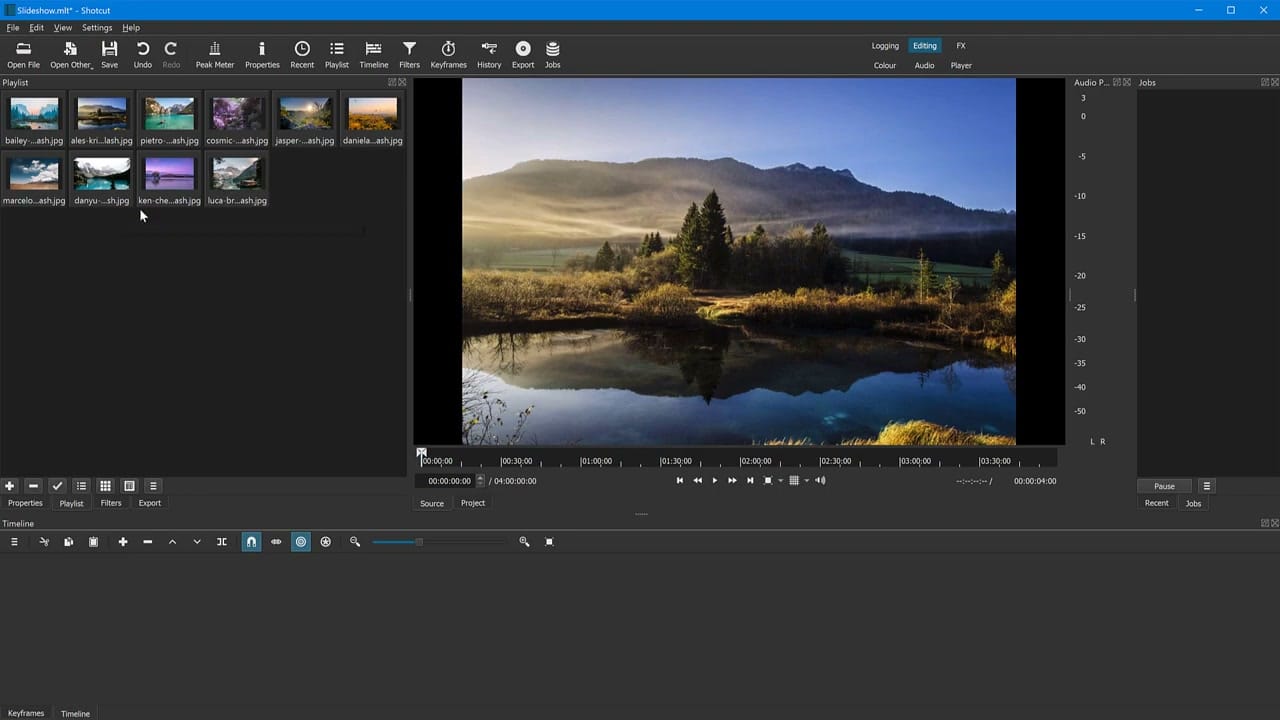
Importing Photos into the Playlist
Open Shotcut and switch to the Playlist view. Drag all your photos into the Playlist panel — they'll appear as thumbnails. You can reorder them by dragging within the Playlist to set the sequence. Shotcut accepts JPG, PNG, and other common image formats.
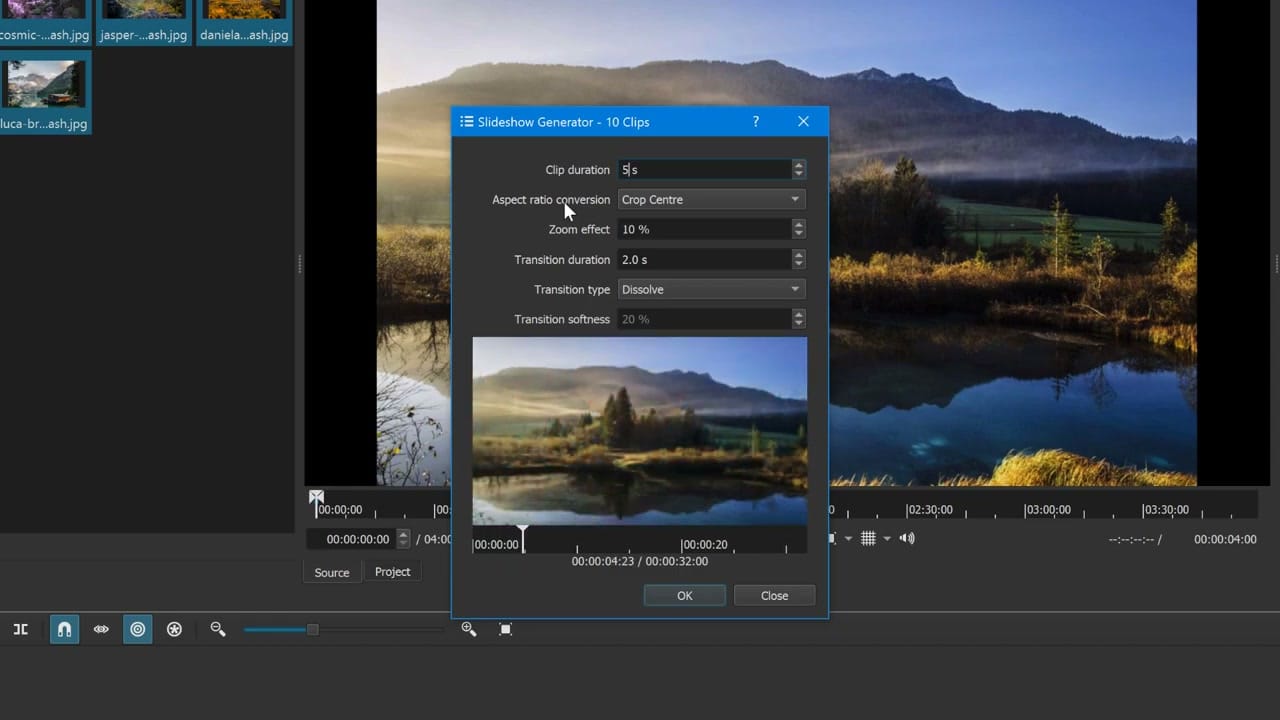
Using the Slideshow Generator
With your photos in the Playlist, go to Playlist menu → Slideshow Generator (or the grid icon menu). This opens a dialog with several settings:
- Clip Duration — how long each photo displays (default 5 seconds)
- Aspect Ratio Conversion — options like Crop Centre, Pad Black, or Stretch
- Zoom Effect — adds a subtle Ken Burns-style zoom (percentage controls the amount)
- Transition Duration — length of the dissolve between photos
- Transition Type — Dissolve is the most common choice
- Transition Softness — controls how smooth the dissolve appears
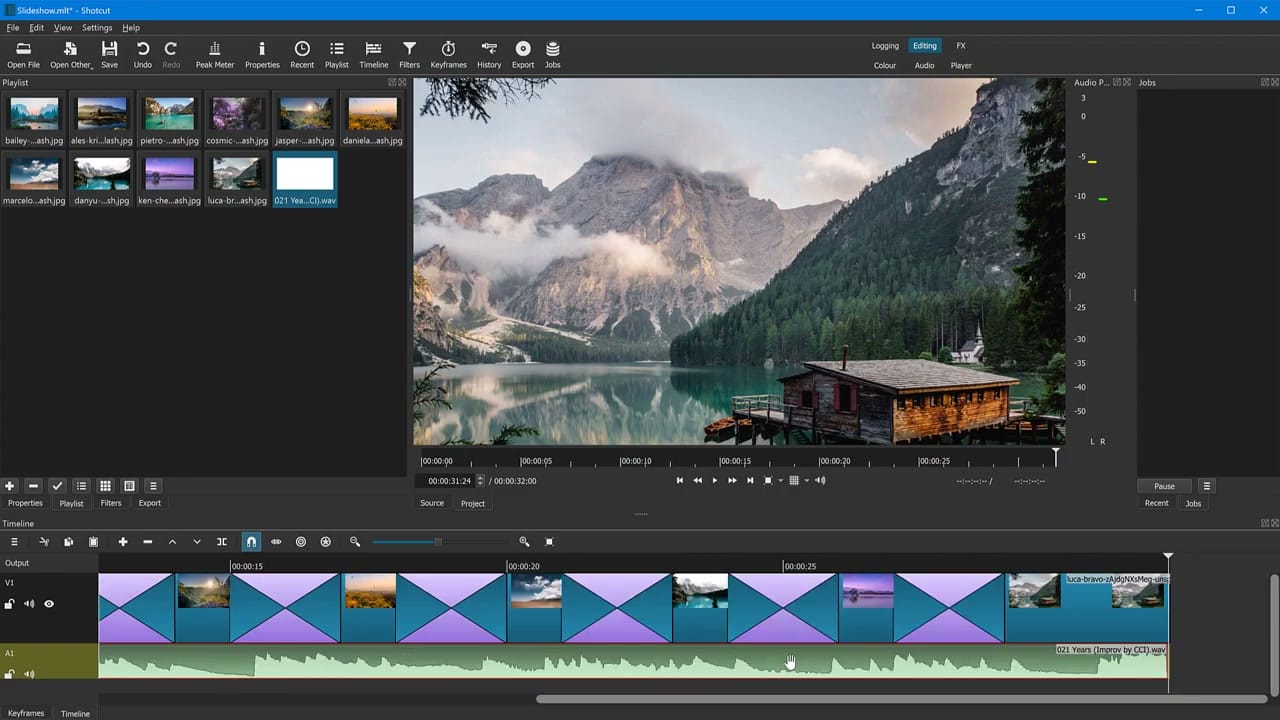
Click OK and Shotcut instantly creates the entire slideshow on the timeline with all transitions placed automatically.
Adding Background Music
To add music, open an audio file and add it to the A1 audio track on the timeline. Trim the audio to match the slideshow length, or let it fade out at the end. You can add a fade-out by selecting the audio clip and applying an audio fade filter.
Exporting the Slideshow
When everything looks right, go to Export, choose a preset (YouTube or H.264 work well), and click Export File. Shotcut renders the slideshow as a standard video file you can share or upload.
The entire process — from importing photos to having a finished video — takes under a minute for a basic slideshow. For more control, you can always adjust individual clips on the timeline after the generator has done the initial layout.