
How to Change Page Size, Background Colour, and Layout Options in Xara Designer Pro

When working on print projects like brochures, magazines, or leaflets in Xara Designer Pro, getting the page size and layout right is essential. This tutorial covers all the page options available — from changing sizes to custom dimensions, background colours, and double-page spreads.
Creating a New Document with a Default Page Size
When you create a new document via File → New, Xara presents the most common document sizes. Select A4 portrait, US Letter, or any other standard format to get started quickly.
Changing the Page Size After Creation
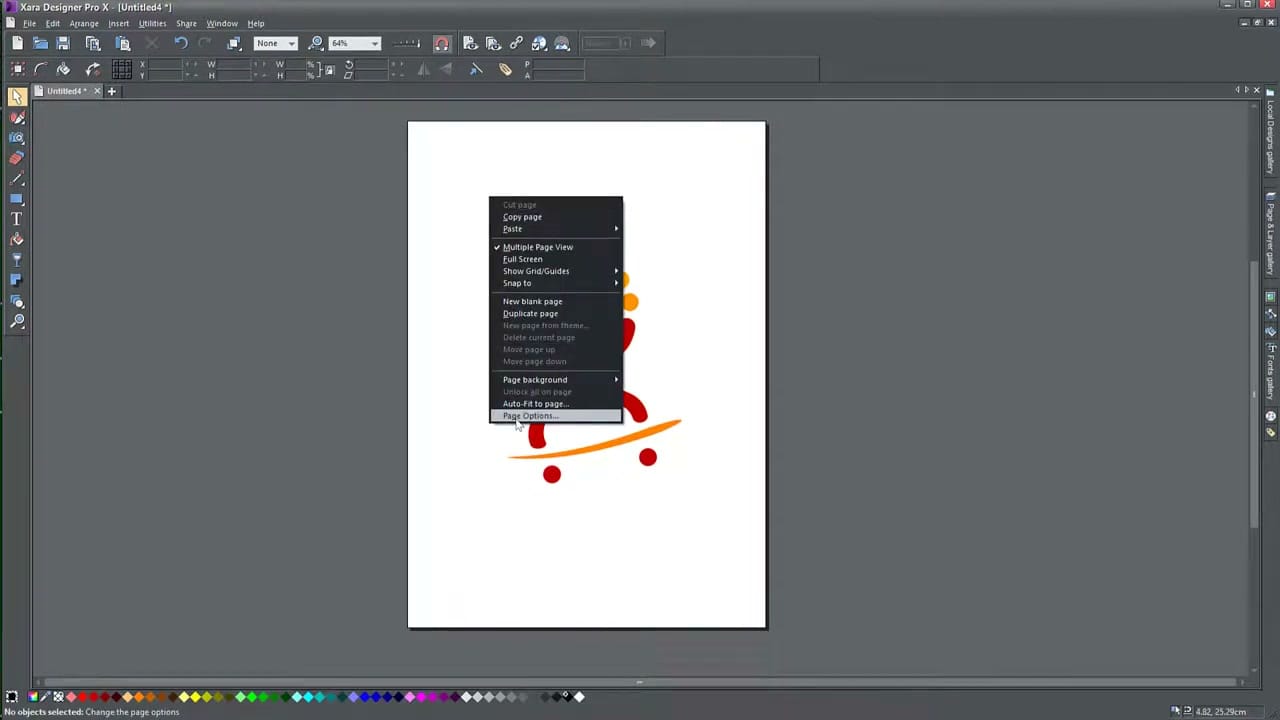
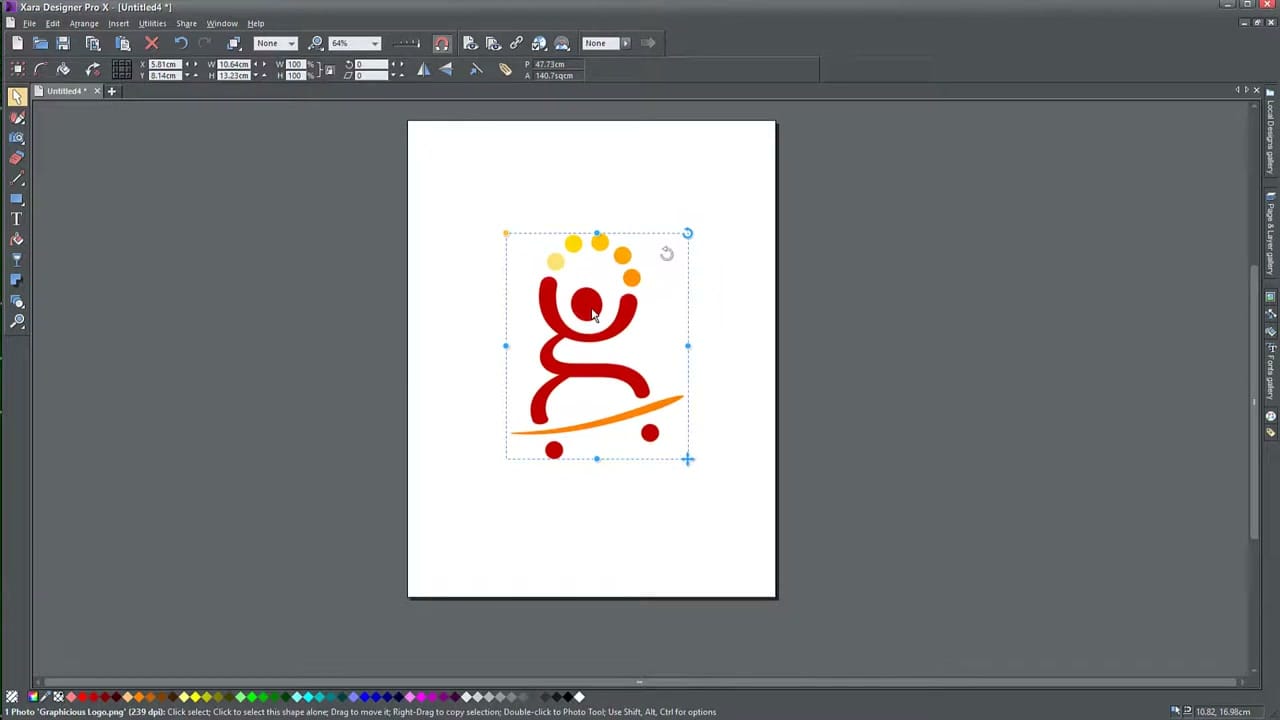
Already started designing and need a different page size? Simply right-click on the page and select Page Options. This opens a dialog showing your current page size (e.g., A4). From the dropdown, choose a different preset like US Letter, A5, or A3, then click Apply. Your page changes but existing content stays in place — you may need to rearrange elements if the new size is significantly different.
Auto-Fit Objects When Resizing
Xara can automatically scale and reposition your content when you change the page size. Right-click the page, select Auto-Fit to page, and choose to fit width only or both width and height. After enabling this, any page size change will attempt to rescale your objects proportionally.
However, this feature is off by default for good reason — the results are not always perfect. When switching between very different aspect ratios (like portrait to landscape), clipping and awkward positioning can occur. In many cases, manually rearranging your content gives better results than relying on auto-fit.
Manually Dragging the Page Edges
For quick, informal resizing, you can drag the page edges directly. First, right-click on the page, open Page Options, and un-tick Lock page size. After clicking Apply, you can click and drag the right and bottom edges of the page to any size you want.
Creating a Custom Page Size
Need a specific size like 10cm × 10cm? Right-click, select Page Options, choose Custom from the dropdown, and type in your exact width and height values. Click Apply and your page immediately changes to your specified dimensions.
Changing the Page Background Colour
To design on a coloured background instead of white, right-click the page and go to Page background → Edit page color. Change the dropdown from “None” to “Color”, then pick any colour from the palette. This is useful when designing materials with dark or coloured backgrounds where white wouldn’t represent the final output.
Double Page Spread Layout
When designing magazines, newspapers, or brochures with facing pages, right-click the page, open Page Options, and enable Double page. This displays your pages side by side rather than stacked vertically, letting you see how a two-page spread looks together — essential for designs that span across the centre fold.


