
How to Create a Contact Sheet in Photoshop Automatically

Need to combine multiple images into a single overview sheet? Photoshop’s built-in Contact Sheet II automation does this automatically — perfect for sending product photo samples, creating image catalogues, or generating thumbnail overviews from entire folders of images.
What Is a Contact Sheet?
A contact sheet is a single image containing a grid of smaller thumbnail images. Traditionally used in photography to preview an entire roll of film at a glance, digital contact sheets are equally useful for:
- Sending a sample of product photos to a client for review
- Creating combined thumbnails for online product listings (Etsy, eBay, etc.)
- Generating a visual catalogue of assets
- Printing a quick reference sheet of images in a folder
Organising Your Images
Before creating the contact sheet, organise your images into folders. Photoshop can process a single folder or include subfolders — if you tick Include Subfolders, it creates a separate contact sheet for each subfolder. This is useful when you have product images grouped by category.
Using Contact Sheet II
Go to File > Automate > Contact Sheet II to open the dialog:

The key settings to configure:
- Source Images — choose a folder containing your images. Tick “Include Subfolders” if your images are in sub-directories.
- Document size — set the width, height, and resolution. For screen use, 72 PPI is fine; for print, use 300 PPI.
- Thumbnails — set the number of columns and rows. More columns means smaller thumbnails. The “Across First” option fills left-to-right before moving down.
- Use Filename as Caption — optionally prints the filename beneath each thumbnail for easy identification.
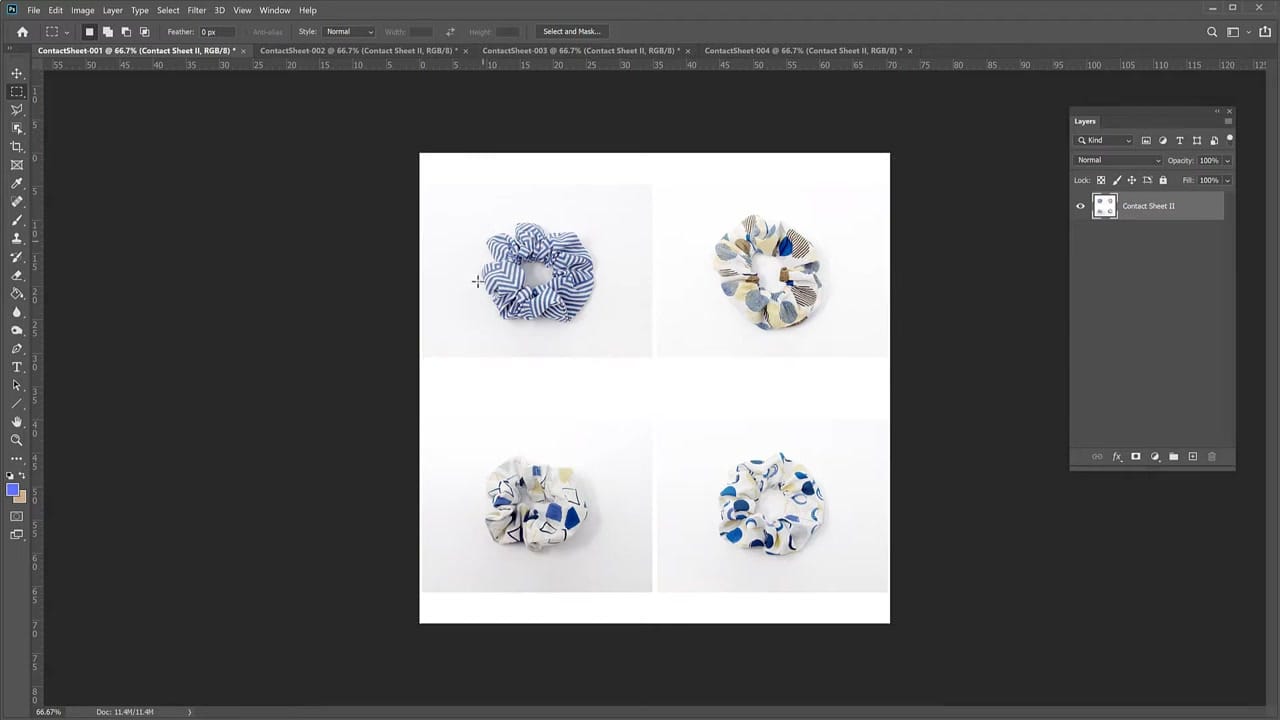
The Result
Click OK and Photoshop processes all the images automatically. If you have more images than fit on one sheet (based on your column and row settings), Photoshop creates multiple contact sheets.
If you’re working with large numbers of product photos, you might also want to batch resize them using Photoshop’s Image Processor before creating the contact sheet.
Customisation Tips
- Experiment with row/column counts to find the right balance between thumbnail size and number of images per sheet
- Group images by subfolder to get organised, themed contact sheets automatically
- Flatten and save as JPEG when done — the contact sheet is created as a layered document with each thumbnail on its own layer


