
How to Cut Out Objects in Xara Designer Pro X: Region Painter, Marquee, and Shapes

Xara Designer Pro X includes several tools for cutting out objects and creating selections: the Region Painter tool, Marquee selection, Magnetic Lasso, and shape-based methods. This tutorial covers all of them with practical examples on both vector shapes and photos.
Watch the full tutorial:
The Region Painter Tool
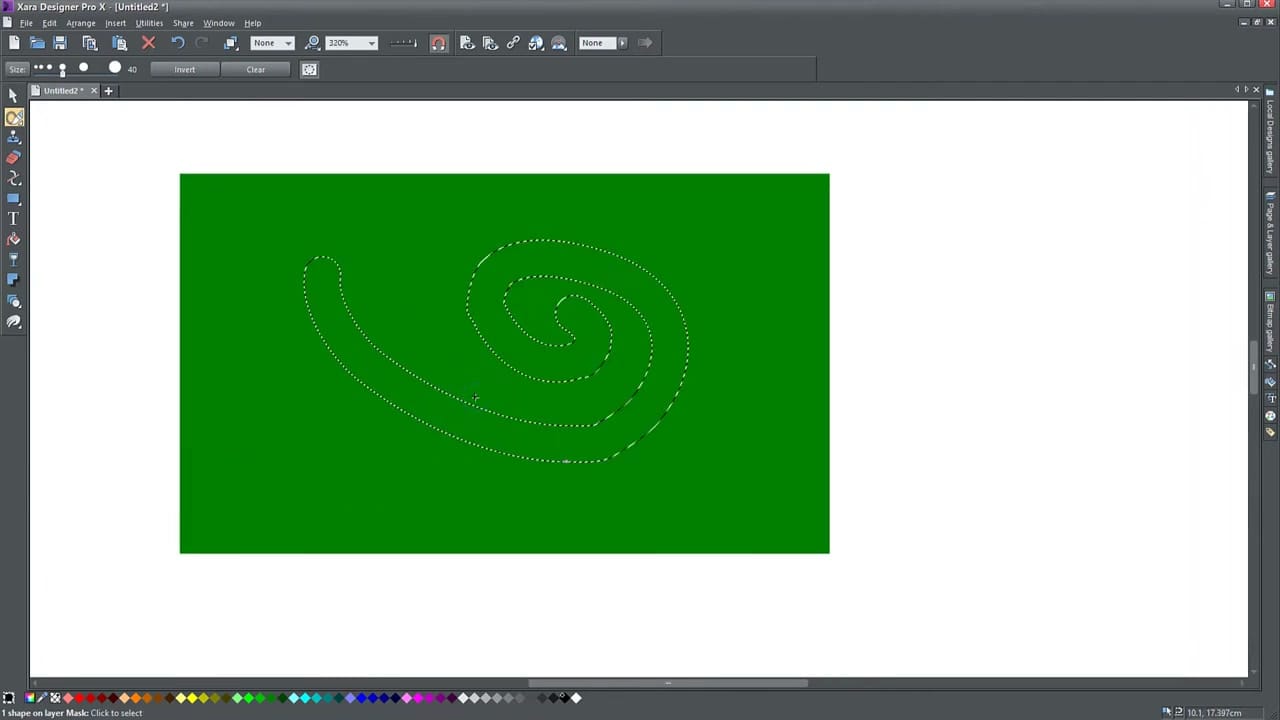
Found in the toolbar flyout below the Selector tool (shortcut Alt+F3), the Region Painter tool works like a paintbrush for selections. Adjust the nib size in the toolbar, then paint directly over the area you want to select. A dotted outline appears showing the selected region.
Cutting Shapes from Vector Objects
After painting your selection on a vector shape, press Delete or Ctrl+X to cut out the selected area. The result is a vector shape with holes punched through it — the object remains a vector, not a bitmap. Hold Shift while painting to subtract from an existing selection.
Isolating Objects from Photos
Import a photo, then use the Region Painter to paint around the subject you want to keep. Once selected, click the Invert button in the toolbar to flip the selection — now the background is selected instead of the subject. Press Delete to remove the background.

The Magnetic Lasso
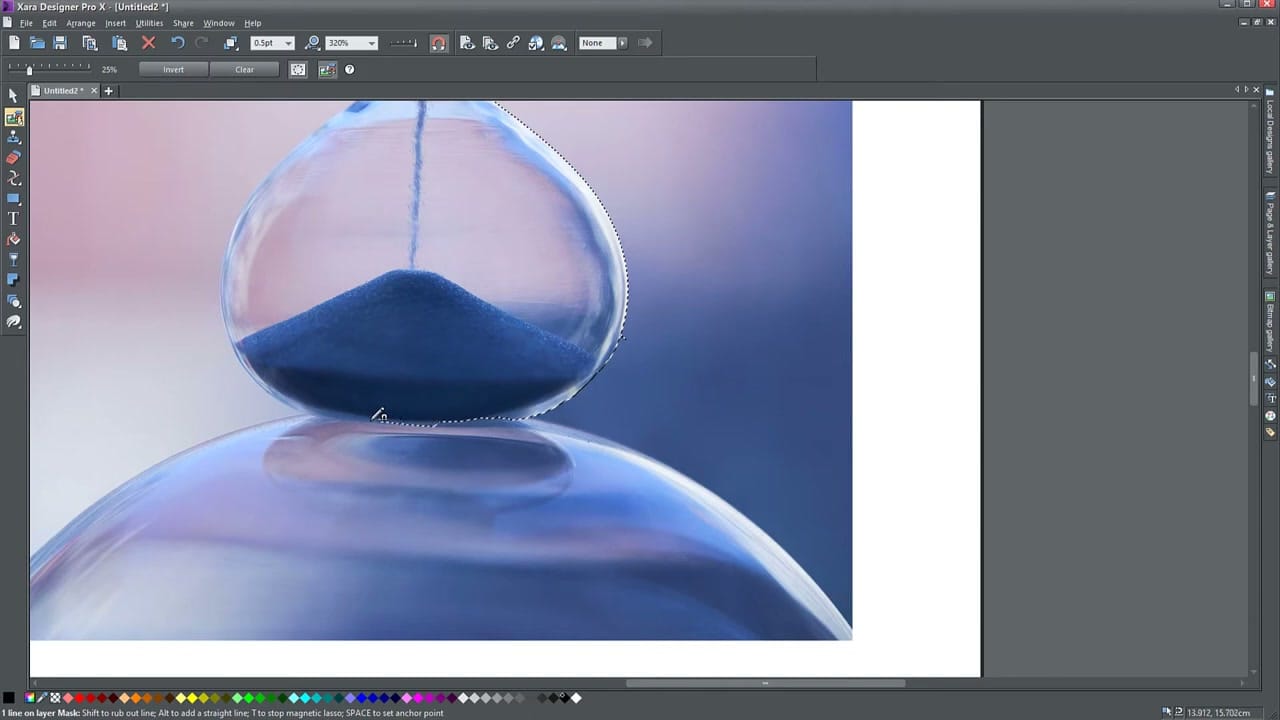
For more precise photo cutouts, the Magnetic Lasso snaps to edges as you trace around an object. Click to set anchor points, and the lasso follows the edge contour between them. Use Shift to add straight-line segments and T to toggle the magnetic snapping.
The Marquee Selection Tool
For rectangular selections, the Marquee tool draws a box around the area. Simpler than the Region Painter but limited to rectangular regions.
Shape-Based Cutting (Combine Shapes)
The older method: draw a shape over the area you want to cut, select both the shape and the target object, then use Arrange → Combine Shapes → Subtract Shapes. This works but the Region Painter is usually faster for freeform selections.


