
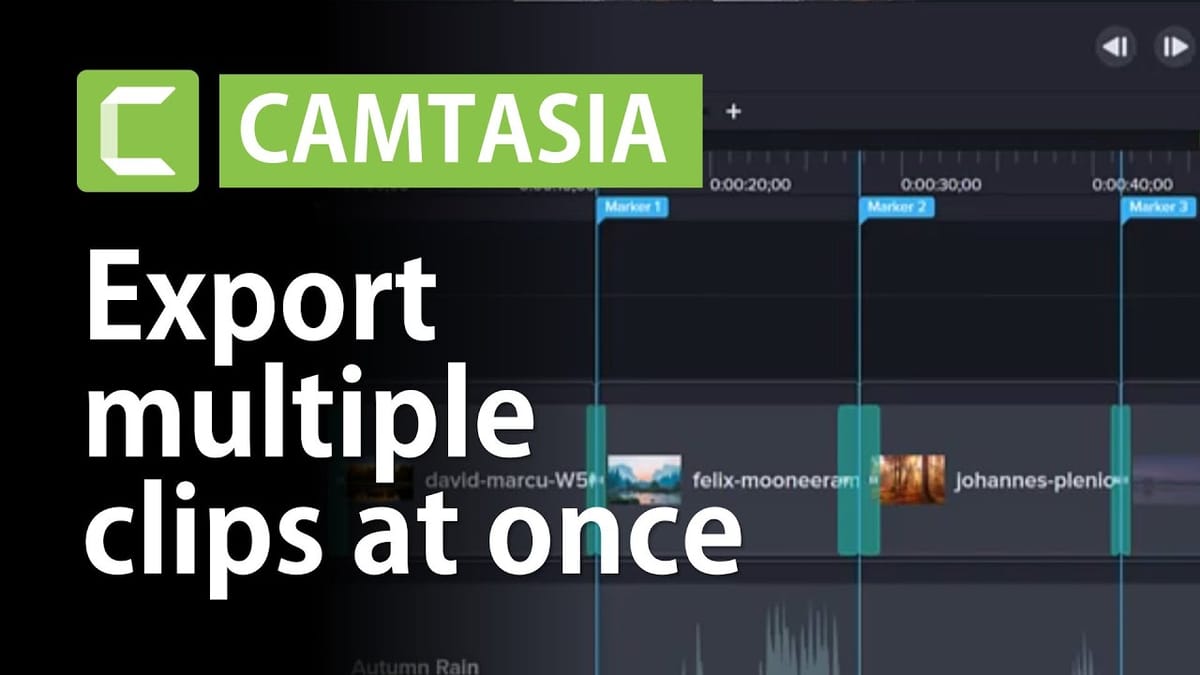
How to Export Multiple Clips from the Same Project in Camtasia

If you're producing a course, a series of tutorials, or a long recording that needs to be split into chapters, you don't need to create separate Camtasia projects for each clip. You can edit everything in a single project and export multiple files at once using markers.
This is especially useful for e-learning workflows where you have one continuous recording but need to deliver individual lesson files to your LMS or hosting platform.
Set Up Your Project
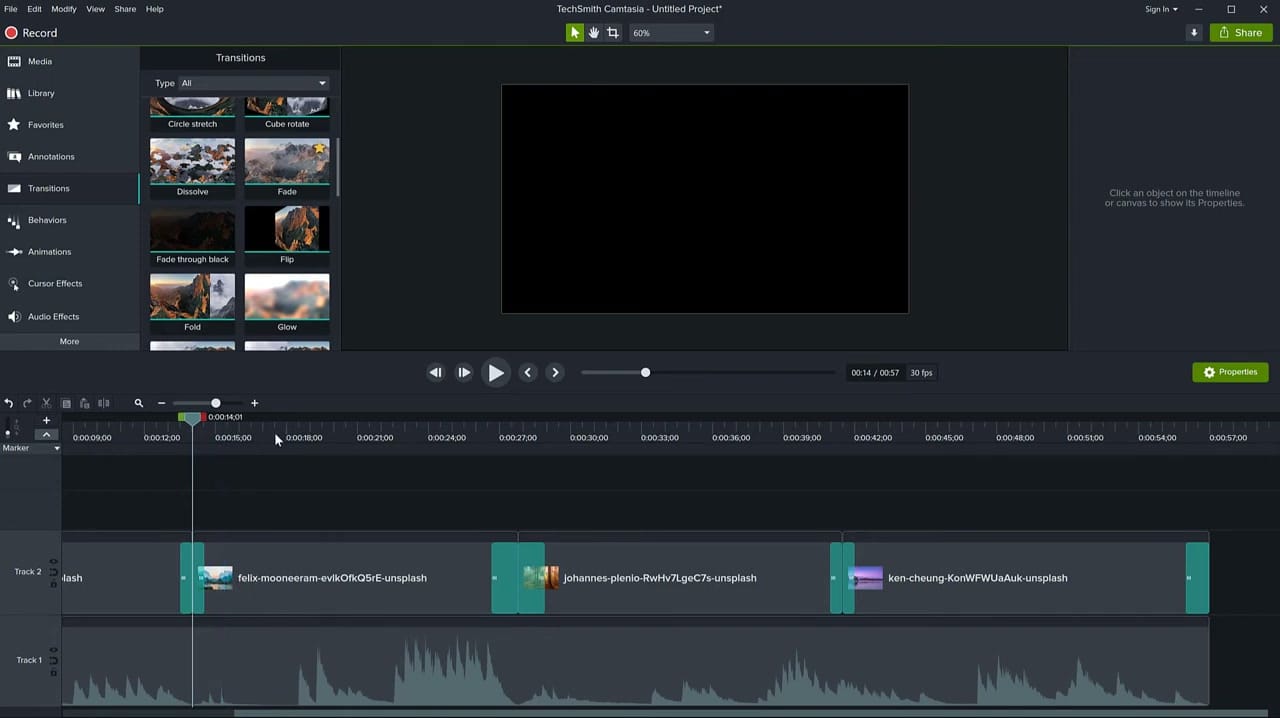
Start by adding all your media — video clips, images, audio — to the Media Bin. Drag them onto the timeline in the order you want them. In the video, four landscape images are used as stand-ins for video clips, with a background music track on a separate audio track underneath.
The key point is that your entire production lives in one timeline. Each "chapter" or "section" is simply a stretch of the timeline between two cut points.
Use Fade Through Black Transitions
If you want clean breaks between sections, use the Fade through black transition — not a regular Fade. A standard fade will briefly show the next clip bleeding through during the crossfade, which looks wrong when each section is meant to stand alone.
Drag the Fade through black transition between each pair of clips. This way, each exported file will fade to black at its end and fade in from black at its start — a clean, professional break.
Fade the Audio at Cut Points
If you have background music running across the full timeline, you'll want it to fade out and back in at each cut point. Otherwise your exported clips will have the music abruptly cut off mid-note.
Click the audio track, then double-click on the volume line where each marker will be to create audio points. Pull the volume down to zero at the cut point, and back up on the other side. This gives each exported clip its own smooth audio fade.
Place Markers at Each Cut Point
This is the core of the technique. Markers tell Camtasia where to split the project into separate files during export.
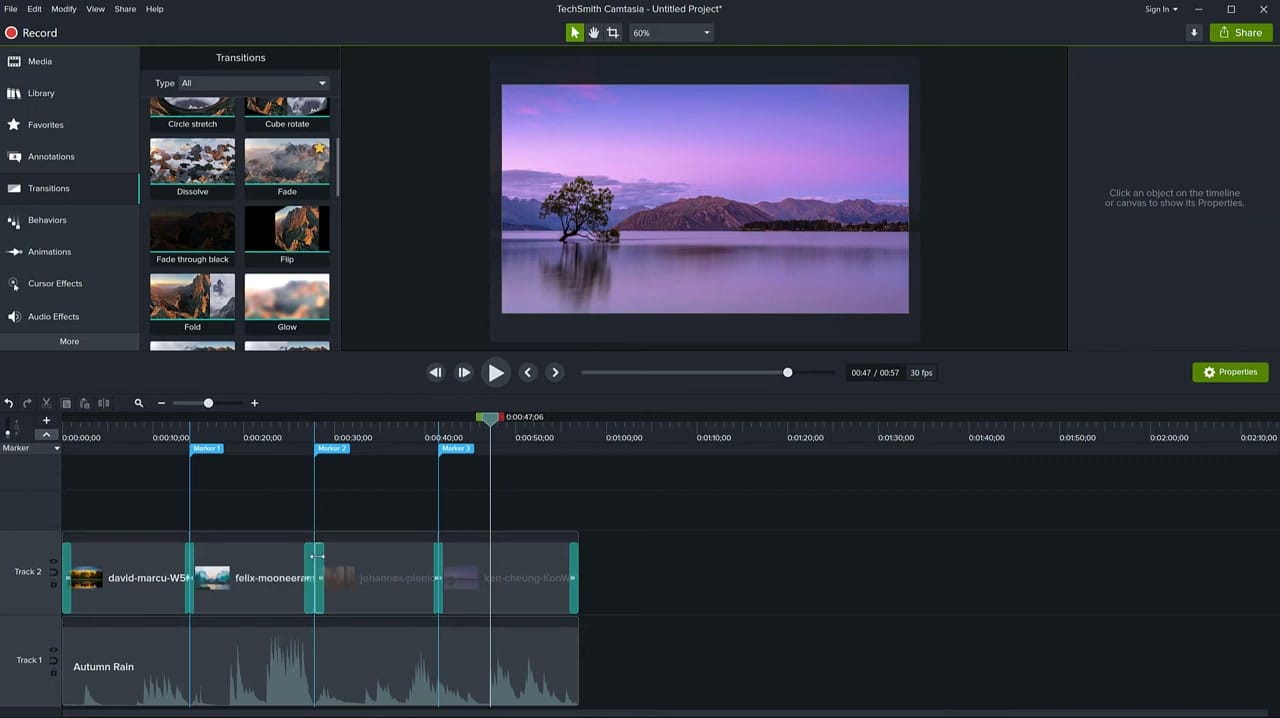
Move your playhead to where two clips meet and let it snap to the edit point. Then click in the Marker track (the blue strip below the time ruler) to place a marker. If you don't see the Marker track, enable it from Modify > Markers or press Ctrl+M.
Repeat for every cut point. With four clips, you'll have three markers — the start of the timeline serves as the implicit first split point.
Export with "Multiple Files Based on Markers"
Go to Share > Export to Local File (or your custom production preset). Click through the Production Wizard until you reach the Video settings tab. At the bottom, check the box: Multiple files based on markers.
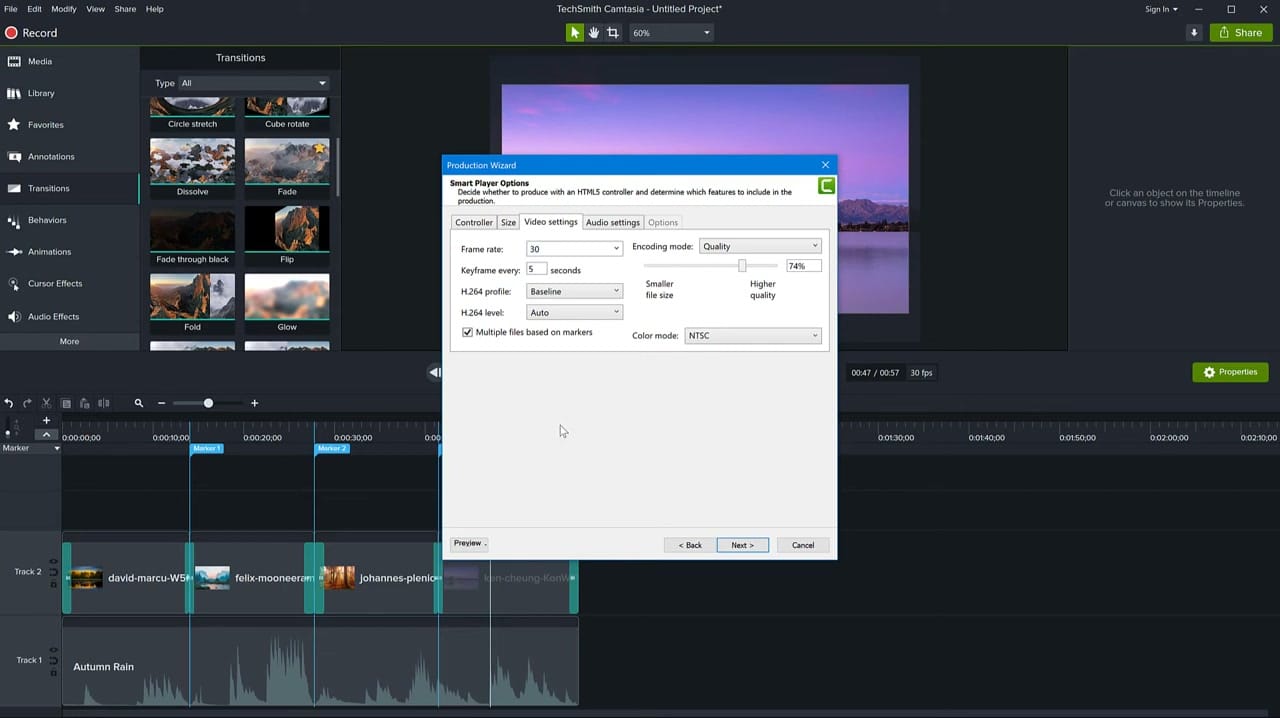
Click Next and you'll see a table of contents screen listing each marker (Introduction, Marker 1, Marker 2, Marker 3, etc.). You can uncheck any segment you don't want to export. Each checked entry becomes a separate video file.
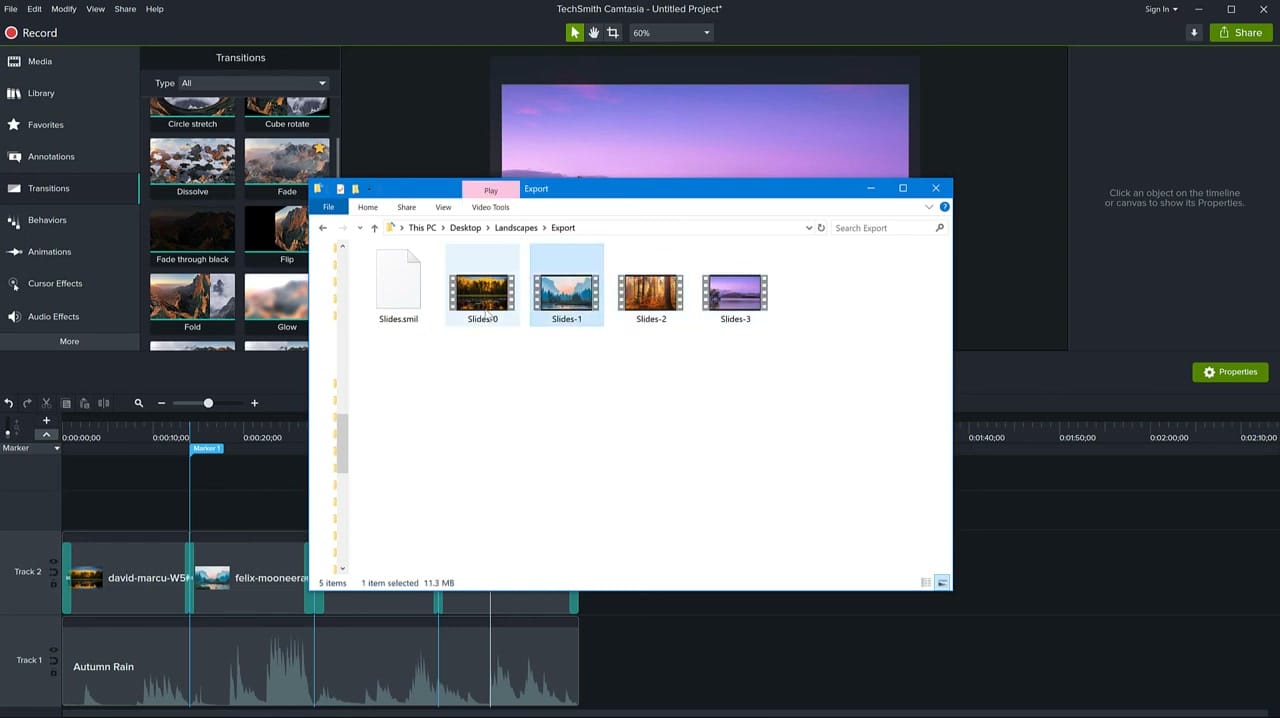
On the final screen, give your production a name — Camtasia will append numbers (e.g., Slides-0, Slides-1, Slides-2, Slides-3) to distinguish each file. Click Finish and Camtasia renders all clips in one batch.
The Result
Each file is a self-contained clip with its own transitions and audio fades. No manual splitting, no separate projects, no re-rendering each section individually.
Tips
- Name your markers descriptively (e.g., "Lesson 1 — Introduction") instead of leaving them as "Marker 1" — these names appear in the table of contents during export
- You can move markers after placing them by dragging them along the Marker track
- The transition library in newer versions of Camtasia includes many more options beyond Fade through black — but for chapter splits, Fade through black remains the cleanest choice
- This technique works with any export format Camtasia supports — MP4, AVI, WMV, or GIF
Related guides


If you're wish to learn more about Camtasia and wish to have a one-on-one Camtasia coaching session, feel free to book a call with me.
I'm here to help you with any questions you have and to guide you through the best workflows, tips, workarounds, or just answer any questions you may have!


