How to Personalize AI Responses and Automations in Riverside
Make the Riverside AI and Automations Yours!

Riverside does a lot of heavy lifting for you once you finish recording or uploading files. It automatically generates a polished Magic Episode, Magic Clips for social media, longer Magic Segments, hooks, blog posts, social media posts, and more.
But here is the thing: you can control how all of this gets created. Today I want to walk through every personalization point available in the automation settings and in the AI Co-creator, so your output matches your style from the start.
The Made For You Section
When you open a project in Riverside and go to the Made For You tab, you will find everything the AI has already created: the Magic Episode (a fully processed long-form edit), Magic Clips (vertical social media clips with a virality rating), Magic Segments (longer topic-based extracts in landscape), hooks (short vertical openers), and posts (blog posts, social media captions, Instagram content).
All of this gets generated automatically once your recording finishes processing.
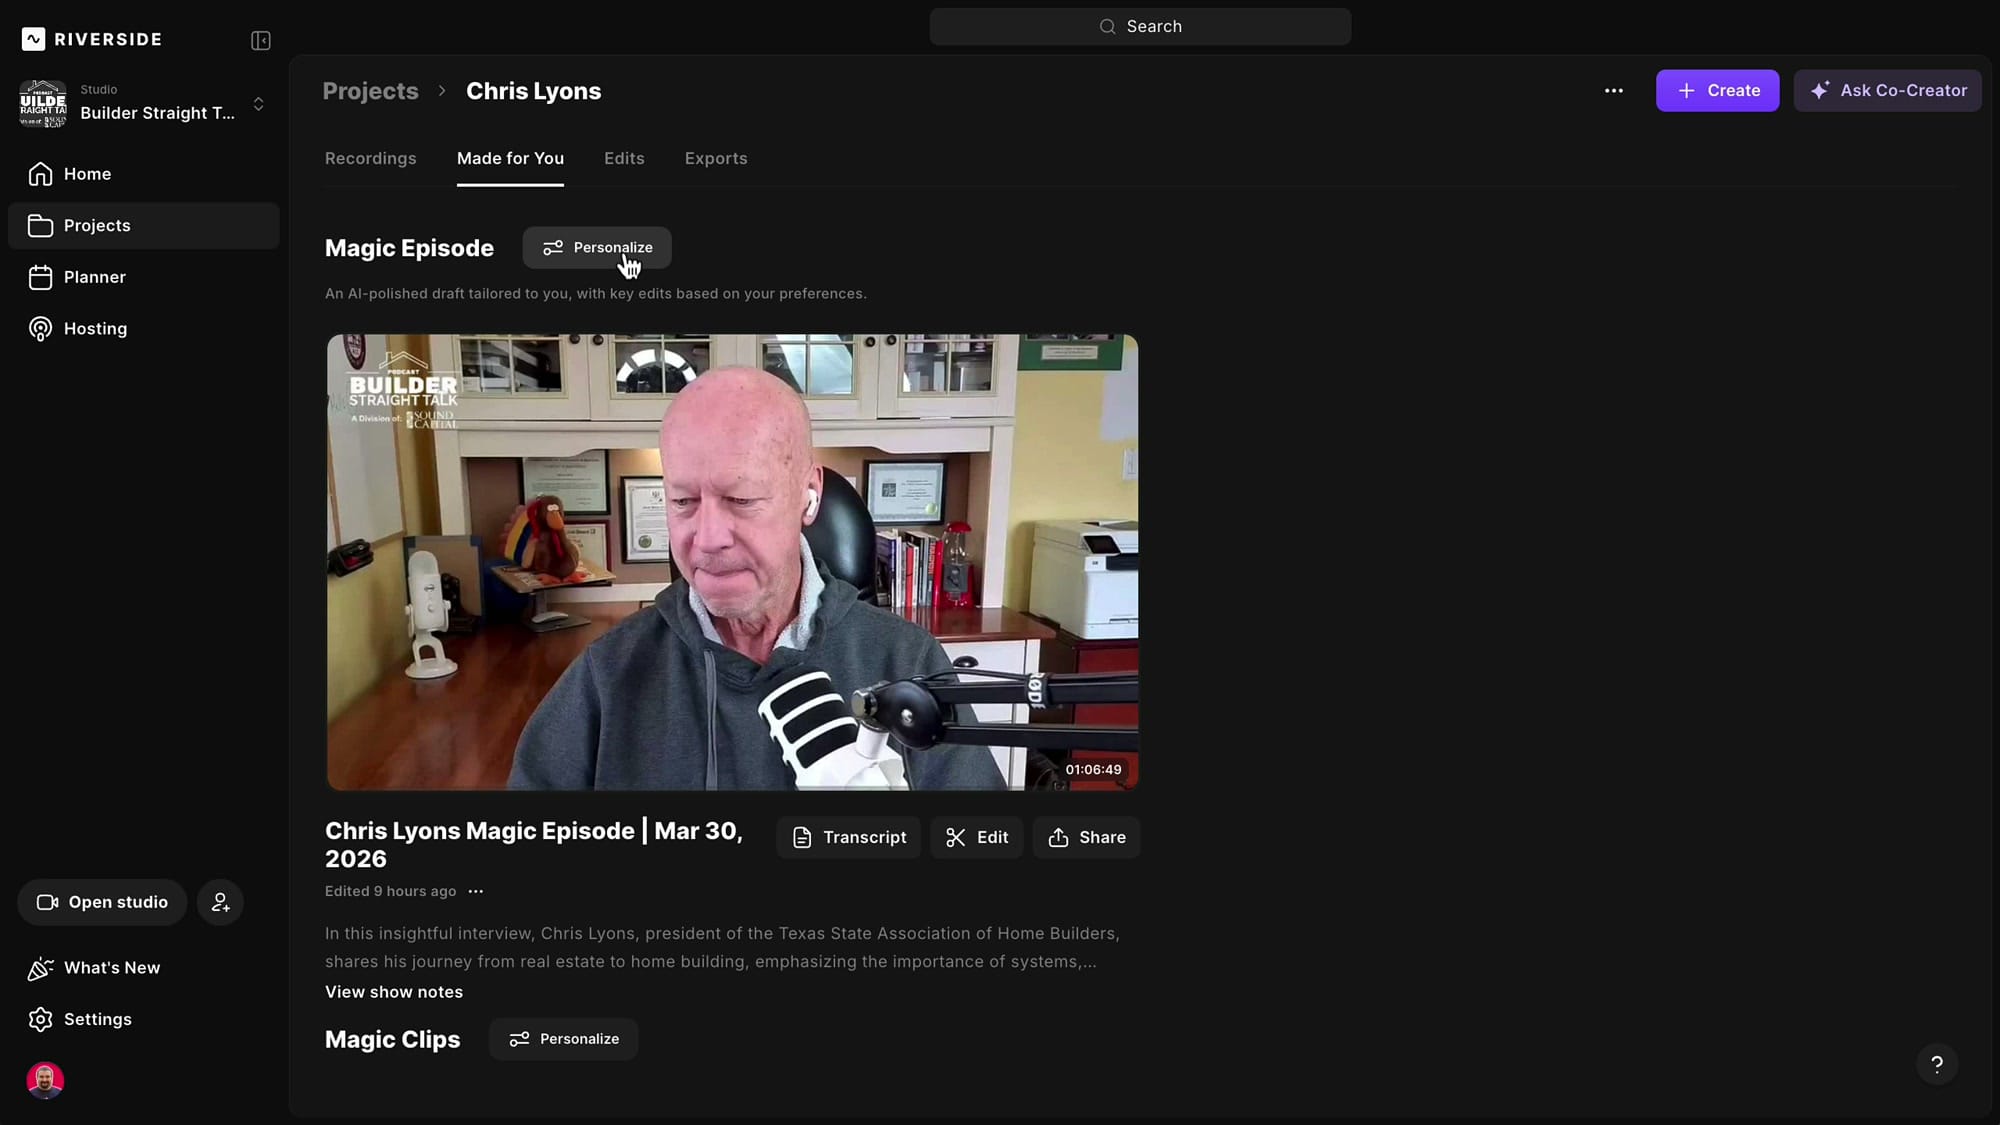
You cannot disable these automations from running, but you can control what they do. Each major section has a Personalize button, and clicking it opens a settings panel where you configure every aspect of the output. These settings apply per studio, so if you run multiple podcasts, you can customize each one independently.
Configuring Hooks
Hooks are short clips designed to grab attention at the start of your episode or social post. By default, they are created in 9:16 (vertical) format. If you typically use hooks in your long-form landscape episode, change the ratio to 16:9 so they match.
The Layout option controls how speakers appear. For hooks, I keep it on Full screen because I usually pick a hook from the guest, so I want them filling the frame. Other options include Picture-in-picture, Split screen, and Grid.
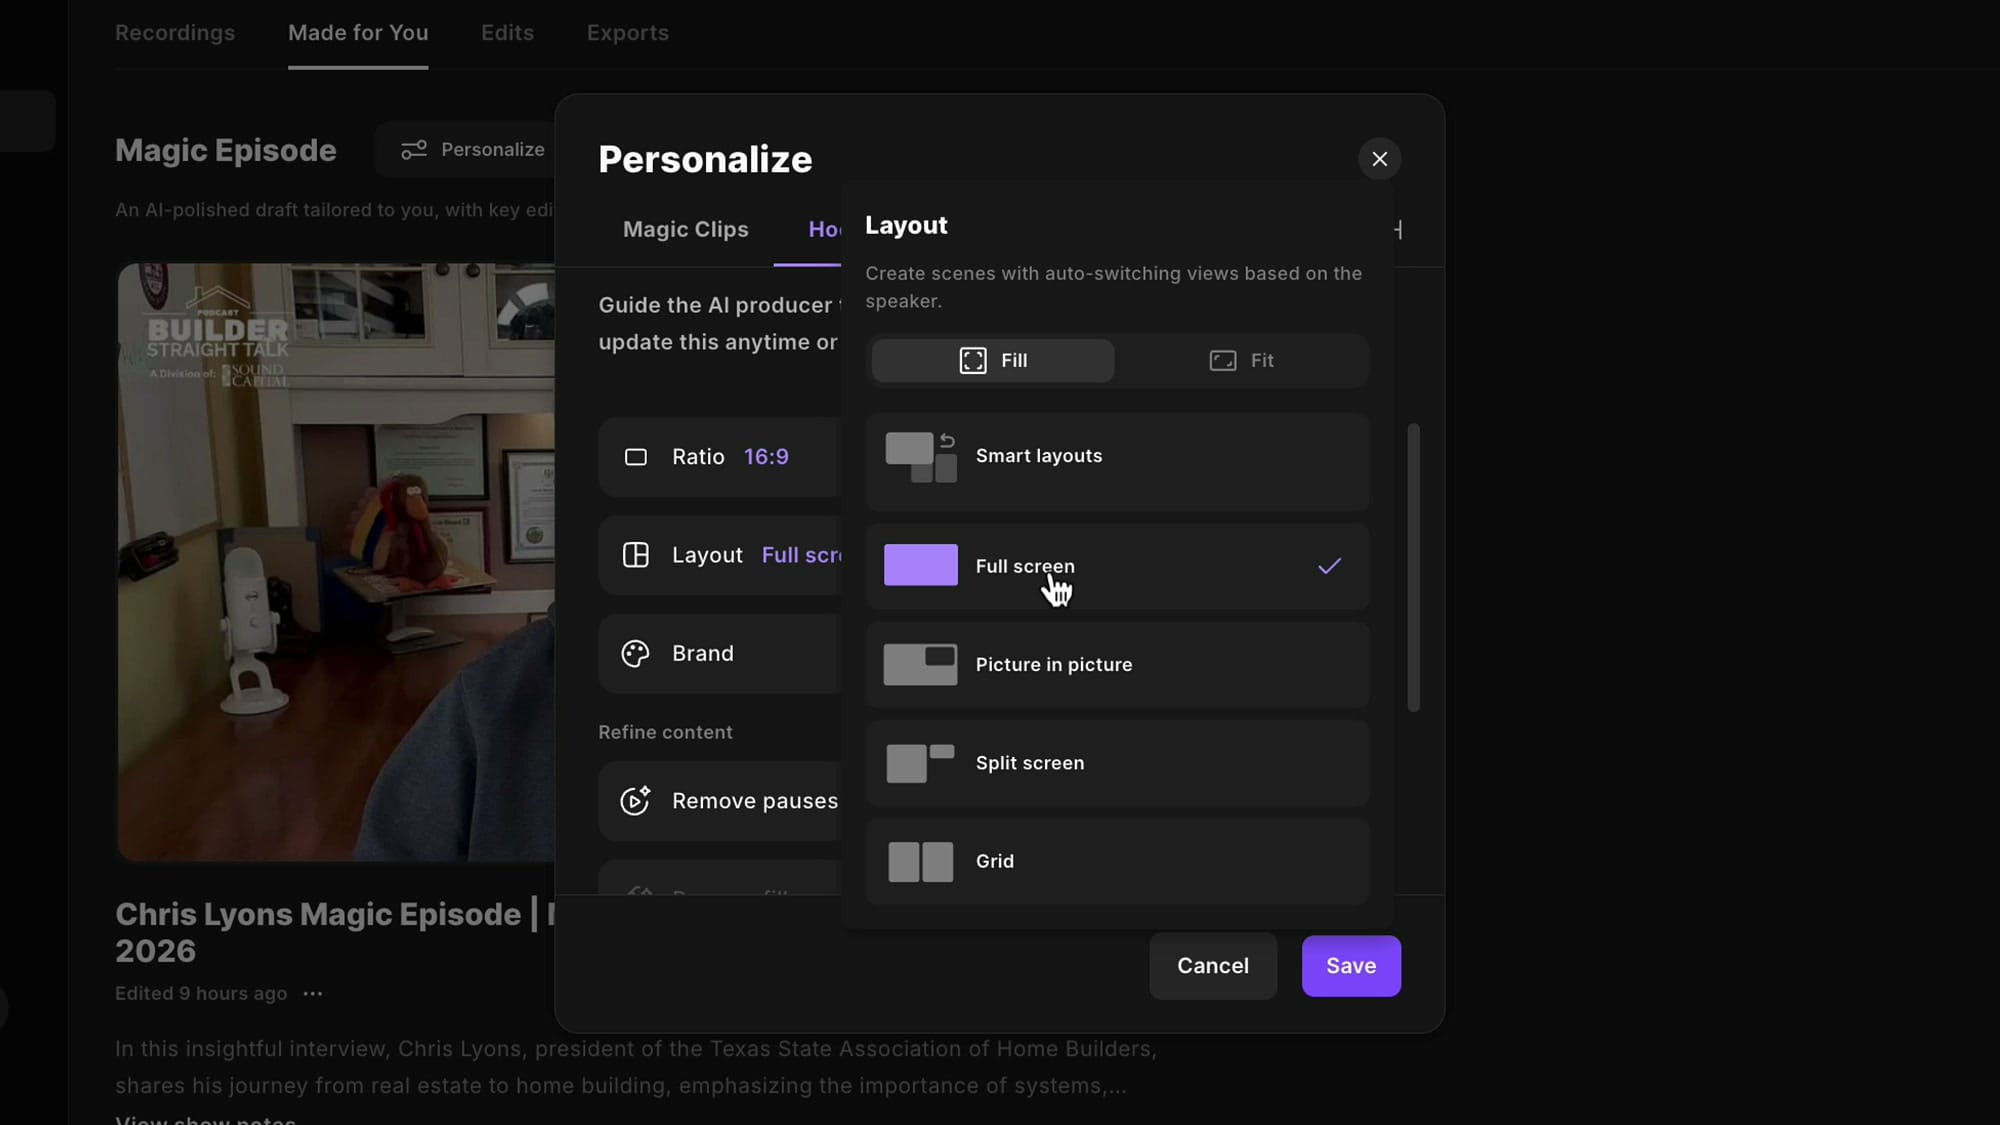
You can also toggle the Brand on or off. The brand applies your brand kit (logo, intro/outro, caption style) from a previous setup. For hooks that get integrated into a longer edit, I usually disable this since the branding will come from the main episode. There is also a Remove pauses toggle with an intensity slider for how aggressively it trims silence.
Configuring Magic Clips
Magic Clips are where you probably spend the most time deciding what to post. The personalization dialog gives you control over ratio, layout, duration, branding, pause removal, fill word removal, and smart muting.
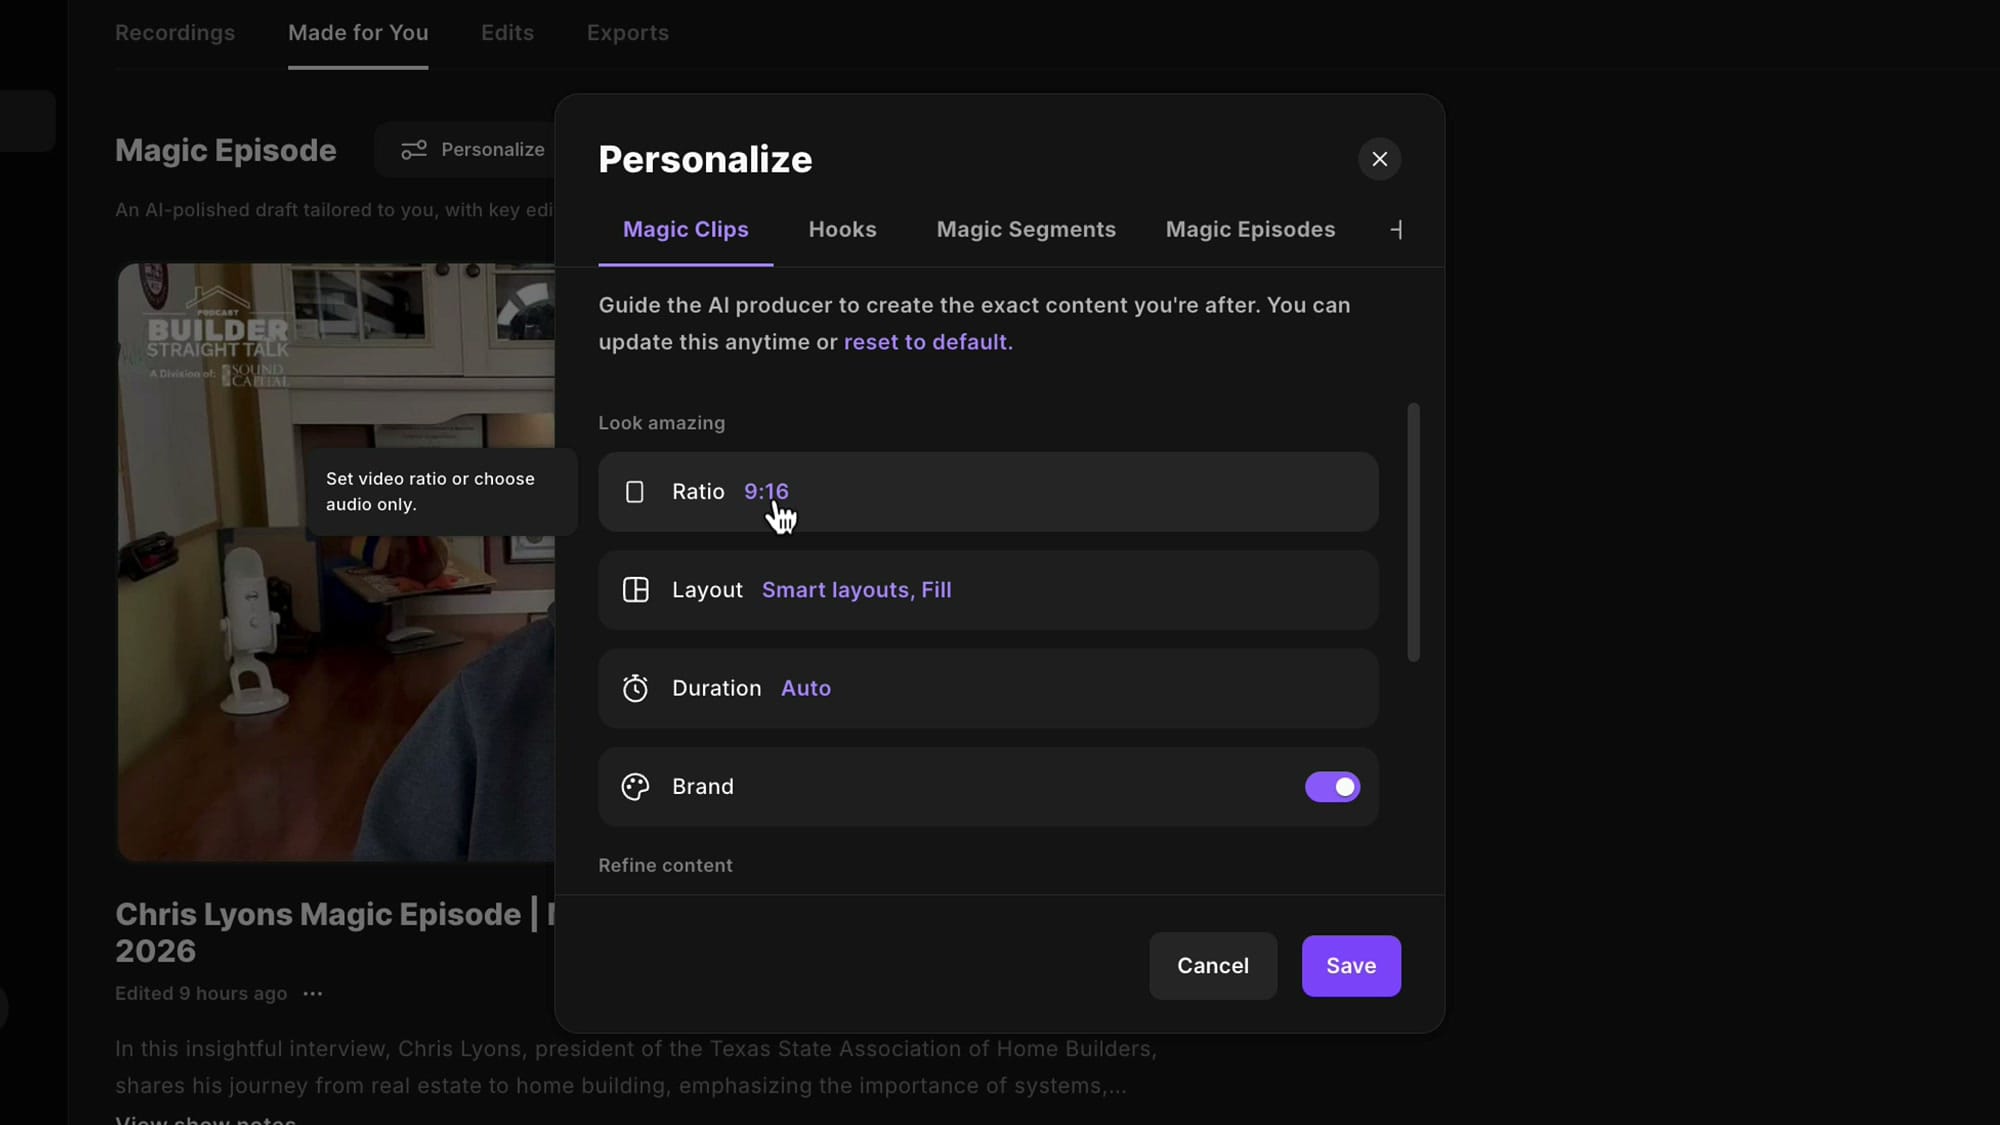
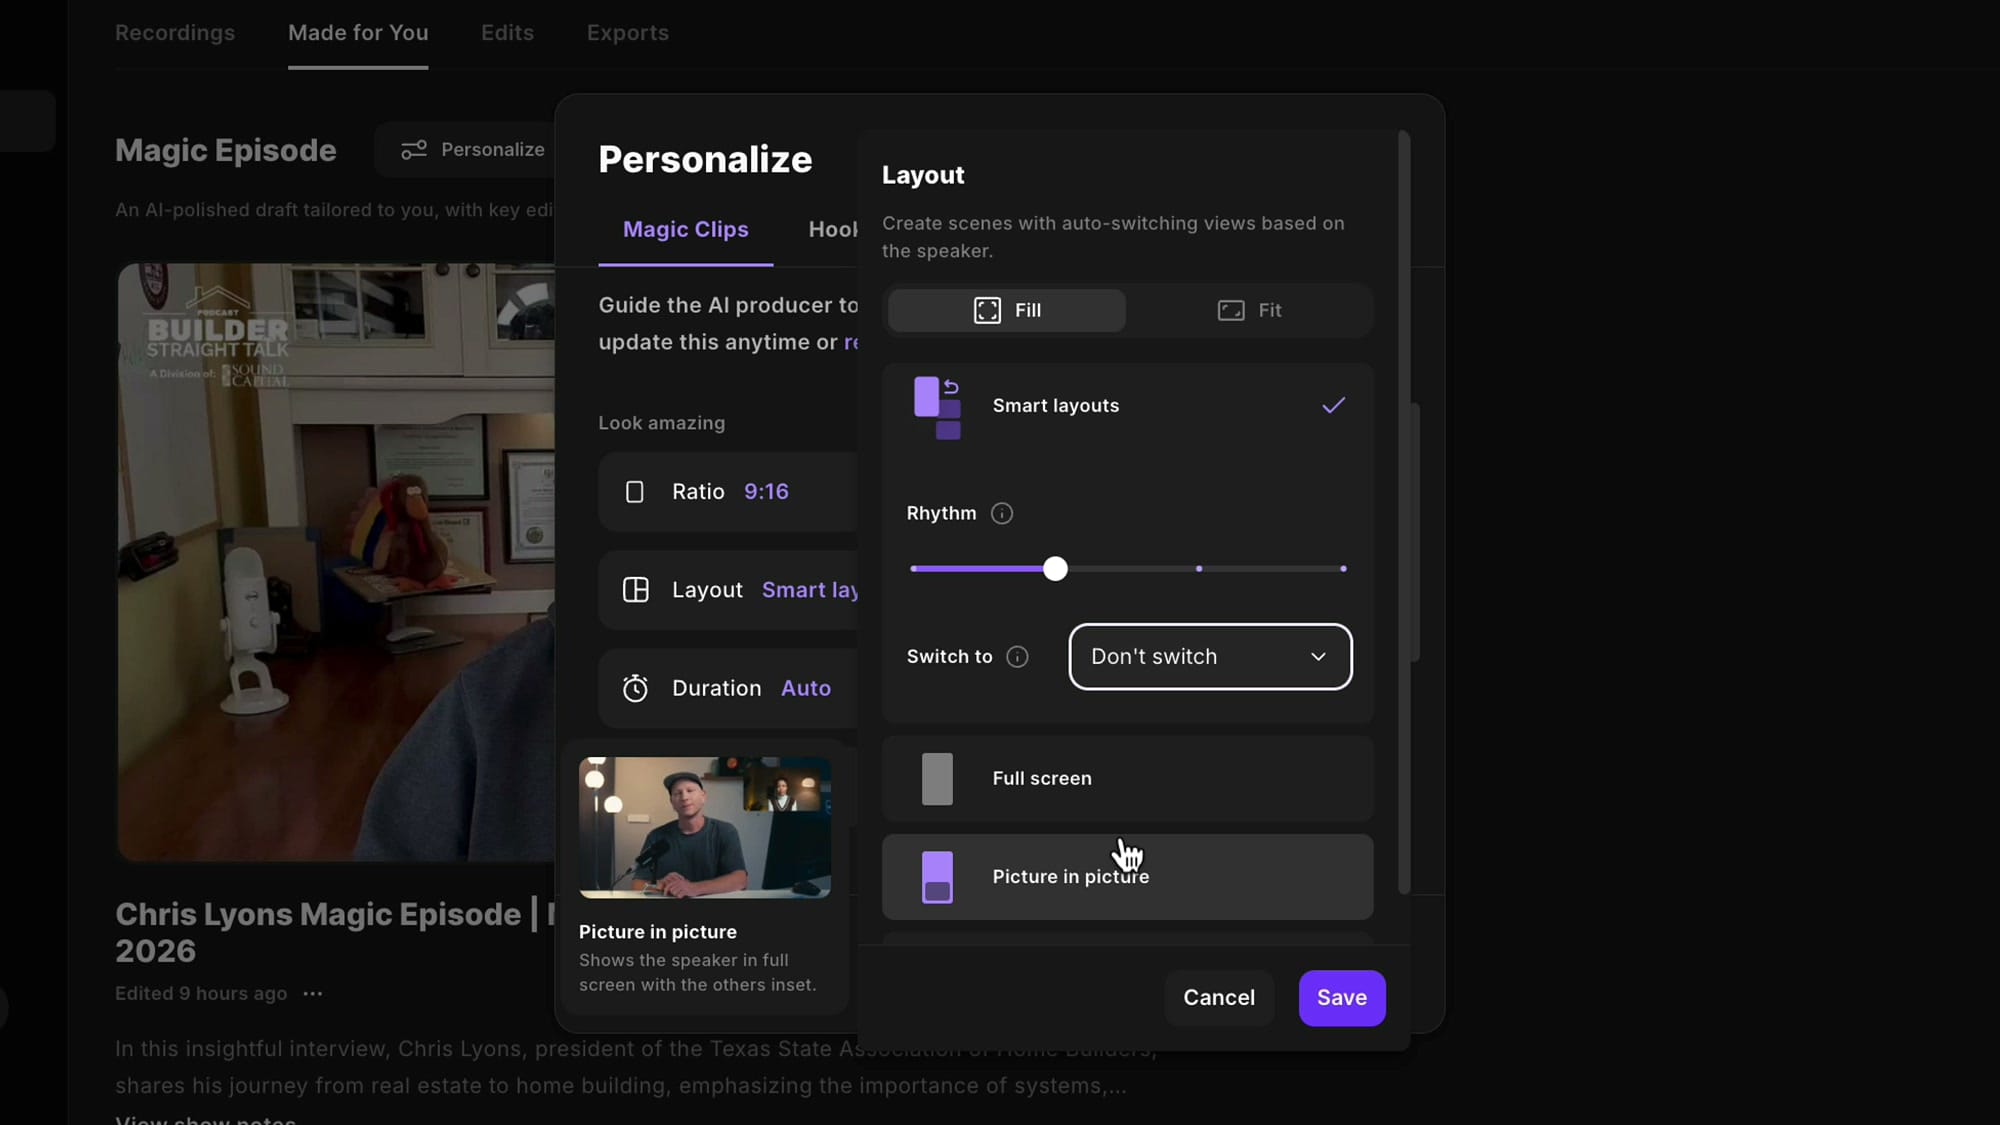
The Layout section is particularly useful for clips. If you select Smart layouts, Riverside automatically switches camera views based on who is speaking. You can control the Rhythm (how often it switches) and choose what it switches to: Full screen, Picture-in-picture, or other options.
For Duration, I usually set it between one and one-and-a-half minutes. That is my sweet spot for social clips. Riverside aims for that range, though it cannot always hit precise timings since it is cutting on natural quote boundaries.
Remove fill words and Smart muting are also available. Smart muting silences the other speaker's microphone when they are not talking, which reduces background noise and cross-talk.
Magic Segments and Magic Episodes
Magic Segments and Magic Episodes have the same personalization options: ratio, layout, duration, branding, and pause removal. The main difference is that segments are longer topic-based extracts (3-10 minutes), while the Magic Episode is a full polished edit.
Personally, I do not use the Magic Episode because I prefer editing the episode myself. But since there is no way to disable the feature, Riverside generates it regardless. You can simply choose not to use it.
There is also a small + button at the right of the personalization tabs. This does not add a custom workflow yet. Instead, it lets you submit a feature request to the Riverside team for new automation types you would like to see.
The AI Co-creator
The second major personalization area is the Co-creator, Riverside's AI chat interface. You can find it by clicking Ask Co-creator in the top right of any project. The Co-creator has access to your full transcript and can generate clips, blog posts, social media posts, show notes, and more on demand.
Setting the Tone and Persona
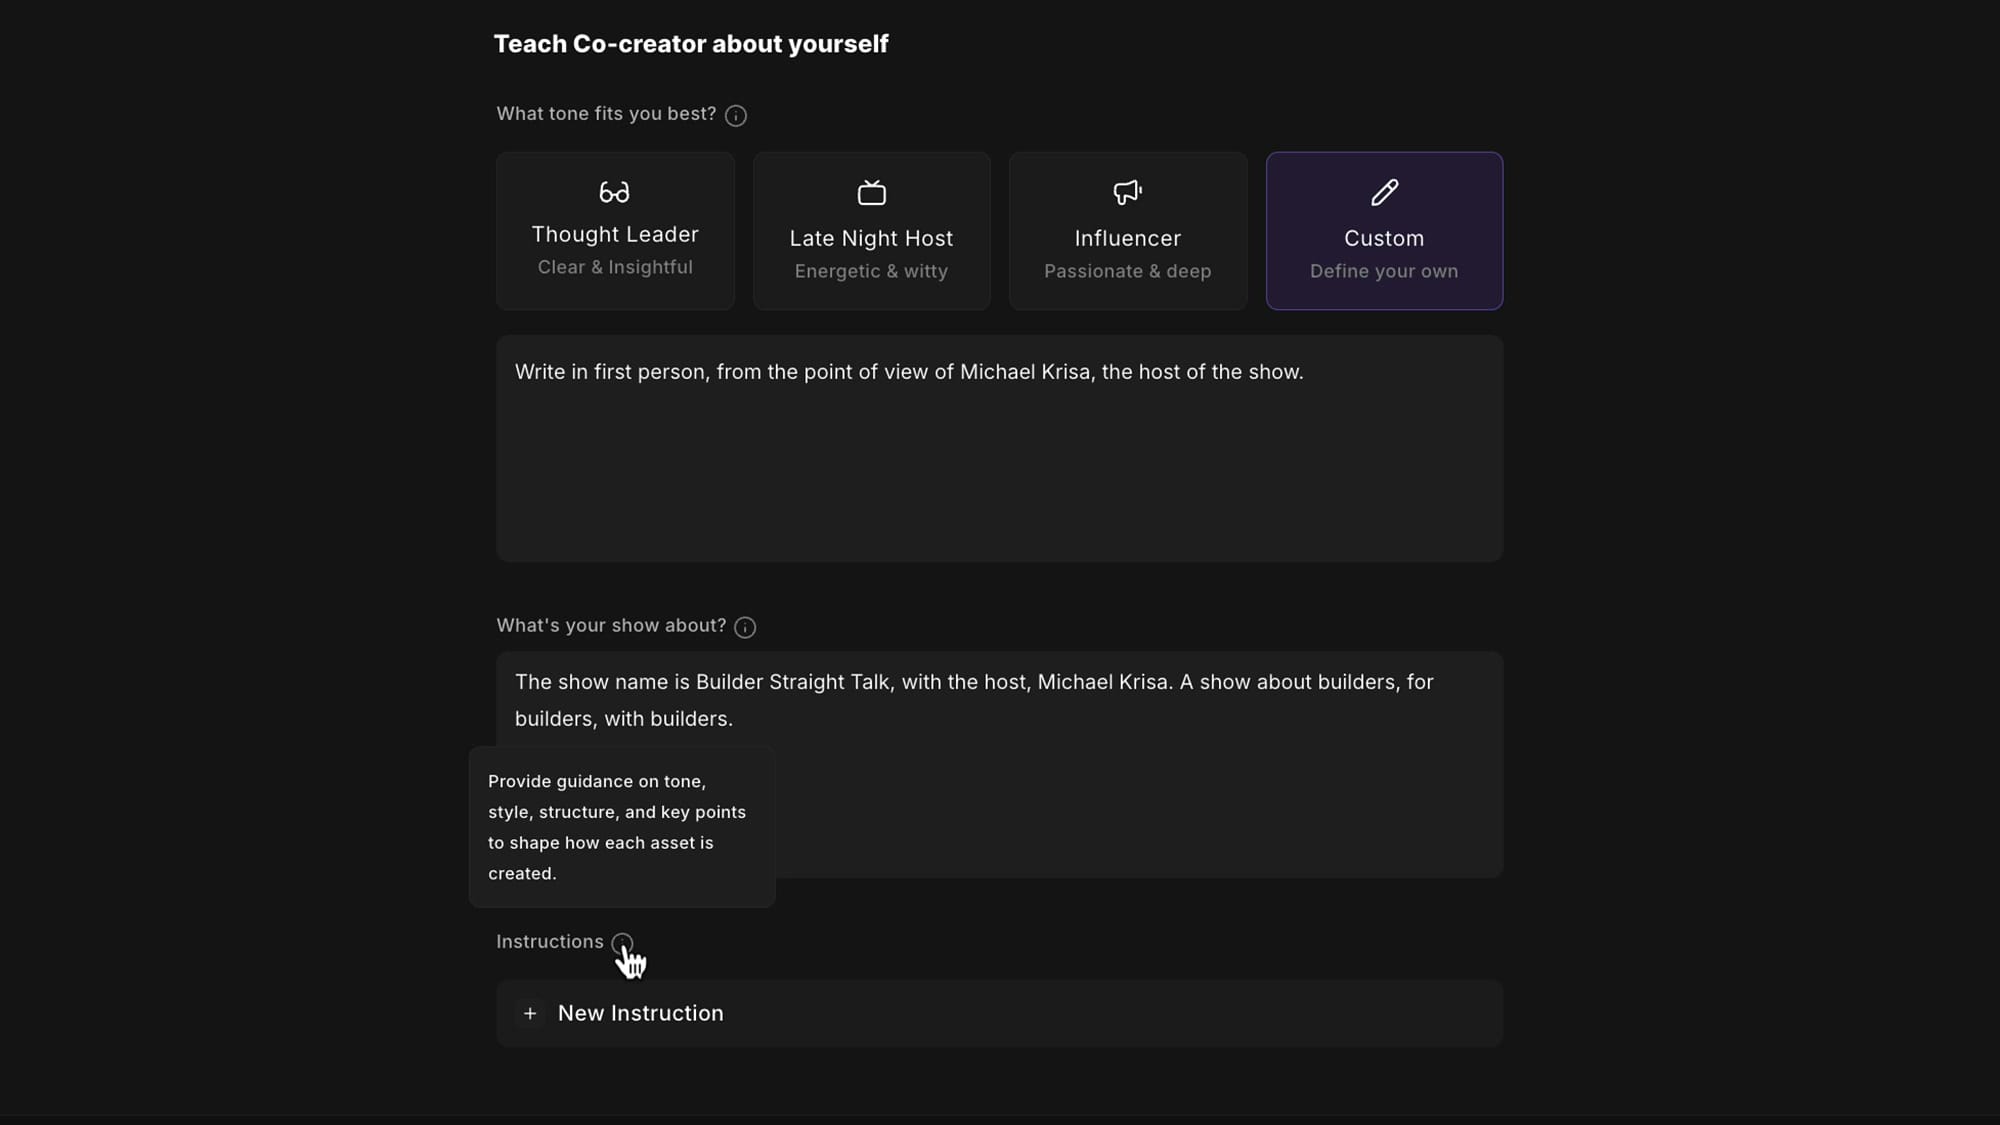
Click Personalize in the Co-creator to open the personalization settings. This is essentially a system prompt that governs how the AI writes and responds. You can choose from preset tones: Thought Leader (clear and insightful), Late Night Host (energetic and witty), Influencer (passionate and deep), or Custom (define your own).

Select Custom to write your own instructions. You get a free-text field where you can specify things like "Write in first person from the point of view of the host" or "Do not use cliches, hyperboles, or gratuitous comparisons." This is where you can inject your personality into every piece of AI-generated content.
Below that is a "What's your show about?" field. Fill this in with your show name, host, and a brief description. This gives the AI context about your content so it can match the language and framing.
Adding Asset-Specific Instructions
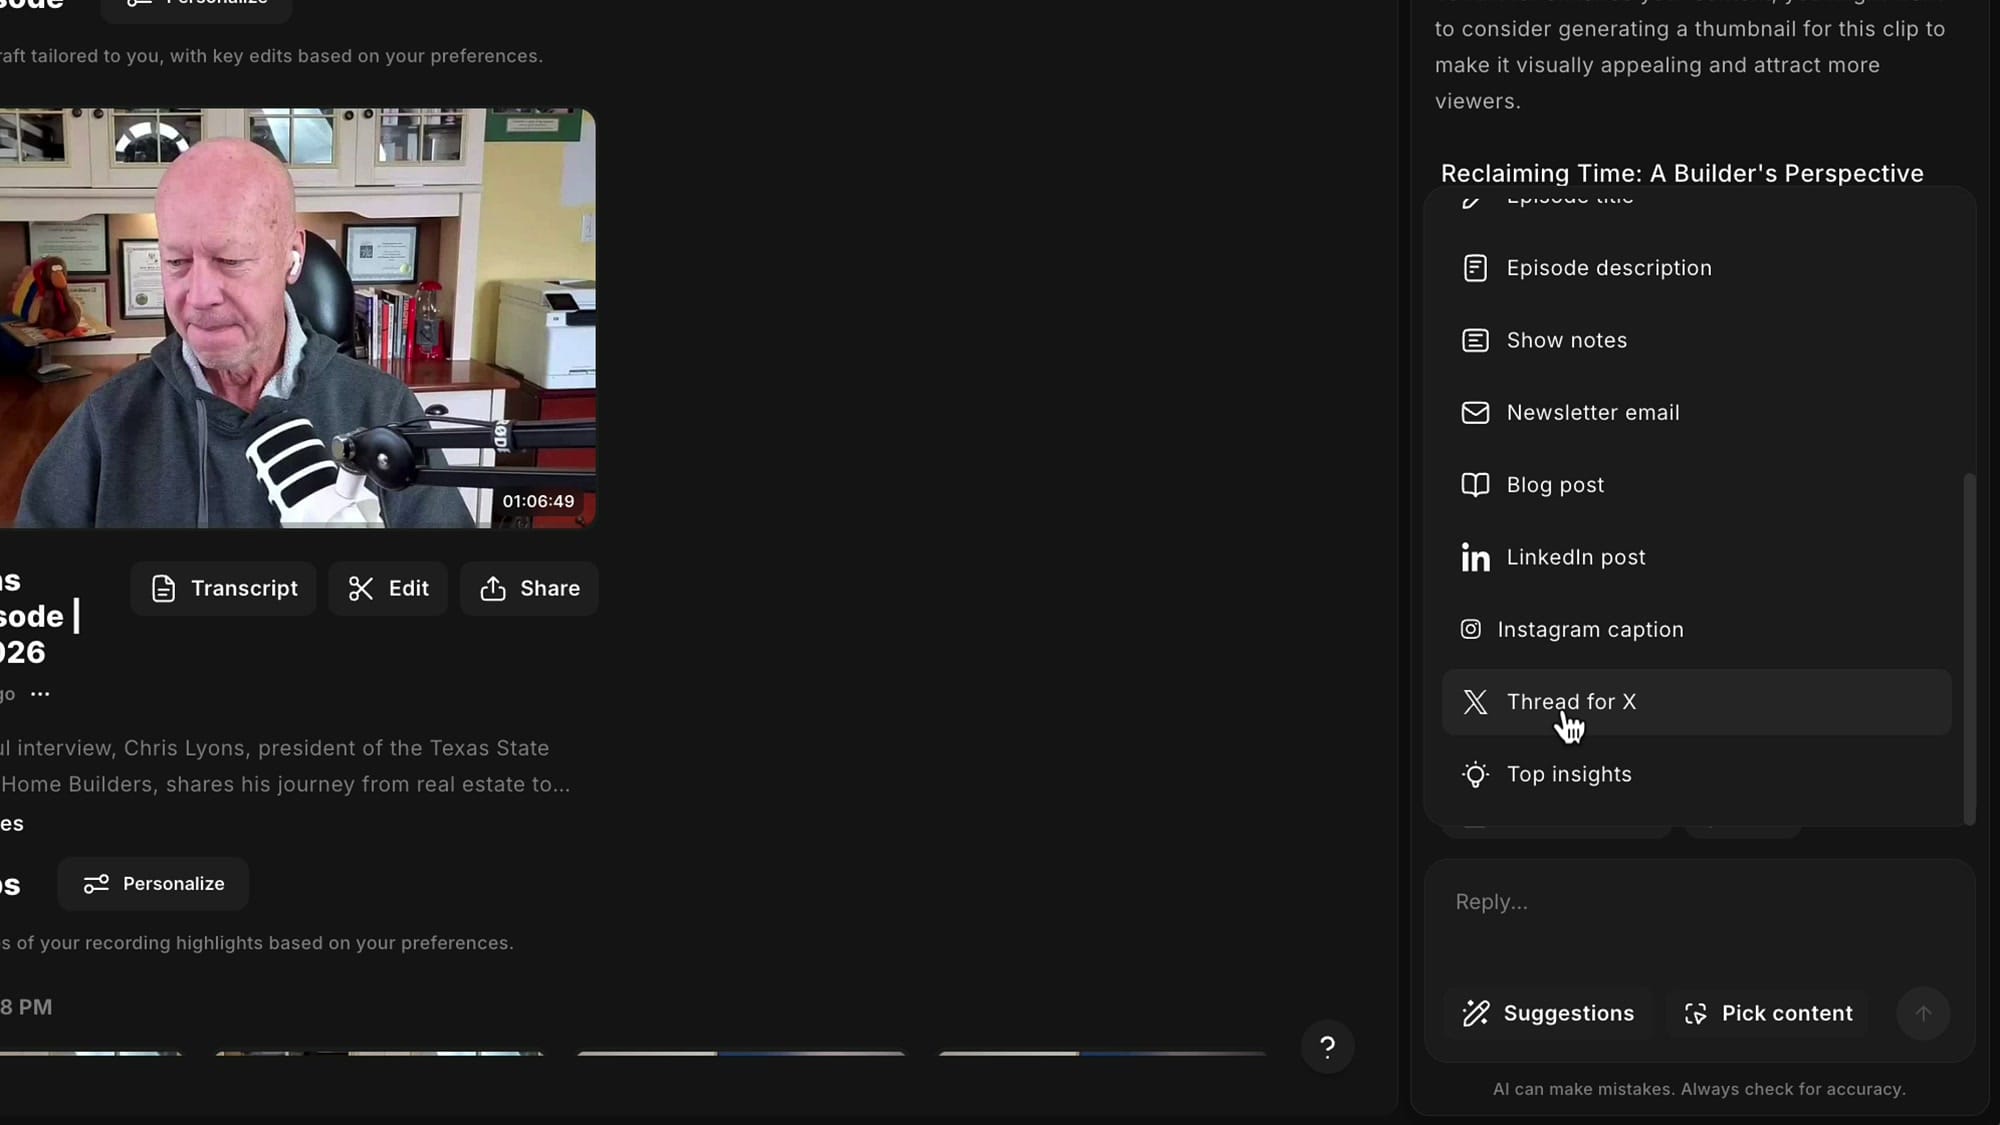
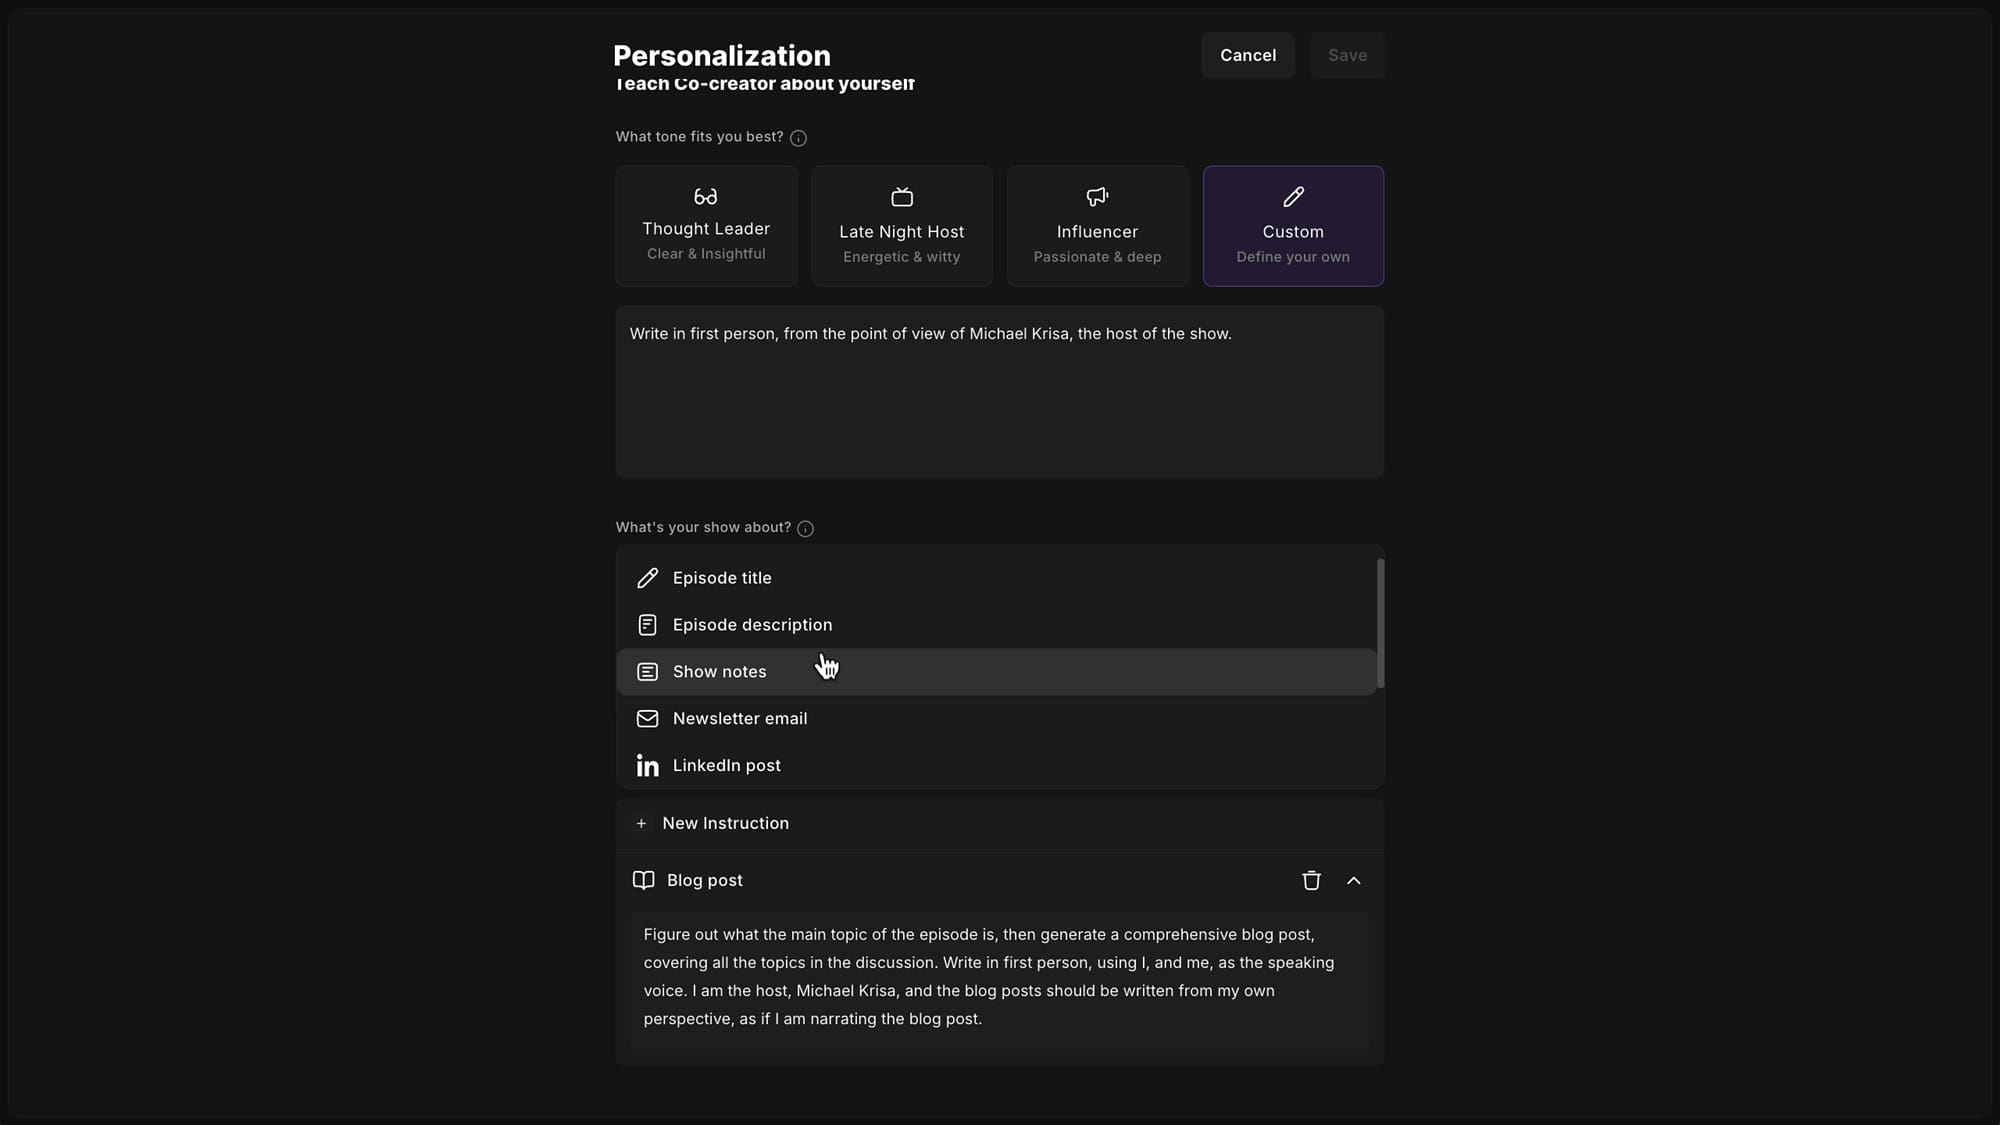
The Instructions section lets you add specific rules for individual asset types. Click New Instruction and choose which asset to configure: Episode title, Episode description, Show notes, Newsletter email, Blog post, LinkedIn post, and more.
For the Blog post, I replaced the default vague instruction with something specific: "Figure out the main topic of the episode, then generate a comprehensive blog post covering all the topics in the discussion. Write in first person using I and me as the speaking voice. I am the host, and the blog post should be written from my own perspective as if I am narrating the blog post."
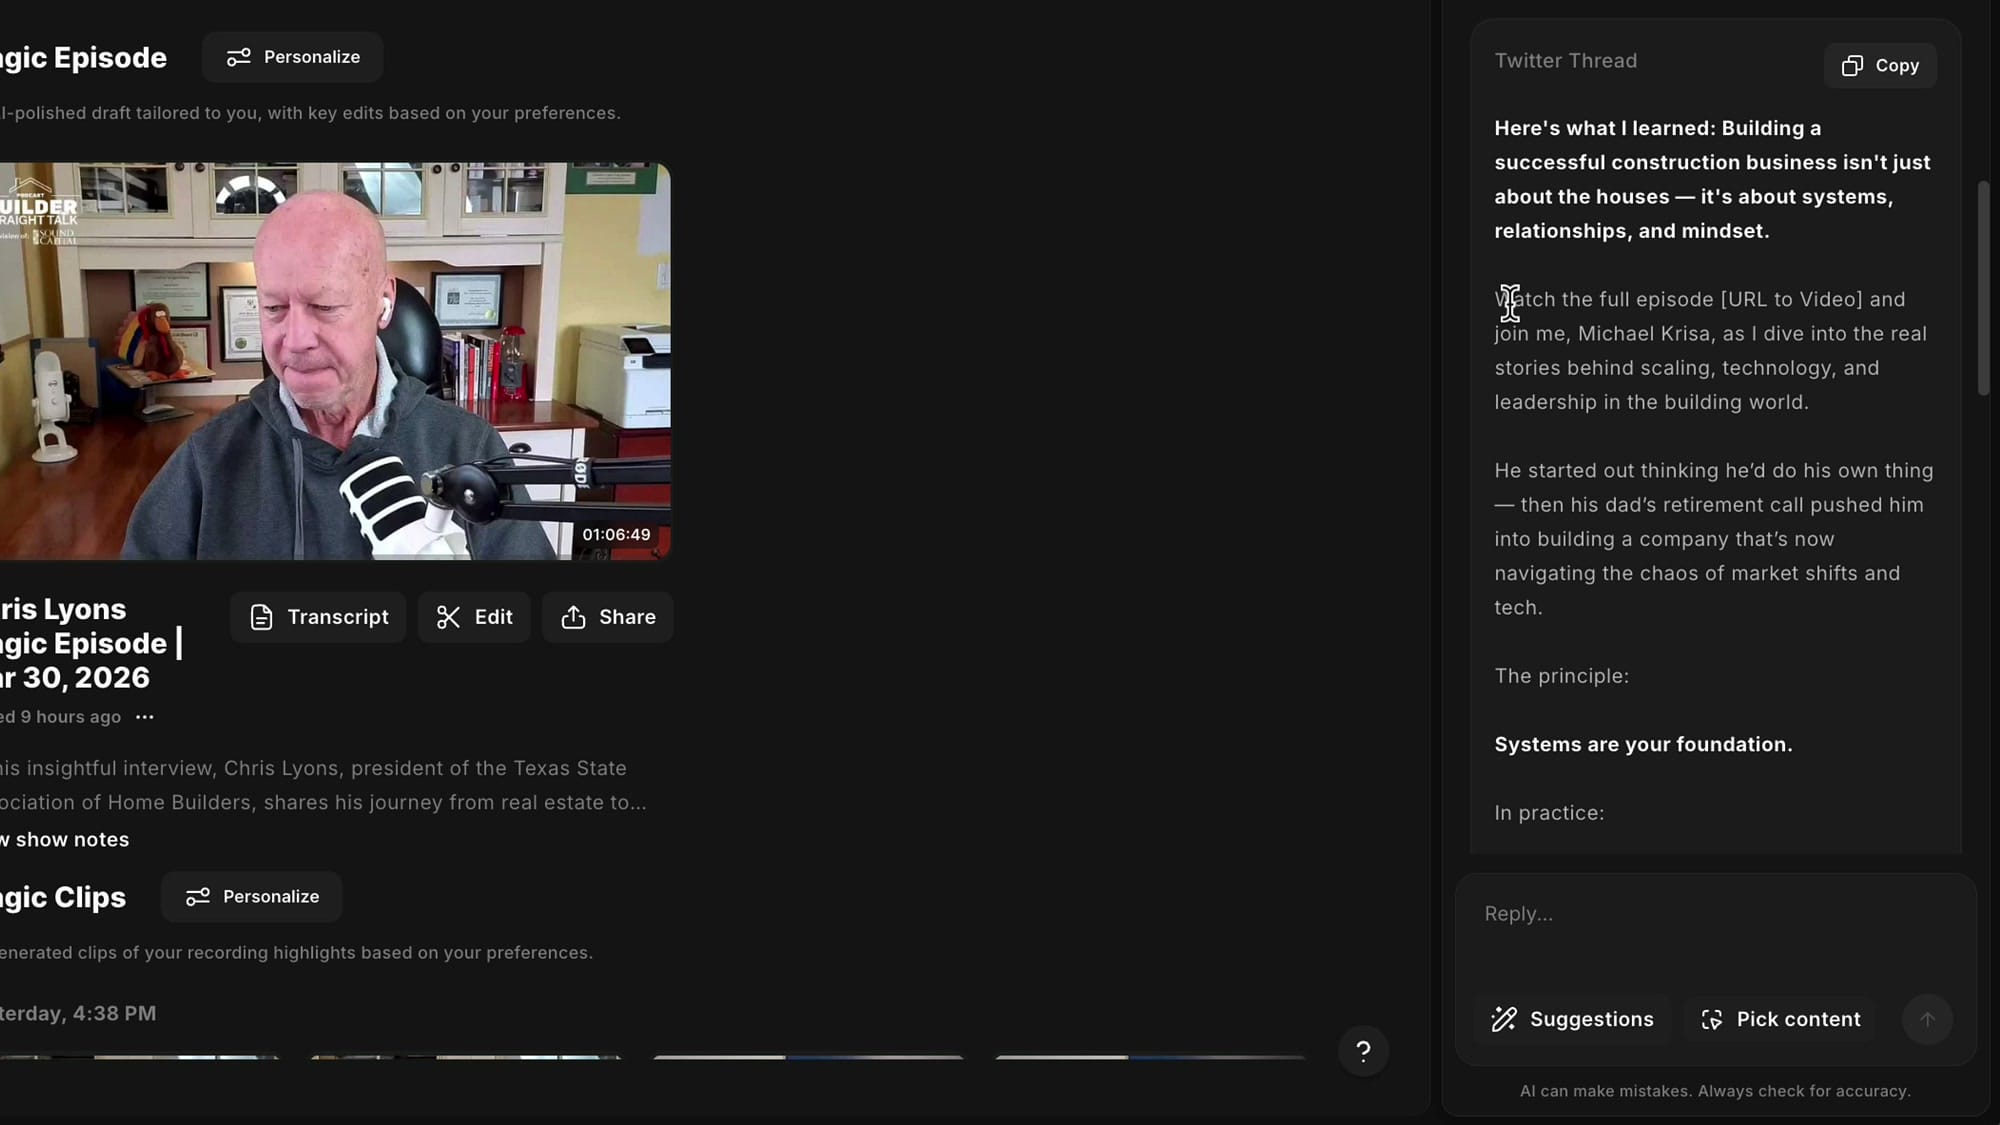
For social media posts (like X/Twitter threads), I added instructions to keep posts short (around 280 characters), and to include a placeholder link like [URL to video] so I can substitute the real URL once the episode is published.
The Results
After saving these personalizations, every time you use the Co-creator suggestions, the output reflects your instructions. Here is what the generated X thread looked like with these settings:
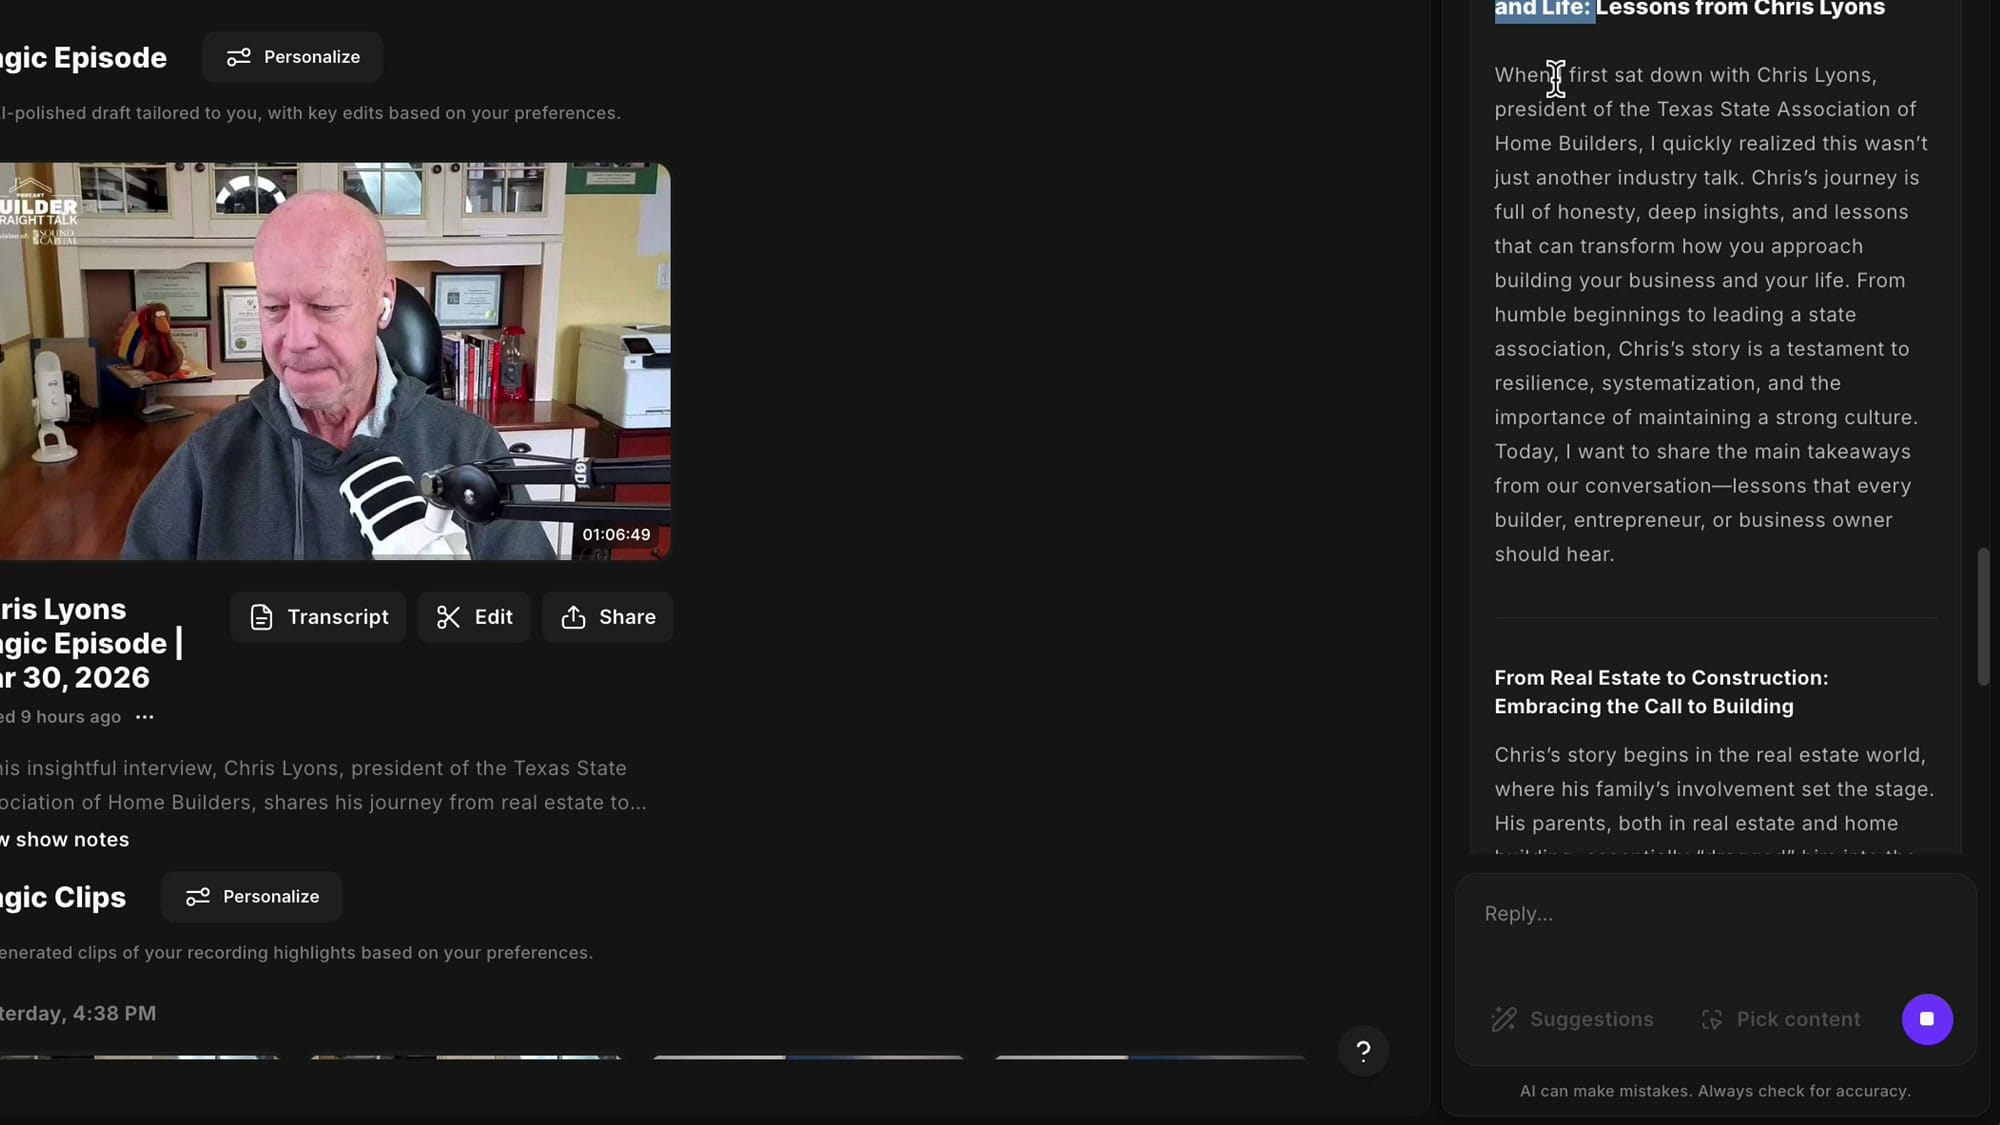
And here is the blog post output. Notice how it speaks from the host's first-person perspective: "When I first sat down with Chris Lyons, president of the Texas State Association of Home Builders, I quickly realized this wasn't just another industry talk..."
Tips for Getting the Best Results
- Provide samples. If you have examples of the tone you want, paste them into the custom instructions so the AI can match your style.
- Be specific about what you do not want. Telling the AI "do not create key takeaways sections" or "avoid generic phrases" produces cleaner output than leaving it on defaults.
- Review and iterate. The first batch of outputs after personalizing may still need minor tweaks. Adjust your instructions based on what you see.
- Per-studio settings. If you run multiple podcasts in Riverside, remember that each studio has its own personalization settings. Tailor them to each show's voice.
Related Riverside Guides
If you're eager to learn more about Riverside and wish to have a one-on-one Riverside coaching session, feel free to book a call with me. I'm here to help you with any questions you have and to guide you through the best workflows, tips, workarounds, or just answer any questions you may have!
The AI saves me a significant amount of time packaging episodes and getting them ready to publish. Most of the time when I submit the generated content to clients for review, they come back with minimal changes or none at all. With these personalization controls, you can get the output much closer to your final version right from the start.