
How to Slice and Cut Shapes in Affinity Designer Using the Node Tool


Slicing a shape into separate pieces in Affinity Designer isn't as obvious as in some other vector tools. The Divide operation in the geometry toolbar doesn't split a single shape the way you might expect. Instead, you can use the Node tool with the Break Curve action to cut shapes apart manually.
Converting to Curves
Start with a shape — a square, for example. Right-click and select Convert to Curves (or use the toolbar button). This turns the shape into an editable path with individual nodes at each corner.
Adding a Diagonal Cut Point
Select the Node tool (A), then click on one of the edges where you want the cut to start. This adds a new node at that position. For a diagonal slice through a square, you'll need nodes at two opposing corners — these already exist if you're cutting corner to corner.
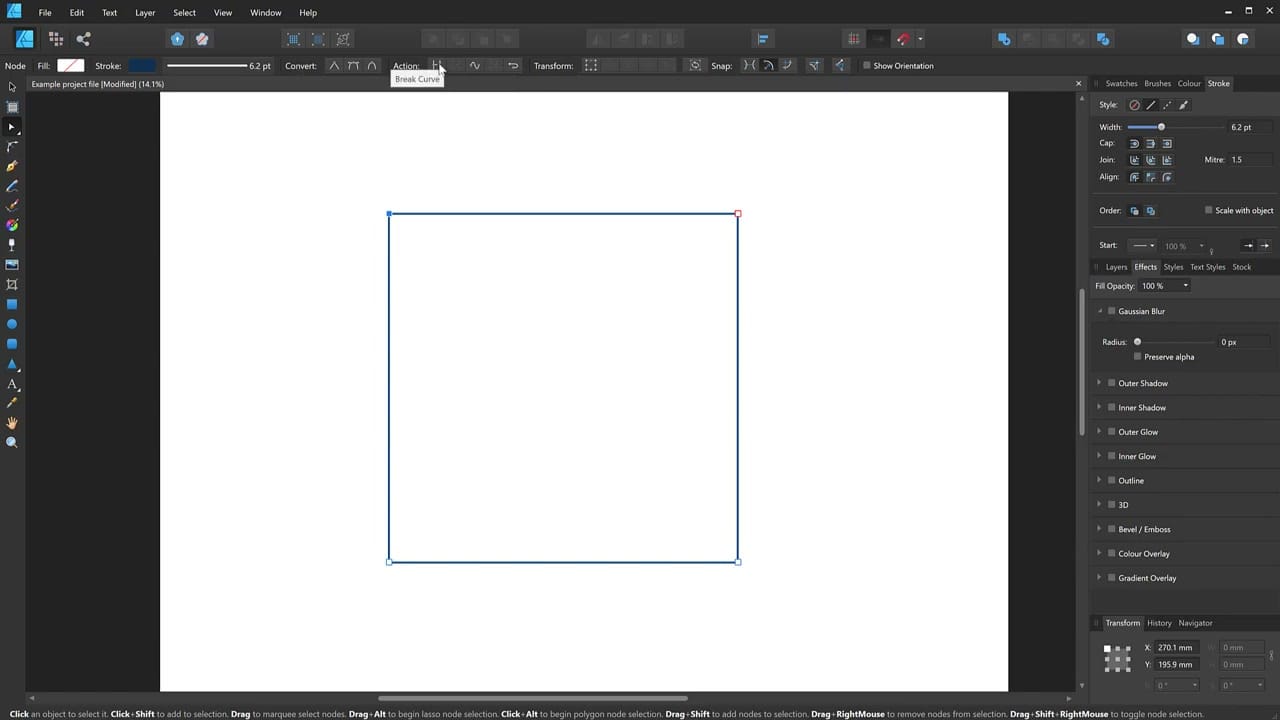
Breaking the Curve
Select the node where you want to make the cut. In the Node tool's action bar at the top, click Break Curve. This splits the path at that point, creating two overlapping endpoints where one node used to be. Repeat at the second cut point.
Closing the Two Halves
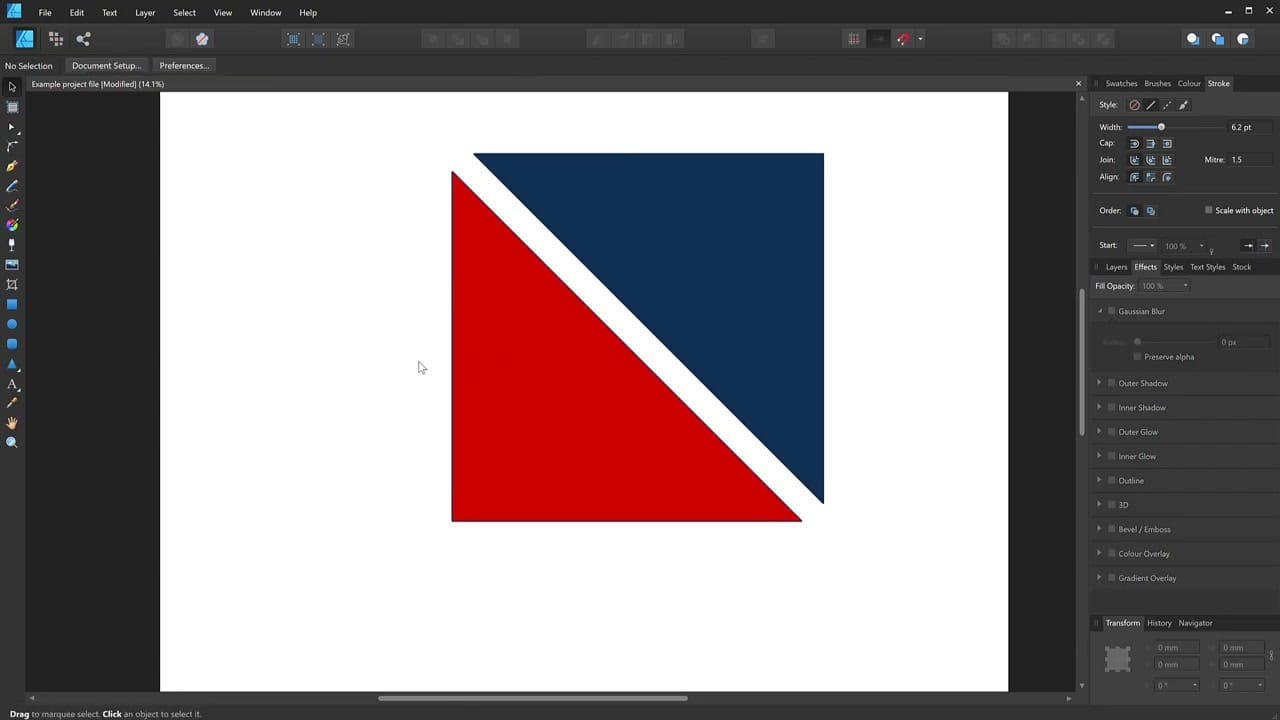
After breaking both points, you have an open path. Select the two endpoints of one half, then click Close Curve in the action bar. This closes the shape into a triangle. Repeat for the other half.
You now have two independent, closed shapes that you can colour, move, and transform separately.
This technique works for any shape and any cut direction. It's particularly useful when the Divide geometry operation doesn't produce the result you need, since Break Curve gives you precise control over exactly where the cut happens.


