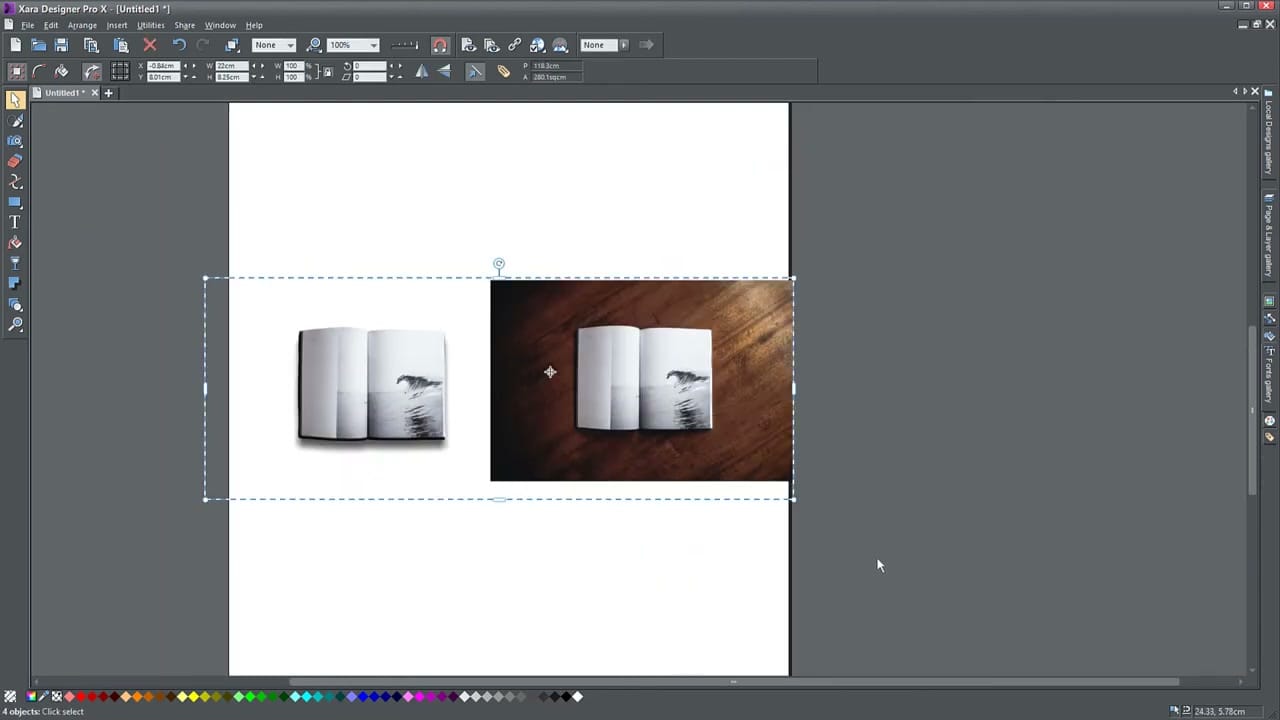
How to Use the Shadow Tool in Xara Designer Pro X to Add Shadows to Objects


The Shadow Tool in Xara Designer Pro X (shortcut Ctrl+F2) creates three types of shadows: wall, floor, and glow. Each serves a different purpose and can be fine-tuned with blur, transparency, and color controls.
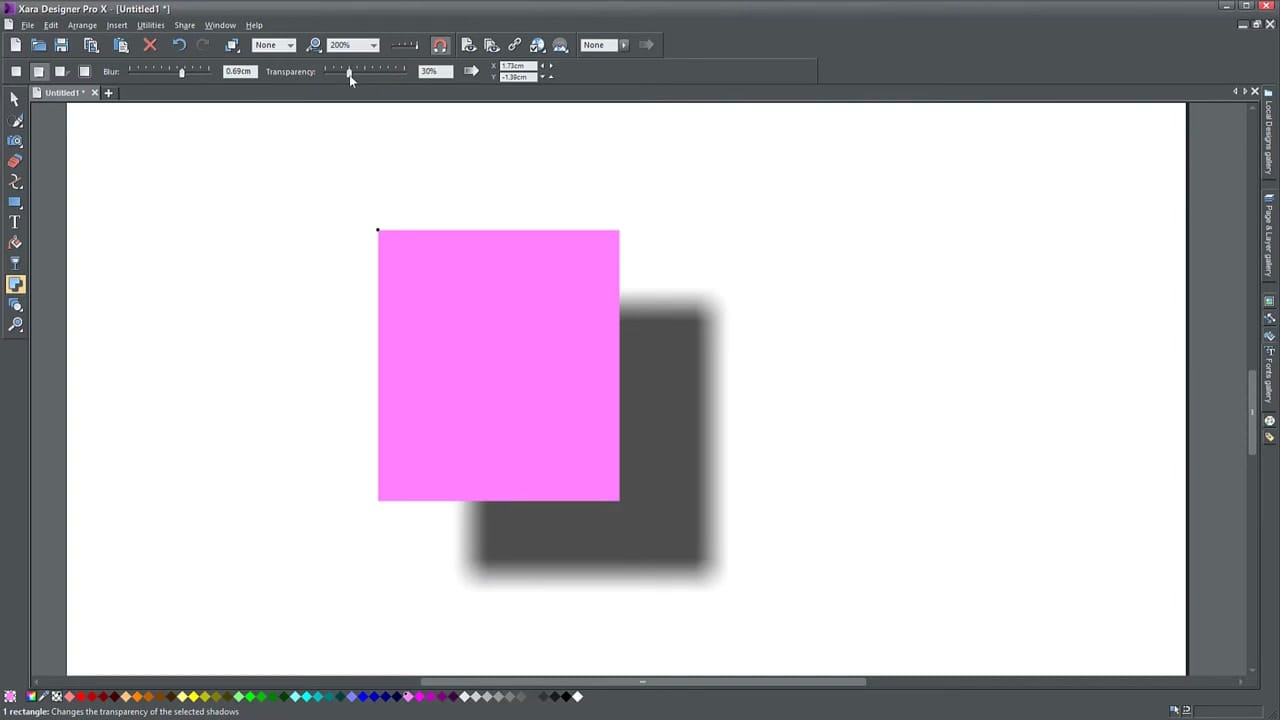
Wall Shadow
The most common type — creates a shadow parallel to and behind the object. Select an object, click the wall shadow button in the toolbar, and drag to reposition the shadow anywhere around the object.
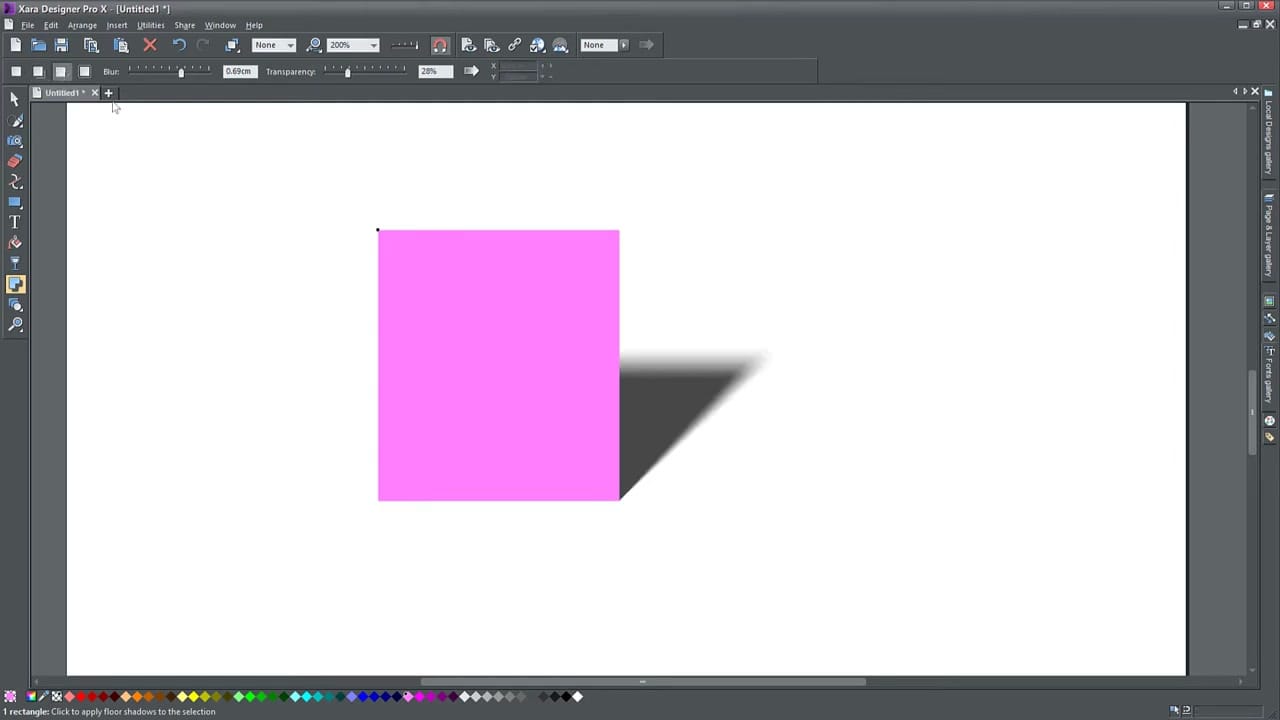
Floor Shadow
Originates at the base of the object and stretches backward in perspective, like a shadow cast on the ground. Drag to control direction and length.
Glow Shadow
Creates a soft, even shadow around the entire object — like an ambient glow. Unlike wall and floor shadows, glow shadows stay centered and can't be repositioned. Adjust size and transparency only.
Fine-Tuning Shadows
- Blur — increases for a softer, more diffuse shadow; decreases for sharper edges
- Transparency — lower for darker/more prominent, higher for subtler shadows
- Color — drag a color from the palette onto the shadow to change it
- Profile — adjusts the falloff curve from dark to light for realistic shadow gradients