
Using the Selector Tool in Xara Designer Pro: A Beginner's Guide

The Selector Tool is the most fundamental tool in Xara Designer Pro X — it is how you select, move, resize, and rotate objects. This beginner's guide covers everything from basic selection to precise dimensioning and rotation.
Watch the full tutorial:
Selecting and Resizing Objects
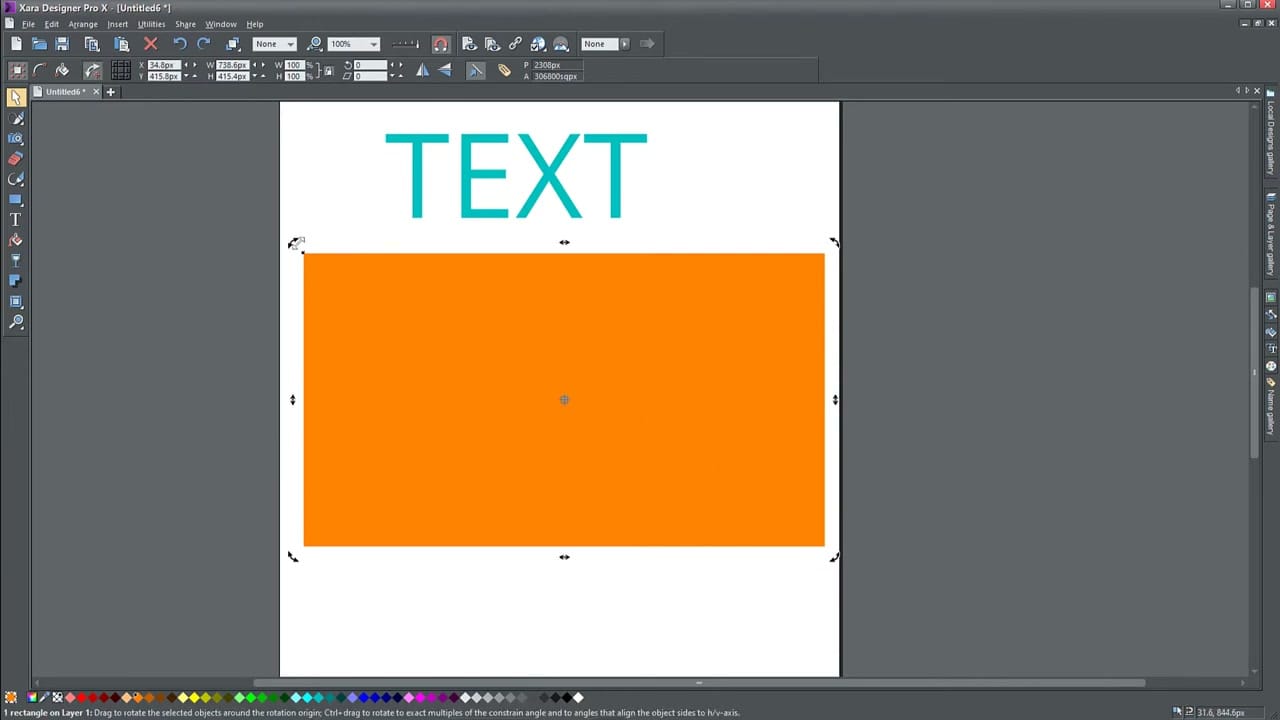
Click any object to select it. Eight handles appear around the object: corner handles resize proportionally, side handles stretch or squash in one direction. Hold Shift while dragging to resize from the centre of the object rather than from the opposite corner.
Precise Resizing with the Info Bar
The info bar at the top changes for each tool. With the Selector tool, it shows the object's position (X, Y), dimensions (W, H), and scale (%). You can type exact values — for example, typing "1920px" in the width field works even if the document uses centimetres. The lock icon between W and H maintains the aspect ratio.
Changing Document Units
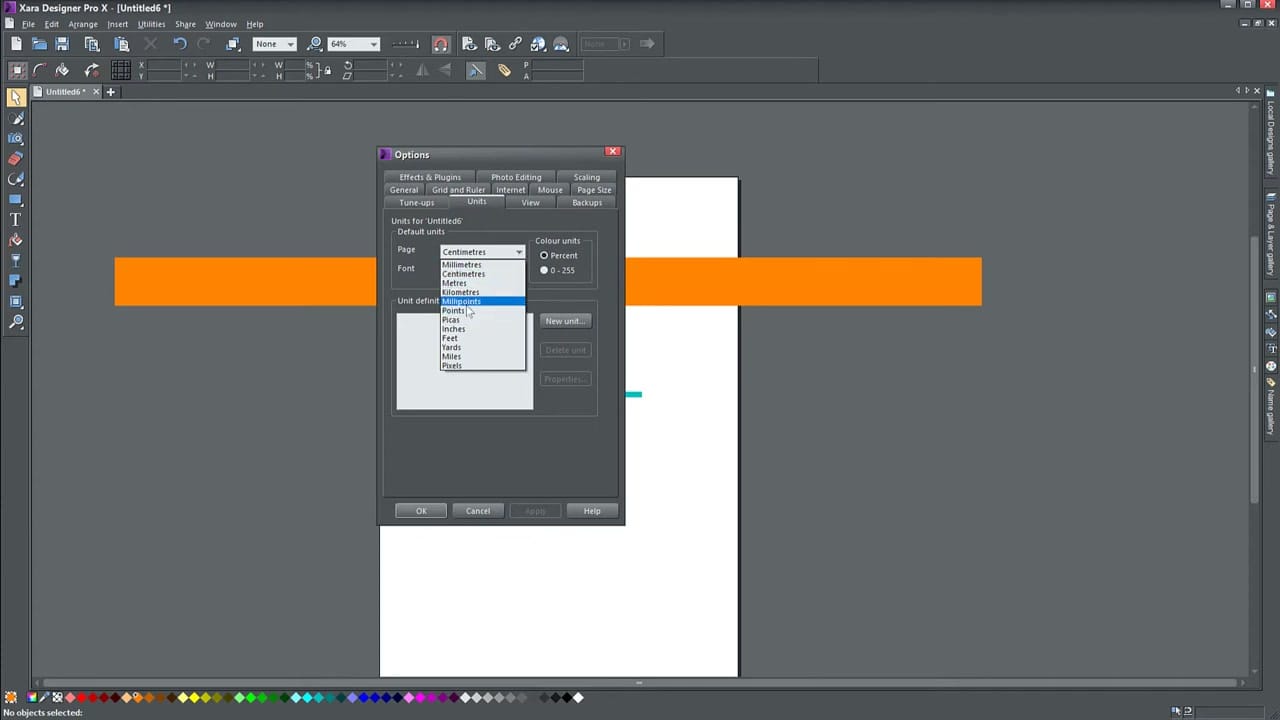
Go to Utilities → Options → Units to change the default measurement unit for the document. Options include Millimetres, Centimetres, Points, Picas, Inches, and Pixels. Switching to Pixels is useful when designing for screen (YouTube thumbnails, web graphics, etc.).
Rotating and Skewing Objects
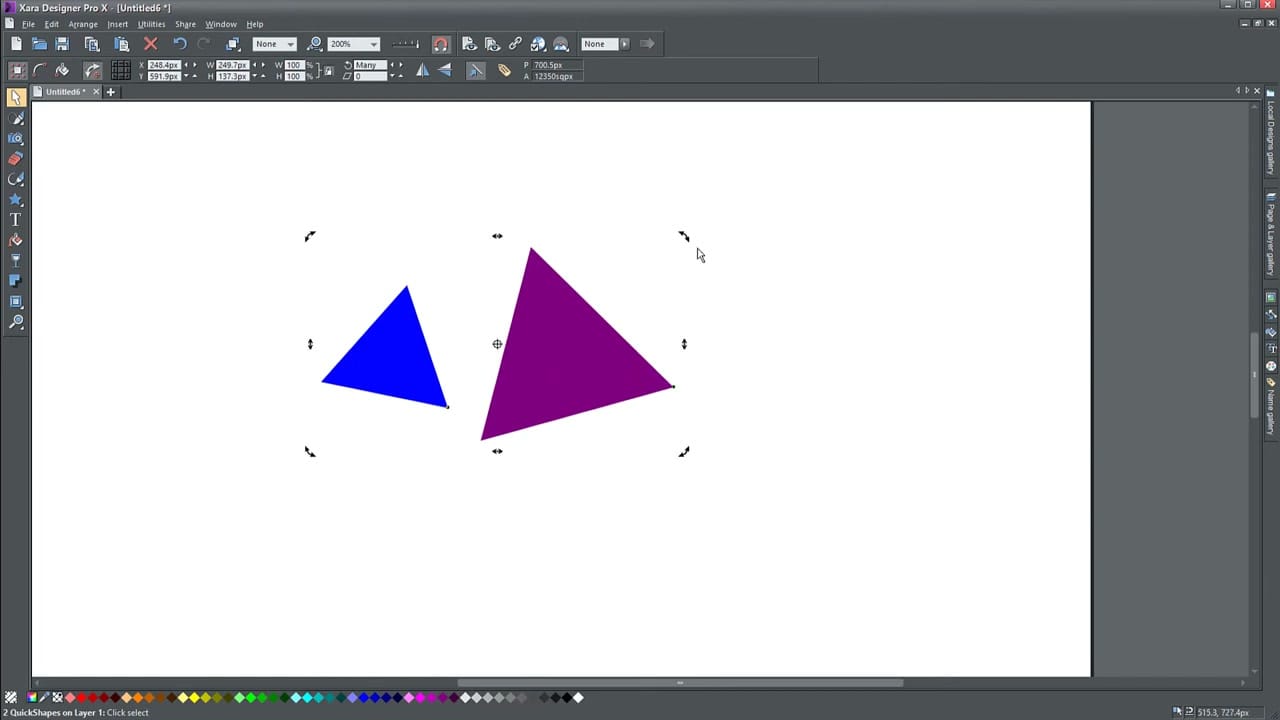
Click a selected object a second time and the handles change from squares to curved arrows — these are rotation handles. Drag a corner handle to rotate, or drag a side handle to skew (shear) the object. The small crosshair in the centre is the rotation origin — drag it to change the point around which the object rotates.
Grouping and Arranging Objects
Select multiple objects with Shift+click or by dragging a selection box. Ctrl+G groups them — they move and resize as one unit. Ctrl+U ungroups. Use Arrange → Bring to Front or Send to Back (or their shortcuts Ctrl+F / Ctrl+B) to change the stacking order of objects.
Tips
- Always re-enable the aspect ratio lock after manually typing custom dimensions
- Resizing a text object resizes the container, not the text — use the Text tool to change font size
- You can resize by percentage in the info bar by changing the W/H values to %


