
camtasia
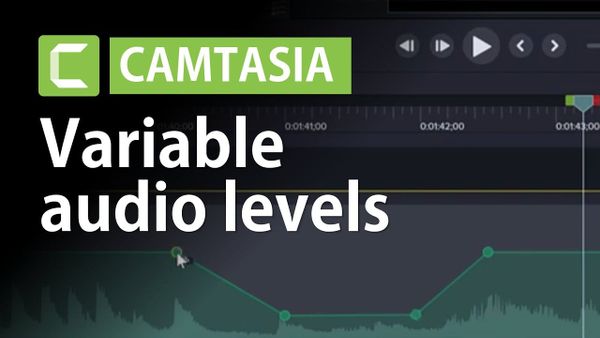
How to Adjust Variable Audio Volume Levels in Camtasia
Learn to use volume keyframes in Camtasia
Video editor and coach: teaching Descript, Riverside.fm, Camtasia, DaVinci Resolve and more! Book a call with me at: https://cotovan.com/coaching
camtasia
Learn to use volume keyframes in Camtasia
Adobe Photoshop
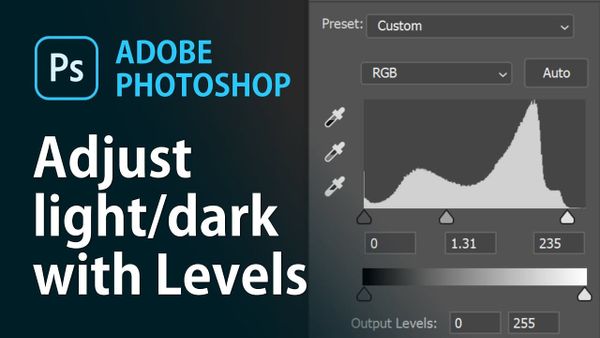
The Levels adjustment is arguably the single most powerful — and simplest — tool for improving the look of your photos in Photoshop. Whether your images are underexposed, faded, washed out, or lacking contrast, the Levels dialog gives you precise control over the tonal range. This comprehensive tutorial covers everything you need
Adobe Photoshop
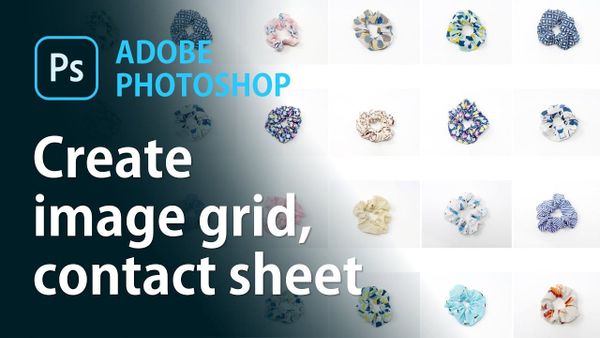
Need to combine multiple images into a single overview sheet? Photoshop’s built-in Contact Sheet II automation does this automatically — perfect for sending product photo samples, creating image catalogues, or generating thumbnail overviews from entire folders of images. What Is a Contact Sheet? A contact sheet is a single
Xara
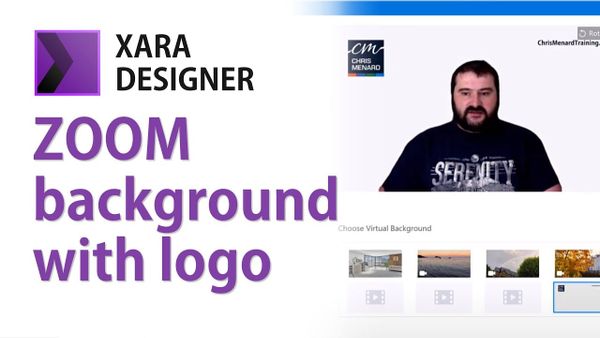
Instead of using generic virtual backgrounds in Zoom, you can create your own branded background with your logo and website address. This tutorial shows you how to design a professional-looking static virtual background in Xara Designer Pro and apply it in Zoom. Why Create a Custom Background? A branded
Xara
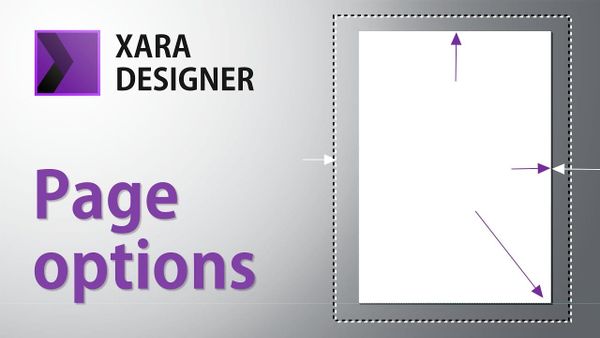
When working on print projects like brochures, magazines, or leaflets in Xara Designer Pro, getting the page size and layout right is essential. This tutorial covers all the page options available — from changing sizes to custom dimensions, background colours, and double-page spreads. Creating a New Document with a Default
Xara
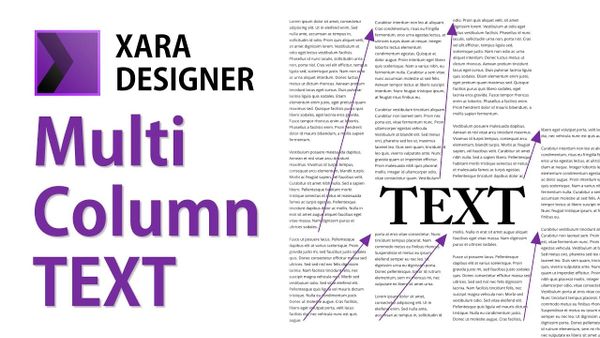
Creating magazine-style multi-column layouts in Xara Designer Pro is straightforward once you understand how text boxes link together. This tutorial covers everything from inserting large blocks of text to defining columns, linking text across boxes, and making text flow around objects. Simple Text vs. Multi-Column Text When
camtasia
Scrolling text credits — like you see at the end of movies — are a frequent request for video projects. Whether you're crediting team members, listing music sources, or adding acknowledgments, Camtasia makes it straightforward using a text annotation combined with a custom animation. Step 1: Add a Text Annotation
Premiere
Placing a video clip inside a phone or device frame is a popular technique for product demos, app showcases, and social media content. In Adobe Premiere Pro, you can achieve this using a PNG phone frame with a transparent screen area and an opacity mask to clip your video to
camtasia
When you add annotations to your Camtasia project — callouts, arrows, shapes, or highlights — you can customise nearly every visual property. Here’s how to change the colour, size, opacity, outline, text font, and more. Accessing Annotation Properties Once you place an annotation on the canvas from the Annotations tab, select
Premiere
Need to change the color of a dress, a car, or any object in your video without masking or tracking? Adobe Premiere Pro has a simple built-in effect called Change to Color that does exactly this. It targets a specific color in your footage and replaces it with another
Adobe Premiere Pro has a built-in masking and tracking engine that makes blurring moving objects straightforward. Whether you need to hide license plates, faces, or any sensitive information in your footage, you can draw a mask, apply a blur effect, and track it across the clip — all without leaving
camtasia
Animation brings static elements to life — and Camtasia makes it surprisingly accessible even for beginners. In this comprehensive tutorial, I cover everything from basic preset animations to custom keyframe-based motion, showing you how to precisely move objects across the canvas. Watch the full tutorial: Understanding the Animations Panel Camtasia&