How to Use the Perspective Crop Tool in Photoshop

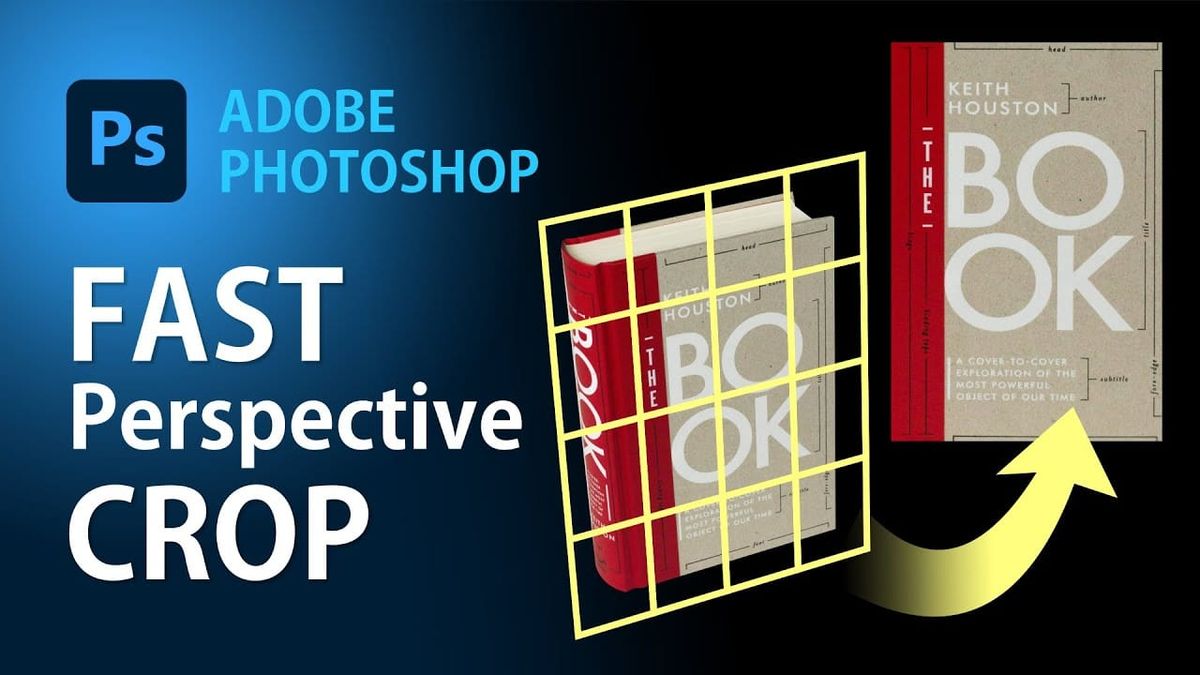
Ever taken a photo of a book, sign, or document at an angle? The Perspective Crop Tool in Photoshop lets you straighten these skewed images in one step — cropping and correcting the perspective distortion simultaneously.
Finding the Perspective Crop Tool
The Perspective Crop Tool is nested under the regular Crop tool in the toolbar. To access it:
- Right-click (or long-press) the Crop tool icon in the toolbar
- Select Perspective Crop Tool from the flyout menu
- Or press C to cycle through crop tools until you reach it
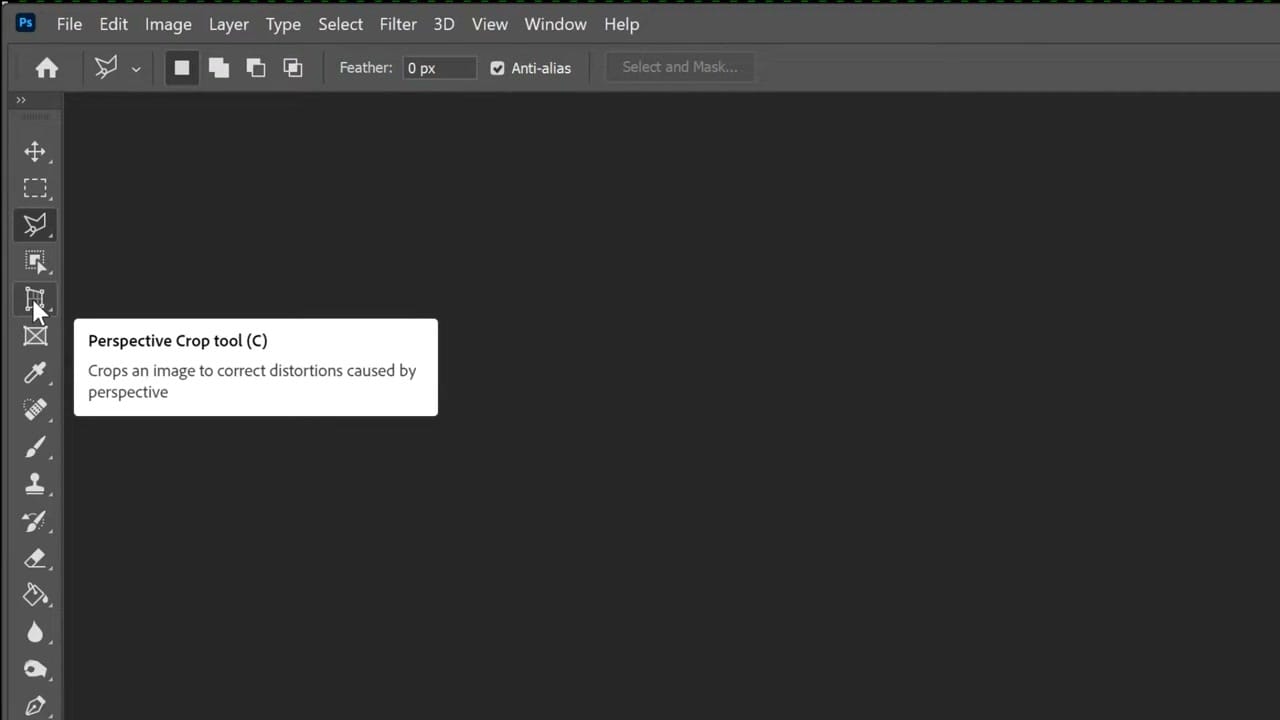
The tooltip reads: "Crops an image to correct distortions caused by perspective."
Step 1: Draw the Initial Crop Area
Click and drag from the top-left corner to the bottom-right corner of the object you want to straighten. This creates a rectangular crop grid over your image.
Don't worry about being precise yet — you'll adjust the corners in the next step.
Step 2: Adjust the Grid Corners
Now drag each corner handle of the crop grid to align with the actual edges of the object. Match the grid lines to the edges of the book, sign, or document in the photo.
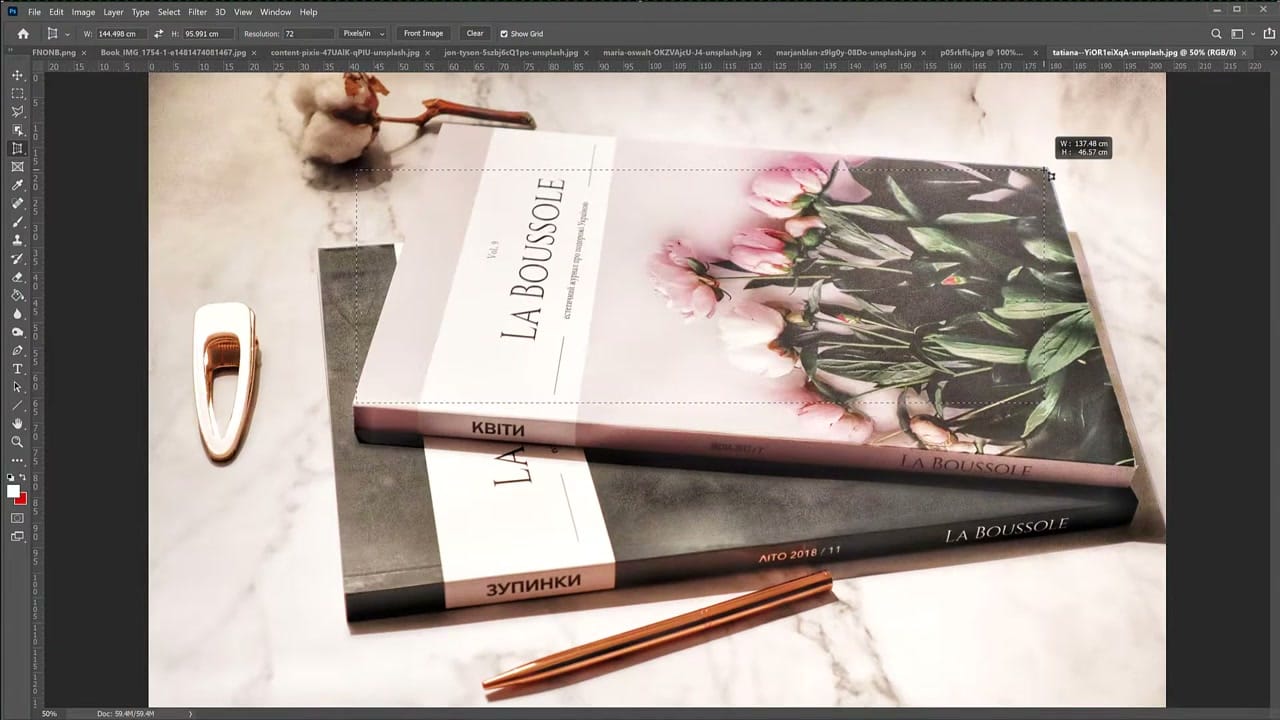
The more accurately you place the corners, the better the straightening result will be. Take your time to align each handle precisely with the object's actual corners.
Step 3: Apply the Crop
Press Enter (or click the checkmark in the options bar) to apply the perspective crop. Photoshop will straighten the image so the selected area appears perfectly rectangular and front-facing.
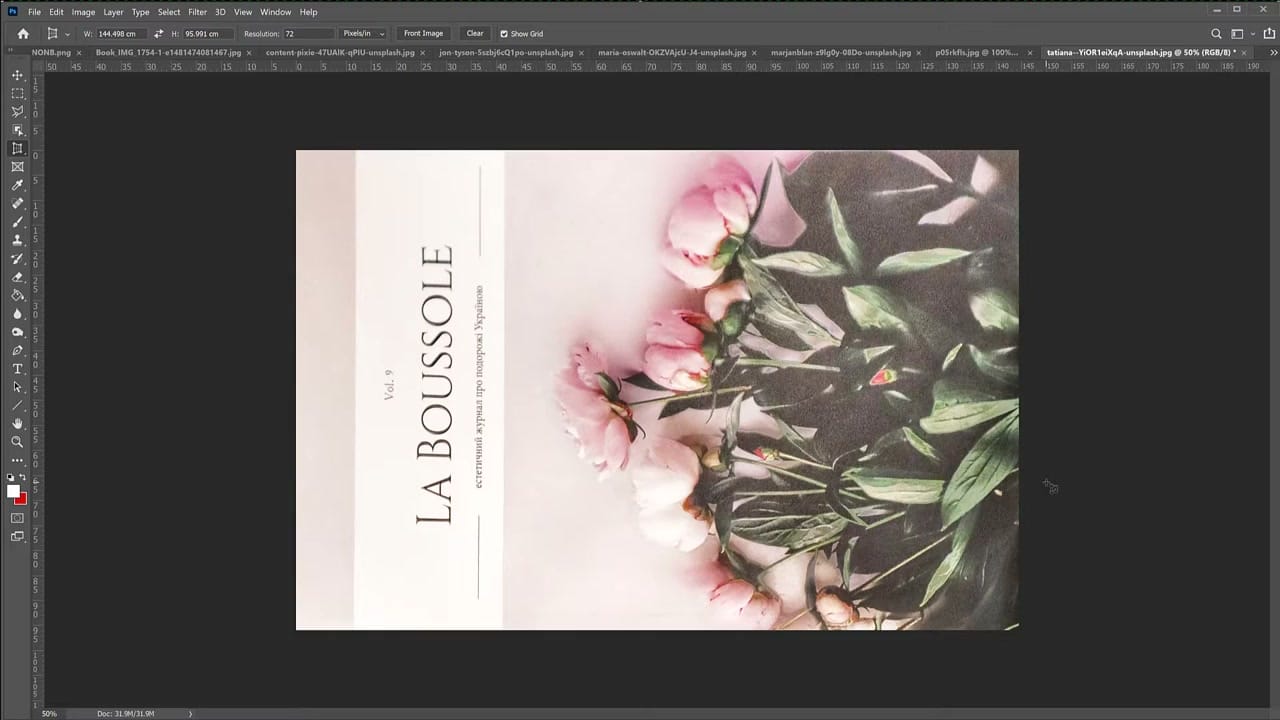
Fixing Distorted Aspect Ratios
Sometimes the perspective crop produces a result that looks slightly squished or stretched. This happens when the original perspective distortion was significant. To fix this:
- Press Ctrl+A (Cmd+A on Mac) to select all
- Press Ctrl+T (Cmd+T) to enter Free Transform
- Hold Shift and drag a corner handle to resize the image to the correct proportions
- Press Enter to apply
- Go to Image > Crop to trim any excess canvas area
When to Use the Perspective Crop Tool
- Product photography: Straighten book covers, packaging, or artwork shot at an angle
- Architecture: Correct converging lines in building photos
- Document scanning: Straighten photos of documents, whiteboards, or signs
- Art reproduction: Get a flat, front-facing view of paintings or posters
Related guides
 Cristi Cotovan
 Cristi Cotovan
 Cristi Cotovan