How to Use the Distort Tool in Photoshop to Straighten and Transform Images

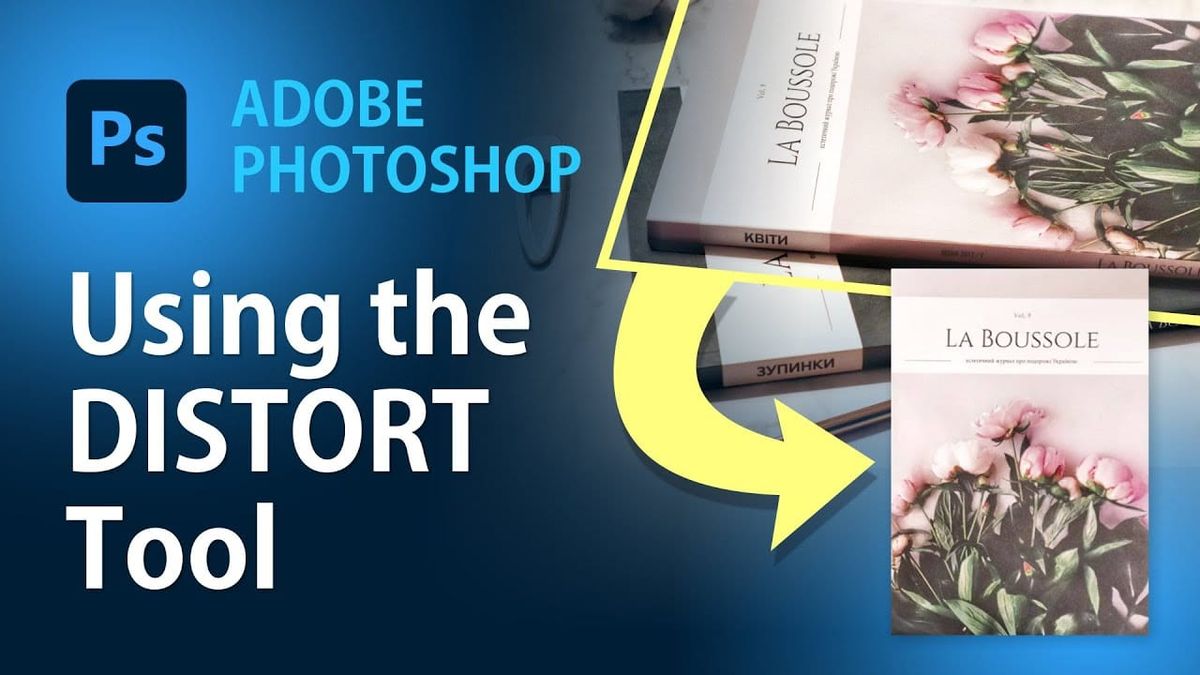
Whether you’re working with photos of books, products, signs, or any object photographed at an angle, Photoshop’s Distort tool lets you straighten and transform them into flat, usable images. This tutorial walks through several real-world examples of converting perspective-distorted photos into clean, straight images.
When to Use the Distort Tool
The Distort tool is ideal when you need to:
- Straighten a book cover photographed at an angle on a shelf
- Flatten a product shot taken in perspective
- Correct a sign or poster that wasn’t photographed head-on
- Transform any 3D-perspective image into a flat 2D view
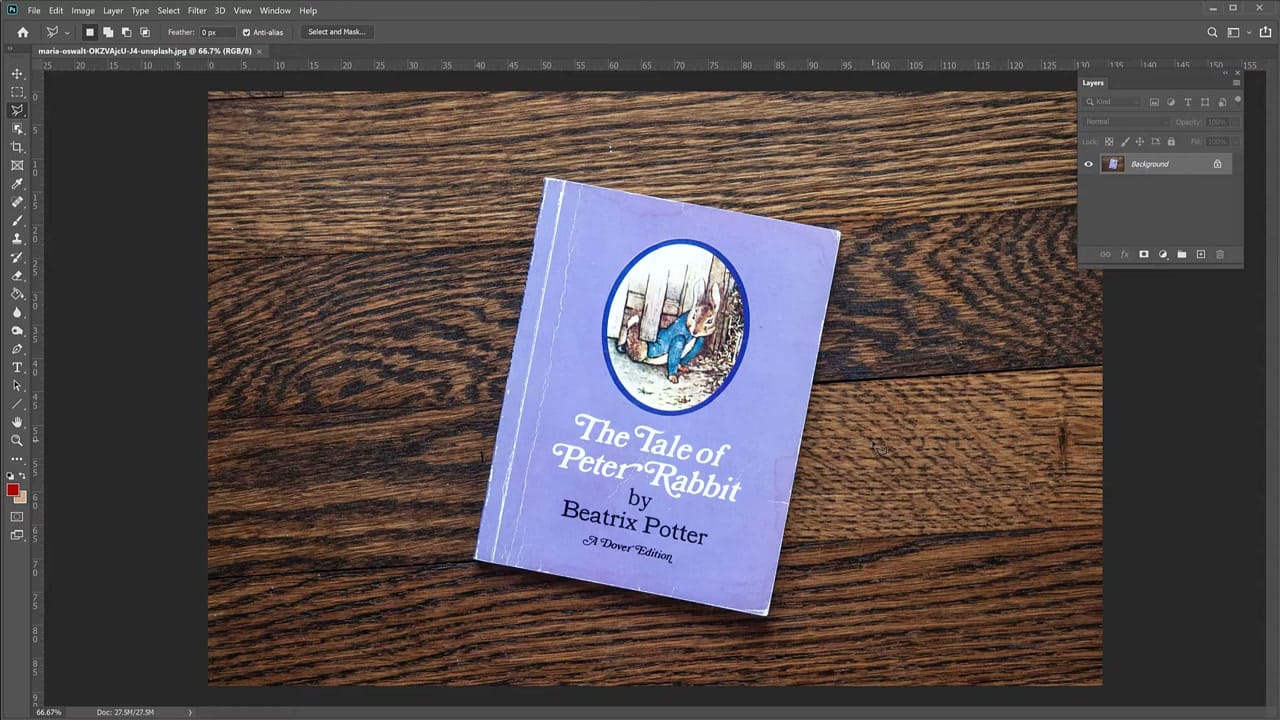
Step-by-Step: Straightening a Distorted Image
- Open your image in Photoshop and duplicate the background layer
- Isolate the subject — use the selection tools to separate the object from its background, placing it on its own layer
- Go to Edit > Transform > Distort
- Drag the corners to reshape the image — pull each corner to where it would be if the object were viewed straight-on
- Press Enter to apply the transformation
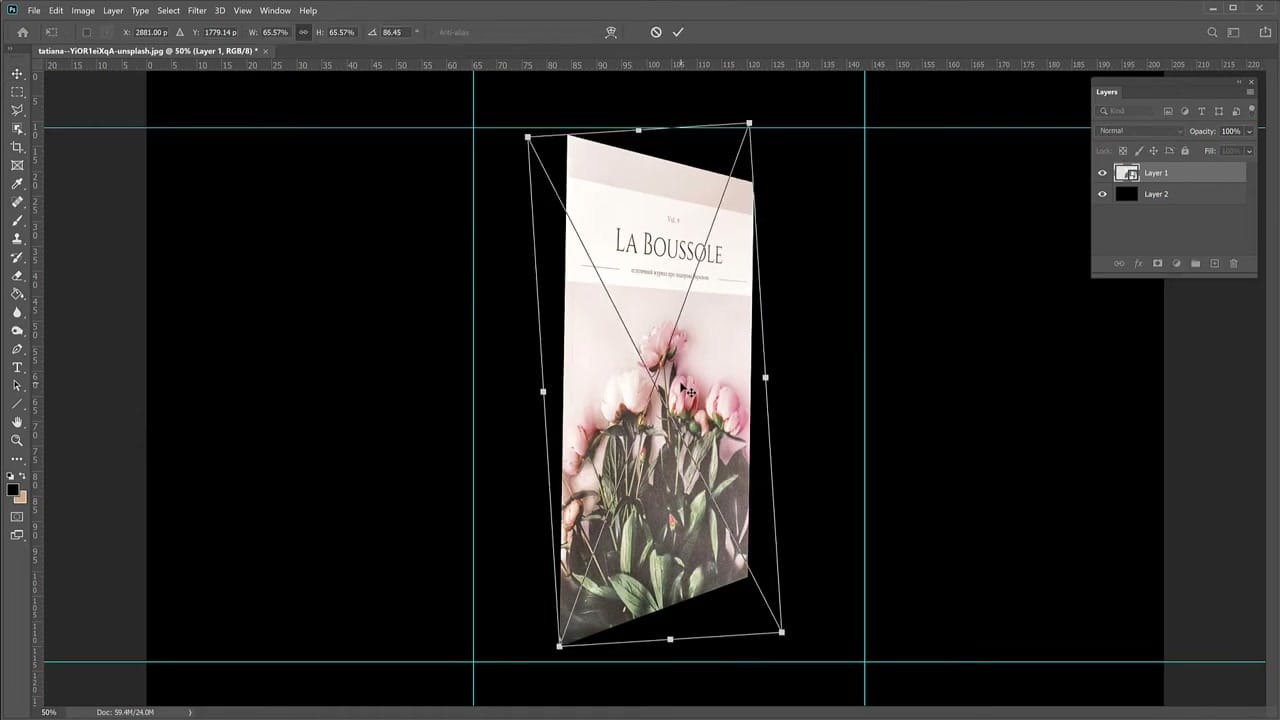
Working with Multiple Examples
The tutorial demonstrates the technique on several different images — books photographed on shelves at various angles, a magazine shot in perspective, and other distorted objects. The same basic workflow applies to all of them: isolate the subject, apply the Distort transform, and drag the corners to straighten.
For images that are only slightly tilted, you might find the Perspective transform (Edit > Transform > Perspective) more appropriate, as it constrains opposing corners to move in tandem. For more dramatic corrections, Distort gives you full independent control over each corner.
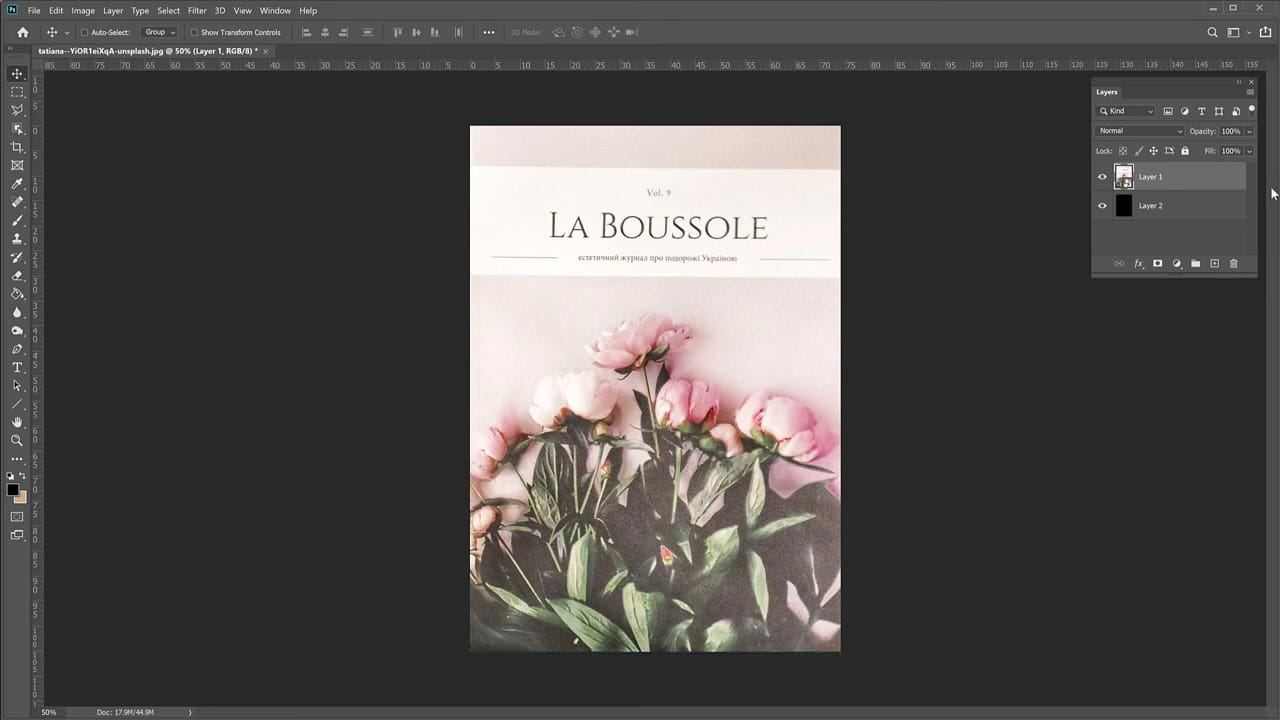
Tips for Clean Results
- Work on a copy — always duplicate the layer before transforming so you can compare with the original
- Use Smart Objects where possible to preserve quality through multiple transformations
- Zoom in to check edges after transforming — you may need to crop or touch up the borders
- The same technique works in reverse — you can also add perspective to flat objects to create 3D-looking mockups