
3 Best Animations in Camtasia (And How to Use Them)

Camtasia has a lot of animation presets, but you don't need all of them. In this tutorial, I'll show you the 3 animations I use the most — and how to add them to your Favorites for quick access.
1. Custom Animation
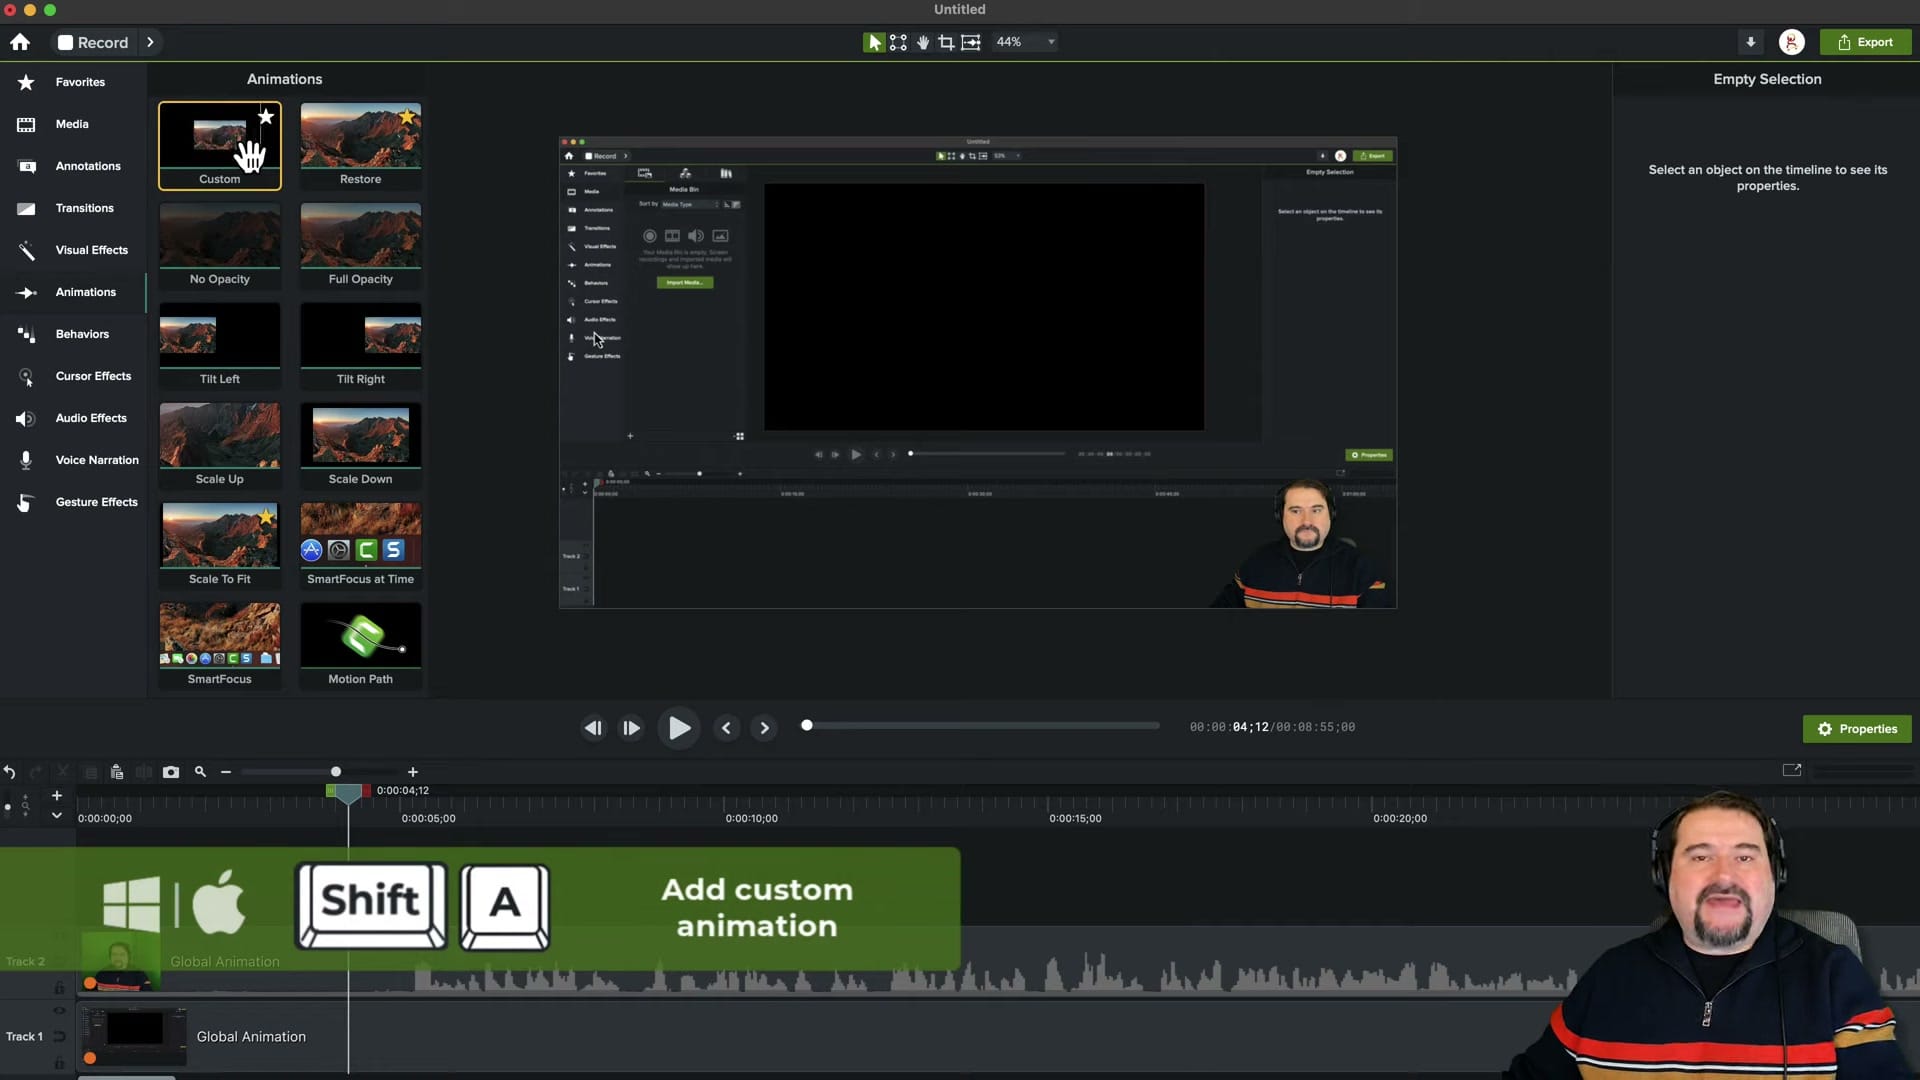
The Custom animation is the most powerful option in Camtasia. It adds a keyframe at the current playhead position, letting you animate any property — position, scale, rotation, opacity — with full control.
The keyboard shortcut makes it even faster: Shift + A (Mac) or Shift + A (Windows). This instantly adds a custom animation keyframe without needing to open the Animations panel at all.
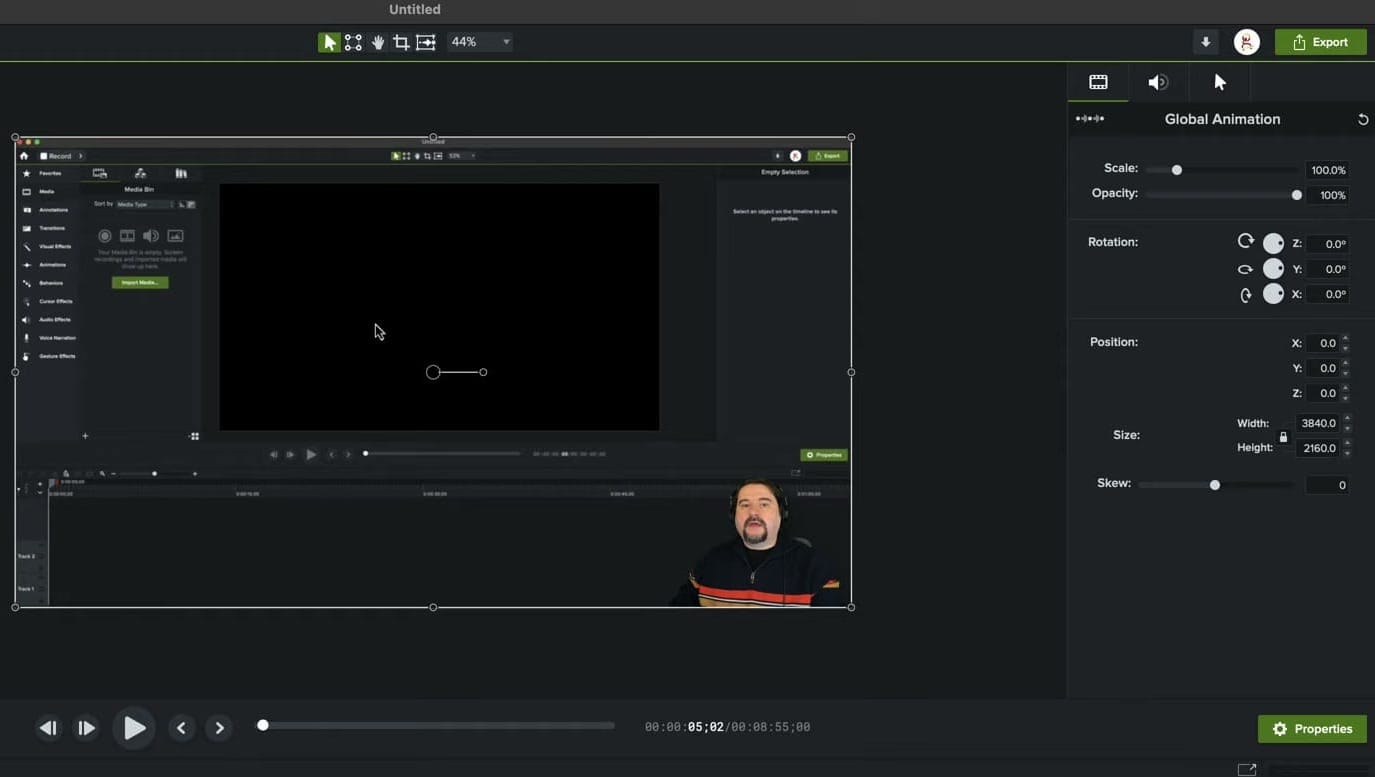
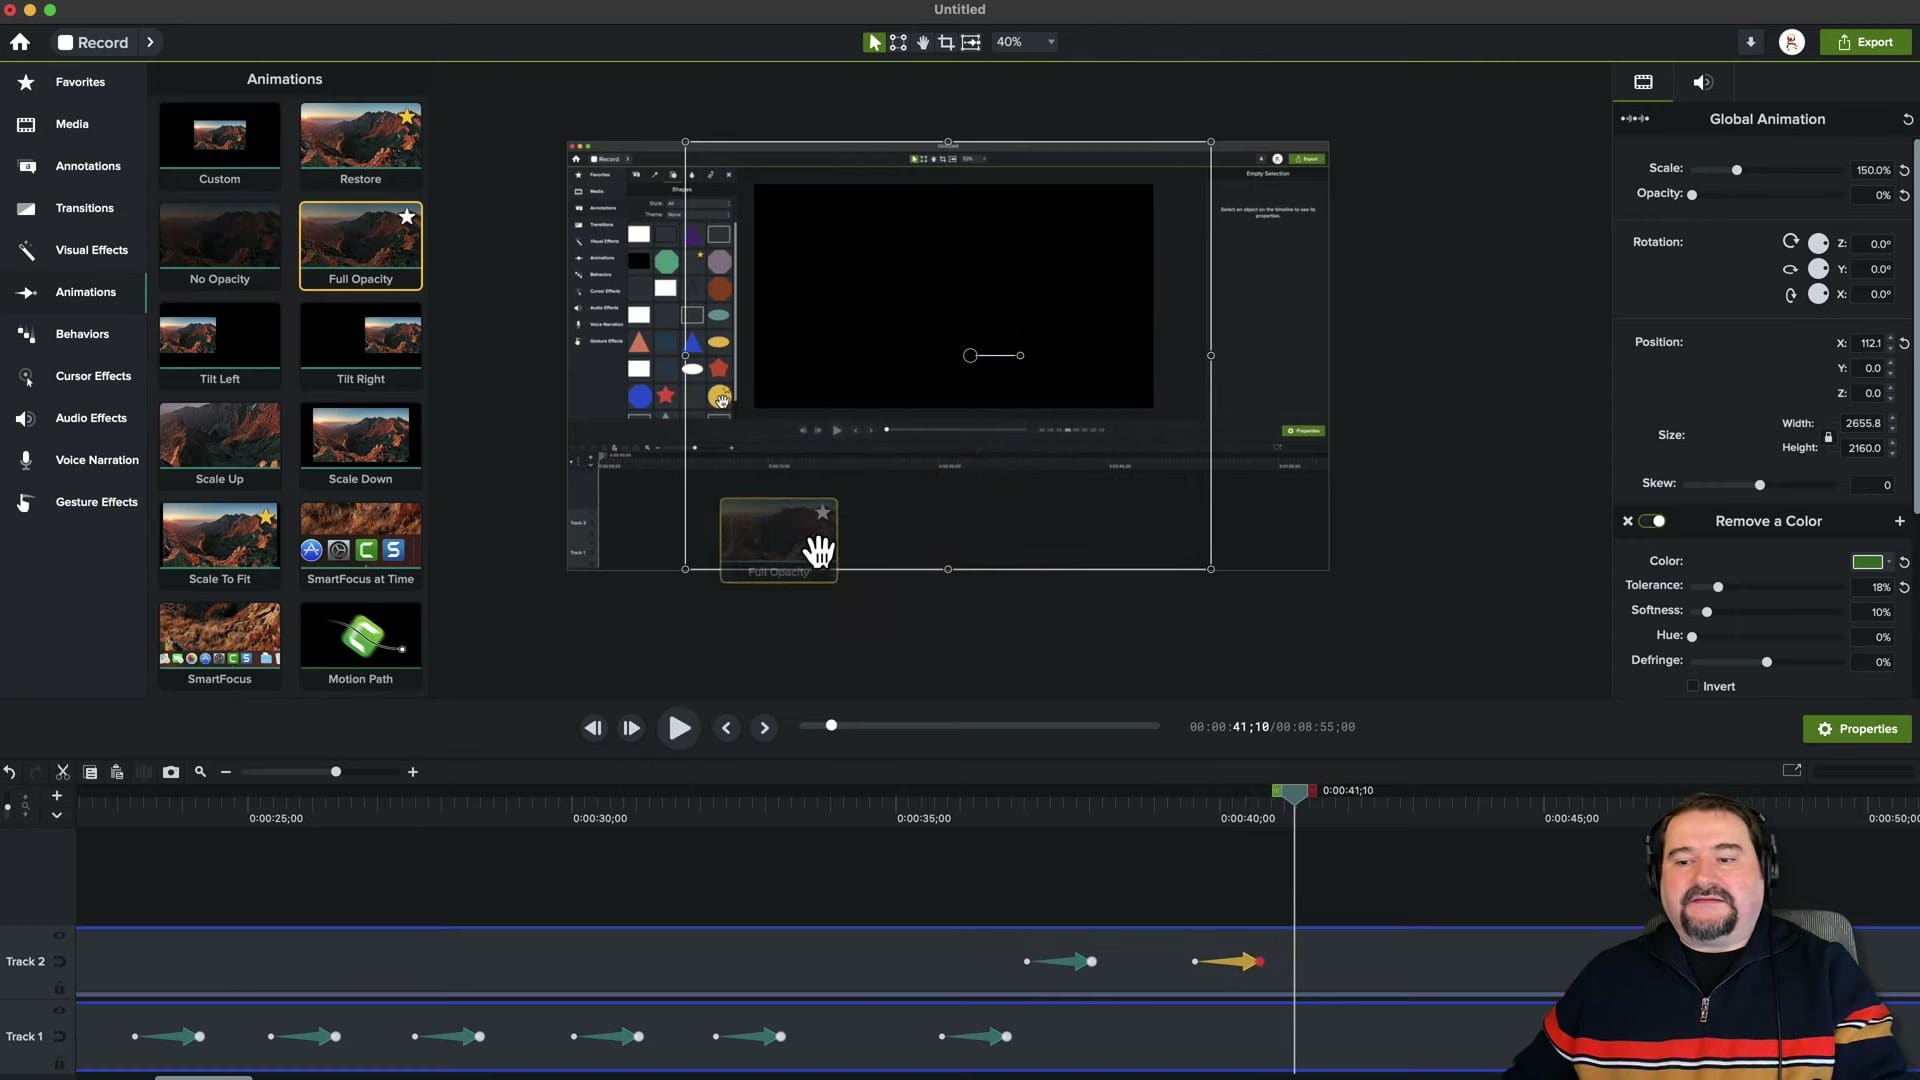
Once you add a custom keyframe, the properties appear in the right panel. Here you can set exact values for Scale, Opacity, Rotation, and Position. Move the playhead forward, change the values, and Camtasia animates between the keyframes.
If you're just moving or rotating, you can just grab the object or clip and move it, no need to change values in the Properties panel. Camtasia will record the new values for the animation.
2. Restore Animation
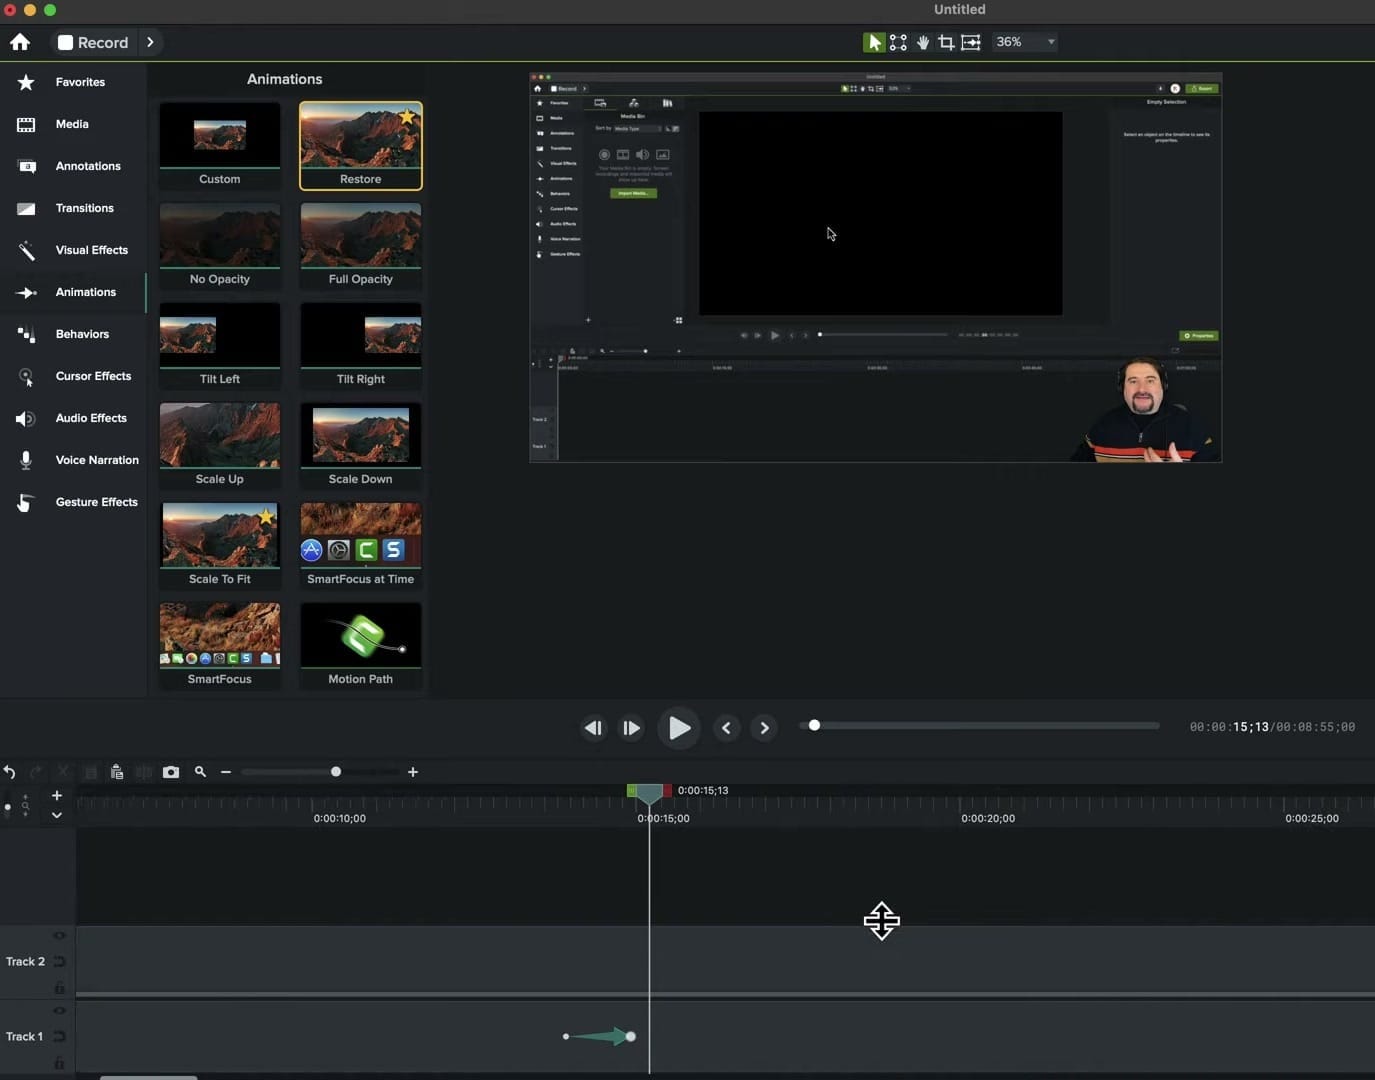
The Restore animation is the perfect companion to Custom. After you've moved, scaled, or changed an element with Custom keyframes, Restore brings it back to its original state with a smooth transition - an animation equivalent to the previous one but in reverse.
This is incredibly useful for "zoom in, then zoom back out" effects — use Custom to zoom into a detail, then Restore to smoothly return to the original view. It saves you from manually setting the return keyframe values.
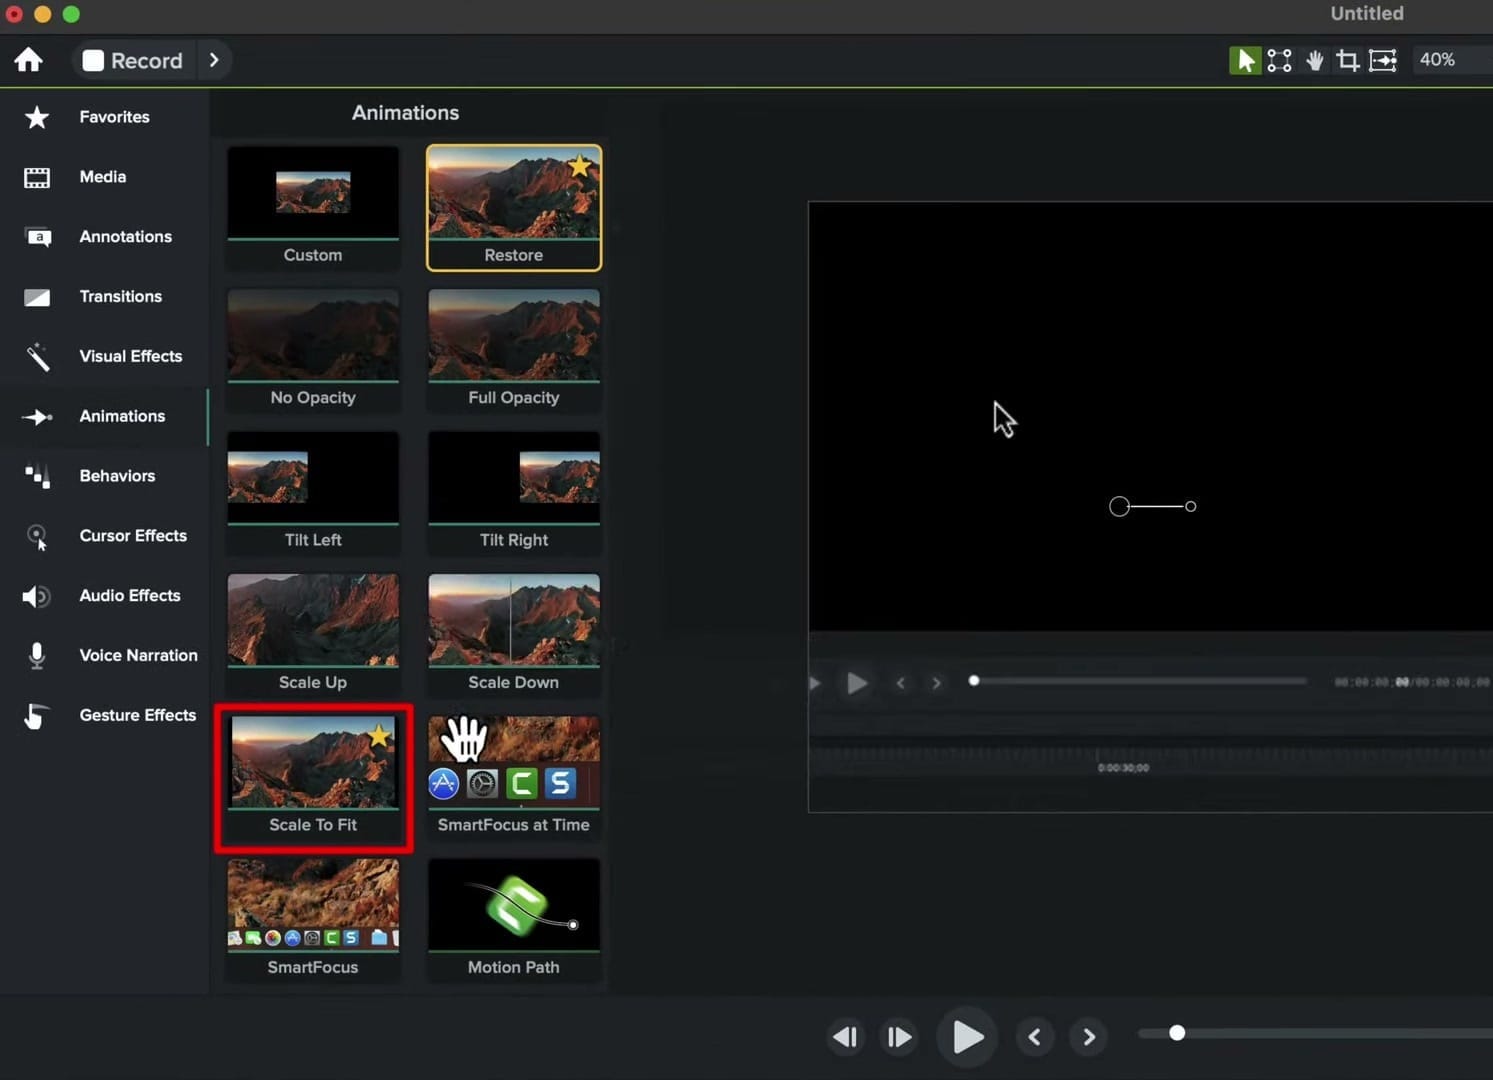
3. Scale to Fit
Scale to Fit automatically scales any element to fill the entire canvas. This is particularly useful when you have a webcam clip or an image that's smaller than your project dimensions and you want it to fill the screen.
Combine Scale to Fit with Custom for dynamic effects: start with the element small in one corner, then Scale to Fit brings it to full screen. Or do it in reverse — start full screen and Custom-animate it down to a corner.
Combining the Three
The real power comes from combining these three animations. A common workflow:
- Scale to Fit — Start with your webcam filling the screen
- Custom — Animate it down to a small corner when showing a screen recording
- Restore — Bring it back to full screen when you're talking to camera again
This creates professional-looking transitions between talking head and screen recording segments without any complex keyframe work.
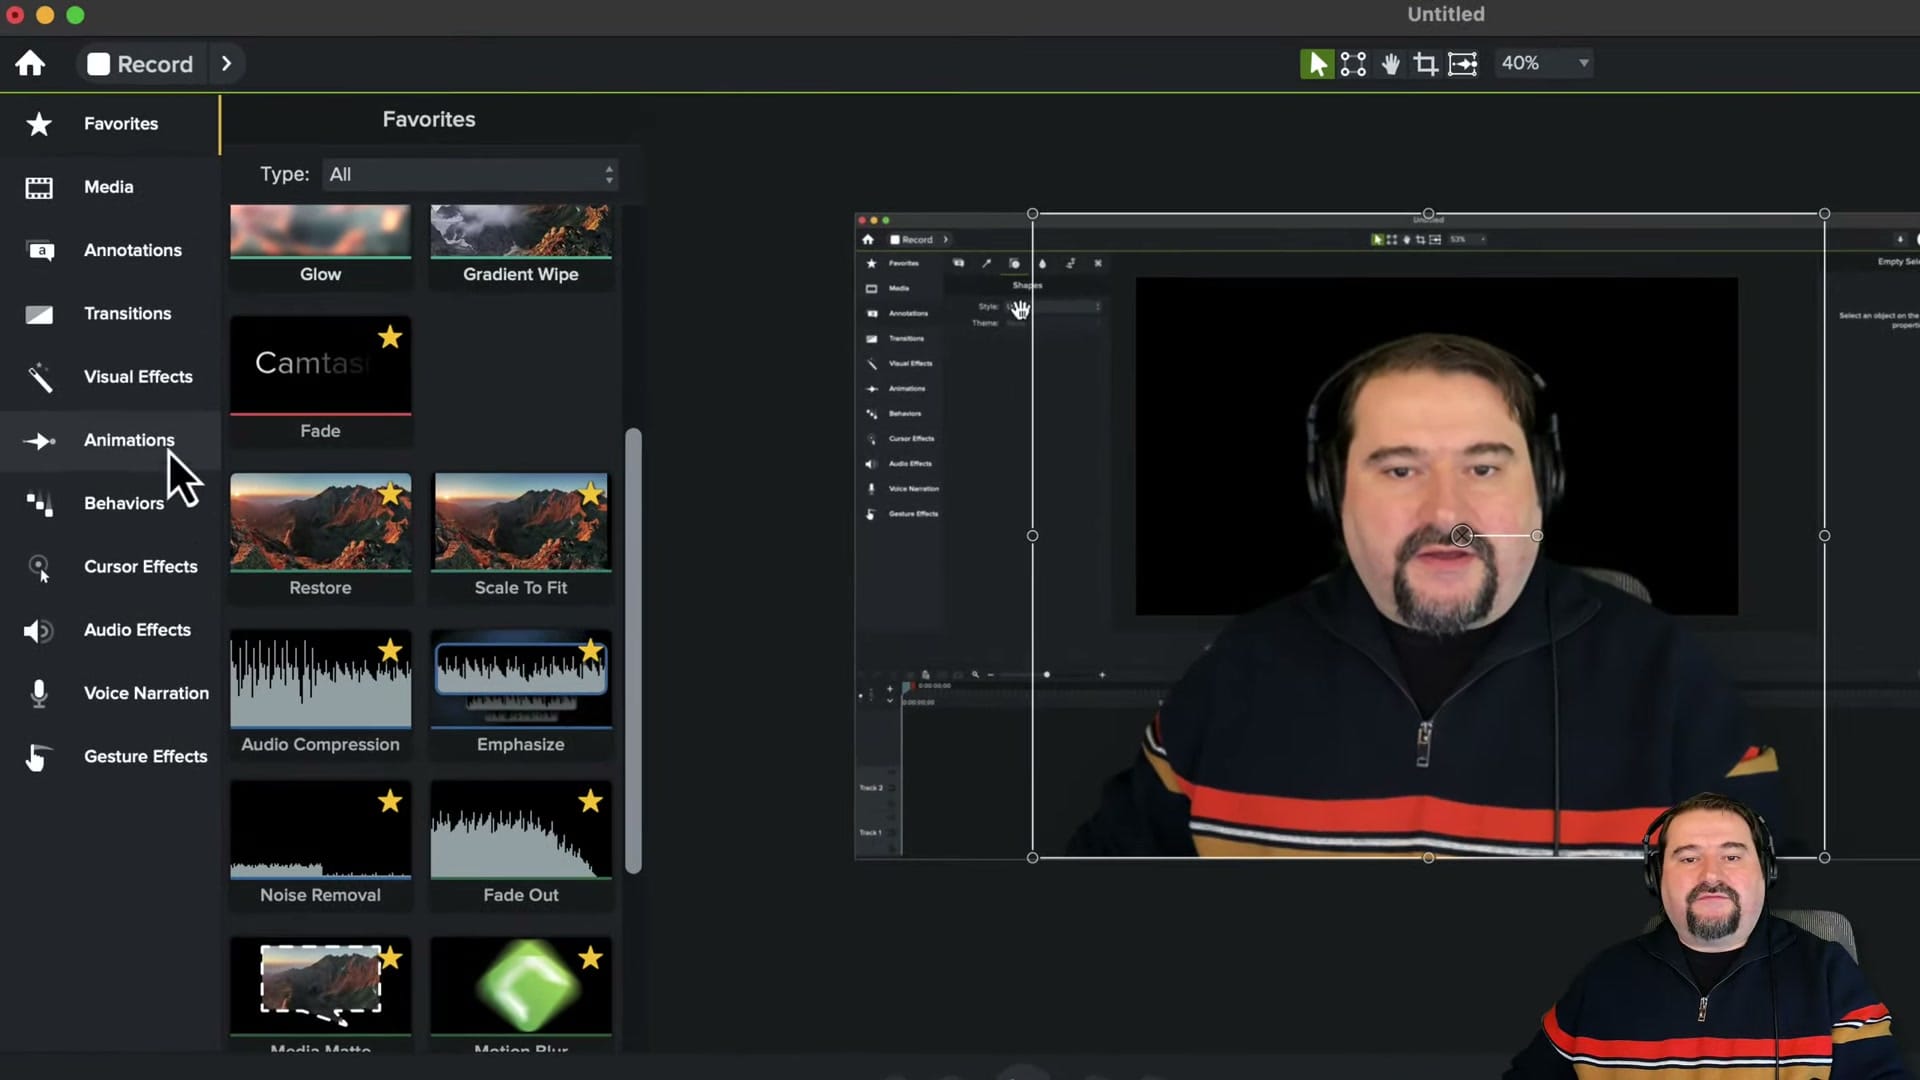
Bonus: Add to Favorites
You can star any effect or animation in Camtasia to add it to your Favorites panel. Click the star icon on Custom, Restore, and Scale to Fit, and they'll all appear in one place — along with any other effects you use frequently (like Glow, Fade, Audio Compression, or Emphasize).
Quick Reference
| Animation | What It Does | Best For |
|---|---|---|
| Custom | Adds a keyframe for any property | Moving, scaling, fading — anything |
| Restore | Returns to original state | Zooming back out, resetting position |
| Scale to Fit | Scales to fill the canvas | Making webcam/images full screen |
These three animations cover 90% of what you'll need in Camtasia. Master them, add them to Favorites, and learn the Shift+A shortcut — you'll be animating faster than ever.

If you’re wish to learn more about Camtasia and wish to have a one-on-one Camtasia coaching session, feel free to book a call with me.
I’m here to help you with any questions you have and to guide you through the best workflows, tips, workarounds, or just answer any questions you may have!


