How to add videos inside custom shapes in Camtasia 2021 | Custom Shape Masking
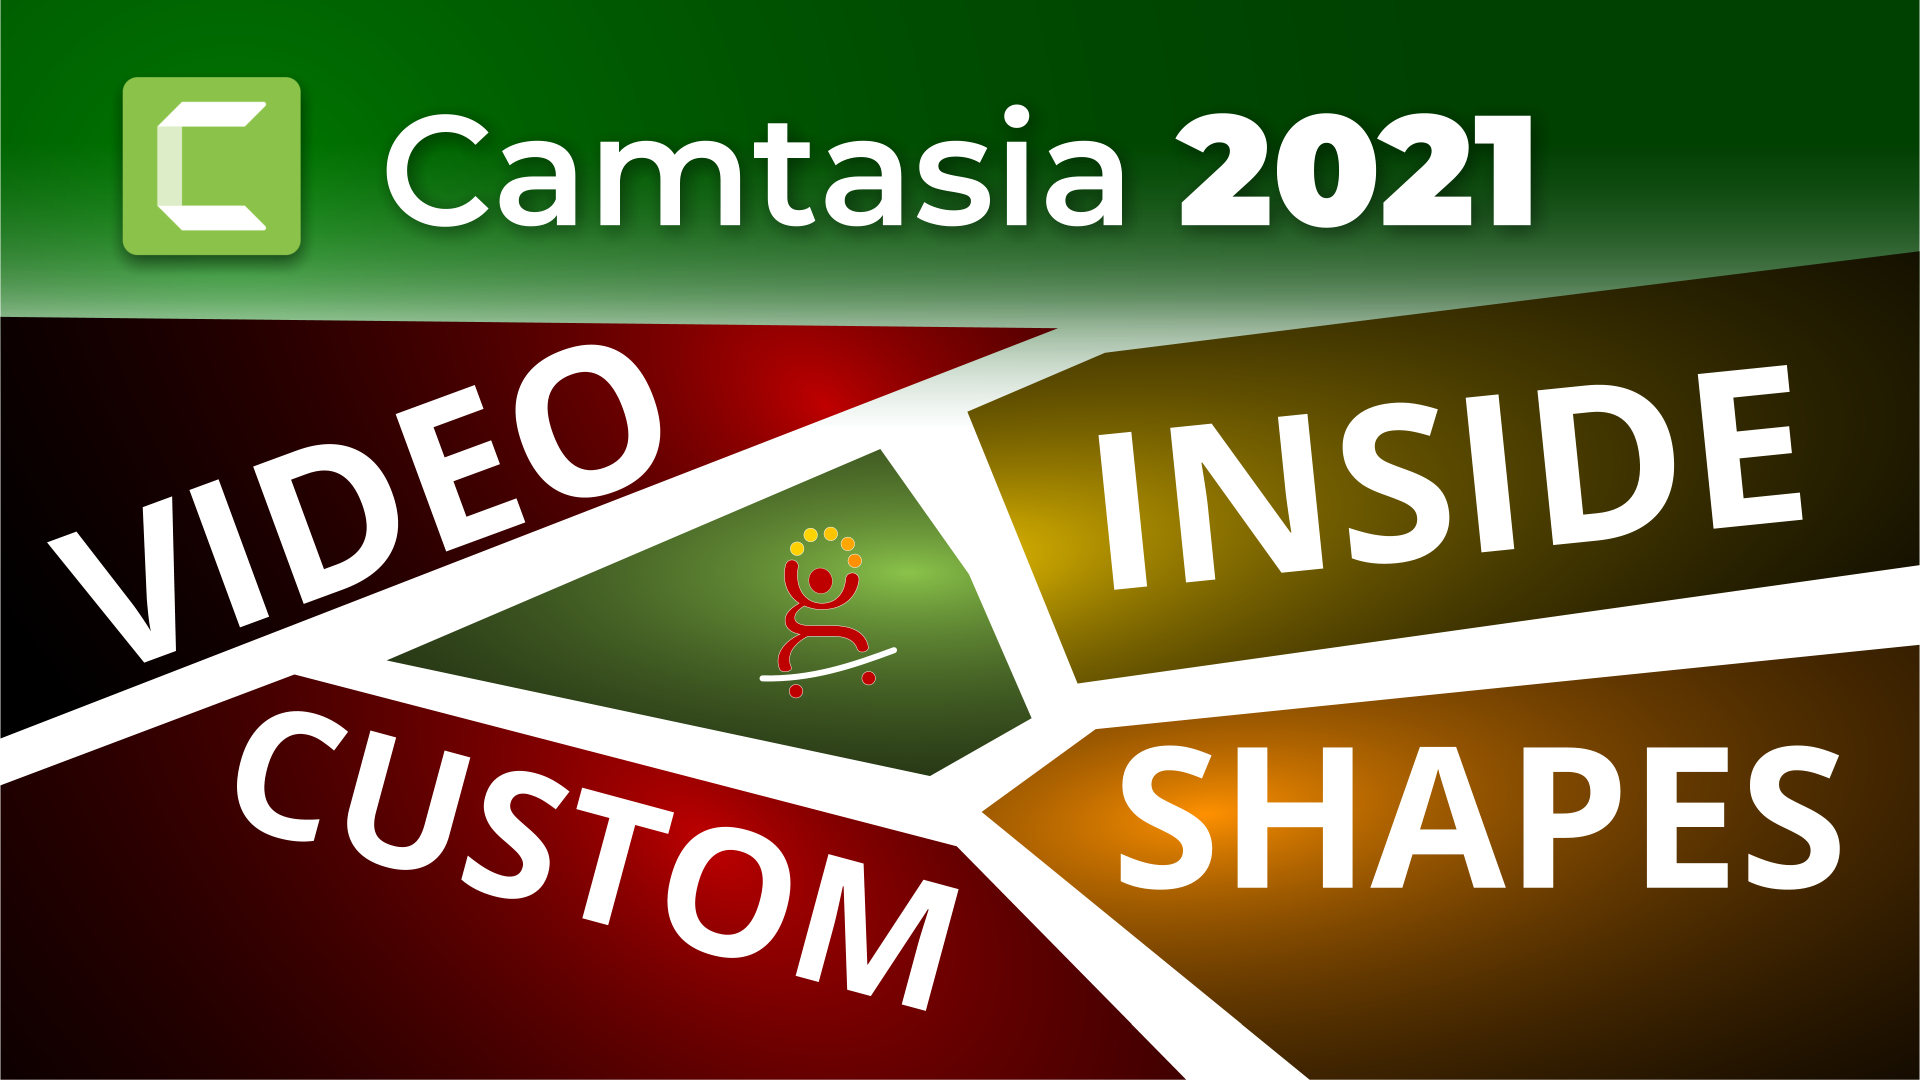
How to add multiple videos in custom-made shapes, non-rectangular or irregular masks in Camtasia 2021? This video is an answer to a question on the Camtasia Users Facebook group. Someone asked how could they create a video that has multiple videos inside of different shapes in a template, and the shapes are not straight shapes, they are triangles or slanted and irregular shapes.
This effect is easy to achieve and it's a good application of the Media Matte effect in Camtasia, which was introduced in Camtasia 2021. The Media Matte helps you create this particular kind of template and it allows you to put multiple videos on screen, inside different shapes.
The shapes we create in this tutorial are 100% native to Camtasia, we won't be using any external software to create them, and they are perfectly adjustable, you can change their shape, the size, the mask mode to be Alpha or Alpha Invert.
So Media Matte really is a way to use an object or a shape or another clip or an image, and turn it into a mask to either show or hide whatever is on the track below your object. So what I mean by this is you can apply the Media Matte to a shape of a triangle, for example, and that triangle becomes a mask for whatever you put underneath it, like a video clip or another graphic or whatever. Media Matte can be used also with PNG files that you create in external programs so they can also be turned into masks but keeping things inside Camtasia gives the ultimate flexibility.
In this video we also look at how to group the shapes, discuss how Media Matte is applied and how it affects the clips underneath. We also fix the opacity on the mask and adjust the mask that is not straight or show the flexibility you have by keeping things native to Camtasia.
In this advanced masking tutorial we also look at proxies briefly, and how they make editing faster. We also look at how we can replace the clips inside the mask and how to animate the clips inside the mask, in case we need to keep the subject in view when it changes position.
If you wish to download the file I created in this tutorial, go to this link.
Hello, this is Cristi. This video is an answer to a question that I got on the Camtasia Users Facebook group, and someone asked how could they create a video that has multiple videos inside of different shapes in a template, and the shapes are not straight shapes, they are triangles or slanted shapes and so on.
So I thought it was a good application of the Media Matte effect in Camtasia, which was introduced in Camtasia 2021. The media matte helps you create this particular kind of template and it allows you to put multiple videos on screen, in different shapes.
Now let's start and have a look at this template. So this is the template that was in the example question and I'm going to show you how you can actually slice up your screen into these shapes. This is just for example, I'm not going to actually use this image in the final video, but this is just to help us kind of cut up the screen into those shapes. And as you can see here in the example, every one of these shapes has a video in it at the end. So how can we achieve this?
Well, first of all, let me check that my Project Settings are correct, so I'm going to switch to HD and apply like this. So this is the shape we're going to use as a reference. I have cut it up in a wrong size here, so I'm going to actually crop this to fit exactly on the screen, using the ALT key. You can just crop away black areas like this, and now let's put this on the screen so that it fits inside of the whole screen, like this. More or less accurate like that. So we, what we want to do is we want to cut up the screen into all these five areas. You can see this line here, that's separating, we can add that later, but these are the shapes. So how can we do this, because in Camtasia you can crop video, which of course you can crop it sideways, you know, left, right, top and bottom, which still keeps the video straight. But how can you actually make these shapes? And of course in Annotations, if you go to Camtasia and you show all of these shapes here in Annotations, you can probably find a triangle here, if I'm not mistaken. If we go to Shapes, so we have triangles here, but of course not all of these are triangles. And if you try and create a triangle like this, let's try the middle one. You can actually play with this and kind of turn it around. And it's really, really difficult to get it into exact shape.
The moment you try and resize it like this, you, you may succeed, but if the triangle is not really a fixed size, it's going to take you a while to do it. So there must be a better way. Plus, this one here, number five is not really a triangle or number four, it's not a triangle, really, unless you turn it and kind of crop it from the outside. You can actually do this like that, but it's gonna take a long time.
So I'm going to show you a different way. The second way, which I'm also not recommending you do is to create all these shapes in a graphic software, external to Camtasia, and just import those in here, and you put it on the, on the screen and use them as a media matte. But again, I tend to like to keep things inside of Camtasia, if I can, native to Camtasia because that gives you the most flexibility, when you want to make changes. Maybe I change my mind and some of these shapes, I want them to be slightly larger or smaller or have different angles in some areas. So then again, I'm going to have a problem because I have to go again to the external software and create the new shapes.
But if I keep things inside of Camtasia all the way, then I can have that flexibility. So let's see how we can actually do this the right way in Camtasia.
So I'm going to just keep this on screen as a reference image, but I'm going to bring in five videos at the end. I'm not going to bring them in yet, I'm just going to create this template first.
We will use a effect that was added in Camtasia 2021 called Media Matte. You'll find it in the Visual Effects here on the bottom there's, Media Matte. Of course, I need to create the shapes first and apply this Media Matte to them. So. The matte thing was available in Camtasia 2020, it was introduced, but you had to do it on a, on a separate track on its own, which was a bit awkward and very many steps, and you know, the new version Media Matte is much easier because you can just drag that onto the object. So Media Matte really is a way to use an object or a shape or another clip or an image, and turn it into a mask to either show or hide whatever is on the track below your object. So what I mean by this is you can apply the Media Matte to a shape of a triangle, for example, and that triangle becomes a mask for whatever you put underneath it, like a video clip or another graphic or whatever.
So that's what we're going to achieve here. But the problem we have is actually creating the shape in the first place. And like I've shown you, it's kind of awkward to do it with triangles here and, of course, if you have shapes that are more complex, like if they have rounded, you know, squiggly edges or whatever other irregular shapes, then of course, you're going to have to do that in a separate graphics program and bring that image in as a PNG and make it, turn it into a mask.
But if it's straight edges like this, it's very easy to do it in Camtasia, so let's see how we can do that. So let's create the first graphic on the top left, video one. That is a very simple one. I'm just going to go to Annotations. So just so you know, we're going to create all of these from individual annotation shapes.
Okay. So I'm going to use a rectangle here. I'm going to just place that rectangle on the entire screen like this. Actually, I don't have to put it on the entire screen, just there and I can change the opacity a little bit, so you can see through. This is not, you know, at the end, we don't need to have annotation, so with, with opacity.
So this is, let me just give it a different shape here. So this is red, okay like that, the color doesn't matter anyway, because when you turn this into a mask with the, with the media matte, the color is not important, it's just important how much shape is there. So you can see here, I've created this shape here, but I need to actually slice off this part of the shape because I don't want this area to be seen here.
So I'm going to use another one just like this. So what we're going to do is just create one shape with another shape. So let's choose this black one, really again, the color doesn't matter. Let's resize it and rotate it until it matches this line here perfectly. You can zoom in if you need to, and just turn this around like that.
And place it here like this. I may not be very accurate with this, so you can go to the rotation controls, click inside of the Z for example, and just use your arrow key to, to slightly twist and turn this object. When you're happy, look at this, so this is one shape, okay. So how can we actually cut out this shape from the bottom shape?
Again, we will use the media matte, go to the visual effects, apply media matte to the black clip here. Let me zoom in on the timeline, and if I apply this, watch what happens, on the black clip, that black clip becomes a mask for the clip underneath, which is the red clip, but here it actually shows you the shape that is outside.
So you have two options. You can shift the black clip to the left area like that. You see that now, so you, you only see the red part. Let me undo this. You can change the Alpha to be Alpha invert, which achieves the same effect, you know, Alpha, Alpha invert, Alpha invert shows you what is outside of the shape.
Alpha shows you what is inside. Let's keep it to Alpha and move this shape here, like that. So that is our first shape. If the angle isn't right, you know, feel free to adjust it a little bit, go to the Z and just press, you know, arrow up or down. And when you're happy with the cutout, select both of them, check this out and Control G to group.
So now this is your shape. There you go, you've got a triangle shape, perfectly created to fit that particular area. So this is one way to do it, to do the shape. So how do you do the other shapes? If they have straight edges, this is exactly what you do. Just create cutouts from them. Let's create the second one, which is down here again, triangles all the way.
And you know, you just, you can actually use a triangle or you can use rectangles and just cut out the corners. So let's go again though, let's rename this one to be, Rename group, let's call it a video one. Okay. So that's the video one mask on the left there. Again, the color doesn't matter, but if you want to, you can actually change the color here so that you can have them color coded, you know, it's really not important.
And that's your color there. So that's video one.
Let's try on video two now. This is on the bottom left here. The same way we just go to create a rectangle like so, and we can resize it, we can turn it around like that to match with one corner, one side actually, and resize this all the way. Maybe zoom out a bit. That may not be the best choice, let's rotate it a little more. So the idea is to just match up with one side first, and resize your object to fit one side like this. Again, you can turn the opacity down so you can see what's underneath. Zoom in there. So you can use your arrows to perfectly position your object and then use another one, just bring it down there and turn it around, turn the opacity down again, rotate it to fit the other shape, the other edge. Use the arrow keys to just move it up and down like this. It takes a little while, but once you're done with this, you are free to go, and here we go. So now this is the shape I want to keep. The intersection of these two shapes is going to be my final shape.
Go again to the Visual Effects, drag the Media Matte onto the white shape like this, and there you have it. That's your shape there. If you group it again, select both of them and group, there you go, you have the other shape. Now of course you can see the other side, the other stuff that's outside of the screen, but that's not important because you only care about this.
So if you right click on this group and you say Resize Group to Canvas Size, it's just going to cut out anything else and show you a nice shape here. Again, you can change the color, it's red. So that is my second one. So the third one is actually still a triangle. So I'm not going to actually go through this, explaining it.
I'm going to just do it, but you get the point. Let's try video five as an example again, and video five again. It's. Let's rename this for now. So that is video two mask. Okay. So video five is actually a three edges here, four, five, so five edges. But again, the idea is the same. You're just gonna go to, you can actually do another way.
You can actually create the shapes around the edges and then group them and use that as an invert mask. So what I mean by this is, you go to the Annotations again and, you know, as always just use rectangles all the way. So you just create these big rectangles like this. Make sure you fill the whole screen because that's one condition of this. Go to the rotation here, use the arrow key to turn it like this very accurately and, you know, just push it down and use the arrow key again until your shape is in place like that.
Now expand the shape to fill everything else. You just want to leave this area visible, right. So that's one shape. Okay. And let's do another shape here. That's going to be this edge on the left. Just resize that and rotate it. So as you can see, we are, we're just bordering this object. Again, stretch that to fill the whole area. You want to cover the entire area of the screen. Okay. So then let's do the bottom one again, it's very simple, just zoom in there and just resize it. Rotate, you know, just fit it exactly on the edge like that. So just use the arrow keys a bit there. So there you go. That's my video five.
Of course now I can't see anything else, but what I've done here is I've created three layers. So I'm just going to copy, a group, all of these three layers, Control G. So that is the video mask. And if I were to add a video now, so let me just show you, if I were to add a video to the canvas, I'm just going to bring in a, a video clip here and put it on the timeline like so, and I'm going to move video mask five. This is five, let's rename it, video five mask. If I move this on top, so above the video clip, so this is how you actually apply these effects to the clips.
So let's suppose that this is your clip here, so you can, you can move it around, resize it, you know, that's my, I guess that building, I want to see that through.
So now you go to the Visual Effects again, if you don't see it, click more, Visual Effects, Media Matte, apply that to the black clip, which is now a group actually. So apply that to the group, there you go, and as always, it just shows you what's inside of the shape, so that's not helpful, but if you go to the right side in Properties, change it to Alpha Invert like that.
So then your video five mask will leave, will let that clip see-through, city fly through. And again, if your mask is not long enough, all you do is just take that group and expand it to the entire clip length. You can do the same with the other ones, because if things are in a group inside of the group, when you expand the group, the end of those clips are just going to expand to however long your group is.
So look at this now, video is inside of shape five. If I play this, it's just playing in there. See what I told you about the flexibility, if you zoom in here, you notice that I have mistaken, I've left this edge here, which is a little, you can see a little bit of white. So it's not perfectly accurate. All you do is to fix that, you just open the video five mask, just open the group like this in, Camtasia 2021, it's very easy to edit the contents of a group because they open in a new tab. Some people don't like that, I kinda like it because it gives you more freedom to work in it. It was very awkward to do it when you had different many, many, many clips inside of a group.
So now let's find that shape, the one on the left, bottom left. This is the one, click on it and you can see now I can individually rotate these. Click inside of the Z and just use the arrow keys to straighten that out. And or you can just move it like this. So I'm fixing that mask without, you know, having to re-import another graphic.
So there you go, it is now perfectly in place. I can just click and close that group, and my shape is just perfectly allowing the video to play like that. Just make sure that all of your groups have the same length, you know, to fit your videos that you're going to put inside of them. With that being said let's, let me just quickly do this on speed playback.
I'm just going to do the other two groups so that we have all five shapes in there, ready for us to put the video clips inside of them.
One thing to note here is that when I put a video clip inside of one of these groups, if I have used the opacity to slide the opacity down so I can see through it, make sure you turn it back up when you're done, because then that's going to actually show you the mask with opacity, which is not very nice. So I'm going to just turn up the opacity. Just go inside in the group and just put the opacity all the way to a hundred percent.
That's going to show your video clip properly in there.
So, as you can see here, I've already added four clips. It's the same clip, but of course you can add your own clips in each one of these and position them. So in my timeline here on the tracks, you can see they're all stacked like this. I still have number four to do, but you can see video one mask has video one on, video 2 mask has video 2 just underneath, so these media matte effects, they work on the track immediately underneath them or the next track that has content just below it. So if you move this track up or down, the effect breaks for that particular clip, because it only affects what's underneath. So that's one important thing to note.
And if you add them like this, you know, you can create all the shapes at once and then you just put all your clips and then apply the effect one, you know, in sequence, until you get all the clips cropped and put inside of your shapes and then you have your effects. And you can actually group the clip with the media matte effect that actually affects it. So for example, if I want to not mess this around, when I'm moving things about, I have video one mask on the bottom left there, and the clip it affects. I can actually select both, and Control G to group them, so now the whole thing is one clip. Look, I can actually move it around on my canvas. I'm moving the wrong one though.
And you can move it around, like this, use your arrows and it just, or you just drag it, so it becomes a single object with the video, just cut out inside of it. So that's one way to organize things by using groups, so then everything stays neat and tidy. And if you need to make changes, you just open the group with using the plus sign there and you just shift things around, you know, change opacity, whatever you can change the positioning of the clip and so on.
So now let me just finish this with number four.
So I moved all of these clips on the timeline in order, on the tracks, in order of numbers, right. So I have 1, 2, 3, 4, 5. Five is at the top. It doesn't matter any way because you, all you need to do is just leave one track below each one to put your clip in. So I'm going to put this clip again for the fifth time.
I'm just using the same clip and video formats, which I just create a Visual Effects, go to Media Matte and apply that to it and make sure you of course change the Media Matte to Alpha invert, if you have cut out the shape instead of creating the shape from the other shapes. So like this now, you can see now here, my clip is done, my template is done. I have five videos in here, each one of them in a separate shape. So if I click and play, all of the videos are playing individually. So again, if you click on any particular clip, you can resize it, reposition it inside of its own shape. And this is one way to do it, so there you go, you now you can play now all of these videos and they individually stay within their shapes.
I may have something wrong here, let's see. Number five, that's number five, four, I believe one of them might be affecting the other ones. So let me just group them. Five with the five, group like this and move it. And four with the four again, keep them all together, like that and three, two, and I have one. So there you go, this is one way to do it.
And now if you want to swap one of the videos and fit it inside of its respective shape, you just go inside of that shape, you open the group, and there is your clip that you want to replace. So let's suppose I want to bring in a new clip here from my hard drive.
Just drag your new clip in here, select the clip in your Media bin and select the clip on the Timeline, the one that you want to replace, and you can right click on the Media bin for the new video, and you can say Replace Selected Media on Timeline, Ripple replace or Replace from the start, like this. So now, my video is shorter, actually, so I need to move my play head back a bit, but you should now see that new clip in there. So again, click on it and move it around, position it any way you like, you know.
And then your video is going to just play inside of that area right there. It actually helps, if you have Camtasia 2021, it helps to create proxies from these video clips when you're editing, because it's actually much faster. As you can see here, I'm just I'm playing back and sometimes I need to wait for a little bit for it to refresh and recreate, so you just right click on the video clips, select them all in the media bin, right click on them and say, Proxy video, Create Proxy Video. That might take a minute for them to create the proxy video, but after you do that, you're going to notice that all the videos are going to actually play much faster on your timeline, like this. Notice that, so there might be something wrong with my mask here. So if something's happening in your, with your mask, like for example, this one see, it's disappearing for some reason, that probably means that inside of that group, I messed something up. So I'm just going to open the group and check my shapes.
There you go, that is fine, and that is fine. So maybe one of the groups has been changed. Let's see which one it is. Okay. I think it's video number three. If I open that in here and I open the video mask, you can see that my shapes are actually, one of the shapes is wrong and I need to just pull it back here to fill the whole area.
So, one thing to note, if your shapes need to create a specific shape for you to be a mask to have a mask inside of them, then you must have make sure that all of the shapes that compose that shape actually last for the entire duration of your mask. Otherwise, your mask is fluid, I mean, you can have one of these, one of these shapes, if it's not in the right, you know, look, it actually comes in later and it affects the shape of the object that creates the mask. So there's one way to note, if your one of the shapes is behaving weird, just go inside of the group and make sure they all stay in the same place, and they all have the same length. When you expand your group, maybe they get out of sync.
So that's one thing to watch out for.
So there's your object, there's your shape and your template with the videos in there.
One more tip I have for you, if you need to actually move the videos inside of these masks. For example, if I want my building, this building on the bottom right, right, so that's number five.
It actually, again, it helps for you to rename these groups. So that's right click again, Rename. So that's video five, right? So that's video five right there. If you move it around, you'll see it. And by the way, you can lose that template now, in the, in the object on the bottom layer, you can hide it just as a, that's an idea.
So this is video five here. You can animate them and coming in, you know, create a nice, interesting effect. But if one of your videos actually plays, as you can see, it's playing that one actually it's a good, is not a good example because it actually does stay in frame so, but let's suppose that you have a video that you need to move, inside of that shape too, in order to keep the subject in one place, right? So what you can do is you can still apply animations to them. So if I go inside a video five here, and let's suppose I want to move this down during the animation, during the playback, all you do is just click on your group, on your video that is inside of the mask, click on it. You can add a custom animation, go to Animations, Custom, just drag it, there and make it as long as you like. And then during that animation, you can actually maybe shift the video, let's suppose I'm going to just shift it like this. So you can see now the video moves inside of that shape. Just make sure you move it in such a way that you're not revealing the edges of the video, because if you do, then of course, you're going to see the, you know, a black edge or whatever.
And yeah, so just move it inside of that clip. And then when you play it back, the video shifts, but it still stays within that mask. So that is one way to make sure that if you have like singers, for example, just singing and you want them to be in these weird shapes, then you just animate them and make sure they stay in there for the entire duration of the video.
So that is one one trick again. After you remove your guide image again, another tip here, if you, if you move your guide image and you say, well, I don't like this black line here, I want it to be a different color. You can have two choices. You can go to your Project Settings and change your canvas color, so right now it's black, but let's suppose I want to color pick maybe the sky color here or this brown orange, or, you know, or you can just choose whatever color you want. Let's call it that, I don't know, that orange, that was in the guide image to start with. So that's one way to do, change your canvas color, but if let's suppose you have other objects on the screen, or maybe your canvas needs to be black because you don't want to affect your canvas. Maybe you have an intro or something else that needs the black background all you can do, is really just go on the main timeline. Now you can pull these groups together so you can right click on the tracks and say, Remove All Empty Tracks, so again, let me make some room here. So these are your five videos, each one of them has a video inside of it. Again, you can feel free to select all of them and group them together again. So look, I group everything together now, so everything is one single clip, right? Everything's still plays just fine. All of the effect is, is kept together like this. But if you want the background to be different, you just move this up and just go to Annotations and use the rectangle annotation, just drag it in here. Expand it for the entire duration, resize it, you can zoom out and just, you know, resize that. Make sure it's below your effect, of course. And just change the color right there. So that allows you to have flexible, flexible lines around your clips, like so. And it doesn't really matter that it's going outside of the frame because that's not going to be visible.
So I hope this helps. I mean, it was a little bit of a long video here, but I hope I've illustrated the ability to create your own shapes from other shapes, inside of Camtasia and then turn them into masks to mask any clip, any video anywhere you like, and then, you know, produce this interesting video. So thank you for watching.
If you have not subscribed to my channel, feel free to subscribe and feel free to join my Camtasia Support Group for Beginners, for Camtasia on Facebook. And also if you have not upgraded to Camtasia to use these features, and the Media Matte is only available from Camtasia 2021, there is a link in the description to do an upgrade and or, or to buy it, and that would support my channel because it is an affiliate link. It means no extra cost to you. And again, thank you for your time. I will see you on the next one.
More Camtasia tutorials and articles
Camtasia 2022: What's New?
Camtasia 2022 includes a set of new features, a TON of new assets and a bunch of new functionality that hopefully serves as a foundation for more!

Cristian
I specialize in providing clear one-on-one training in software such as Camtasia and Descript, helping you make the most of these programs.
Whether you're interested in learning how to create training videos and tutorials for your company or for YouTube, or are hoping to create your own course or start a podcast, I'm here to help you get started and give you all the shortcuts.
Categories