
How to Adjust Levels in Photoshop: Fix Lighting, Contrast, and Colour

The Levels adjustment is arguably the single most powerful — and simplest — tool for improving the look of your photos in Photoshop. Whether your images are underexposed, faded, washed out, or lacking contrast, the Levels dialog gives you precise control over the tonal range. This comprehensive tutorial covers everything you need to know about using Levels effectively.
Understanding the Levels Histogram
Before adjusting anything, it’s important to understand what the histogram is telling you. The histogram displays the distribution of tones in your image:
- Left side = shadows (dark tones)
- Middle = midtones
- Right side = highlights (bright tones)
If the histogram is bunched to one side with empty space on the other, your image lacks full tonal range — and that’s exactly what Levels fixes.
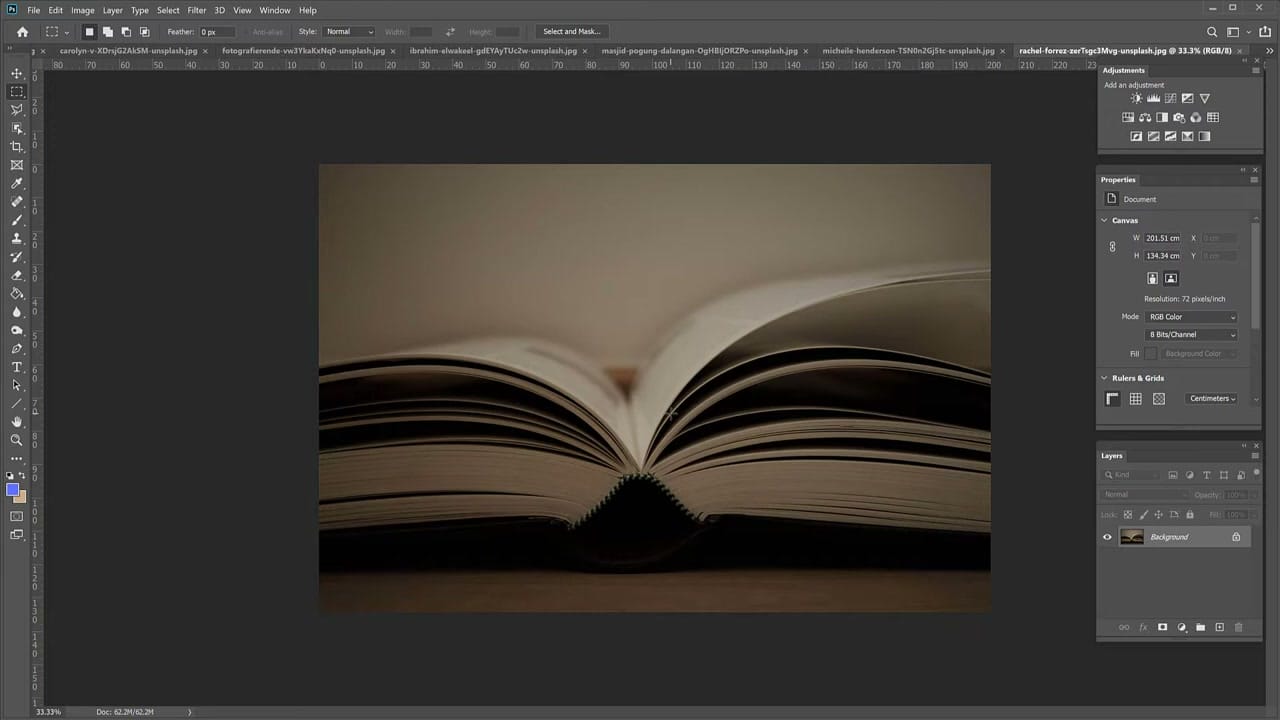
Adding a Levels Adjustment Layer
Always use a Levels adjustment layer rather than applying Levels directly. This keeps your editing non-destructive — you can tweak or remove the adjustment at any time without permanently altering the original image.
- Go to Layer > New Adjustment Layer > Levels (or click the Levels icon in the Adjustments panel)
- The Properties panel opens showing the histogram and three input sliders
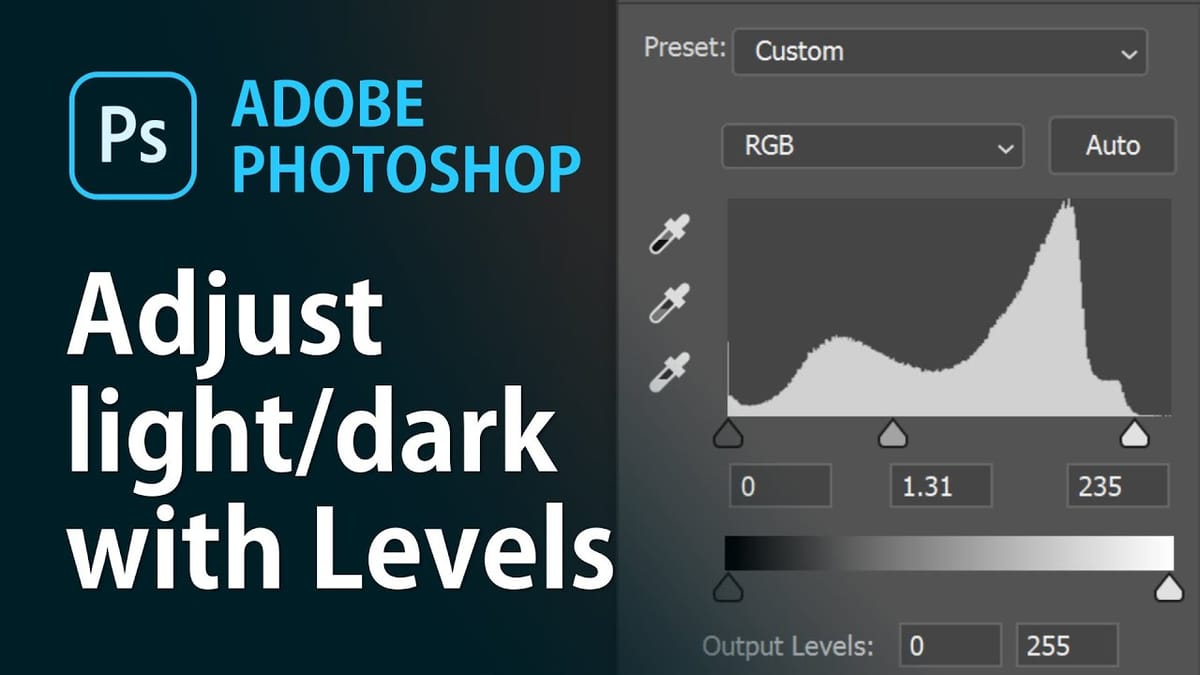
The Three Input Sliders
The Levels dialog has three sliders beneath the histogram that control the tonal mapping:
- Black point (left slider) — drag right to deepen the darkest tones. Move this to where the histogram data begins.
- White point (right slider) — drag left to brighten the lightest tones. Move this to where the histogram data ends.
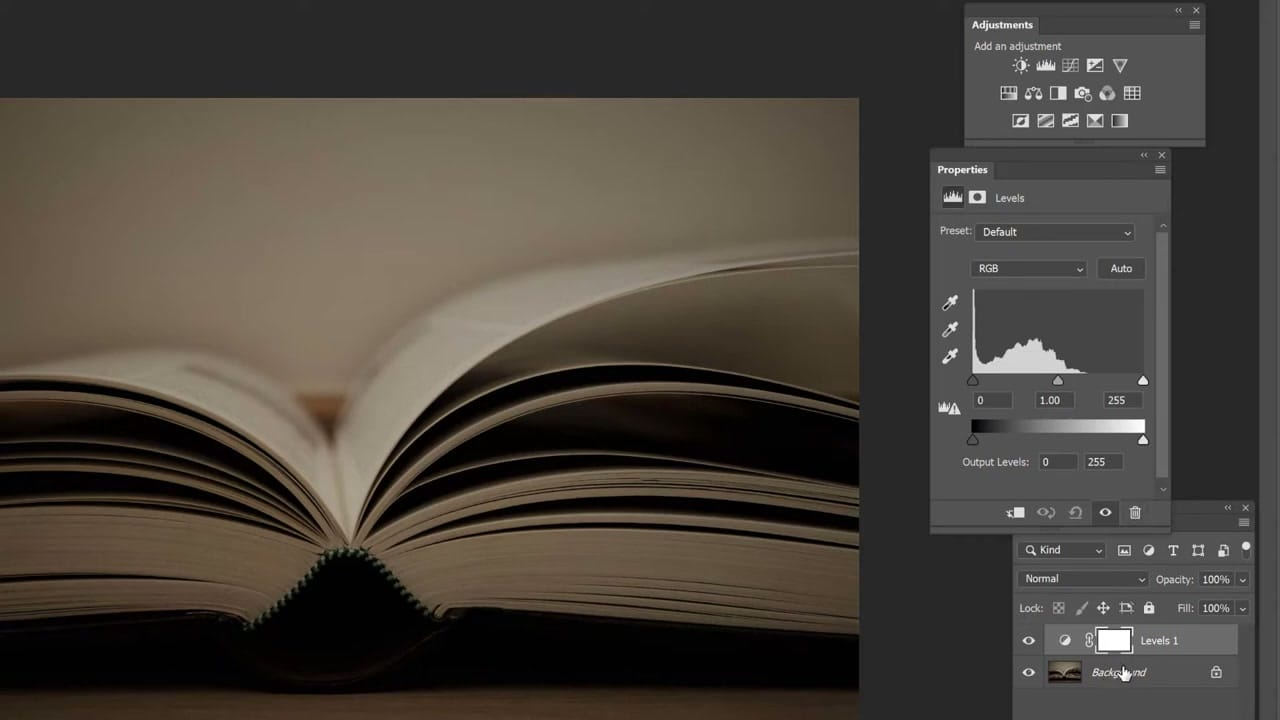
- Midtone/gamma (centre slider) — drag left to brighten the overall image, or right to darken it. This is the most commonly used slider.
The key technique: drag the black and white point sliders inward to meet the edges of the histogram data. This ensures your image uses the full tonal range from pure black to pure white, which instantly improves contrast and vibrancy.
Correcting Colour Casts with Individual Channels
The Levels dialog also lets you adjust individual colour channels (Red, Green, Blue). This is useful for correcting colour casts — for example, if a photo has a yellow tint, you can boost the Blue channel to counteract it. Select the channel from the dropdown menu and apply the same slider technique.
Real-World Examples
The tutorial walks through several practical examples:
- Underexposed photos — images that are too dark, where pulling the midtone slider left brings out hidden detail
- Faded/washed-out photos — where the black and white points need to be pulled inward to restore contrast
- Scanned images — old photos or documents that have lost their tonal range over time
- Photos with colour casts — using the individual RGB channels to neutralise unwanted tints

When to Use Levels vs. Curves
Levels and Curves both adjust tonal range, but Levels is simpler and faster for most corrections. Use Levels when you need to:
- Quickly fix overall brightness and contrast
- Correct a colour cast
- Restore tonal range in faded or scanned images
Curves offers more precision for targeted adjustments (like brightening just the midtones without affecting shadows), but for the majority of everyday photo corrections, Levels is all you need. Understanding how layers work in Photoshop will also help you keep your edits organised and non-destructive.


