
How to Create a 3D-Looking Scene in Photoshop from a Flat Image


Turning a flat 2D image into a realistic 3D object is a valuable Photoshop skill, whether you’re creating book mockups, product displays, or composite scenes. In this tutorial, Cristi walks through the complete process of transforming a flat book cover into a 3D-looking book and placing it into a real photograph.
What You’ll Need
The tutorial uses freely downloadable 3D book spine templates (green book PNGs) that help guide the perspective transformation. You’ll also need a flat book cover image and optionally a background photograph for the final composite. Start by creating a new document at 2000 pixels and importing your flat book cover.
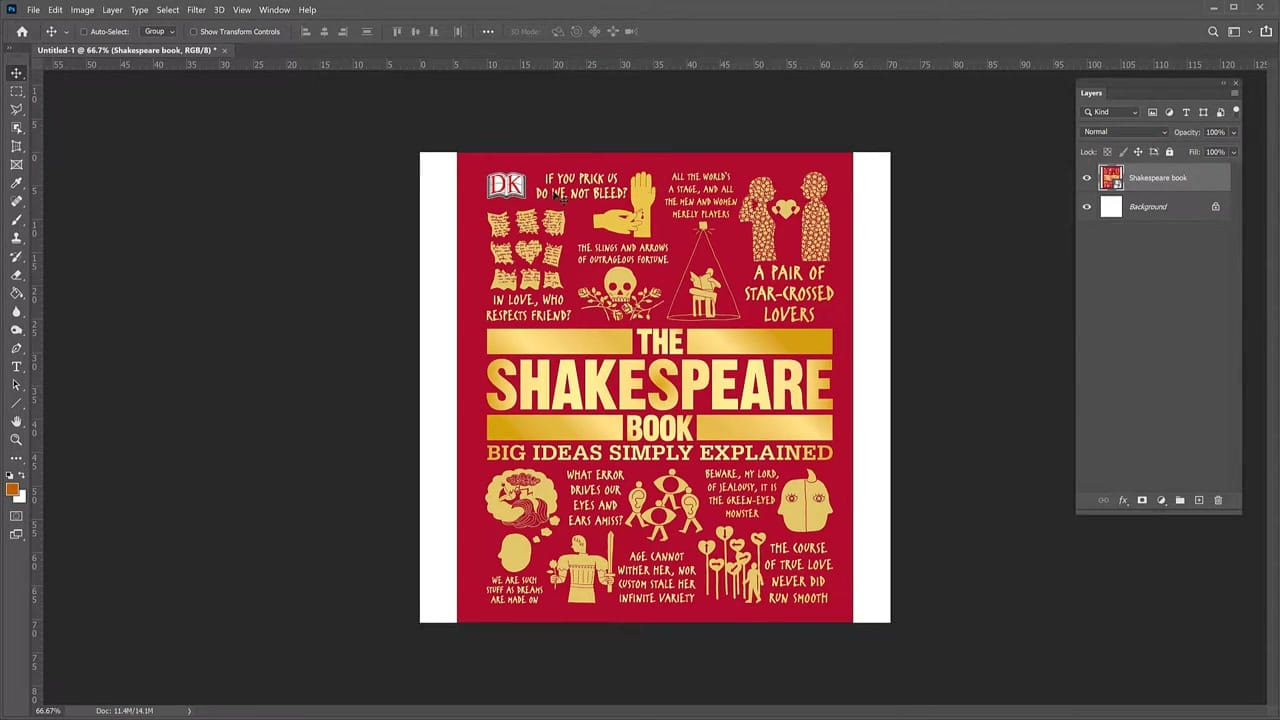
When you drag a picture into another document in Photoshop, it’s automatically created as a Smart Object, meaning you can resize and transform it without losing quality.
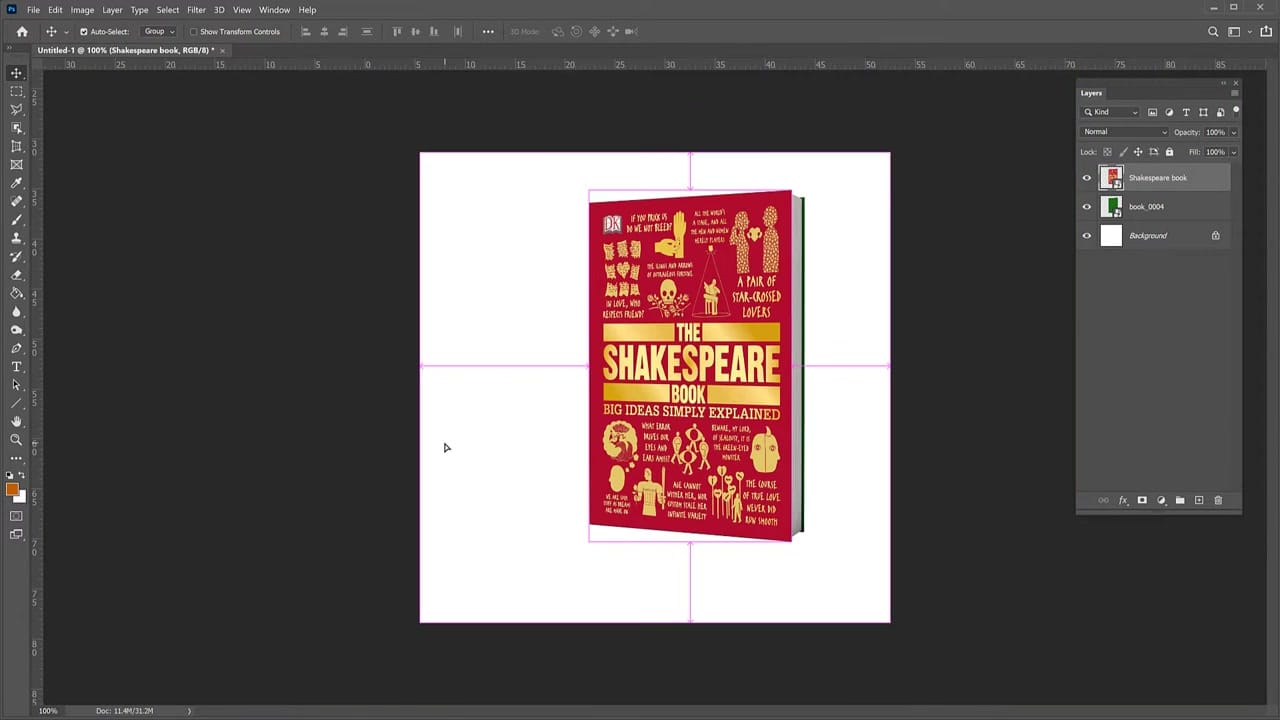
Applying the Distort Transform
The key technique is Edit > Transform > Distort. This lets you drag each corner of the image independently, creating the illusion of perspective. Position the book cover to match the angle of the 3D spine template:
- Select the book cover layer
- Go to Edit > Transform > Distort
- Drag the corners to match a 3D perspective — pull the right side inward to create depth
- Use the green book spine PNG as a guide for alignment
If you want to learn more about the Distort and perspective tools in Photoshop, check out the companion tutorial that covers the fundamentals of these transformations.
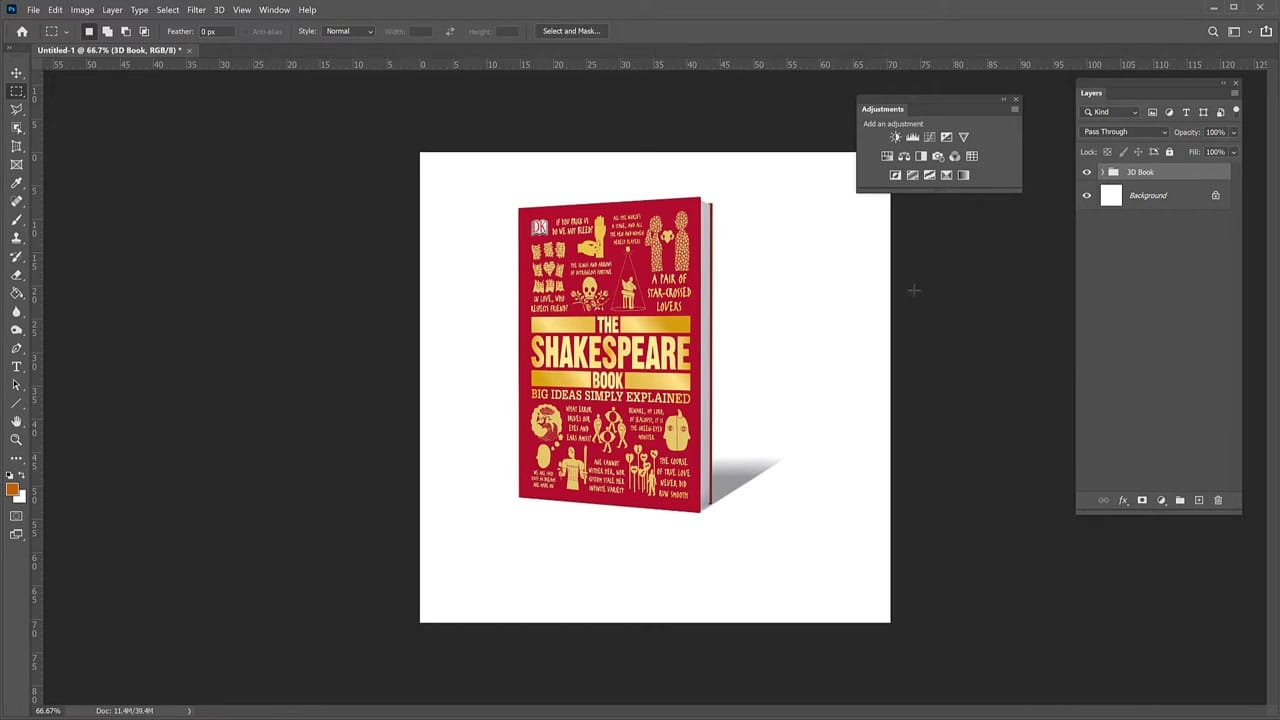
Adding a Realistic Shadow
A 3D object without a shadow looks like it’s floating. To make the book look grounded:
- Add a Drop Shadow layer effect to the book group
- Convert the drop shadow to its own layer for more control
- Use Transform > Distort on the shadow layer to angle it naturally
- Reduce the shadow’s opacity and apply a slight Gaussian Blur for realism
Integrating into a Real Scene
The final step is compositing the 3D book into a real photograph. Import a background image (this example uses a photo from Unsplash of a book stack with a plant), then position and scale your 3D book to fit naturally within the scene. The perspective, shadow, and lighting should all match the surrounding environment.

Tips for Better 3D Mockups
- Group all book elements (cover, spine, shadow) into a layer group for easy positioning and reuse
- Match the lighting direction of your shadow to the light source in the background photo
- Use Smart Objects for the book cover so you can swap in different covers without redoing the transformation
- Keep the spine layer separate — you can adjust its colour with Hue/Saturation to match different book covers


