How to Create Multiple Edits and Exports from One Recording in Riverside

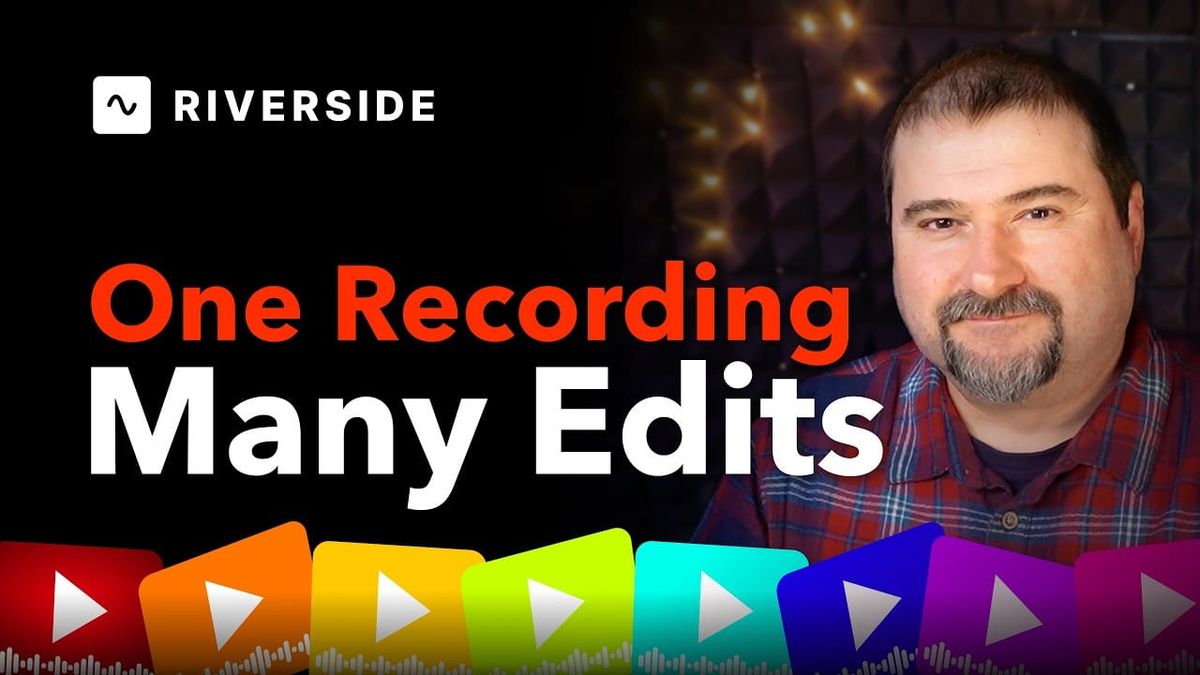
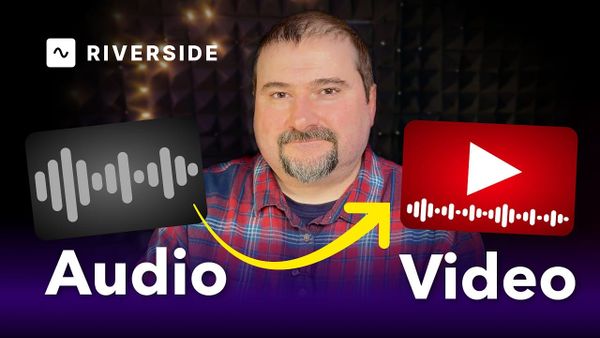
One of the most useful workflows in Riverside is the ability to create multiple edits from the same recording and export each one differently. You can have a video version for YouTube, an audio-only version for podcast platforms, a shorter segment for social media — all from one set of source files, without re-uploading anything.
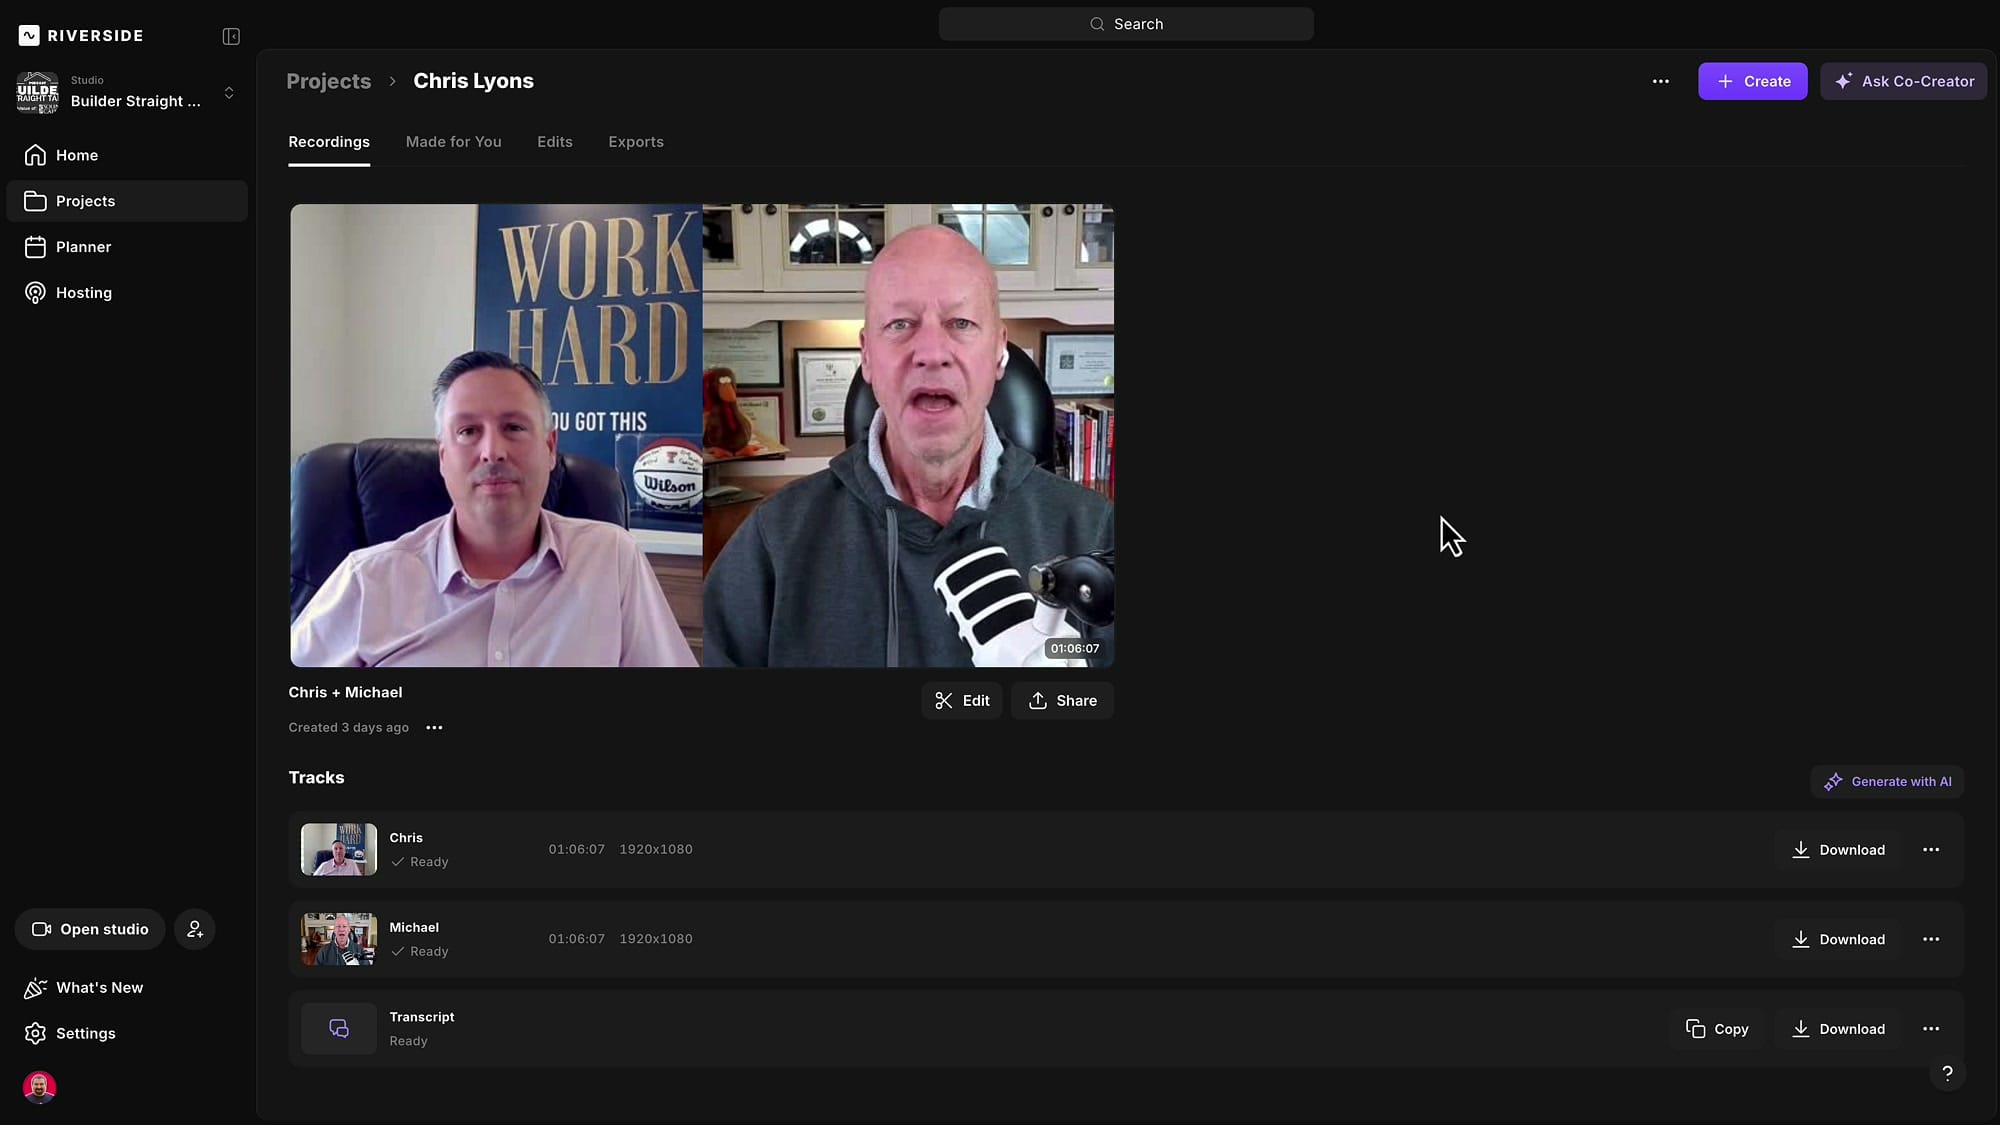
Start from the Recordings Tab
Open your project in Riverside and go to the Recordings tab. You will see the source tracks for each speaker, along with the transcript. From here, click Edit to open a new edit of the recording.
Apply AI Tools and Name Your Edit
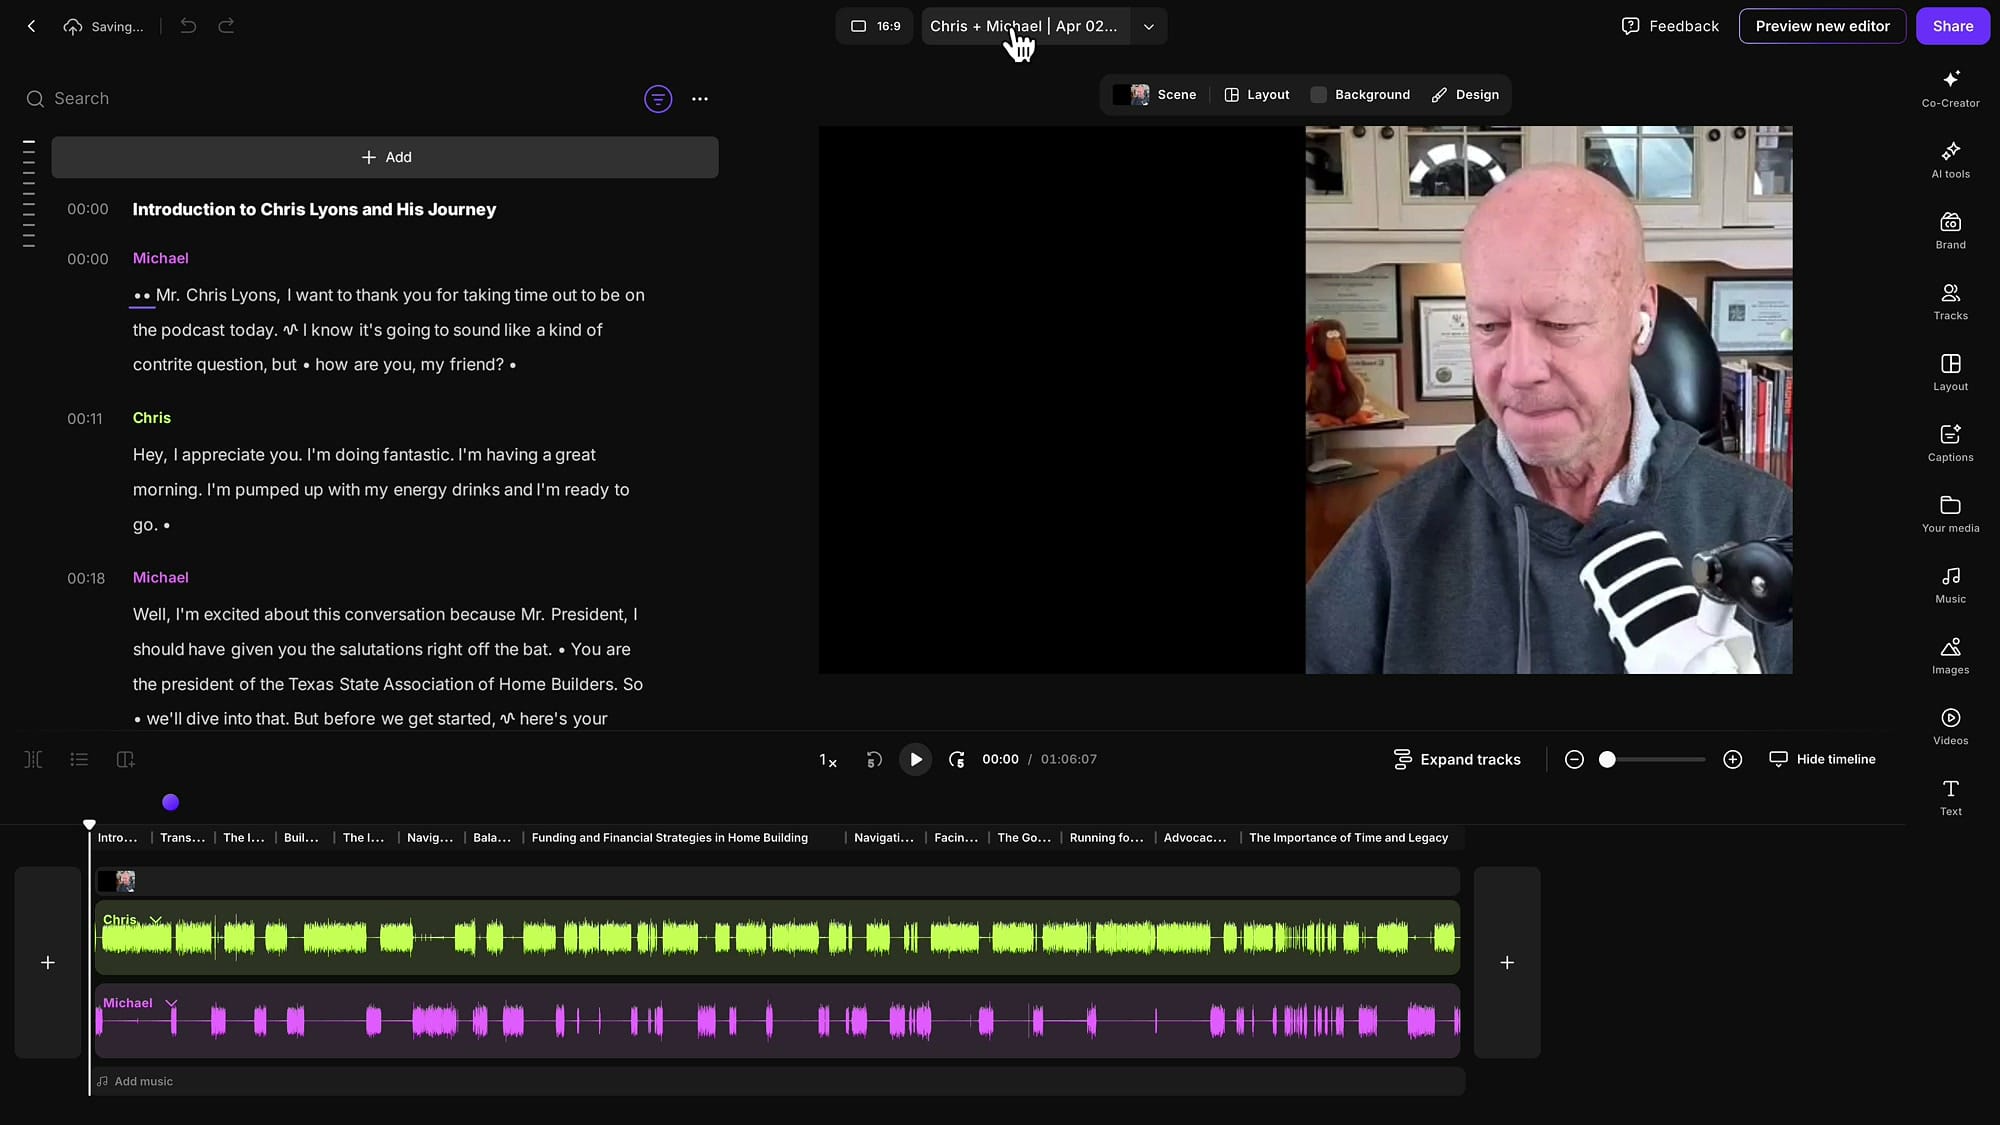
Once in the editor, use the AI tools panel to clean up the recording: remove pauses, filler words, find fluff, apply Magic Audio, Smart Mute, and Smart Layouts. These tools run in the background, so you do not need to wait for them to finish.

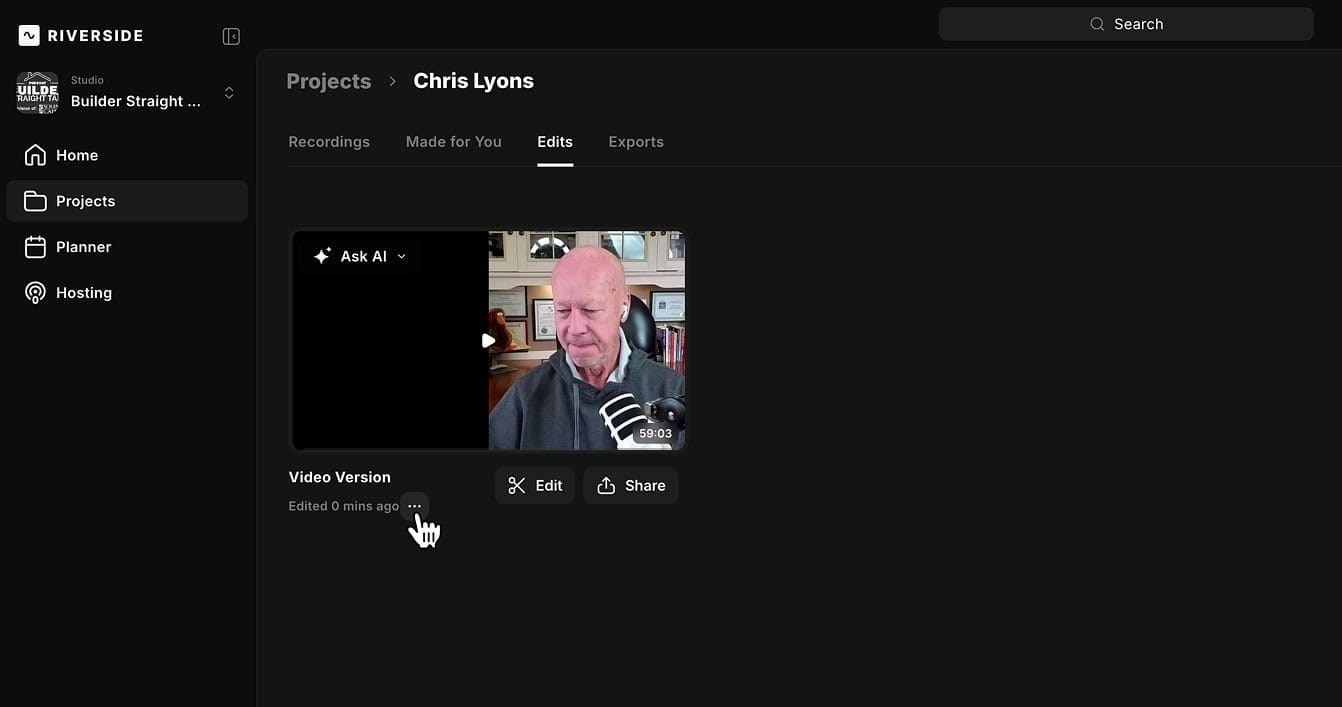
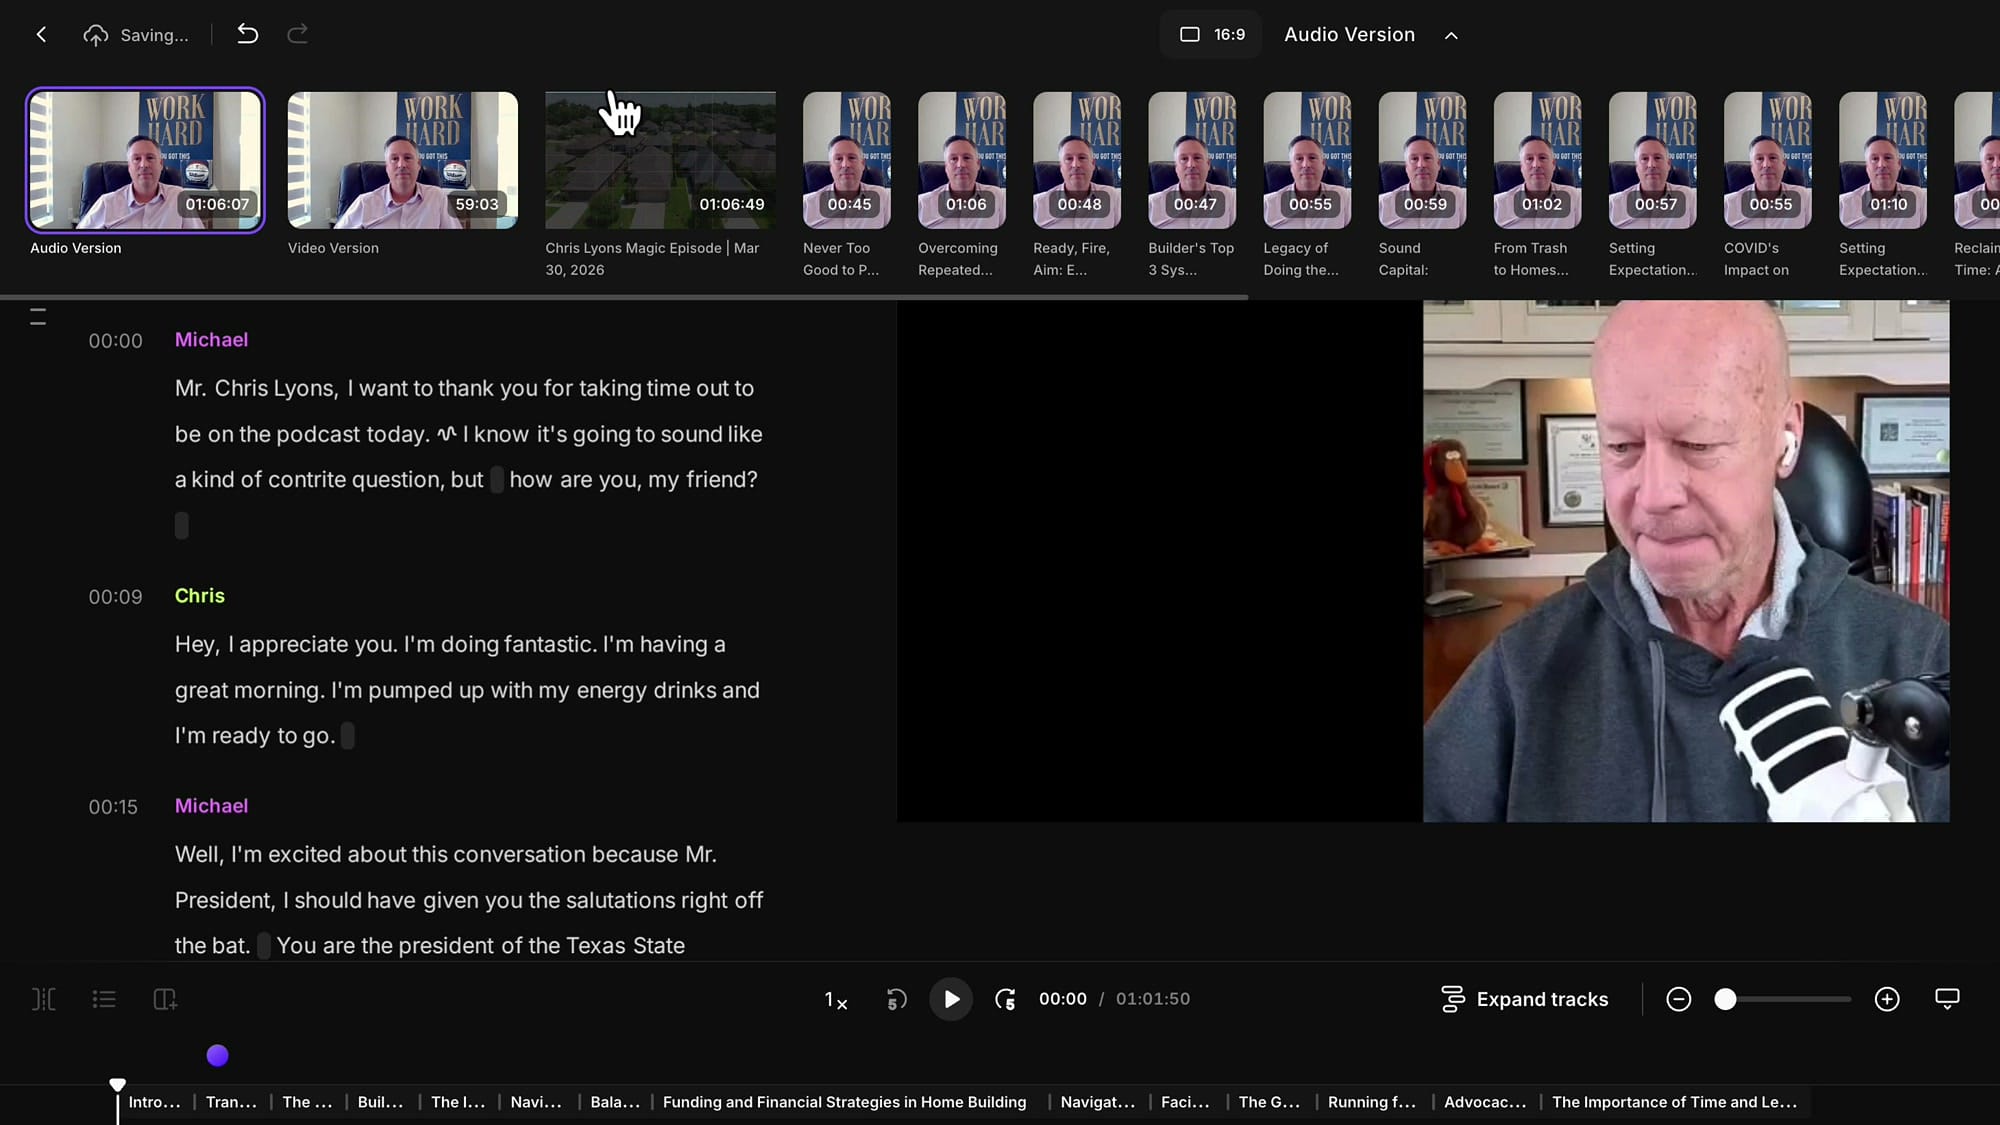
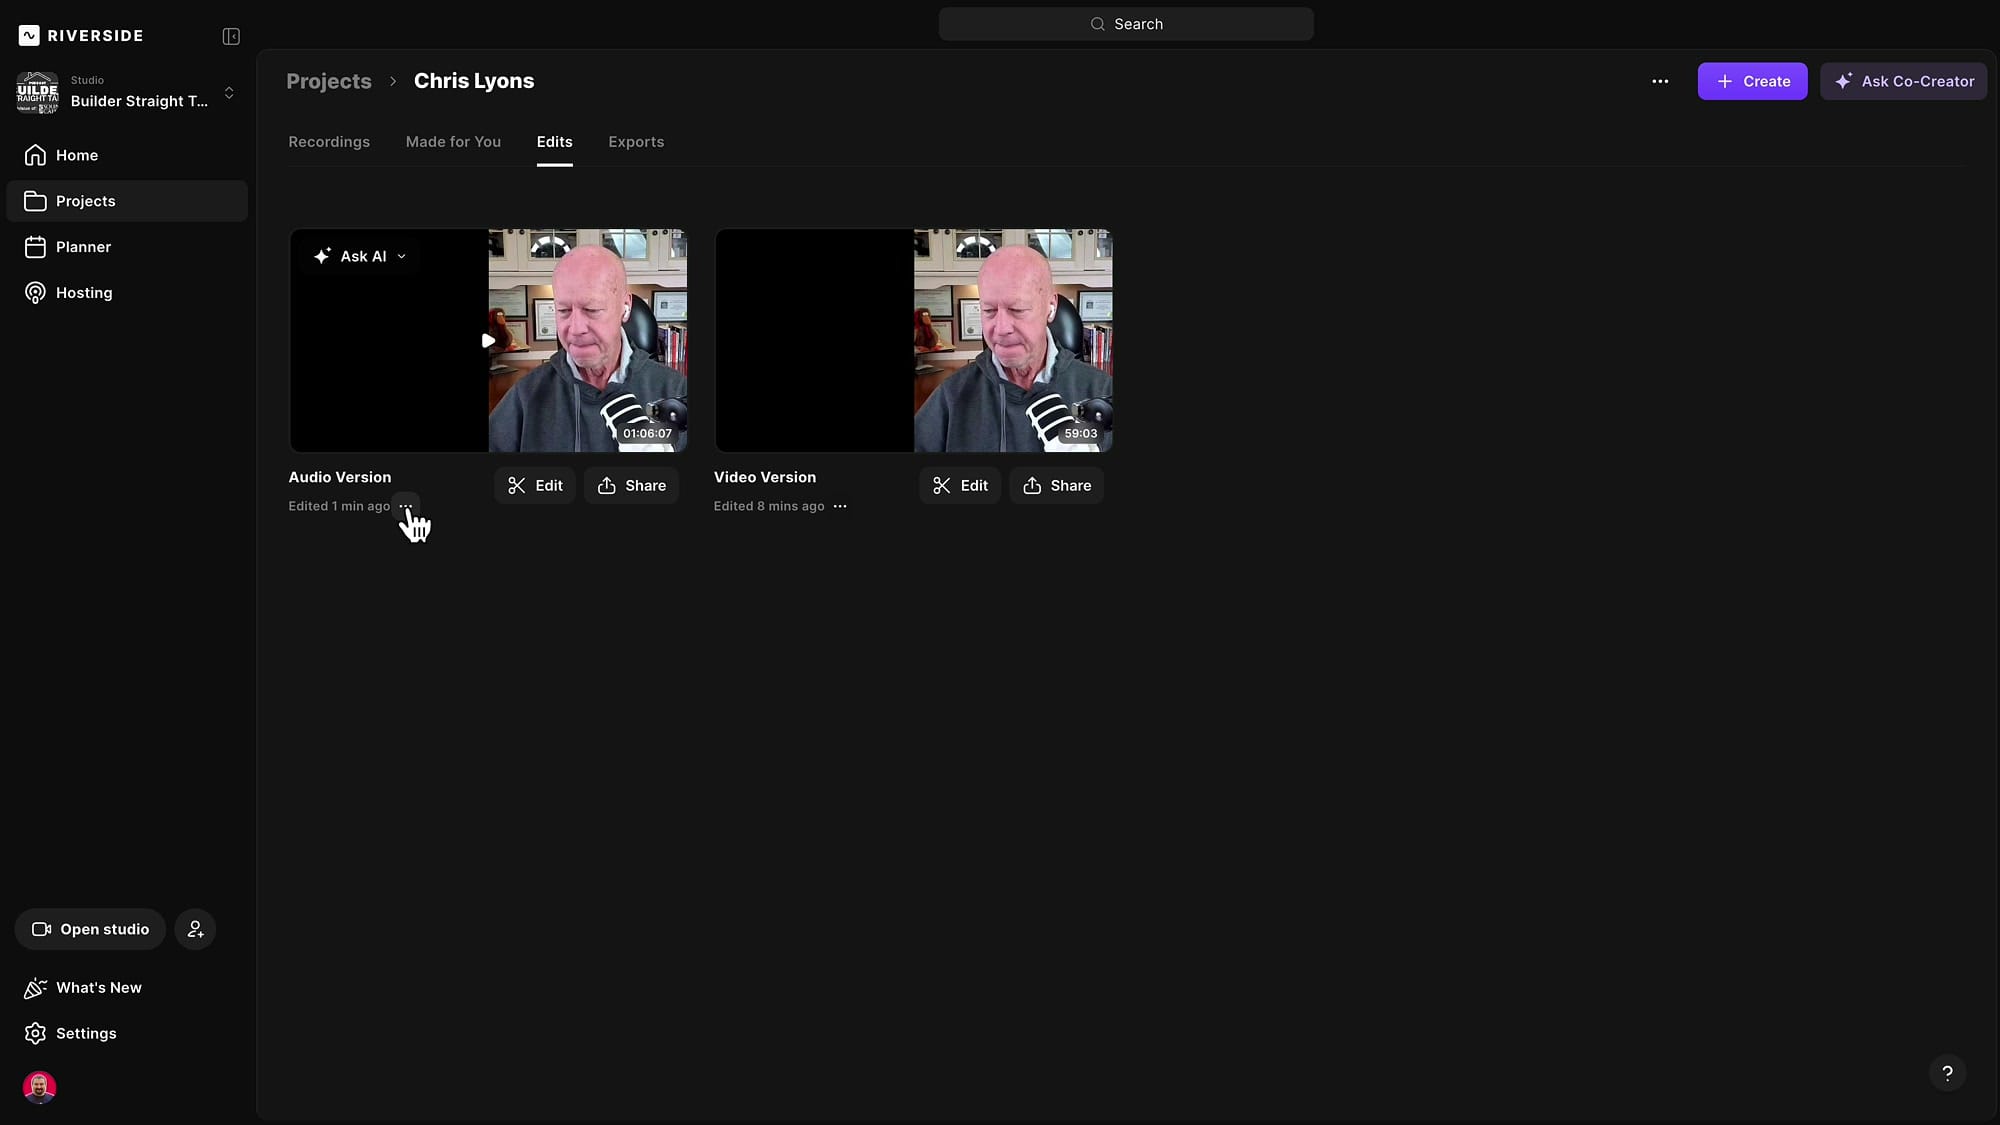
Rename this edit by clicking the title at the top of the editor. For example, call it "Video Version" to keep things organized. When you exit the editor, this edit appears in the Edits tab.
Create a Second Edit
There are two ways to create another version:
- Start from scratch: Go back to the Recordings tab and click Edit again. This creates a brand-new edit with no cuts applied — a blank slate from the original files.
- Duplicate an existing edit: In the Edits tab, click the three-dot menu on any edit and select Duplicate. This copies all the cuts and settings from the original, so you can make incremental changes without starting over.
For an audio-only version, starting from scratch can be useful because you might want more aggressive cuts — audio listeners do not see jump cuts, so you can remove more without worrying about visual glitches.
Switch Between Edits
While inside the editor, click the dropdown arrow at the top to open the edit switcher. This shows all your edits as thumbnails and lets you jump between them without leaving the editor. You can also see your Magic Clips and other generated content here.
Export Each Version Differently
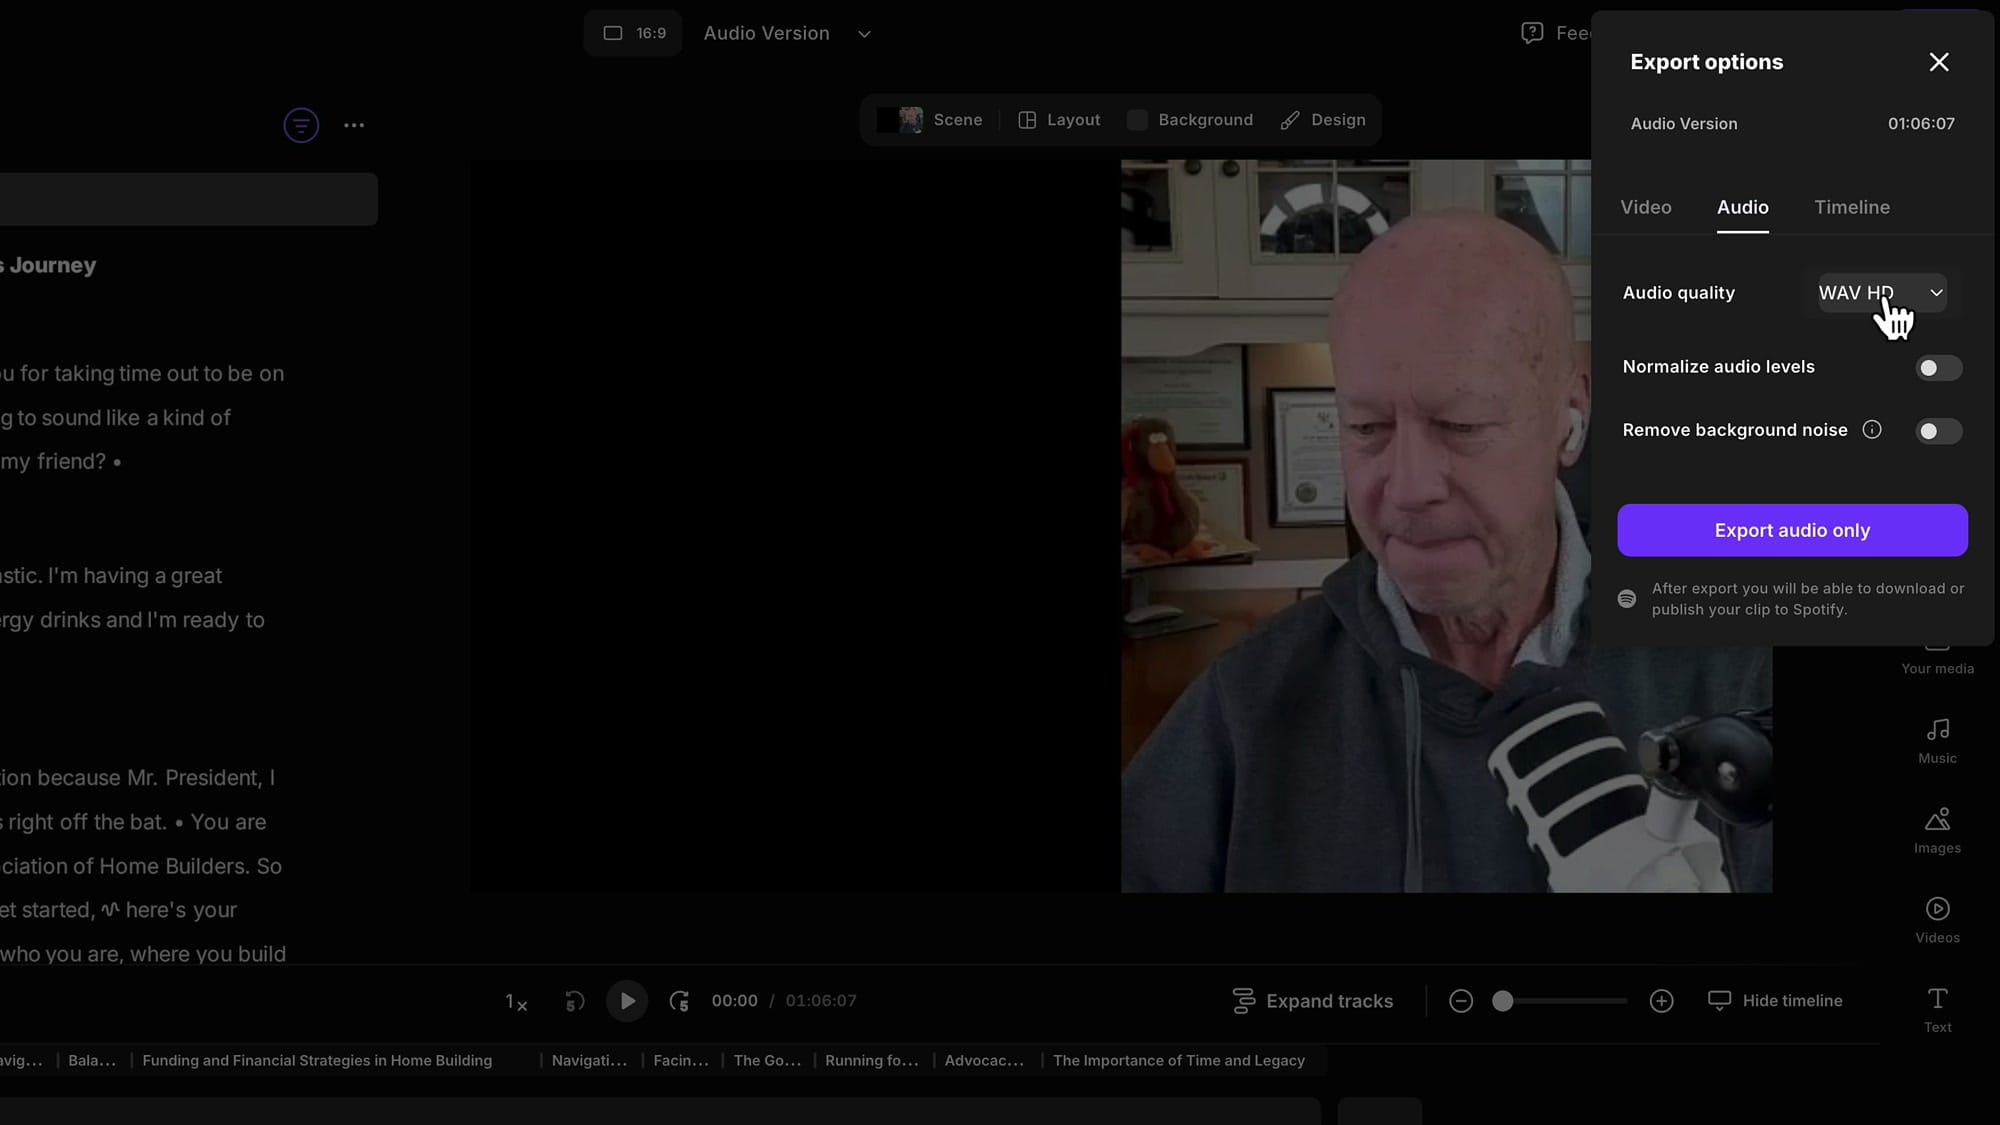
When an edit is ready, go to the Edits tab and click the three-dot menu, then Export. For the audio version, switch the export type to Audio, choose WAV or MP3, and optionally enable Normalize audio levels or Remove background noise. Click Export audio only.
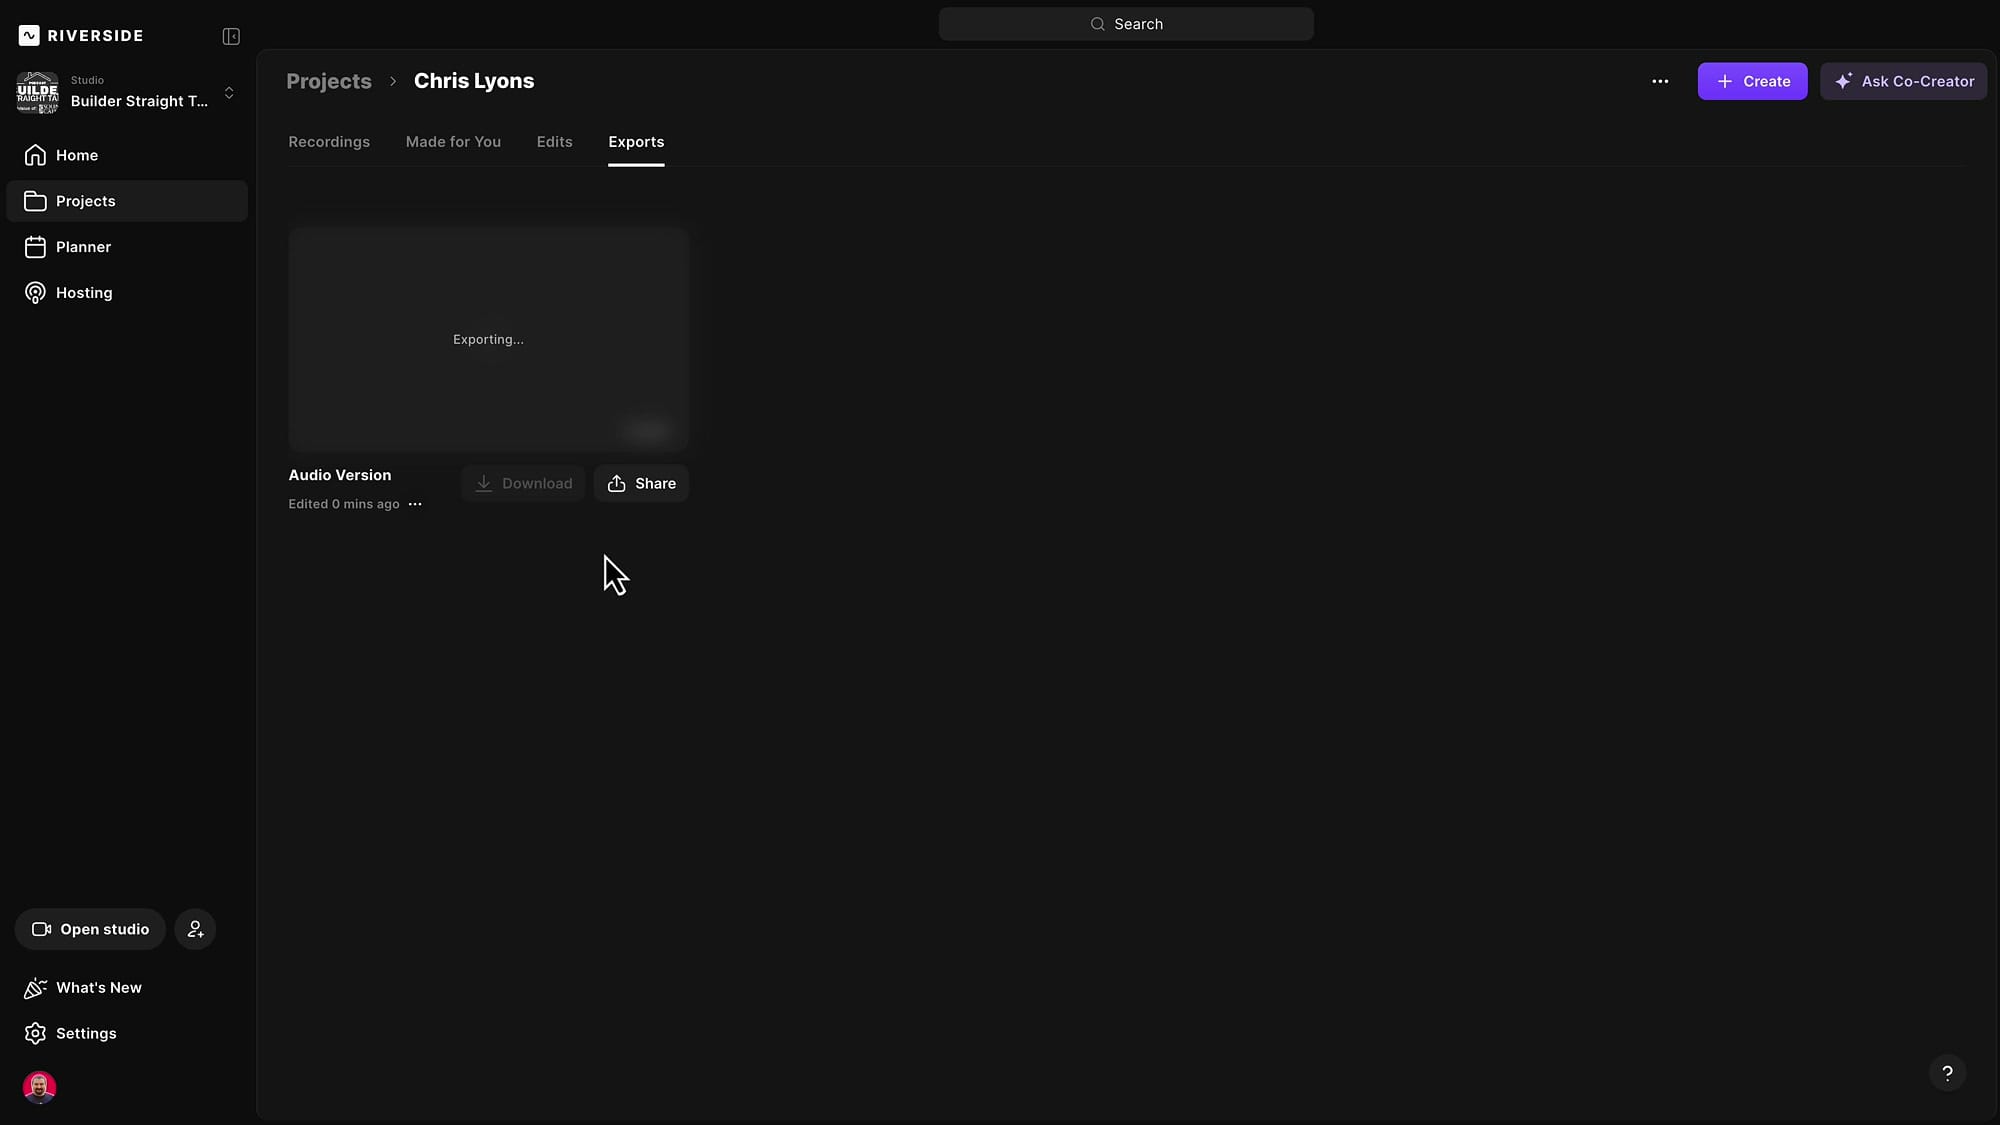
Each export gets the same name as the edit, which keeps everything organized. The Exports tab shows all your exports with download links, and you also receive an email when each export finishes.
Keep Multiple Edits Organized
Both edits remain in the Edits tab side by side. You can rename, duplicate, or export any of them at any time. The original recordings stay untouched — each edit is non-destructive.
Use "Keep Only This" for Segments
If you want to isolate a specific segment — say a highlight reel or a standalone topic — duplicate an edit, select the portion you want, click the three-dot menu, and choose Keep only this. Everything outside your selection gets removed, leaving just that segment ready for export.
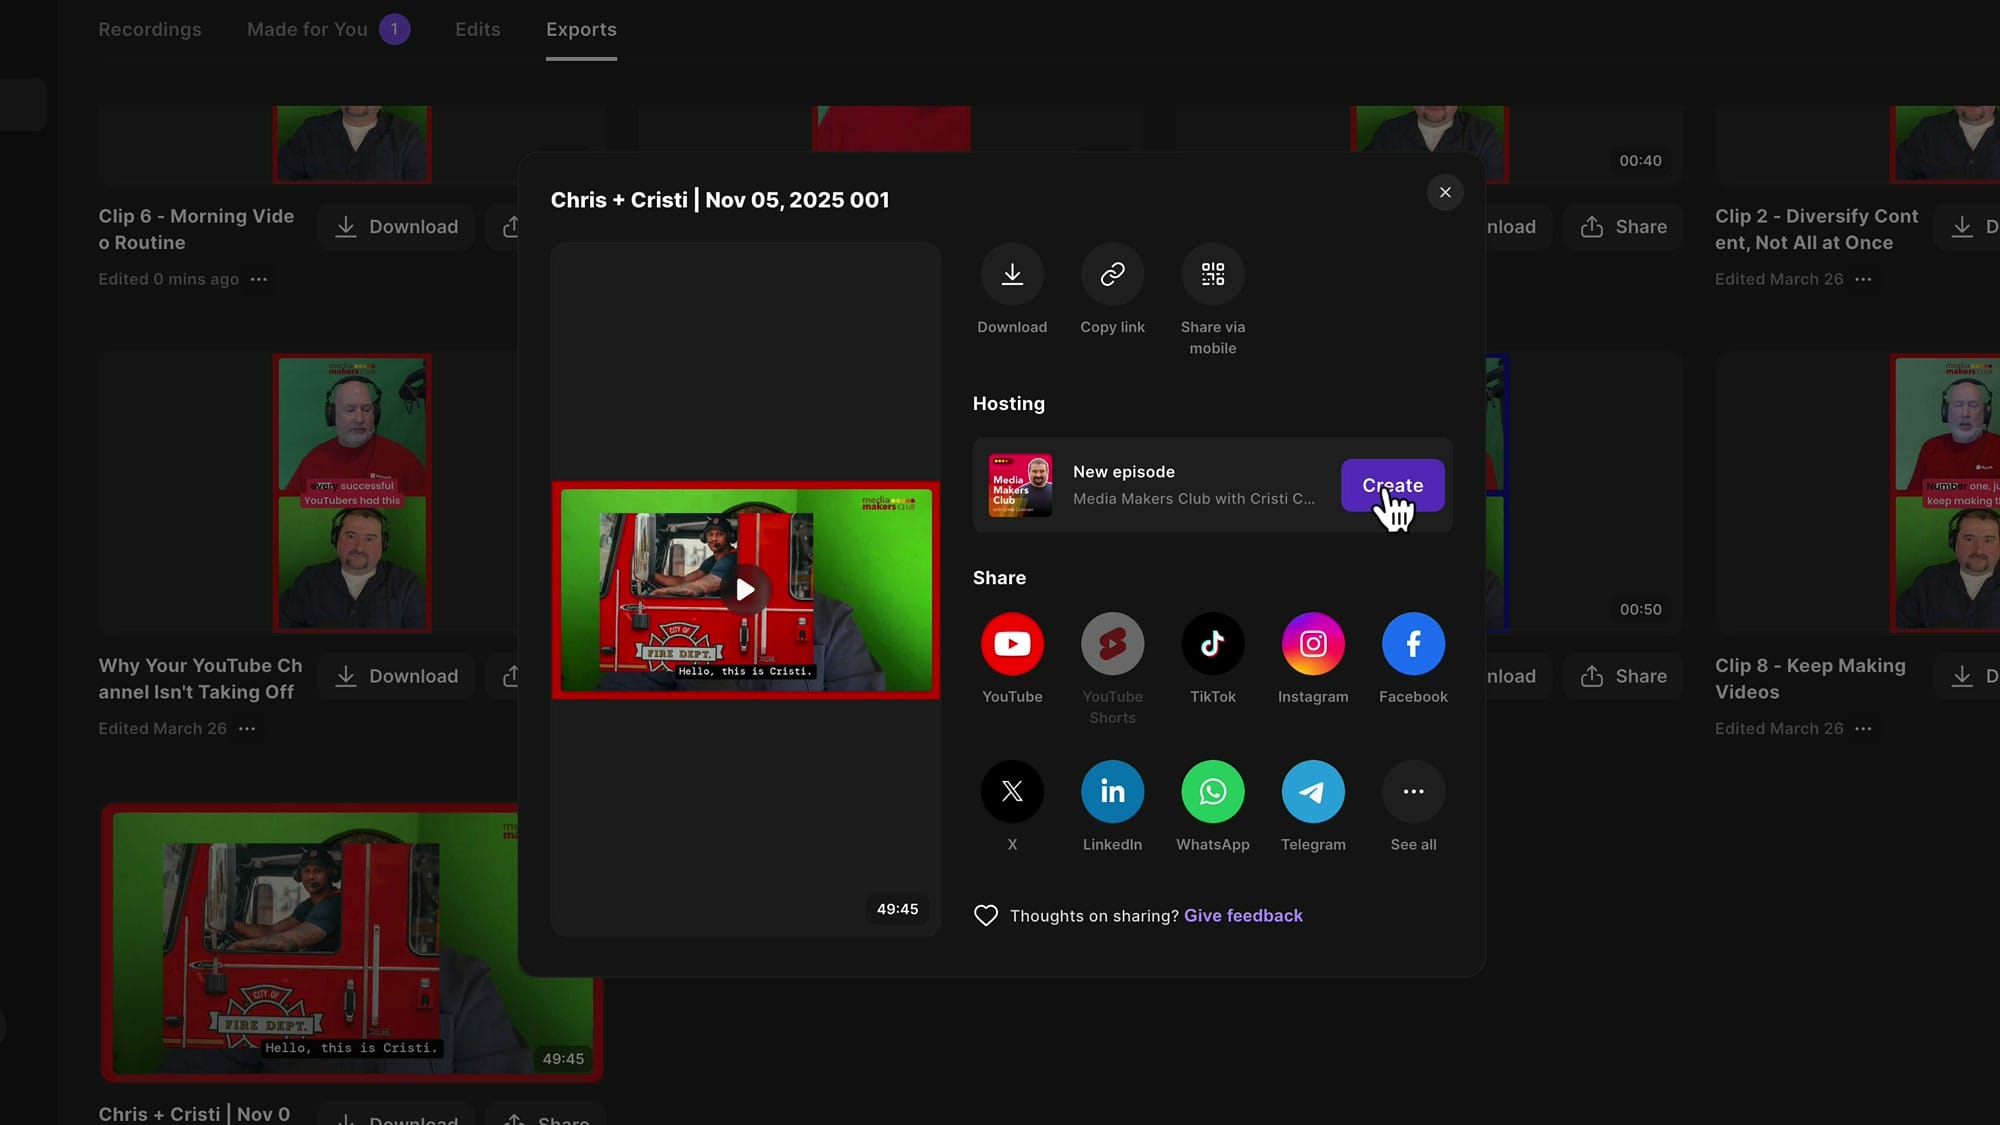
Publish Directly to Your Podcast
If you host your podcast with Riverside, you can turn any export into a podcast episode without downloading it first. Go to the Share button on an export, and under Hosting, click New Episode. Riverside creates the episode automatically from your exported file.
Tips
Related Riverside Guides


If you're eager to learn more about Riverside and wish to have a one-on-one Riverside coaching session, feel free to book a call with me. I'm here to help you with any questions you have and to guide you through the best workflows, tips, workarounds, or just answer any questions you may have!
- Name your edits immediately — "Video Version," "Audio Version," "Short Clip" — so you always know which is which.
- Duplicate before experimenting. If your video edit is finished, duplicate it before making an audio version with more aggressive cuts.
- For audio-only exports, you can be more aggressive with pause and filler removal since there are no visual jump cuts to worry about.
- No need to re-upload anything. Every edit works from the same original recording files.