
How to Start a New Project in Camtasia: Canvas Size, Frame Rate, and Project Settings


When you launch Camtasia, one of the first decisions you make is how to set up your project. Getting the canvas size, frame rate, and other settings right from the start saves you from having to rearrange everything later. This tutorial walks you through starting a new project and configuring the essential project properties.
The Welcome Screen: New Project vs. New Recording
When Camtasia opens, you'll see the welcome screen with three options: New Project, New Recording, and Open Project.
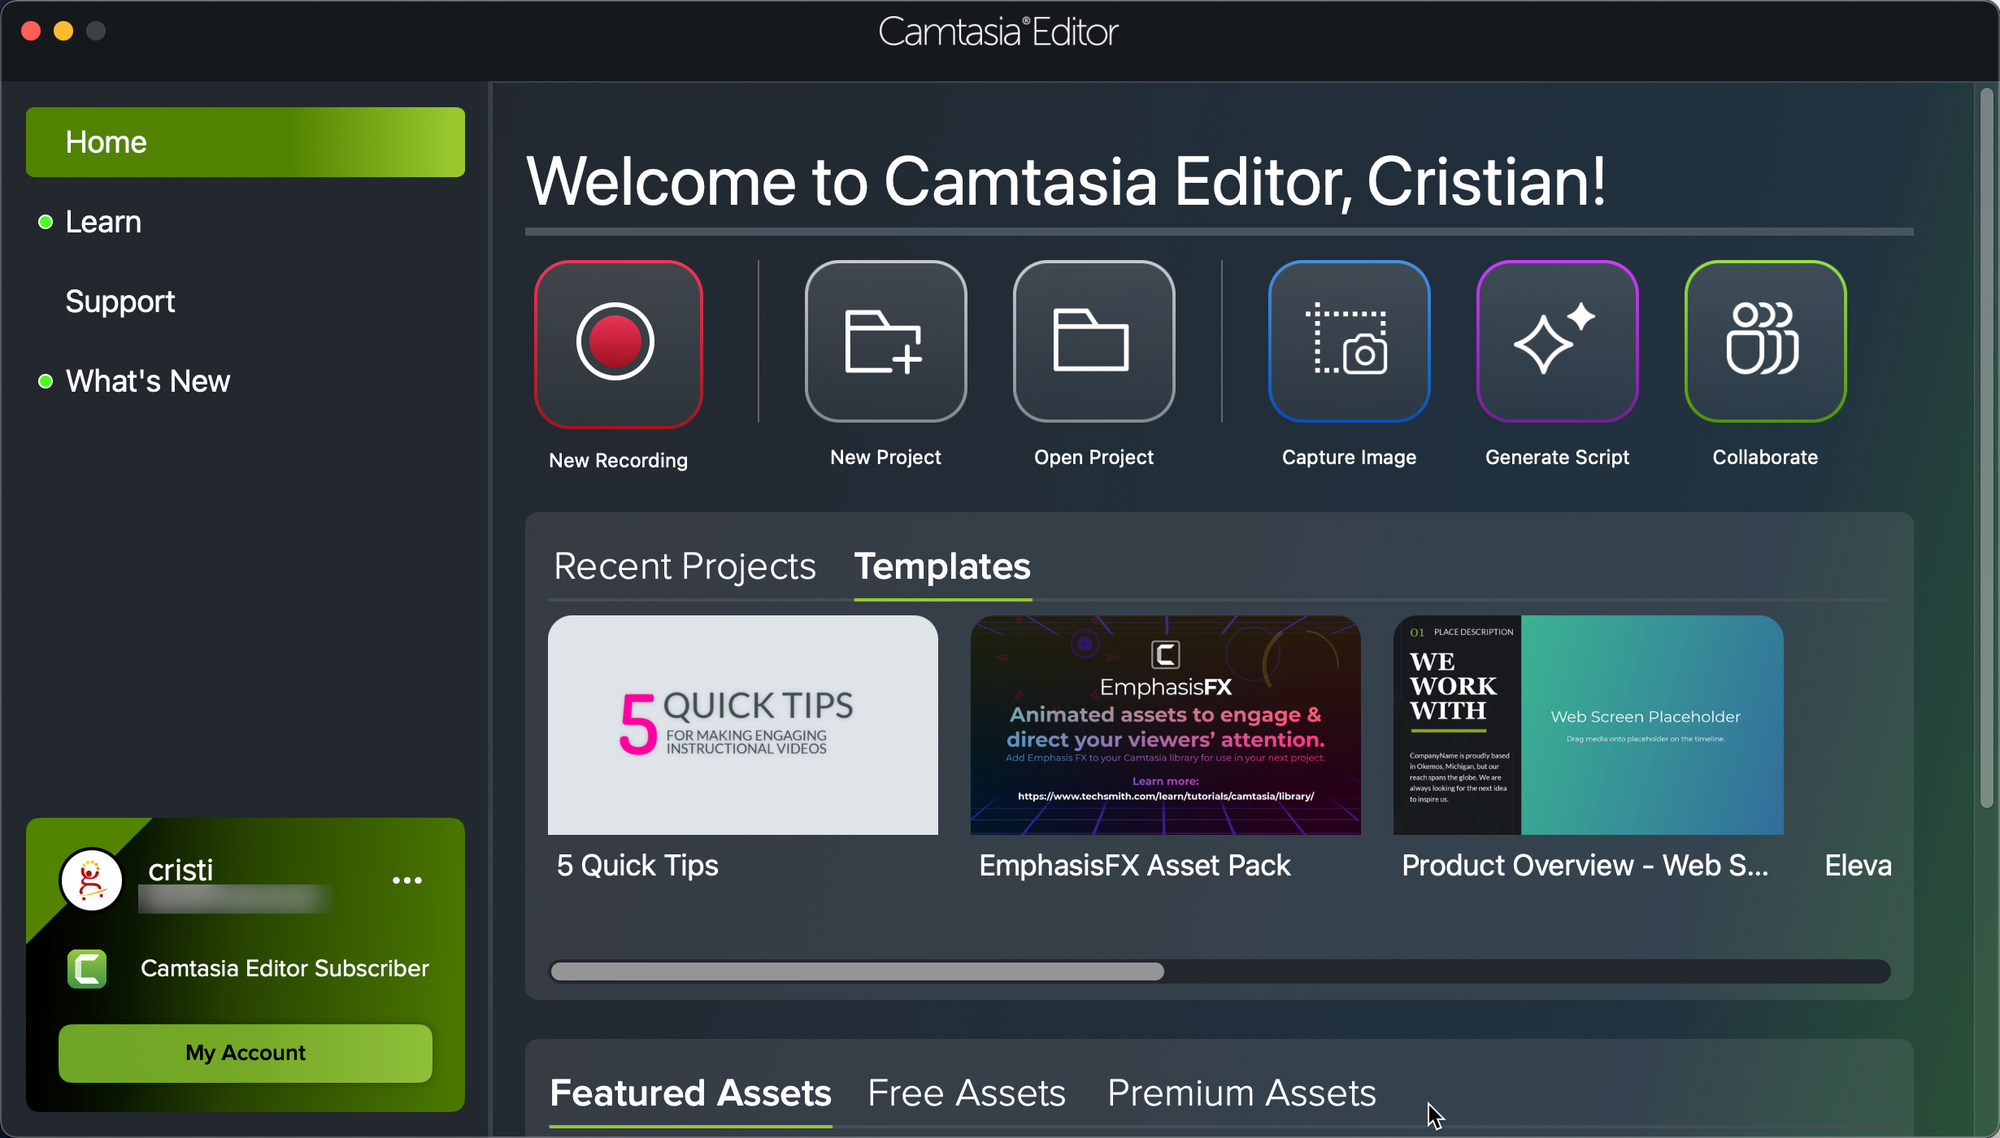
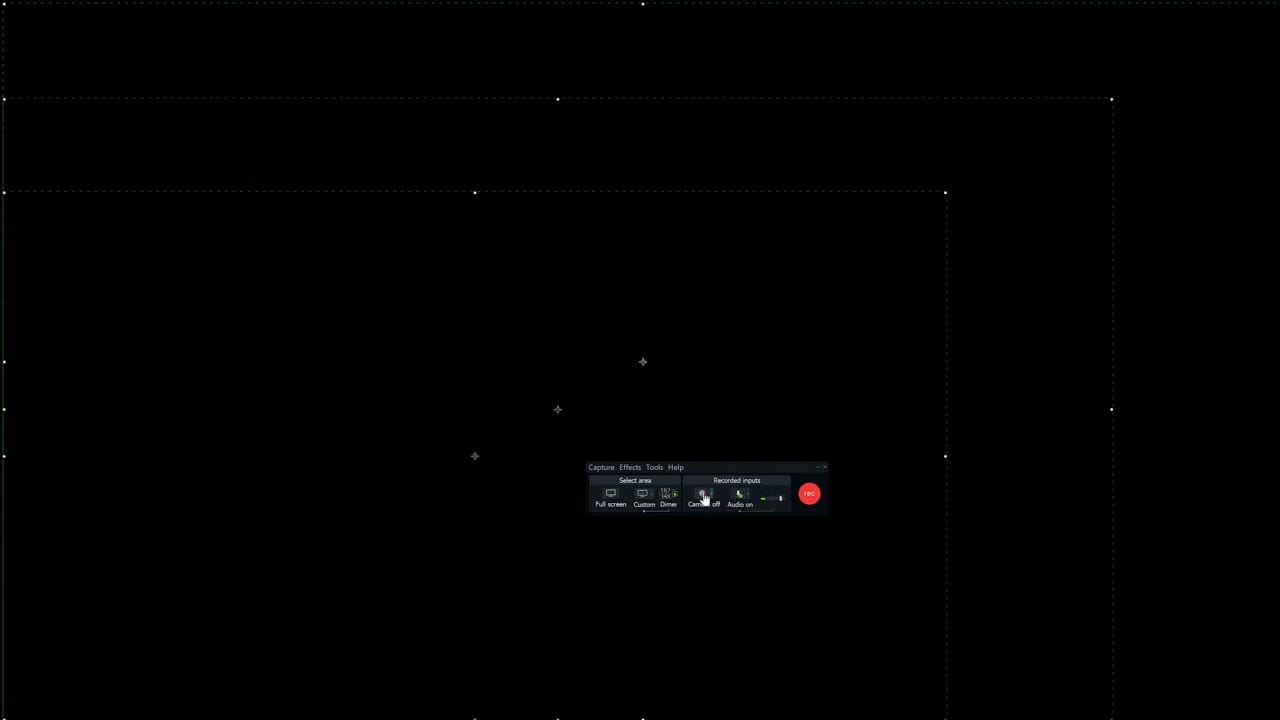
If you choose New Recording, Camtasia opens the recorder directly. You'll select your capture area — full screen, custom size, or one of the preset dimensions — and start recording. After you stop, the recording automatically appears in the main editor on the timeline.
If you choose New Project, Camtasia opens the main editor with a blank canvas and empty timeline, ready for you to import media files and start editing.
Project Settings: Canvas Size, Frame Rate, and Audio
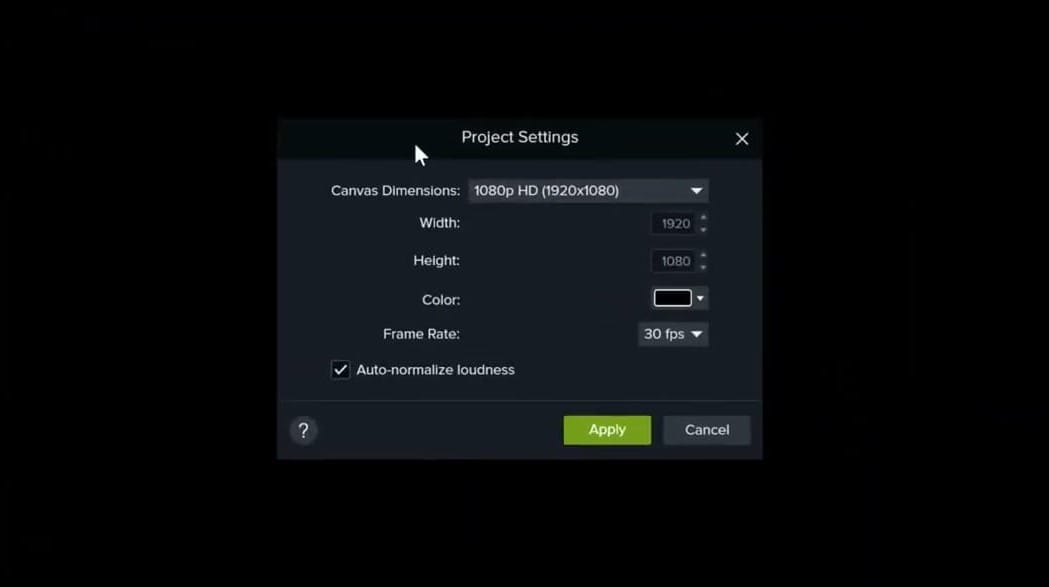
The most important step when starting a new project is setting the canvas dimensions. This determines the resolution of your final video. You can access project settings by going to Edit > Project Settings (or clicking the canvas zoom dropdown and selecting Project Settings).
Key settings to configure:
- Canvas Dimensions: Camtasia defaults to 1080p HD (1920×1080). You can change this to 4K Ultra HD, 720p, or social media sizes like Instagram or Facebook formats. Choose the resolution that matches your intended output.
- Frame Rate: Choose between 30 fps (standard) or 60 fps (smoother motion). For screen recording tutorials, 30 fps is usually sufficient.
- Auto-normalize loudness: When enabled, Camtasia automatically levels the audio volume across all clips in your project. This is useful when you combine recordings from different sources or sessions with varying volume levels.
Important tip: Always set your canvas size before you start editing. If you change it later after adding clips, transitions, and graphics, everything will shift and you'll spend time repositioning elements. Even if you record at 4K, you can still export at a lower resolution — the export settings are separate from the project canvas size.
Importing Media Files
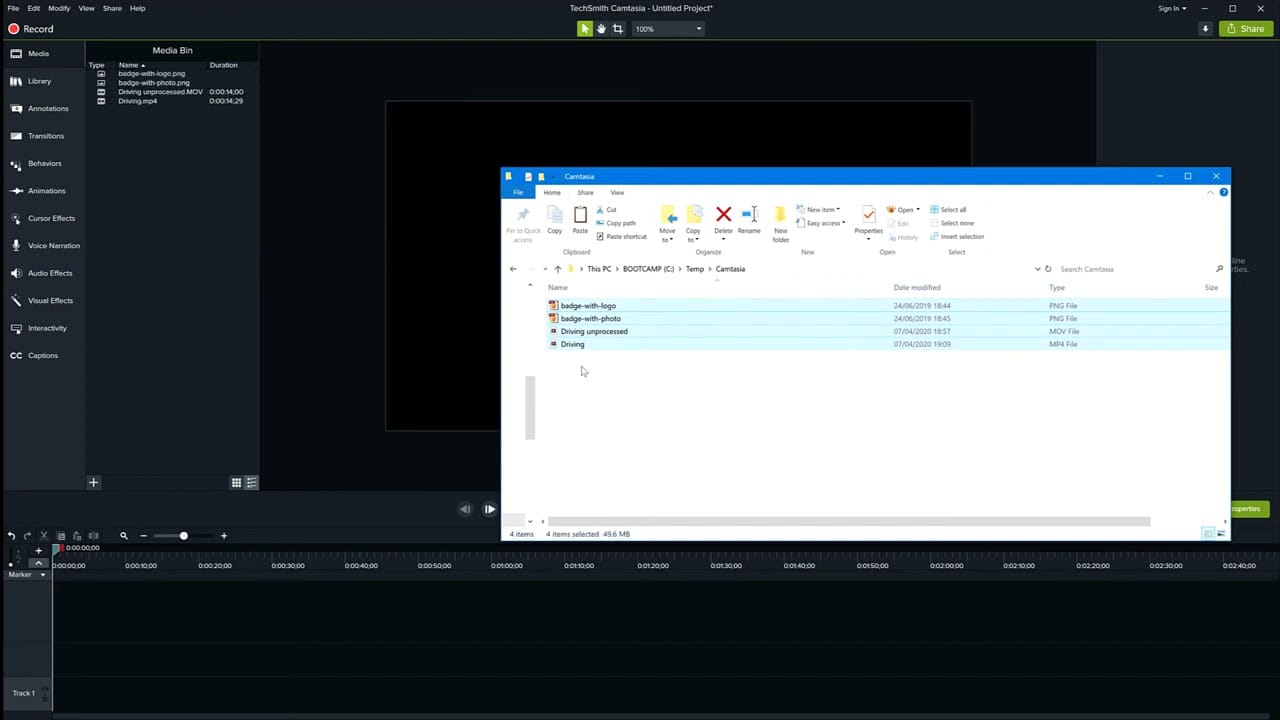
Once your project settings are configured, the next step is importing your media. You can drag files directly from your computer's file explorer into the Camtasia Media Bin. Camtasia supports a wide range of formats including MP4, MOV, AVI, MP3, WAV, JPEG, PNG (with alpha channel support), GIF, BMP, PDF, and even PowerPoint files.
Related guides
If you're wish to learn more about Camtasia and wish to have a one-on-one Camtasia coaching session, feel free to book a call with me.
I'm here to help you with any questions you have and to guide you through the best workflows, tips, workarounds, or just answer any questions you may have!
Files imported into the Media Bin are not yet on the timeline — they're just available for use. Drag them from the Media Bin to the timeline when you're ready to start editing. This two-step process gives you flexibility to organize your assets before committing them to the timeline.


