How to Use Color Adjustments in Riverside to Fix Dark or Off-Color Footage
A new feature to adjust colors has been added in Riverside and it could save a lot of back and forth in color correcting.

I want to walk you through the new color adjustments in Riverside and show a practical, step-by-step way to rescue footage that’s too dark, too warm, or too flat. I use Riverside every time I record interviews and podcasts, and this built-in color adjustment tool saves me from exporting clips to another program for simple fixes. In this tutorial you'll learn where to find the controls, how each control works, and a few tips I use for precise results when applying color adjustments in Riverside.
Open the track settings to access the color adjustments
To begin applying color adjustments in Riverside, select the track you want to fix. You can either click the clip in the editor and open the Options panel, or go to the Tracks panel, click the little arrow next to the track, and reveal the Track Settings.
There’s a toggle labeled Color Adjustments that you need to enable before you can change anything.
When the track is selected, enabling color adjustments applies the effect to every scene on that track. That track-wide behavior is deliberate: it’s great when a guest’s camera has consistent lighting issues and you want a single fix applied across the whole recording.
If you’re eager to learn more about Riverside and wish to have a one-on-one Riverside coaching session, feel free to book a call with me.
I’m here to help you with any questions you have and to guide you through the best workflows, tips, workarounds, or just answer any questions you may have!
Four basic controls
Once you open the color adjustment panel you’ll see four controls: brightness, contrast, saturation, and temperature. These are intentionally simple — they address the most common problems you’ll see in remote interviews and webcam recordings.
Here’s how I think about each control when I’m adjusting footage:
- Brightness: Raises or lowers the overall luminance. Use this when footage looks too dark or underexposed.
- Contrast: Adjusts the separation between highlights and shadows. Increase contrast when the image looks flat; reduce it if skin tones or highlights blow out.
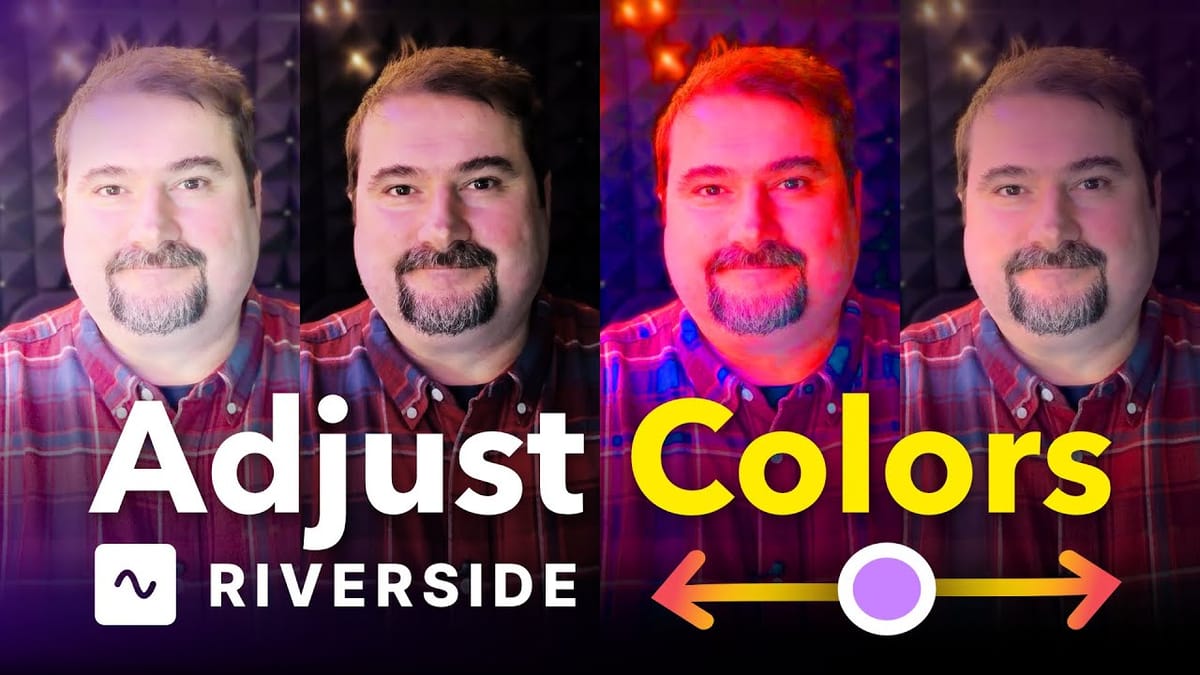
- Saturation: Controls color intensity. Dial it down to desaturate or even go black-and-white, or increase it to make colors pop.
- Temperature: Shifts white balance between cool and warm. Helpful when a camera’s white balance is off or when ambient lighting casts a color tint.
I usually start with brightness and contrast, make a modest change, then adjust saturation and temperature only if needed. Small moves go a long way with these sliders.
Make the adjustments - coarse then fine
Begin with coarse adjustments: drag brightness up a little if the subject is dark, increase contrast if the image lacks punch, then tweak saturation if colors feel dull.
The temperature control is powerful, so move it in small steps. I often find it’s the most sensitive of the four — a slight nudge can make footage look noticeably warmer or cooler. I keep changes here conservative.
If you need finer control than dragging the sliders allows, place the cursor inside the numeric text box for any control and use the arrow keys.
Pressing the up or down arrow will change the value in single increments. Hold Shift and the values change by tens. This lets me make very controlled adjustments while watching the preview update in real time.
Watch for strong temperature shifts and how to correct them
The temperature control can quickly push footage into an overly warm orange or excessively cool blue look. When I spot that happening, I dial the temperature back with the arrow-key method so the change is subtle. Also check skin tones after a temperature change — they’re the best indicator that your white balance is in a usable range.
Remember, because adjustments are track-wide, a single temperature tweak affects every clip on that track. If someone moves between different light sources during the recording, the single adjustment may not suit every scene.
When to stay in Riverside and when to export
Color adjustments in Riverside are designed for quick corrections and salvage work. They’ll fix a slightly underexposed webcam or a mildly off white balance without leaving the editor. Use these tools when you want a fast turnaround and consistent results across a guest or host track. They are by no means a complete color grading solution.
Also, if you need scene-by-scene grading, selective masks, or advanced color grading features (curves, LUTs, vectorscopes), you’ll get better results by exporting the file to a dedicated color grading program.
I treat Riverside’s color adjustments as the first pass: tidy and efficient for everyday problems, but not a replacement for professional-grade color work.
Before you publish
Before you finalize your edit, run through this short checklist I use to ensure the color adjustments look consistent and natural:
- Play through the entire track to check for lighting changes that the single track adjustment might not handle.
- Verify skin tones look healthy — not too magenta, green, warm, or cool.
- Check highlights and shadows for clipping after increasing contrast.
- Reduce saturation if colors feel oversaturated, or increase slightly if things look too flat.
- If a small temperature tweak changes the mood too much, revert and use arrow-key fine-tuning instead of slider swings.
When the feature saves you time
I often use color adjustments in Riverside to salvage guest video from calls where lighting was out of my control. Rather than exporting and re-importing clips, I enable the track-wide color adjustments and make a couple of conservative edits. It’s faster and keeps my workflow inside Riverside’s editor.