How to Create Masks in Camtasia: Media Matte Explained

The Media Matte effect in Camtasia is one of the most powerful visual effects available, yet its name can be a bit misleading. In simple terms, Media Matte is just a mask — it lets you show only a specific portion of your video or image by placing a shape on top of it and telling Camtasia to treat that shape as a transparent window.
In this guide, you'll learn how to create masks using the Media Matte effect, understand the different masking modes (Alpha, Alpha Invert, Luminosity), animate content inside a mask, and add a visible border frame around your masked area.
What Is Media Matte in Camtasia?
Media Matte is Camtasia's masking feature. Despite the technical-sounding name, it works exactly like a mask: you place an object (like a rectangle) on top of your media, apply the Media Matte effect, and Camtasia turns that shape into a transparent viewport that reveals only the content underneath it.
Step 1: Add a Shape as Your Mask
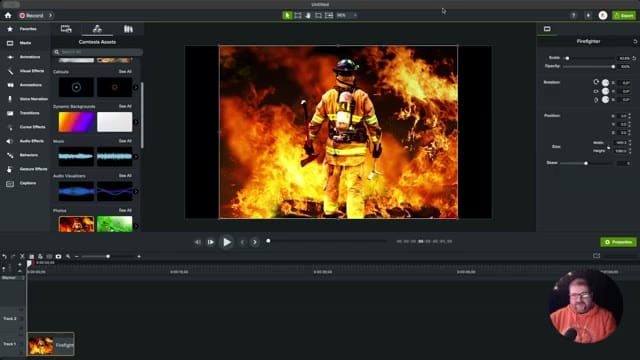
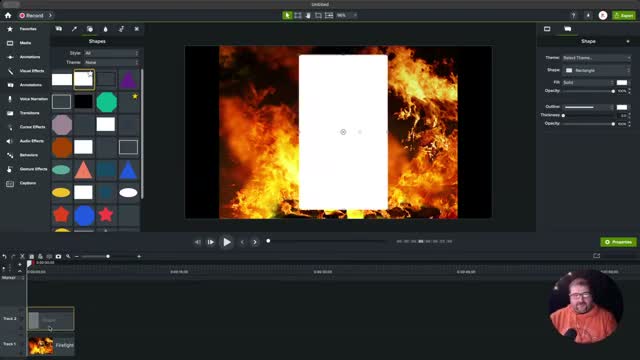
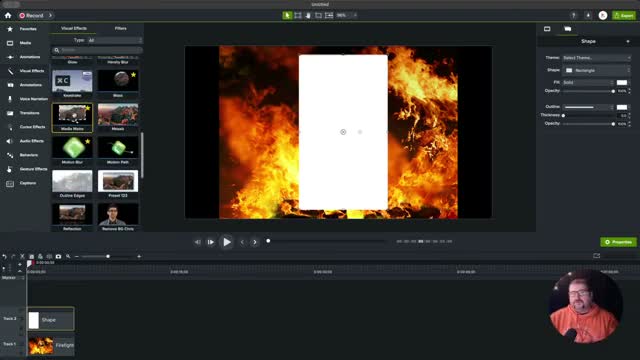
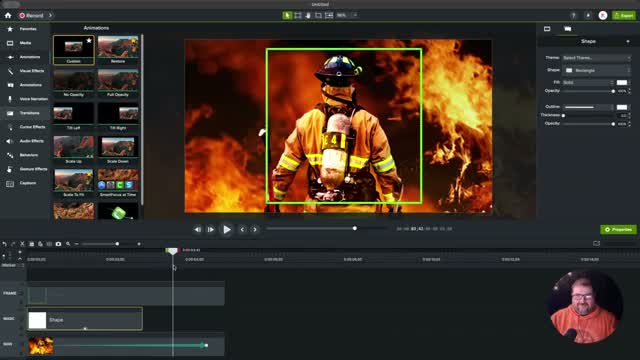
The first step is to add a shape that will become your mask. Go to the Annotations panel (or Shapes), pick any shape — a rectangle works perfectly — and place it on your canvas on top of the area you want to reveal.
The key rule: the mask shape must be on a track above the content you want to mask in the timeline. This layering order is what tells Camtasia which object is the mask and which is the content being masked.
Step 2: Apply the Media Matte Effect
With your shape in place, go to Visual Effects in the left panel and find Media Matte. Drag it onto your rectangle shape. The moment you apply it, the rectangle visually disappears — it has become a transparent mask. You'll still see it on the timeline, but on the canvas it now acts as a window into the content below.
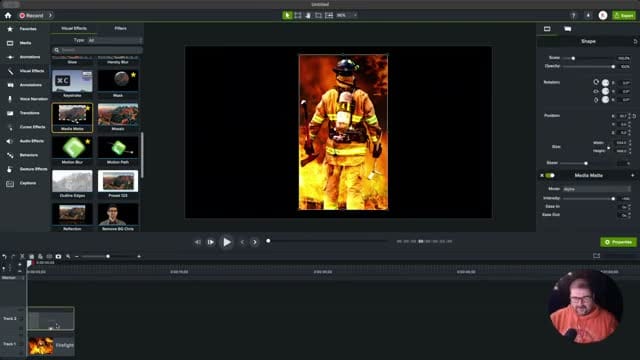
You can move the mask around on the canvas to reposition the viewport. You can also resize it to reveal more or less of the underlying content. The mask is still a distinct, independent object — it just behaves transparently now.
Understanding Mask Modes: Alpha vs. Alpha Invert
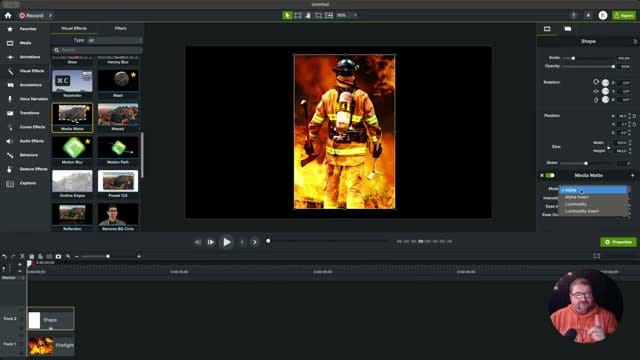
Media Matte has four modes, but the two most useful are:
- Alpha (default) — wherever the mask shape is, you can see through to the content below. Everything outside the shape is hidden.
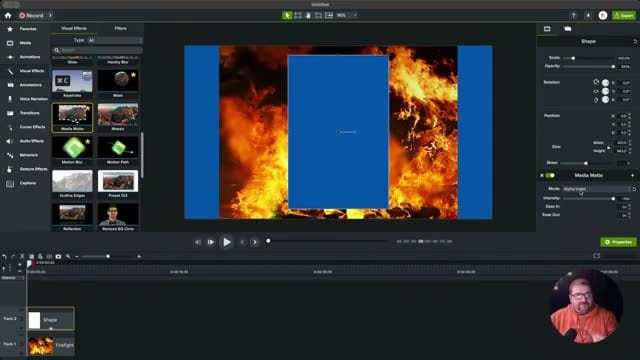
- Alpha Invert — the opposite. Wherever the mask shape is, the content is hidden. Everything outside the shape remains visible. Think of it as poking a hole through your content.
There are also Luminosity and Luminosity Invert modes, which base the mask on brightness values rather than shape boundaries — useful for more advanced compositing, but less commonly needed for everyday editing.
If you’re wish to learn more about Camtasia and wish to have a one-on-one Camtasia coaching session, feel free to book a call with me.
I’m here to help you with any questions you have and to guide you through the best workflows, tips, workarounds, or just answer any questions you may have!
Animating Content Inside a Mask
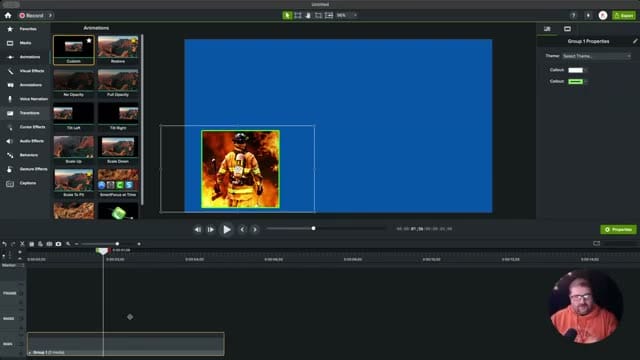
One of the best things about Media Matte masks is that you can animate the content independently. For example, you can add a zoom animation to your image while keeping the mask in a fixed position. The image will scale and move within the mask boundaries, creating a clean, professional-looking effect.
To do this:
- Select the content layer (the image or video being masked), not the mask itself
- Go to the Animations panel and add a Custom animation
- Set your end keyframe (e.g., zoom in, pan to the side)
- The content animates while staying constrained within the mask area
The mask and the content don't need to be grouped for this to work — the mask just needs to be on the track directly above.
Adding a Visible Border Around Your Mask
A common need is to have a visible border or frame around your masked area. However, if you try adding an outline directly to the mask shape, it won't work as expected — the border becomes part of the mask itself and simply makes the transparent area larger.
The solution is to duplicate the mask shape and use the copy as a frame:
- Duplicate the mask shape (Ctrl+D or Ctrl+C / Ctrl+V)
- On the duplicate, remove the Media Matte effect from the Properties panel
- Set the duplicate's fill opacity to 0% (fully transparent fill)
- Add an outline/border with your desired color and thickness
- Position it on a track above the mask so the border is visible
Now you have three layers working together:
- Top track: The border frame (duplicate shape, no fill, with outline)
- Middle track: The mask (original shape with Media Matte applied)
- Bottom track: The content (your image or video)
Grouping and Final Tips
Once you're happy with the result, select all three elements and press Ctrl+G to group them. This creates a single grouped object on the timeline that you can move, resize, and reposition as one unit while maintaining all the masking behavior.
A few important things to remember:
- Match durations: Make sure your mask, border frame, and content clips all end at the same point on the timeline. If the mask ends before the content, the full unmasked content will become visible.
- Track order matters: The mask shape must always be on a track directly above the content it's masking.
- Any shape works: You're not limited to rectangles — circles, stars, custom shapes, and even text can be used as masks with Media Matte.
Watch the Full Tutorial
For a complete step-by-step walkthrough with live demonstrations, watch the full video: How to Create Masks in Camtasia | Media Matte Explained
Want to try Camtasia? Get Camtasia here.