How to Fix Crosstalk in Riverside and Keep Both Speakers
Two ways to fix overlapping speech in Riverside — mute and hide one speaker, or duplicate the overlap and play both voices back-to-back so you don't lose either one.

Crosstalk happens in almost every podcast or interview recording — the moment two people talk at the same time. The instinct is to mute one voice, but that means losing what the other person was saying. In this tutorial I'll show you two practical ways to fix crosstalk in Riverside, including a clever trick to keep both speeches in the final edit, played back-to-back instead of on top of each other.
Why Riverside makes this possible
Riverside records each participant on a separate track, locally and in full quality. That means even though the speakers overlap in real time, their audio lives on independent layers in the editor.
You can mute, split, or rearrange one person's audio without touching the other — which is the foundation of every crosstalk fix below. Editing is also non-destructive, so anything you trim can be expanded back out later.
Method 1: Mute the overlap and hide the speaker
Use this when one person's overlap is filler — a duplicated word, a quick reaction, or something you don't need in the edit.
Step 1 — Expand the tracks
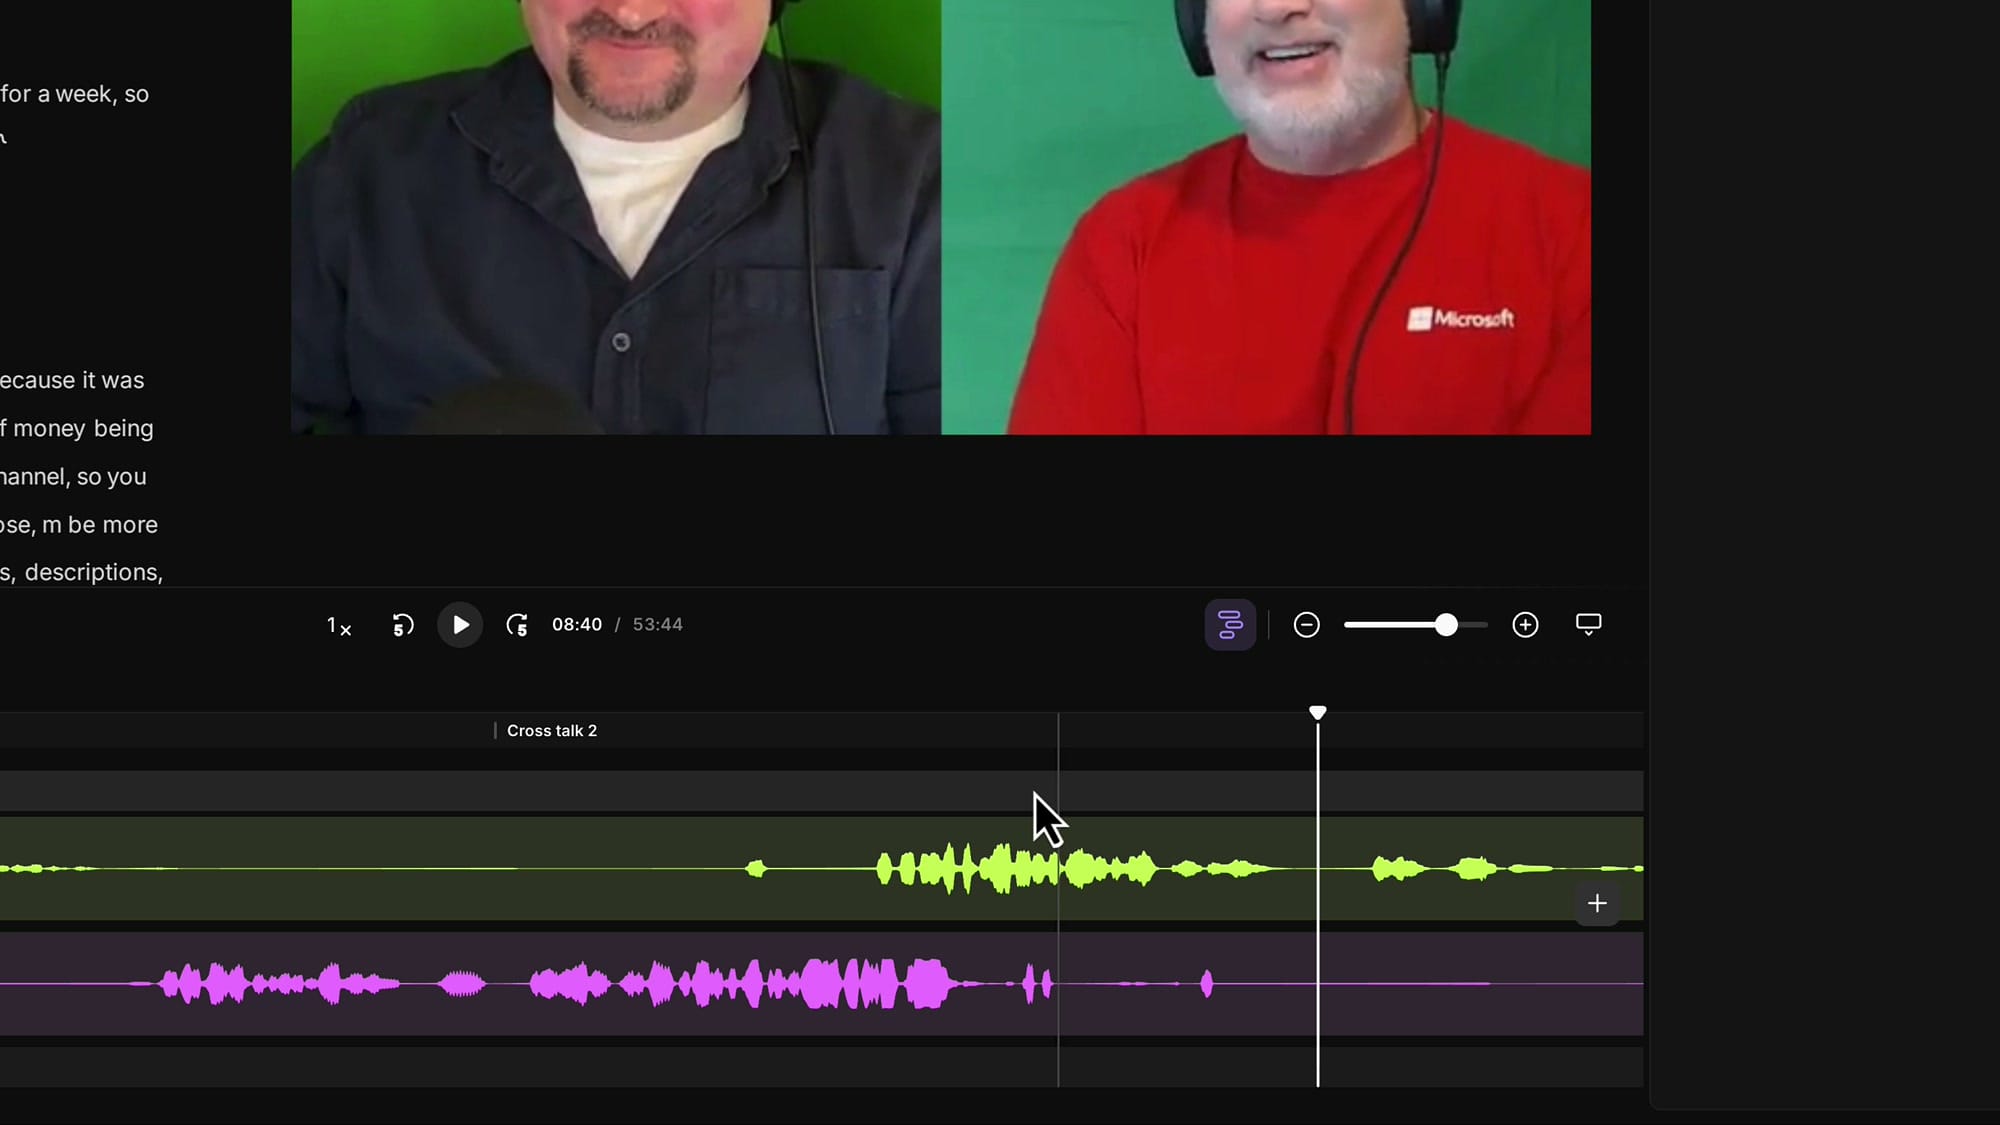
By default, Riverside collapses both speakers into a single waveform lane in the timeline. You can see different colors for each speaker, but the overlapping audio sits on top of itself, so you can't make precise edits.
Click the Expand tracks button on the right side of the timeline controls to split each speaker into their own lane.
Note: this is the current Riverside editor. The new Riverside editor rolling out soon makes this workflow even smoother — you can slide entire track segments around in time, which we'll cover in upcoming tutorials.
Step 2 — Select and mute the overlap
Click and drag on the overlapping track to make a selection over the part you want to silence. Then mute it — either with the mute button on the timeline header or by pressing M on your keyboard.
Once muted, the audio in that region is gone but the video still plays normally. That creates a problem: the muted speaker is still on screen, mouth moving with no sound coming out.
We fix that visually with scenes.
Step 3 — Hide the muted speaker with a scene
A scene in Riverside is a region of the timeline with its own layout. To switch the visible layout for just the muted section, drop the playhead at the start of that region, click Add Scene on the timeline (or press Shift+S), then add another scene at the end. You now have a small isolated scene that covers exactly the muted overlap.
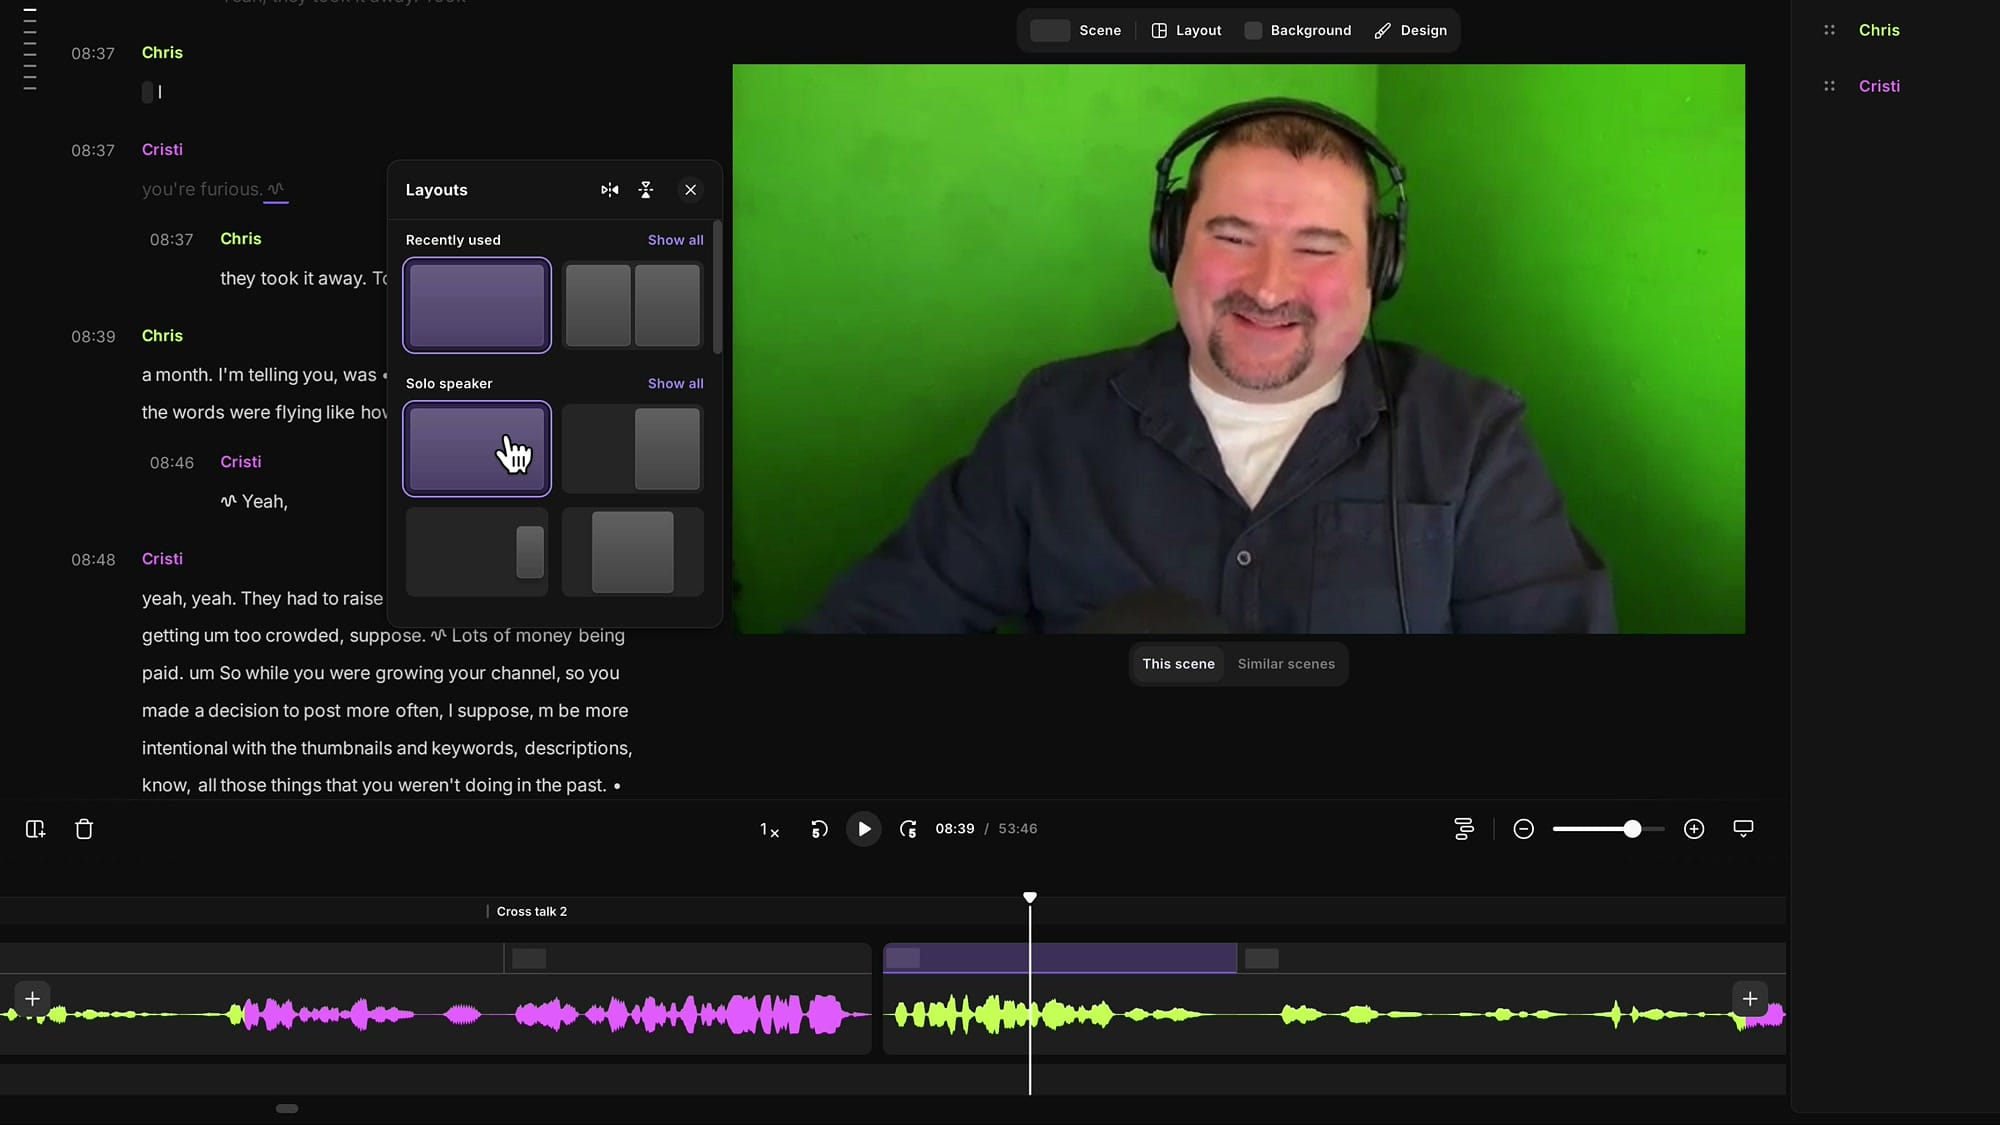
With the new scene selected, open the Layout menu at the top of the preview and pick a Solo Speaker layout. If Riverside shows the wrong person, click on the video, then use the speaker dropdown at the top of the preview to switch the visible speaker.
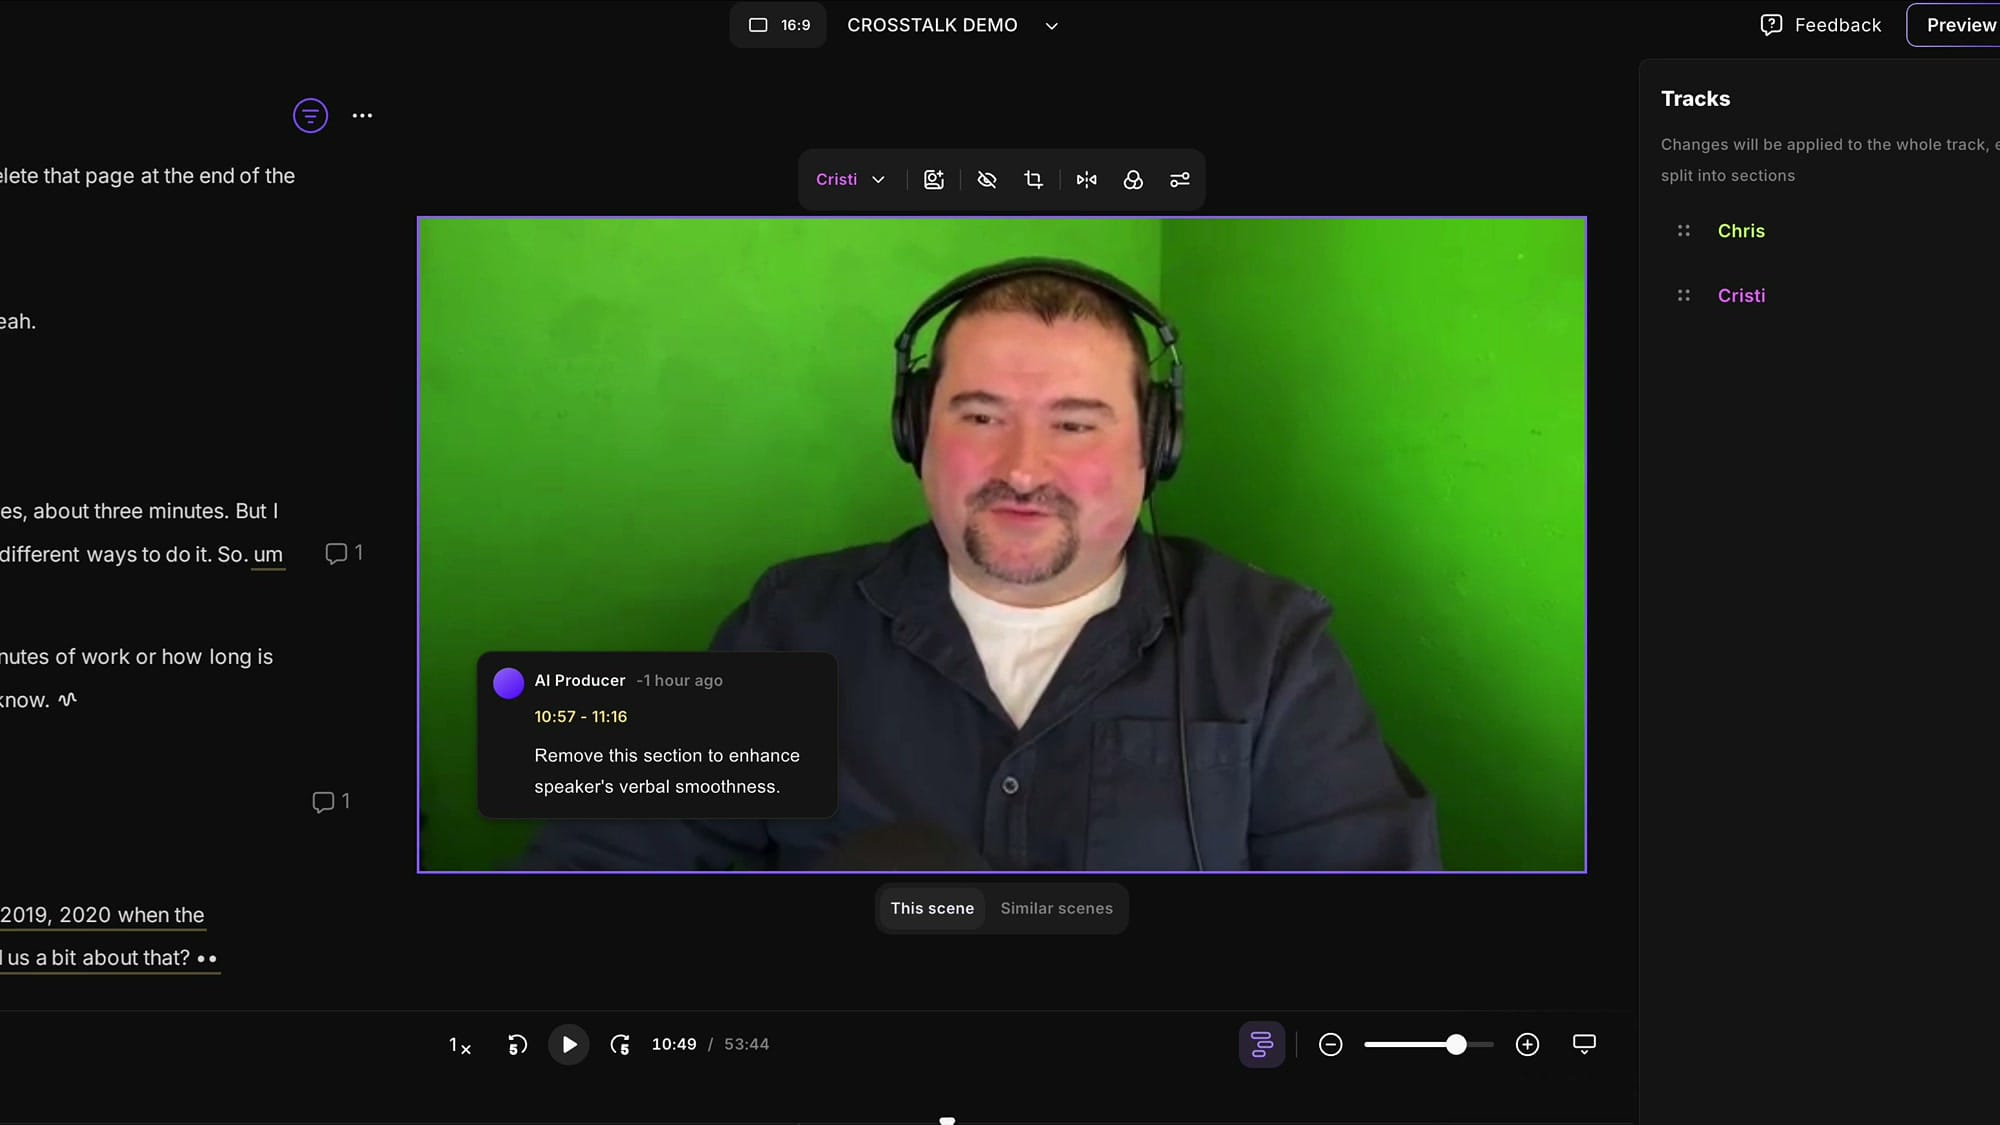
After the scene ends, the layout returns to whatever it was before — usually side-by-side. The viewer sees a clean conversation with no awkward silent mouth movements.
Method 2: Keep both speakers during the overlap
The mute trick is fine when one person's overlap is throwaway. But sometimes both people say something you want to keep. The current editor doesn't let you slide individual track segments left or right, so you can't separate the overlap by shifting one speaker in time (the new editor will fix this).
The workaround is to duplicate the overlapping region and sequence the two speeches back-to-back.
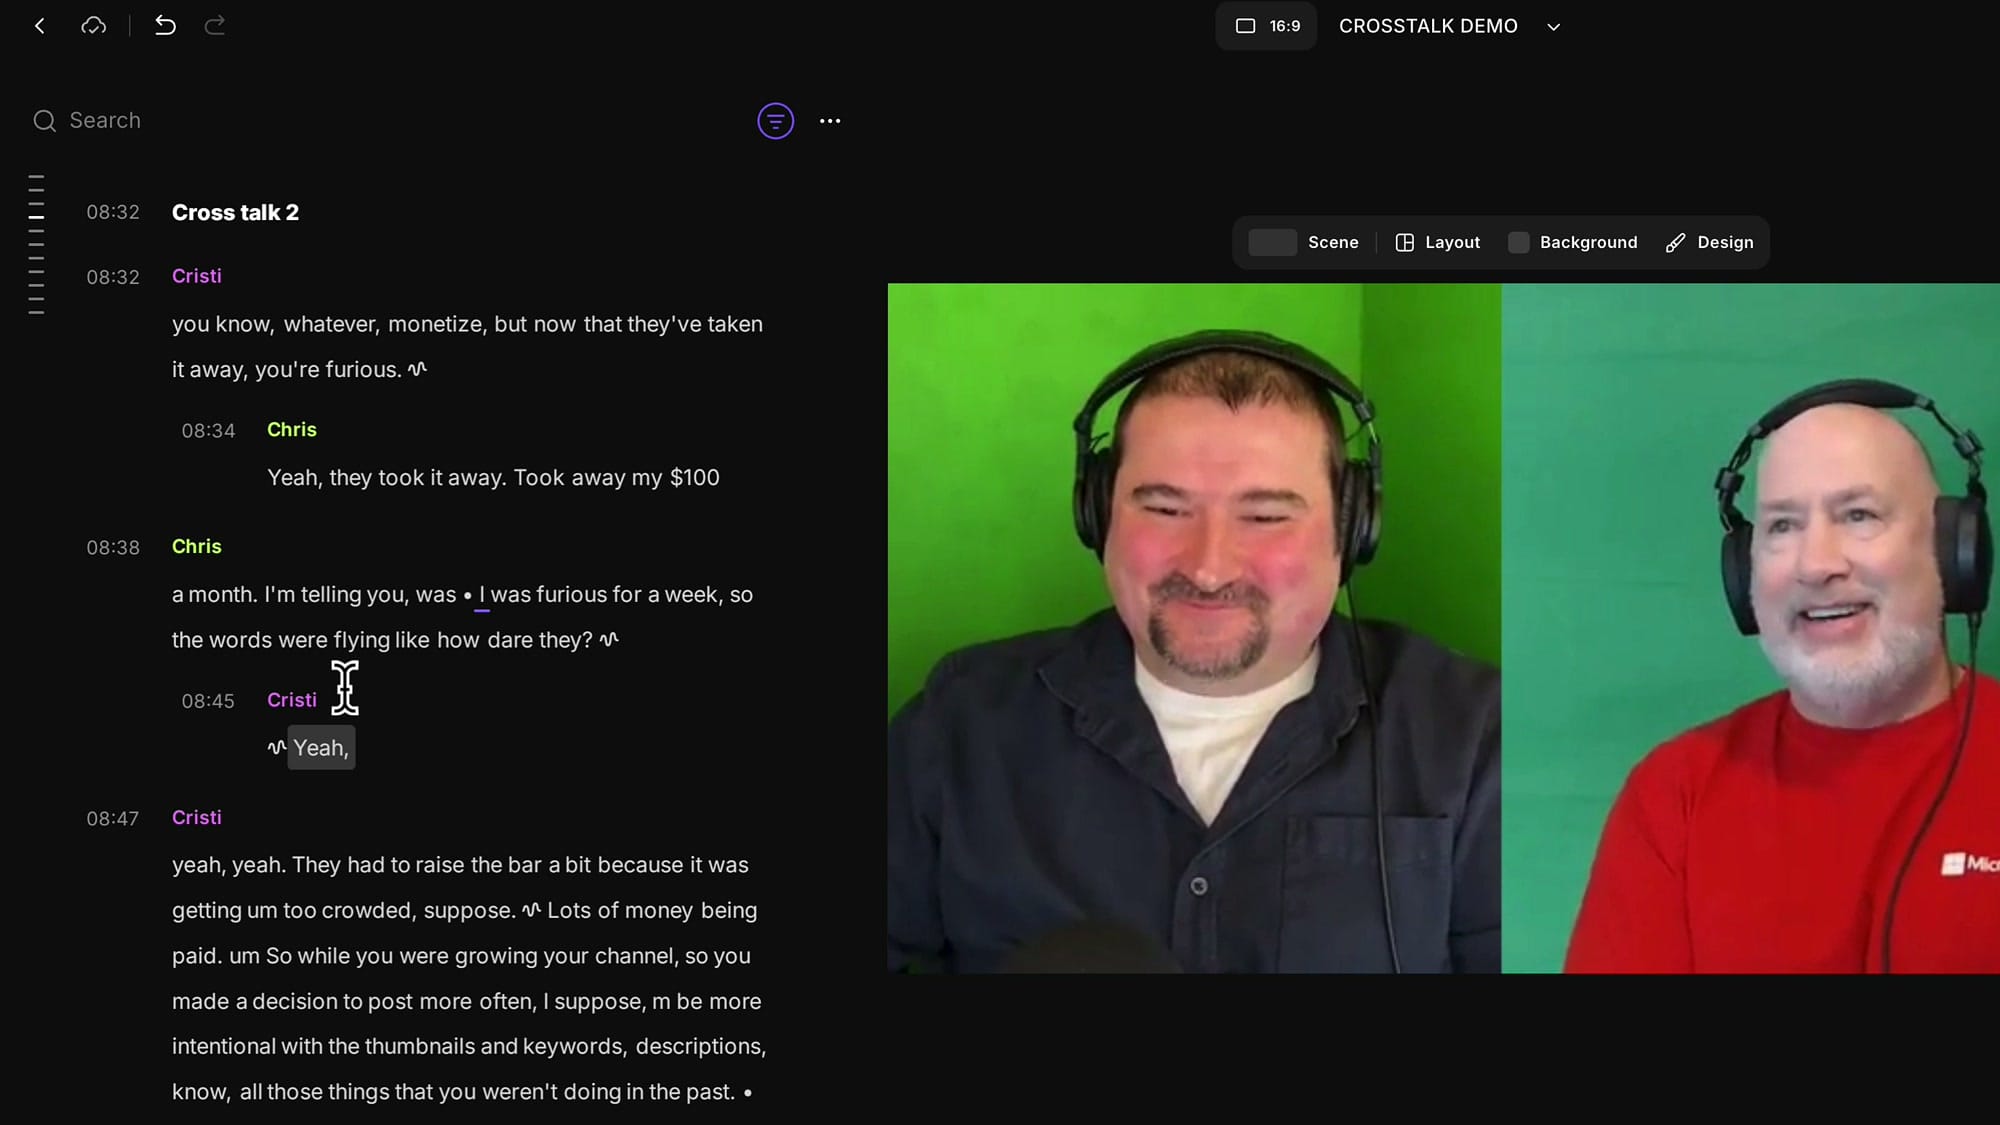
Step 1 — Spot the crosstalk in the transcript
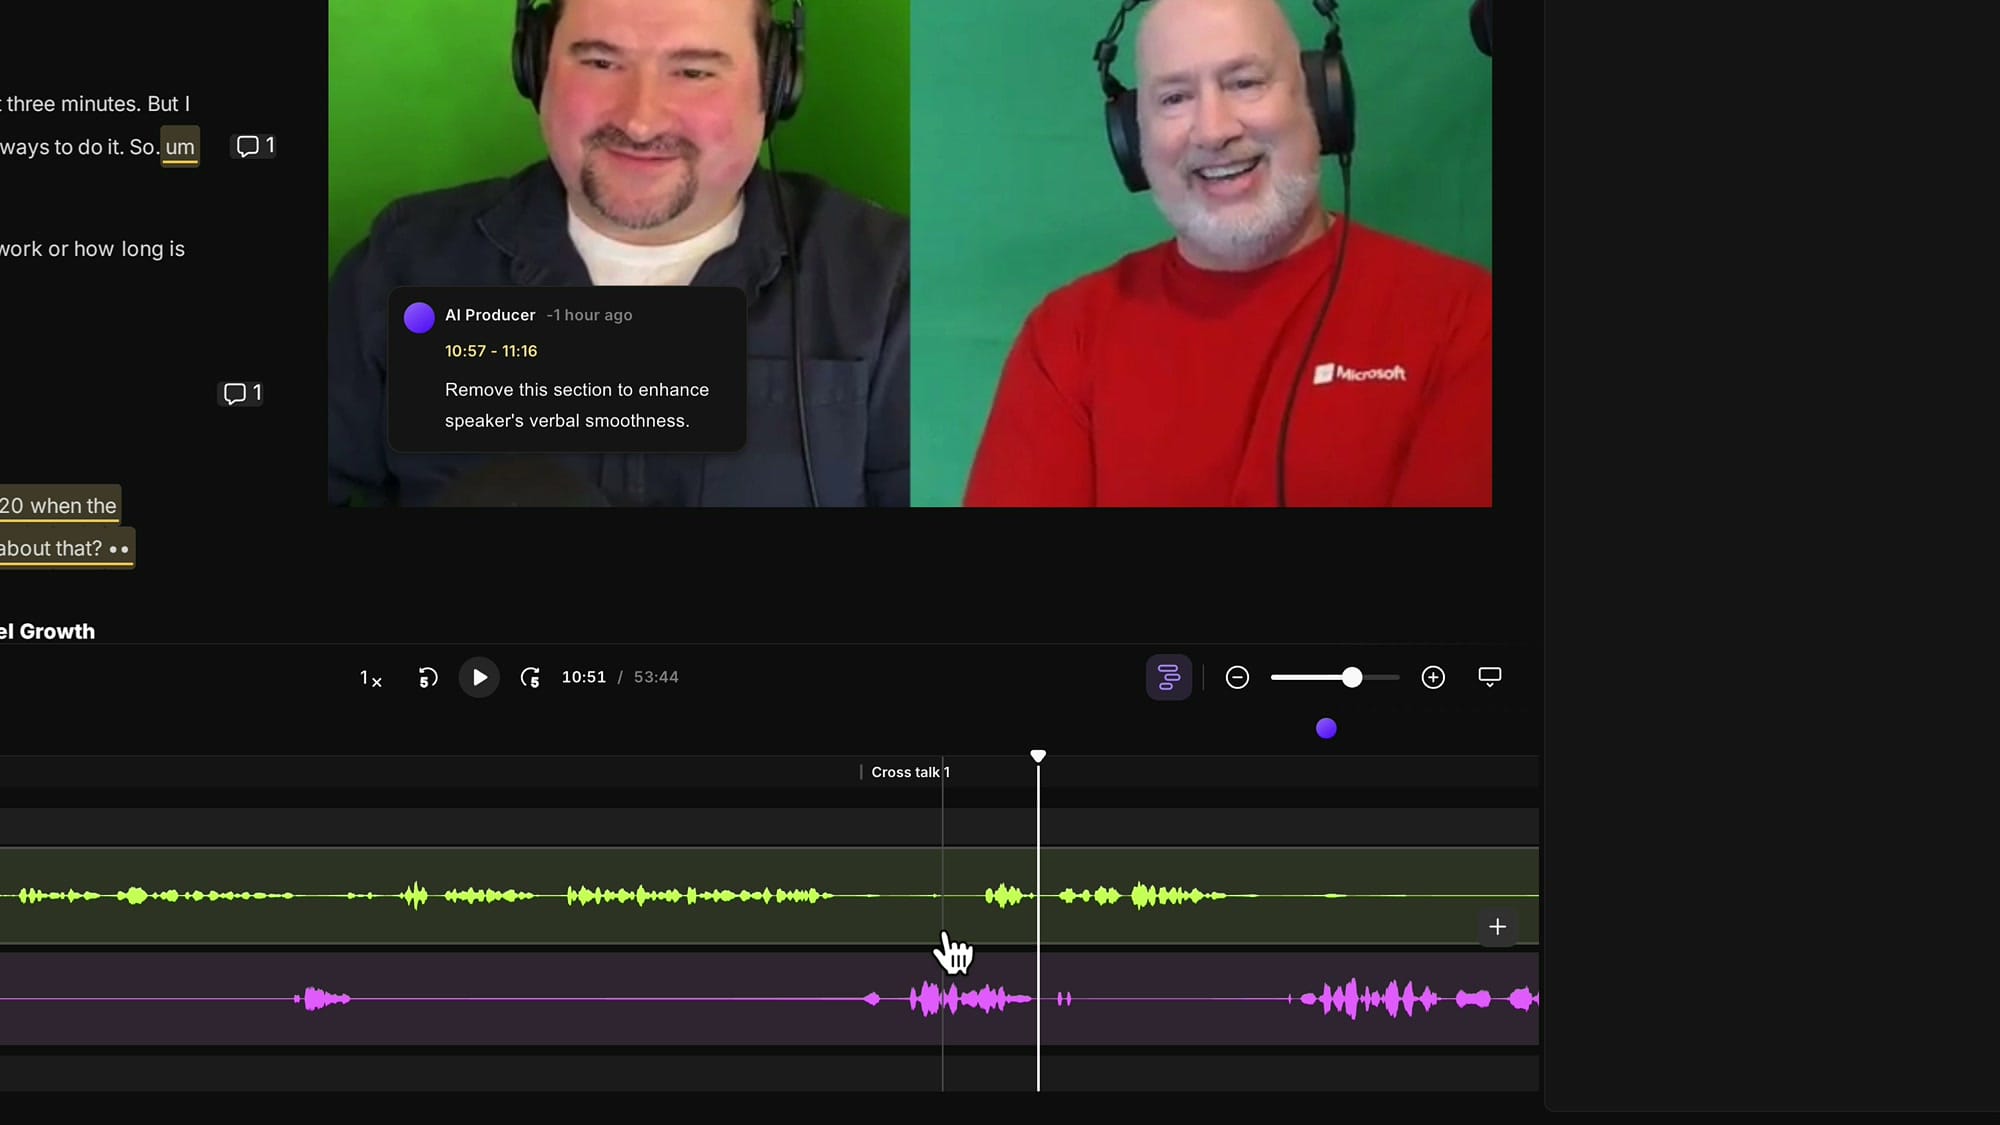
Riverside transcribes each track separately, so you'll often find crosstalk faster by looking at the transcript than at the waveform. Whenever a speaker's text appears indented under another speaker's line, that's an interruption — Riverside is telling you visually that this speech overlaps the line above.
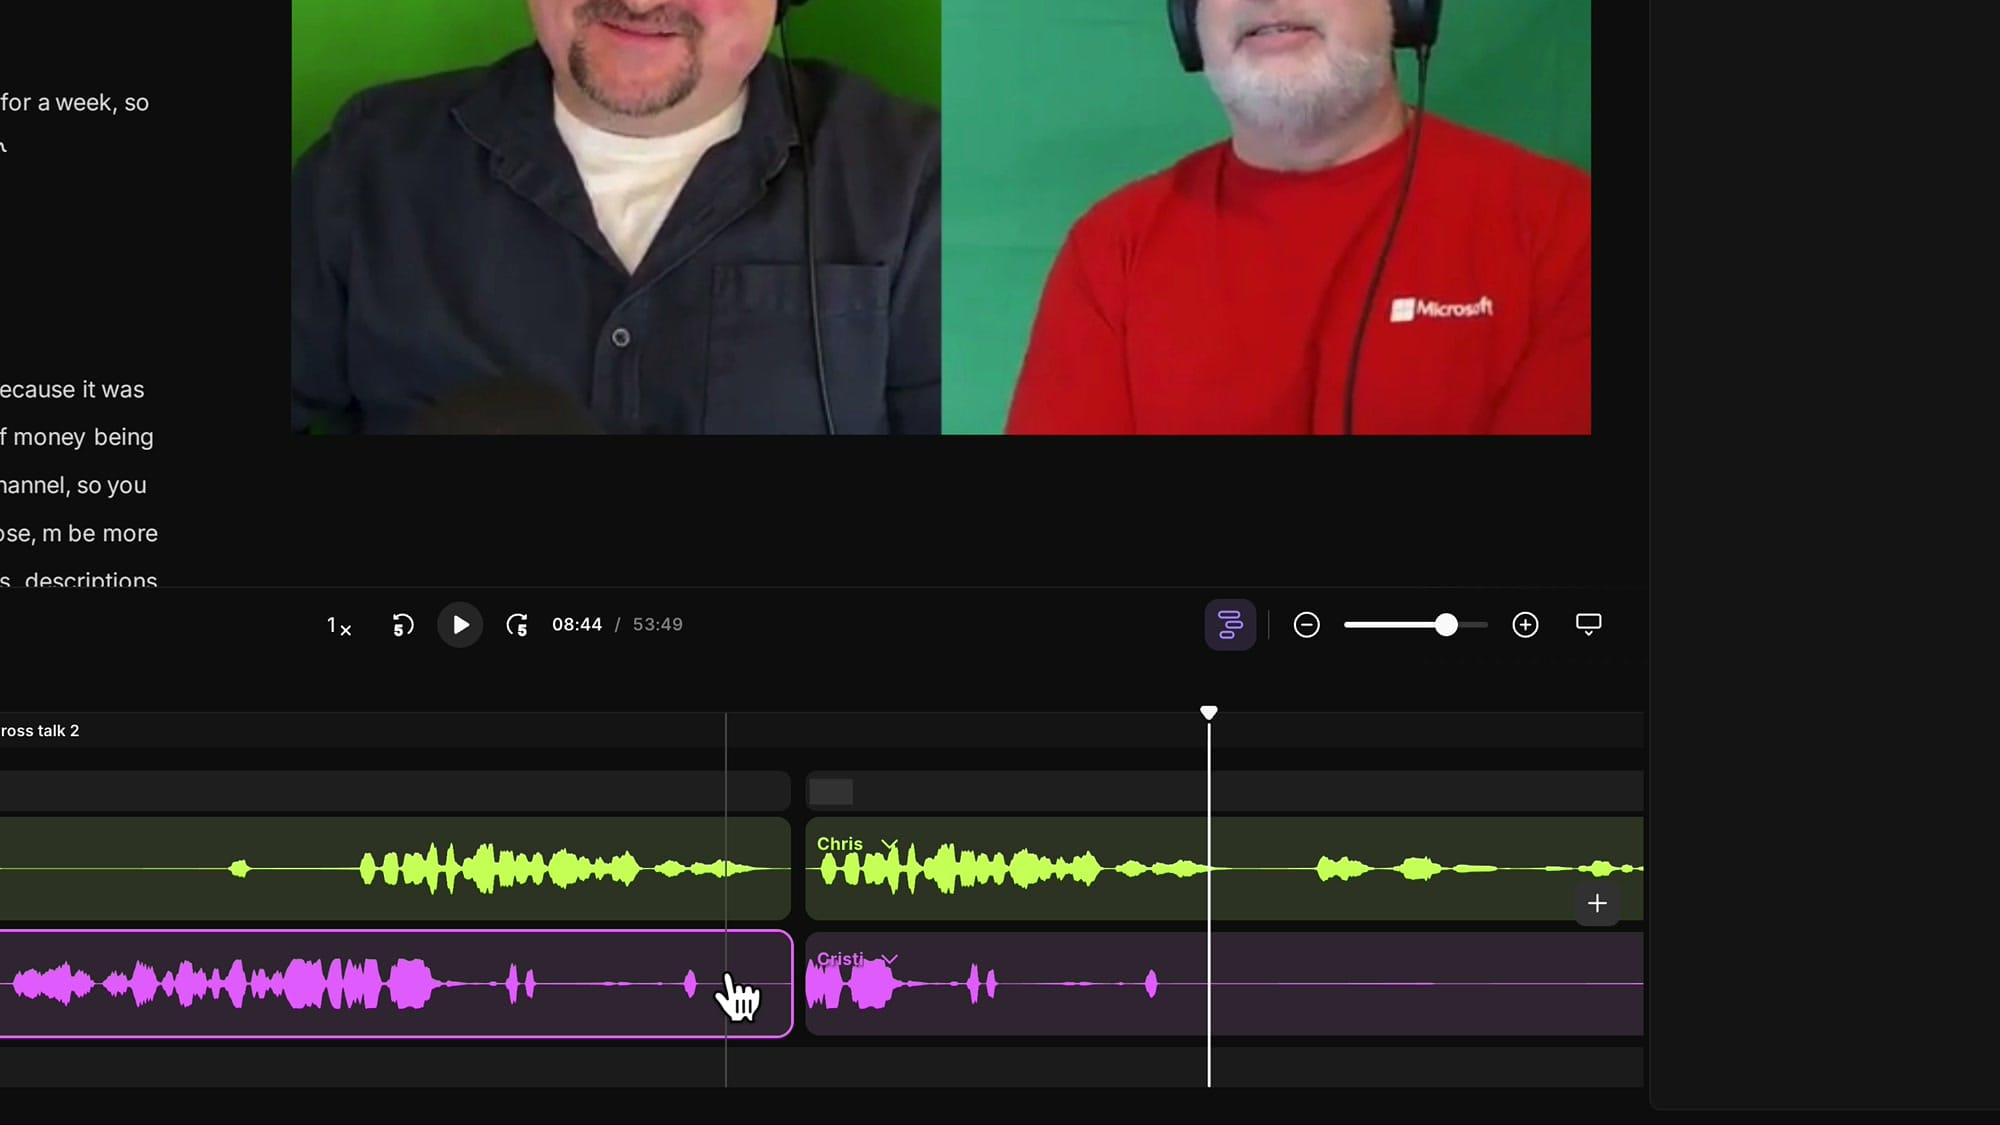
Step 2 — Expand tracks to confirm the overlap
Click Expand tracks again so you can see both waveforms separately. In this example the overlap is much longer than before, and both speakers say something the viewer needs to hear: Cristi finishes "you're furious" while Chris launches into "they took it away."
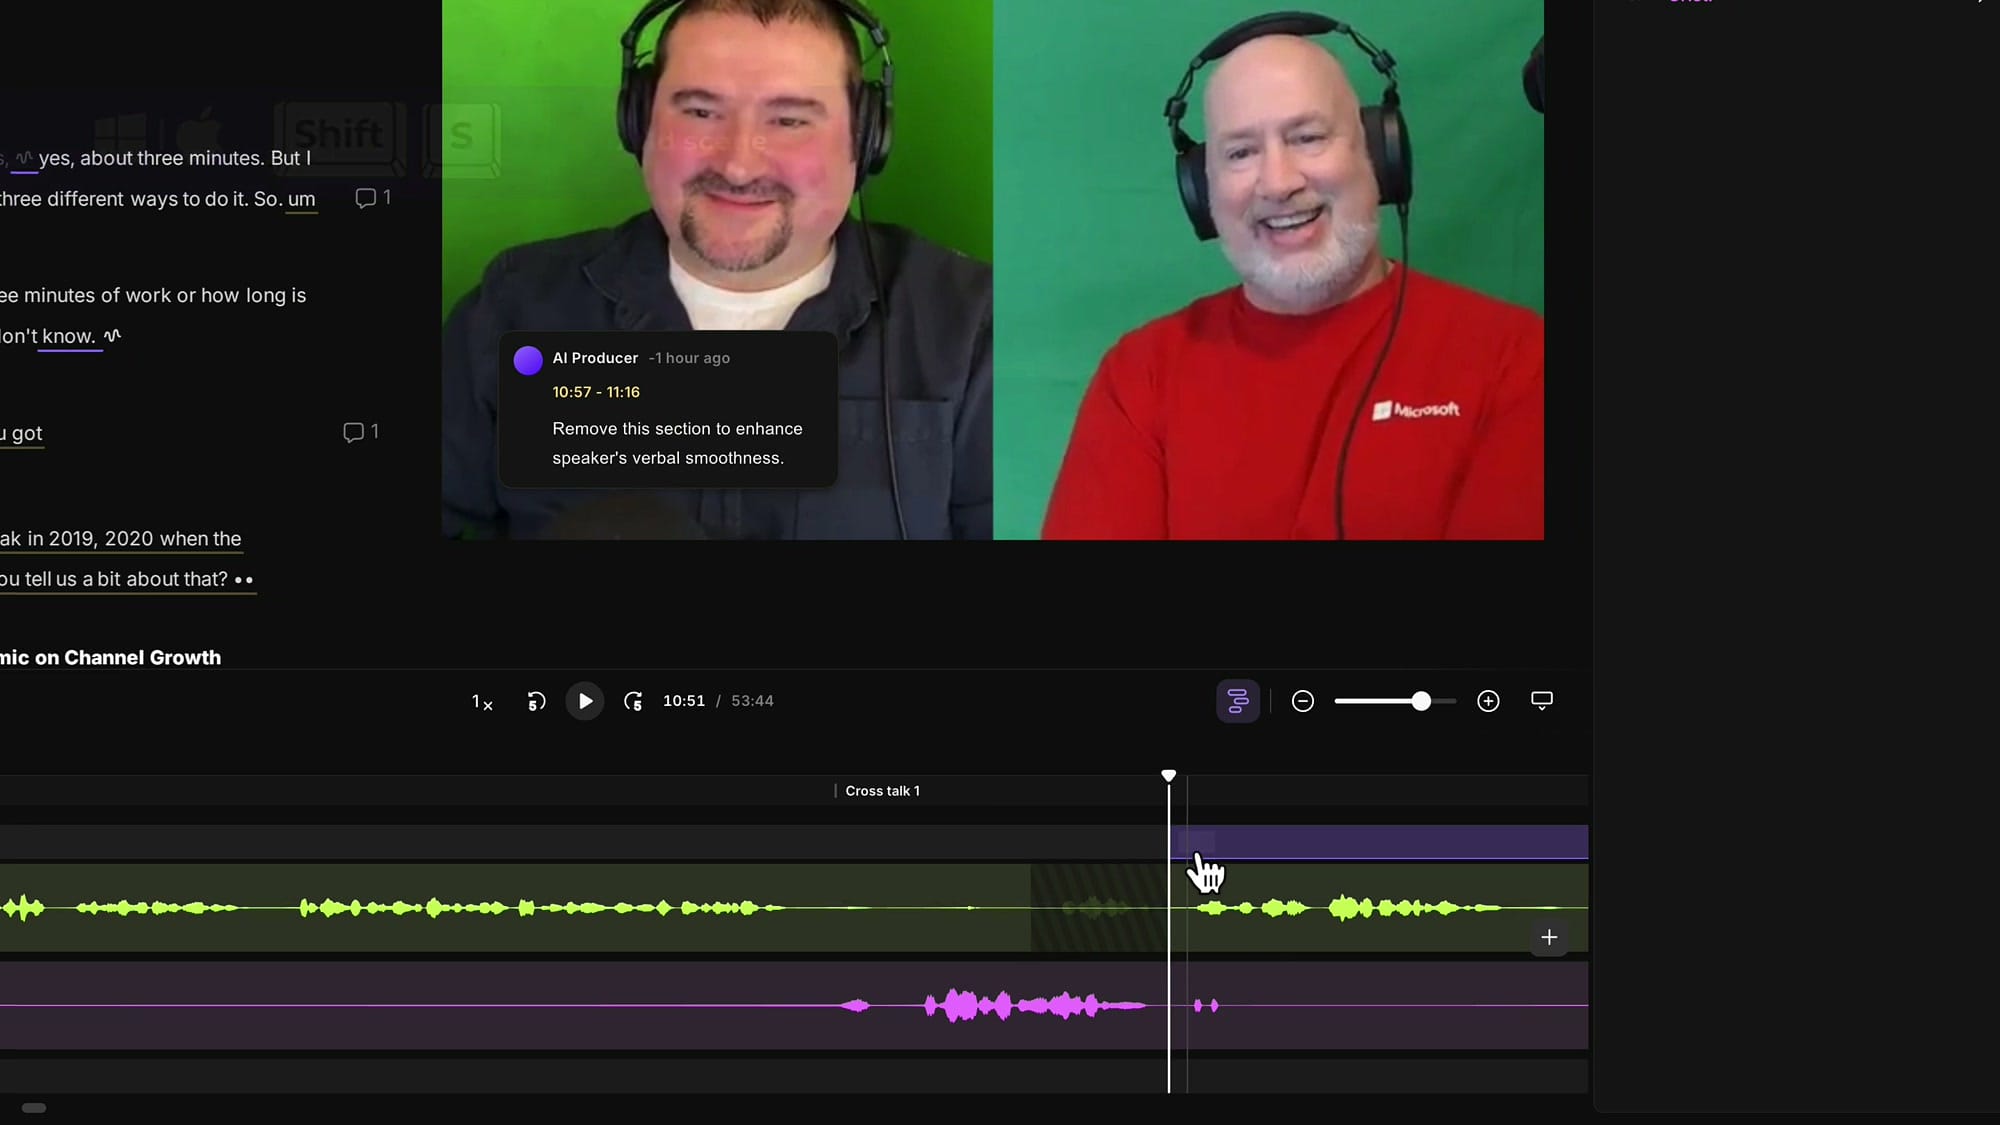
Step 3 — Find the split point
The split point goes where the second speaker starts talking, with a small buffer before that. Position the playhead just before Chris starts his sentence, then collapse the tracks back to single-lane view (the duplicate trick only works from the collapsed view).
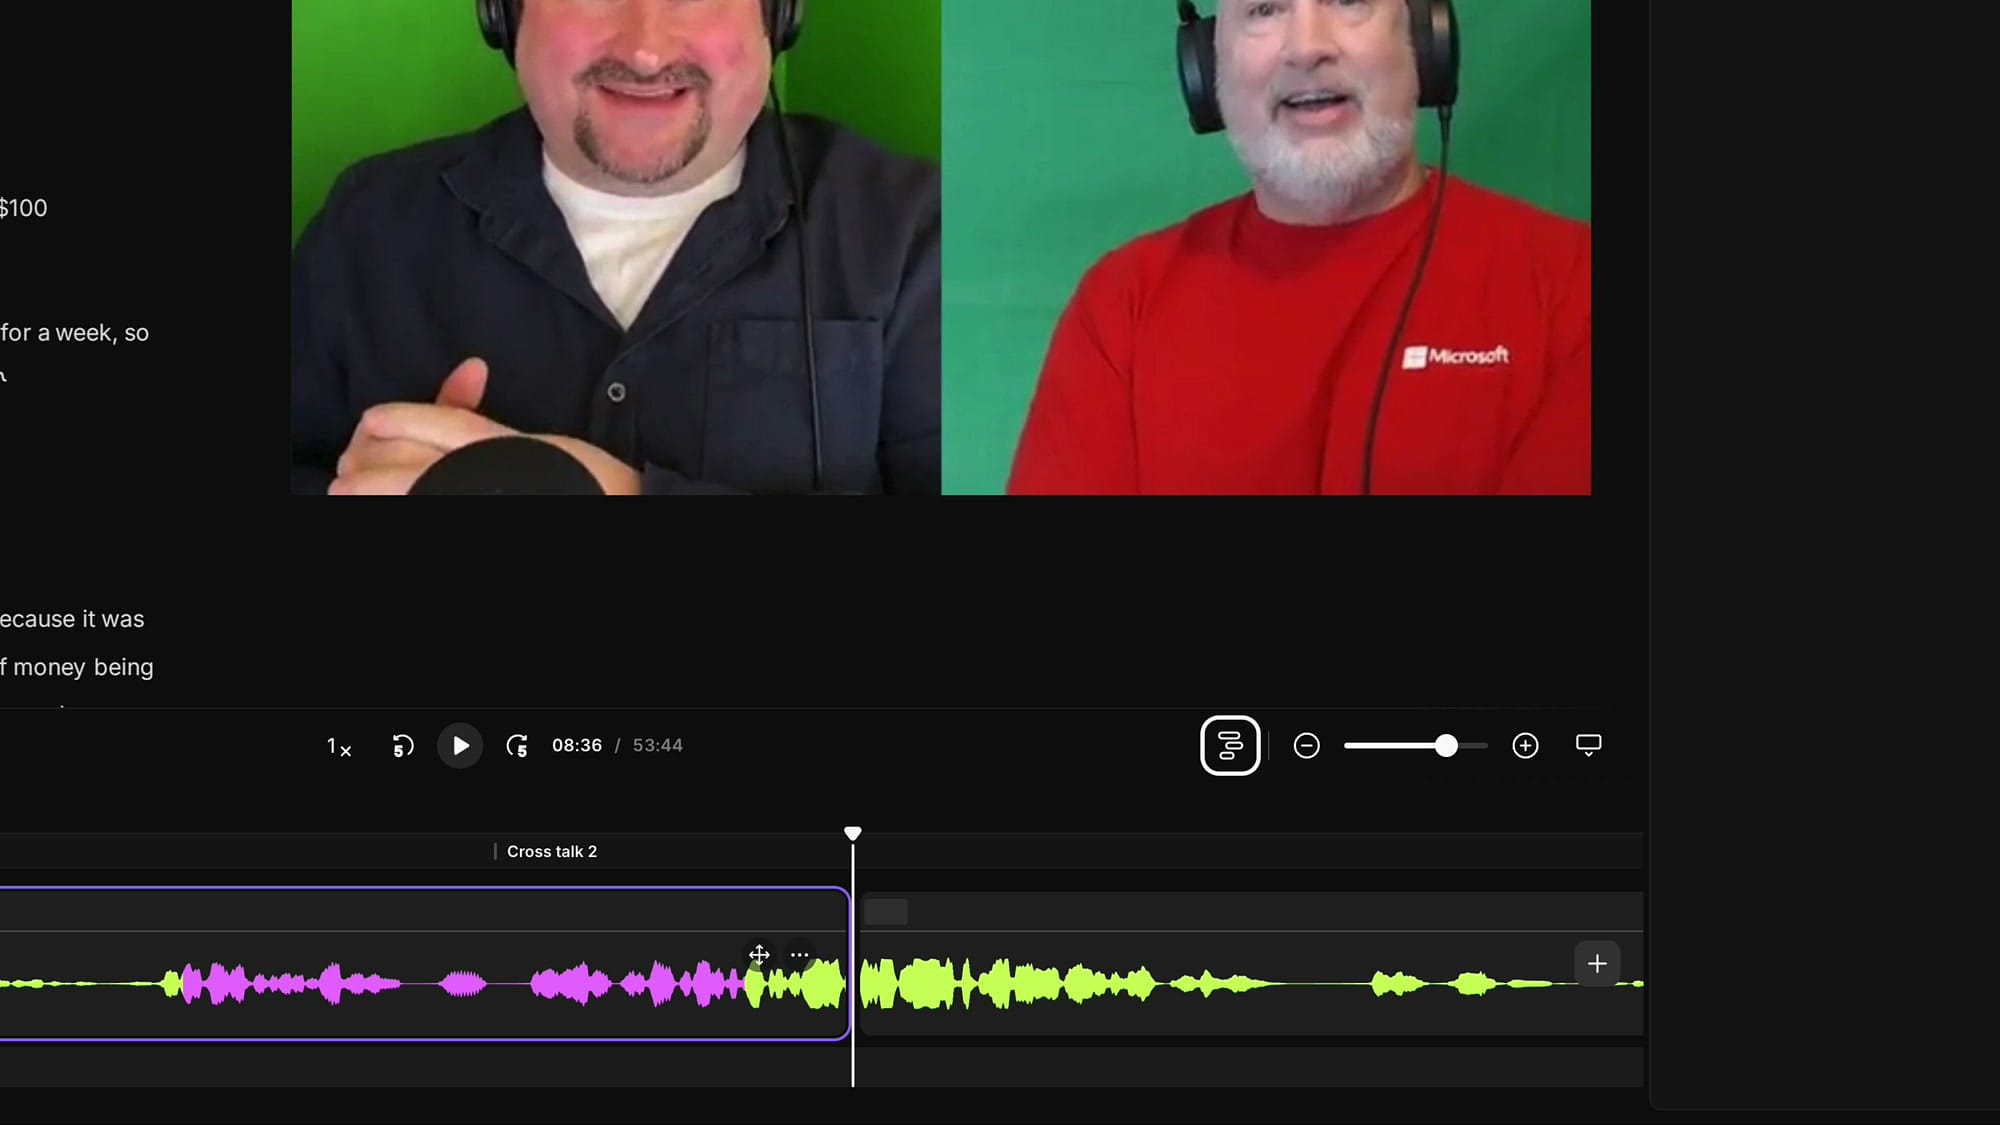
With the playhead in place, press S to split the segment.
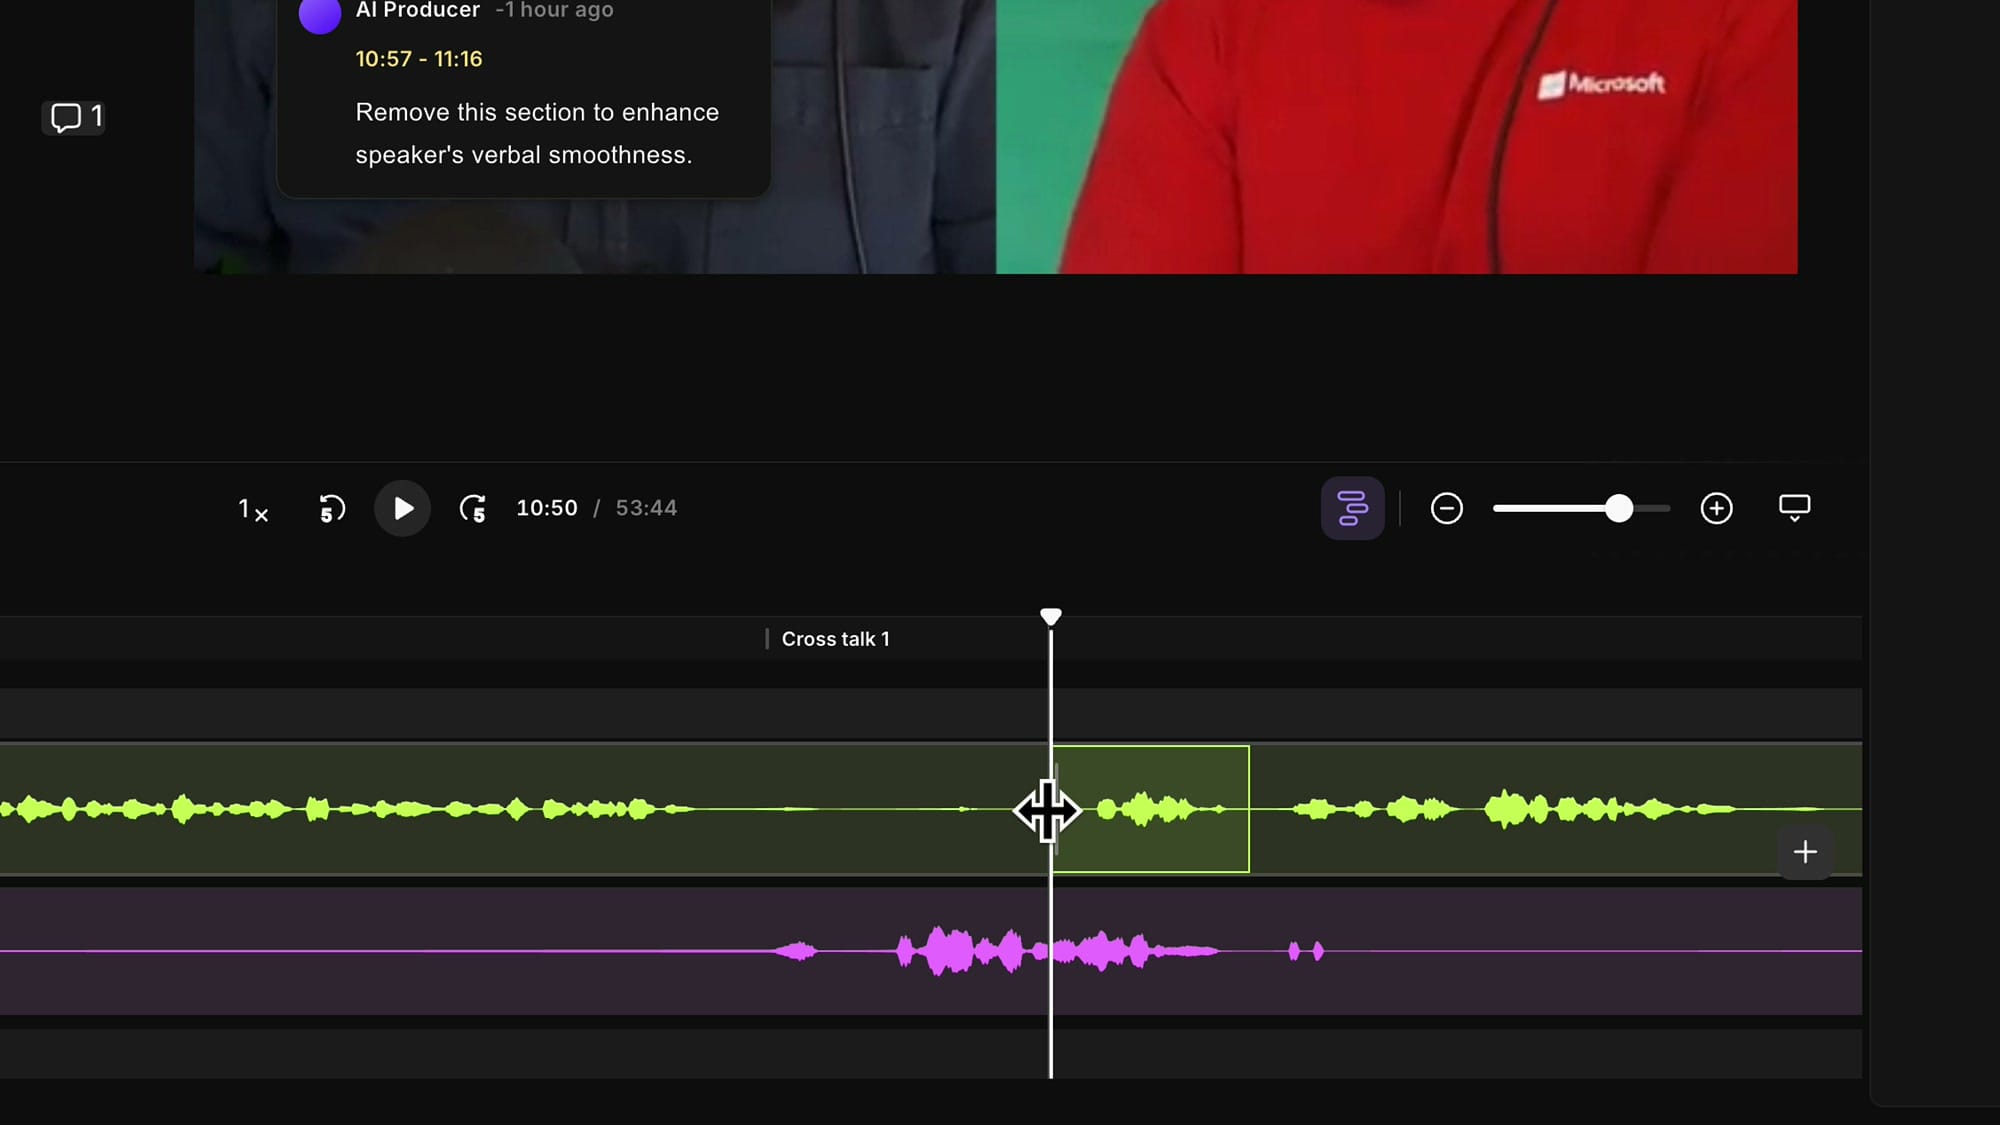
Step 4 — Duplicate by expanding the segment
Here's where the non-destructive editing pays off. Because Riverside doesn't actually throw audio away when you split, you can grab the left edge of the right-hand segment and drag it backward. This reveals the same audio twice — once in the original left segment, and again in the dragged-back right segment.
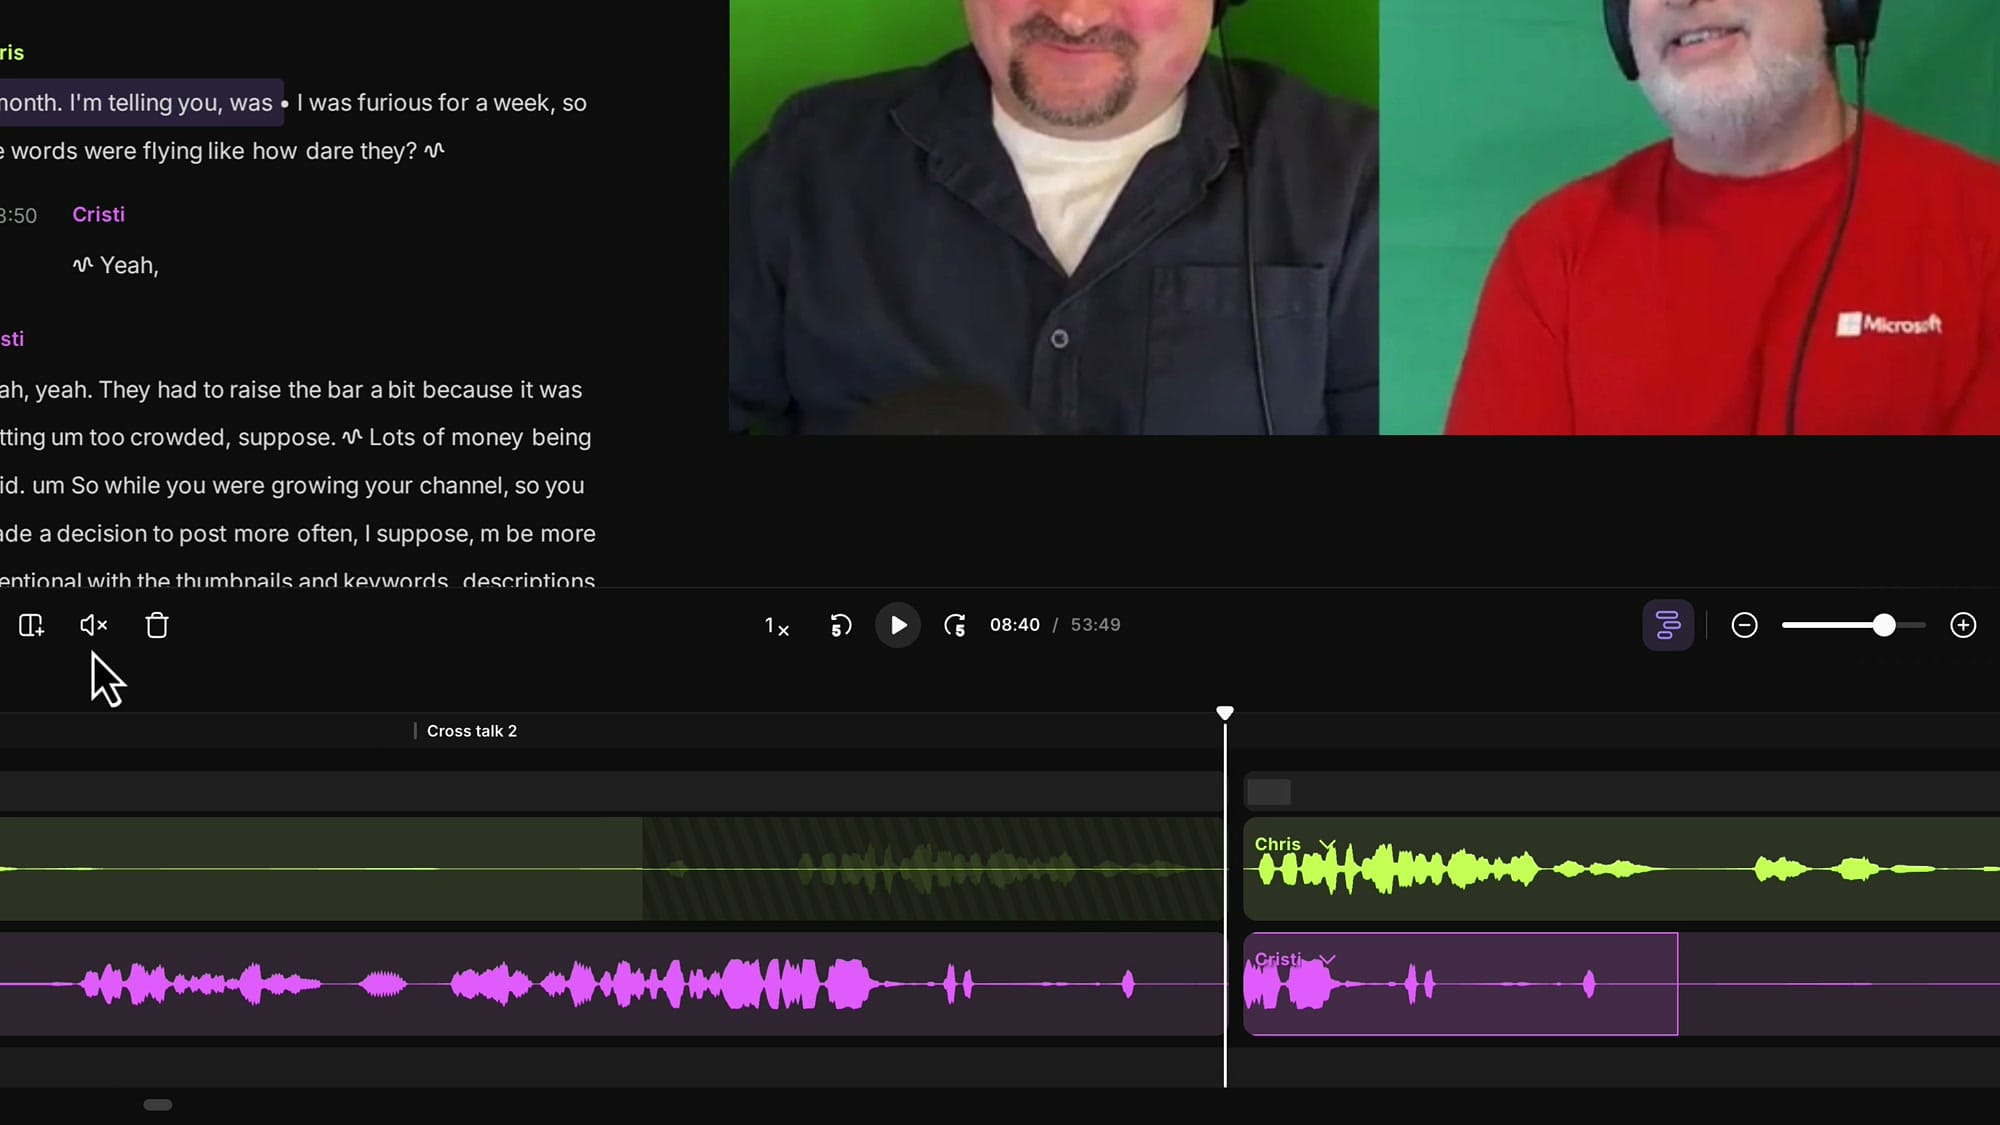
Drag the handle backward until the right segment fully covers the overlap region. Expand the tracks again to see what just happened: Chris's speech now appears twice and so does Cristi's, side by side in the timeline.
Step 5 — Mute opposite speakers on each copy
This is the trick: on the first copy, mute the second speaker (Chris in this example) — so only Cristi's "you're furious" is heard. On the second copy, mute the first speaker (Cristi) — so only Chris's "they took it away…" is heard.
Step 6 — Delete the gap
After muting, you'll often see a small dead zone between the two segments. Collapse the tracks, select that empty slice, and press Delete or Backspace to close it up.
The result: two complete sentences playing one after the other, with no overlap and no muted silence.

Play it back. The overlap is gone, both people are heard in full, and the conversation flows naturally.
Step 7 — Hide the muted mouths with scenes
Same visual problem as Method 1 — on each duplicate, one speaker is muted but still on screen. Add a scene over each copy and switch its layout to a Solo Speaker view of whichever person is talking in that segment.
For the first duplicate, set the layout to show only Cristi (since Cristi is the one speaking). For the second, switch to Chris. After both scenes end, the layout returns to side-by-side and the viewer never sees a moving mouth without audio.
When to use which method
Mute and hide works when one speaker's overlap is throwaway — a filler word, a "yeah", a duplicated phrase. It's fast and the result is invisible.
Duplicate and sequence works when both speakers are saying something you need. It takes more clicks, but you keep every word both people said. The viewer never knows it was a crosstalk.
A heads-up for the near future: the new Riverside editor (rolling out soon) lets you slide isolated track segments in time, which collapses Method 2 into a much shorter workflow. Until then, the duplicate-and-mute approach is the cleanest way to preserve both voices in the current editor.
Key takeaways
- Riverside records separate tracks per speaker, so you can edit one person without touching the other.
- Click Expand tracks to see each speaker on their own lane before fixing any crosstalk.
- Use the transcript's indented lines as a fast way to spot every overlap in your recording.
- For throwaway overlaps, select and press M to mute, then add a scene with a Solo Speaker layout over the muted region.
- For content-rich overlaps, split before the second speaker comes in, drag the right segment back to duplicate the overlap, then mute opposite speakers on each copy.
- Always cover muted regions with single-speaker scenes so viewers don't see a moving mouth with no audio.
Related guides


If you're eager to learn more about Riverside and wish to have a one-on-one Riverside coaching session, feel free to book a call with me. I'm here to help you with any questions you have and to guide you through the best workflows, tips, workarounds, or just answer any questions you may have!