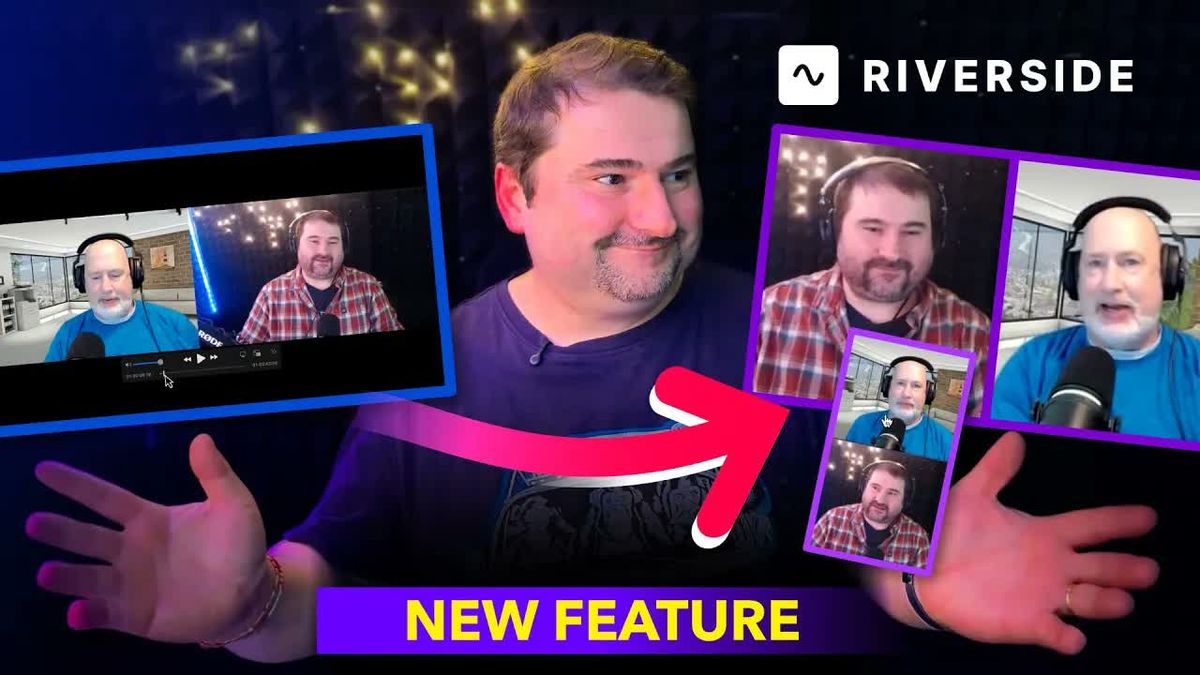
How to Split a Single Video into Multicam in Riverside

If you recorded a video call on Zoom, Teams, or another platform, you probably ended up with a single video file where all speakers appear in one frame. That's fine for playback, but it limits your editing options — you can't zoom into one speaker, switch between angles, or apply per-speaker layouts.
Riverside can take that single combined video and split it into separate tracks for each speaker, effectively turning it into a multicam recording. Here's how it works.
What You Start With
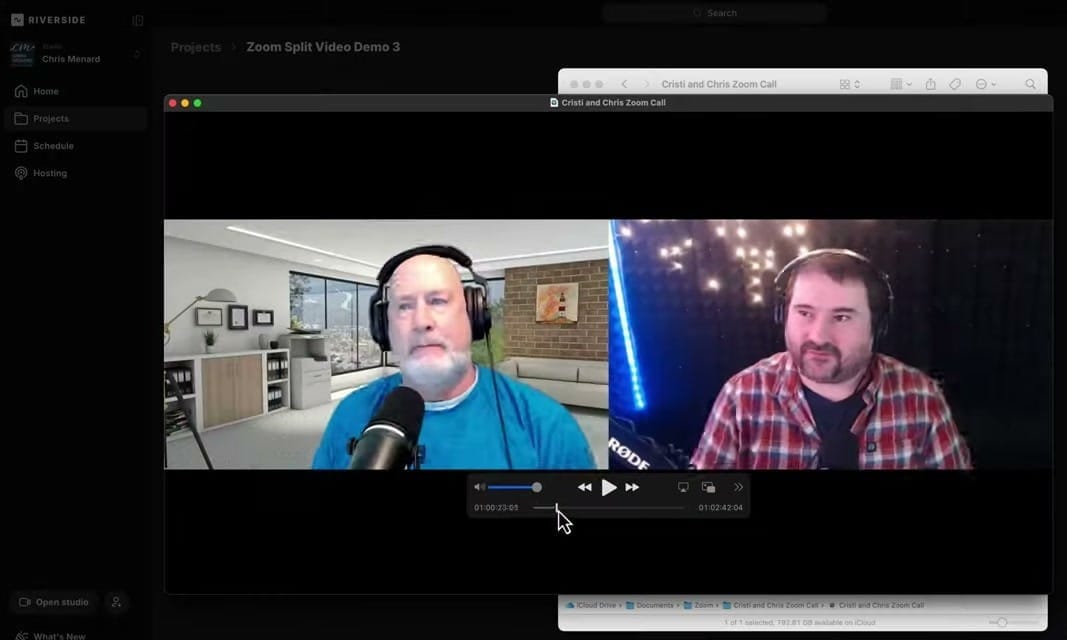
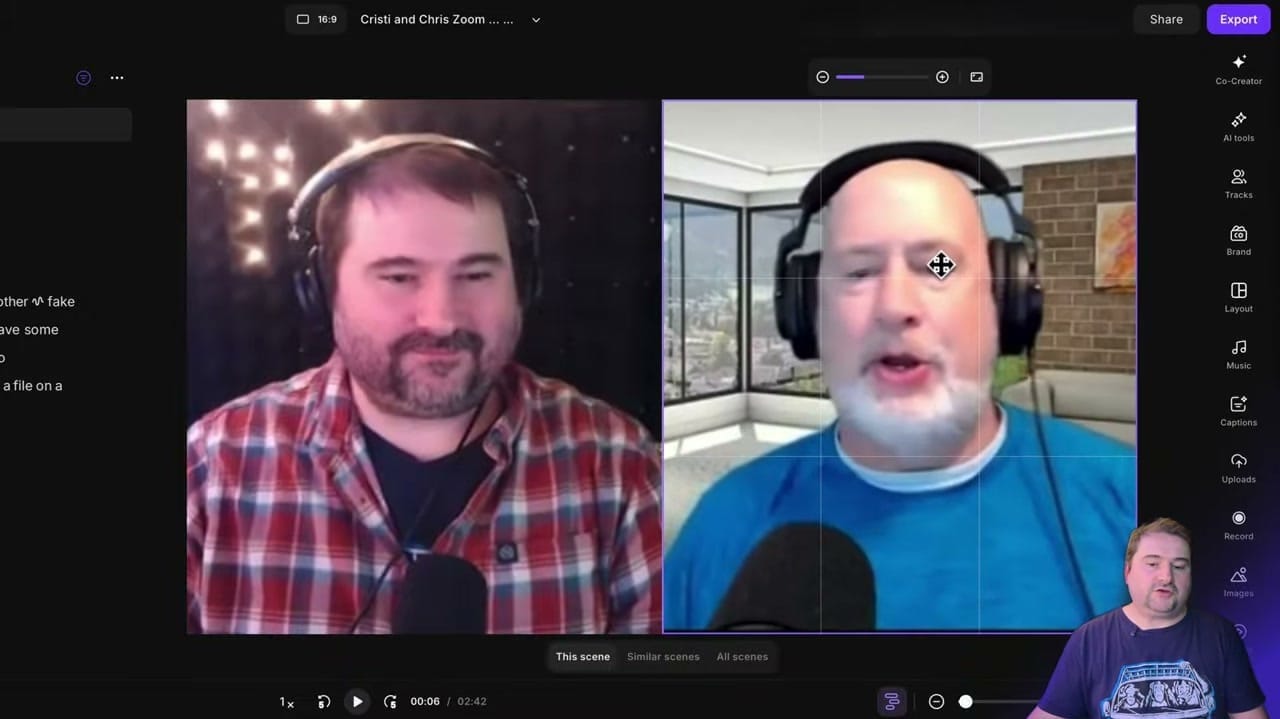
A typical Zoom or video call recording looks like this — both speakers visible in a single frame, side by side or in a grid layout. It's one video file with one video track.
Upload with "Separate Video Tracks" Enabled
When you upload the video to Riverside, the key setting is "Separate video tracks" — marked with a NEW badge. This is what tells Riverside to use AI to detect and split the speakers.
- Create a new project in Riverside
- Choose Upload and select your video file
- Set "How many speakers?" to match your video (e.g., 2 speakers)
- Toggle on "Separate video tracks"
- Click Upload
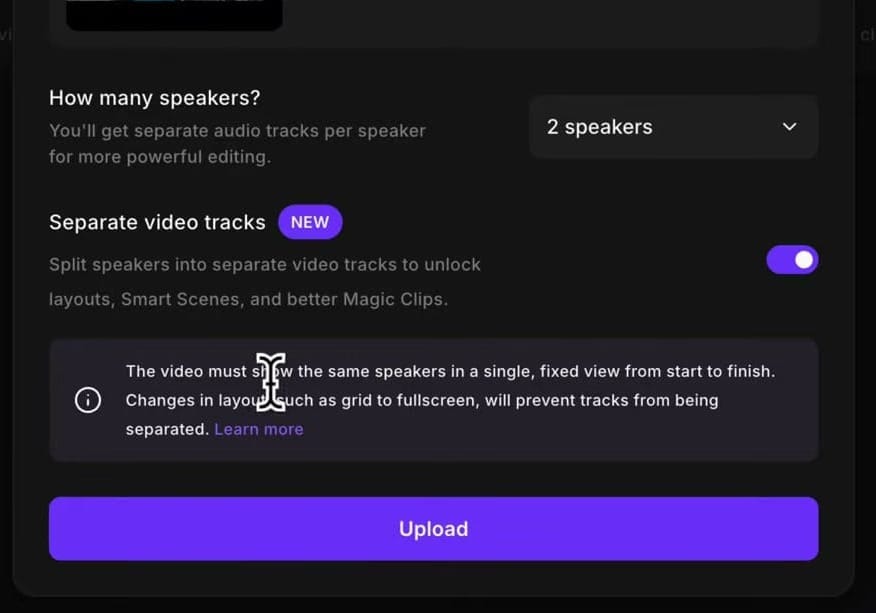
Important: The video must show the same speakers in a single, fixed view from start to finish. If the layout changes during the call (e.g., grid to fullscreen), the tracks can't be separated properly.
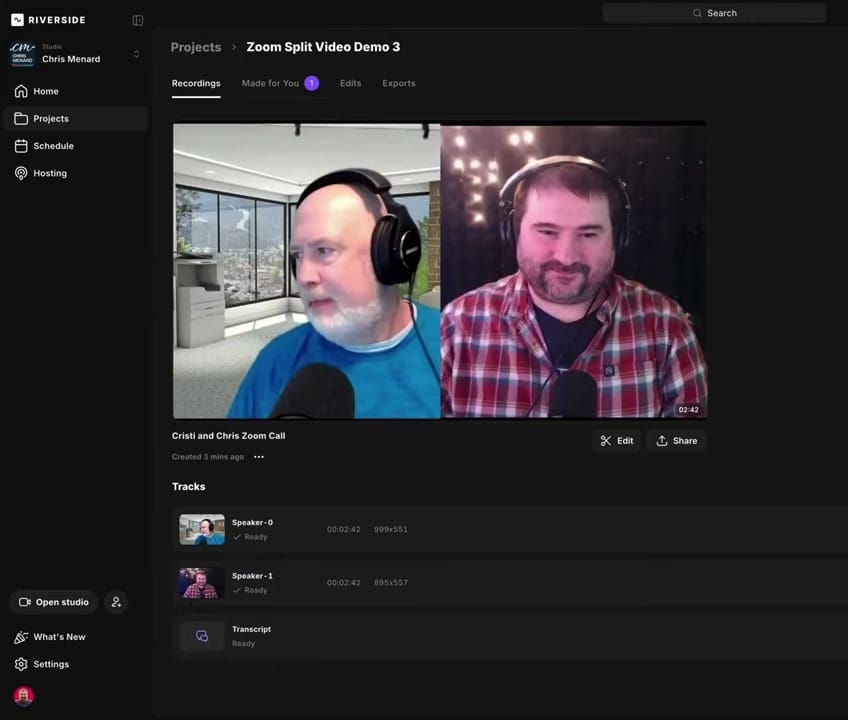
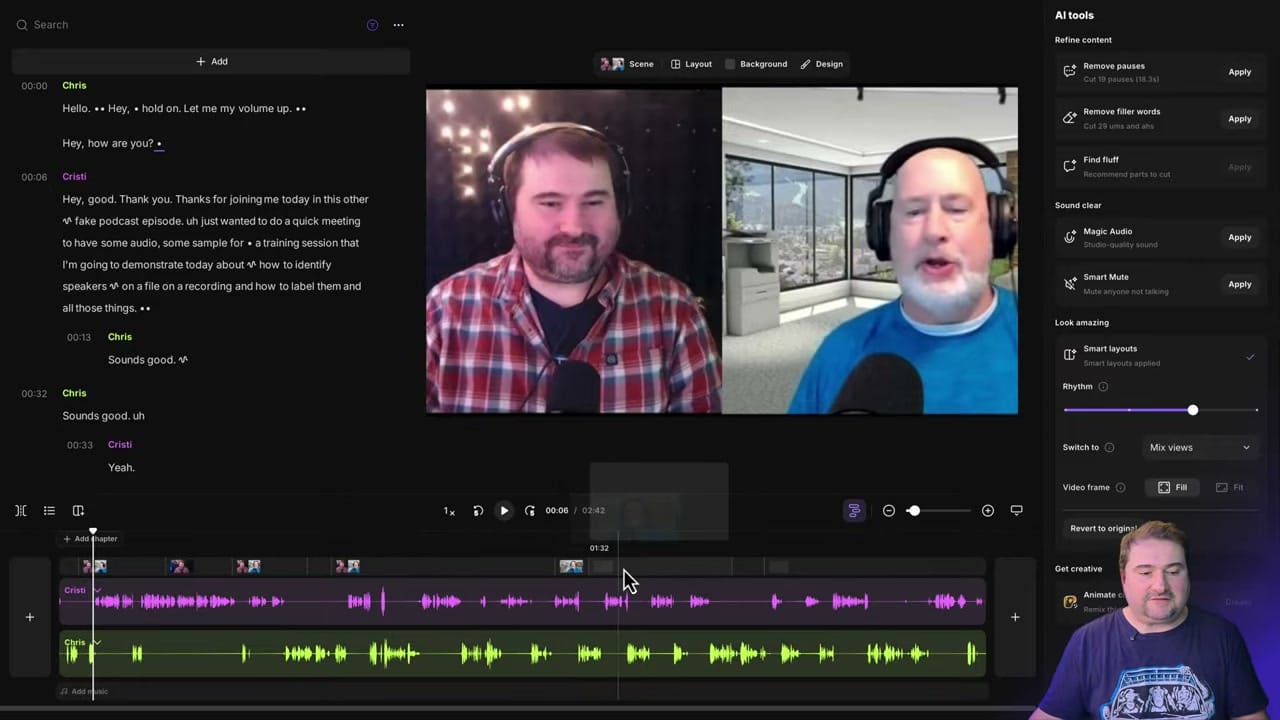
The Result: Separate Speaker Tracks
After processing, Riverside creates individual tracks for each speaker. Instead of one combined file, you now have:
- Speaker-0 — cropped video of the first person
- Speaker-1 — cropped video of the second person
- Transcript — with speaker labels
Editing with Separate Tracks
Click Edit and you're in the full Riverside editor with multicam capabilities — exactly as if you'd recorded natively in Riverside with separate cameras.
You now have access to all of Riverside's multi-track editing features:
- Smart Layouts — automatic switching between speakers based on who's talking
- Crop and reframe each speaker independently (see also: crop, reposition, and reframe in Riverside)
- Solo speaker views — zoom into one person for emphasis
- Side-by-side layouts with customizable positioning
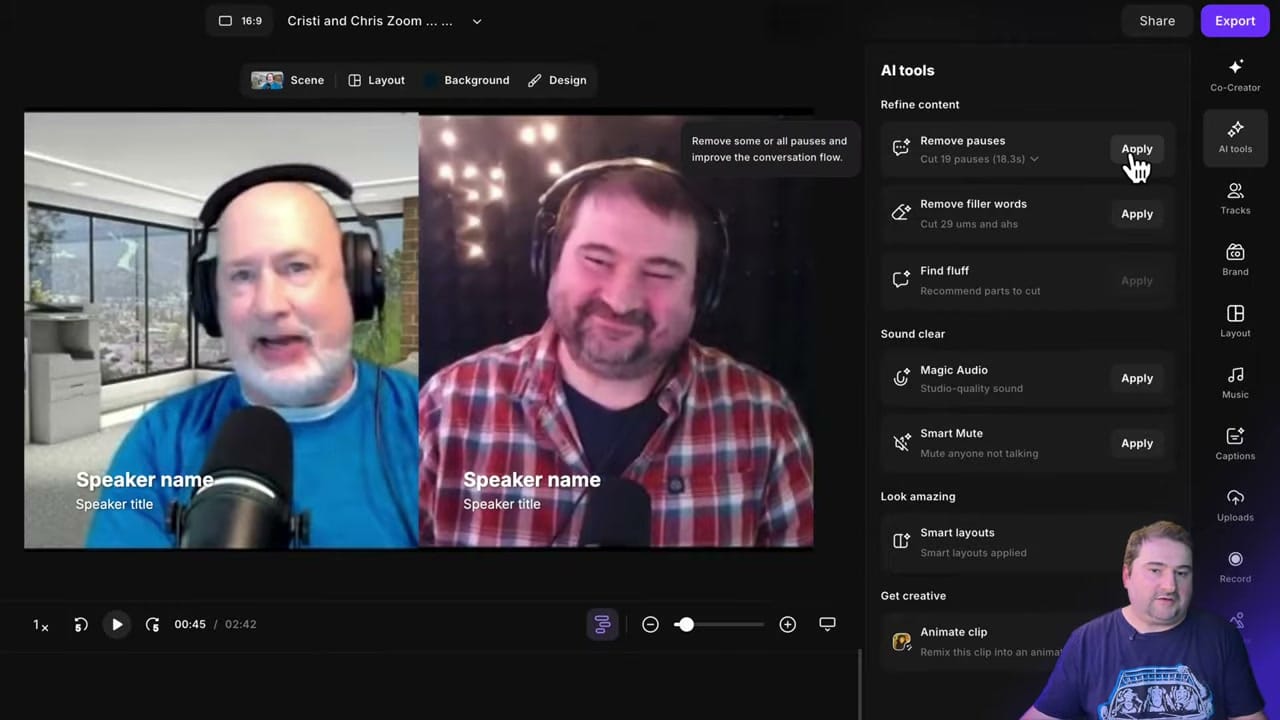
AI Tools and Speaker Identification
Once split, Riverside's full AI toolkit becomes available:
- Remove pauses — automatically cut dead air
- Remove filler words — strip "ums" and "ahs"
- Find fluff — AI recommends parts to cut (see also: Remove Fluff with Riverside)
- Magic Audio — studio-quality sound enhancement
- Smart Mute — mute anyone not talking (see also: What is Smart Mute)
- Smart layouts — automatic camera switching based on who's speaking
When to Use This
- Repurposing Zoom recordings — turn basic calls into polished podcast episodes or interviews
- Client recordings from other platforms — clients send you a Zoom/Teams file, you split and edit it professionally in Riverside
- Archive footage — older recordings that weren't captured with separate tracks
- Quick social clips — split the video, then create Magic Clips from specific moments
Tips
- Fixed layout required — the call must stay in the same grid/view throughout. If the layout switches (gallery to speaker view), the split won't work
- Rename speakers after splitting — they'll be labeled "Speaker-0" and "Speaker-1" initially (see: rename speakers on uploaded files)
- Resolution varies — each speaker's track will be lower resolution than the original since it's cropped from a portion of the full frame
- After splitting, you can use all the same editing features as a native Riverside recording — layouts, captions, branding, export
Ready to turn your Zoom recordings into multicam productions? Get started with Riverside.
If you’re eager to learn more about Riverside and wish to have a one-on-one Riverside coaching session, feel free to book a call with me.
I’m here to help you with any questions you have and to guide you through the best workflows, tips, workarounds, or just answer any questions you may have!