How to Use AutoCrop and Reframe Video in Riverside
Riverside's new editor detects faces and centres them in one click. Here's how to use AutoCrop, control the zoom, and push the same crop across every matching scene with Similar scenes.

If a guest drifts to the edge of their camera frame, every scene you build on top of that recording inherits the problem. I used to fix it by dragging each box around by hand, one scene at a time. The new Riverside editor now has an AutoCrop button that detects the face in a video stream and centres it in the box for you, and it can push that same crop to every matching scene in the edit.
Here is the whole workflow, from checking your original framing to spot-checking the result.
Start by looking at the untouched framing
Riverside does have a framing helper at the recording stage (article and video on this coming soon). But you never get perfect recordings from clients. Someone sits too far left, someone leans out of shot, and you only find out once the files land in the editor.
So the first thing I do is open the edit and look at the raw recording before I touch anything.
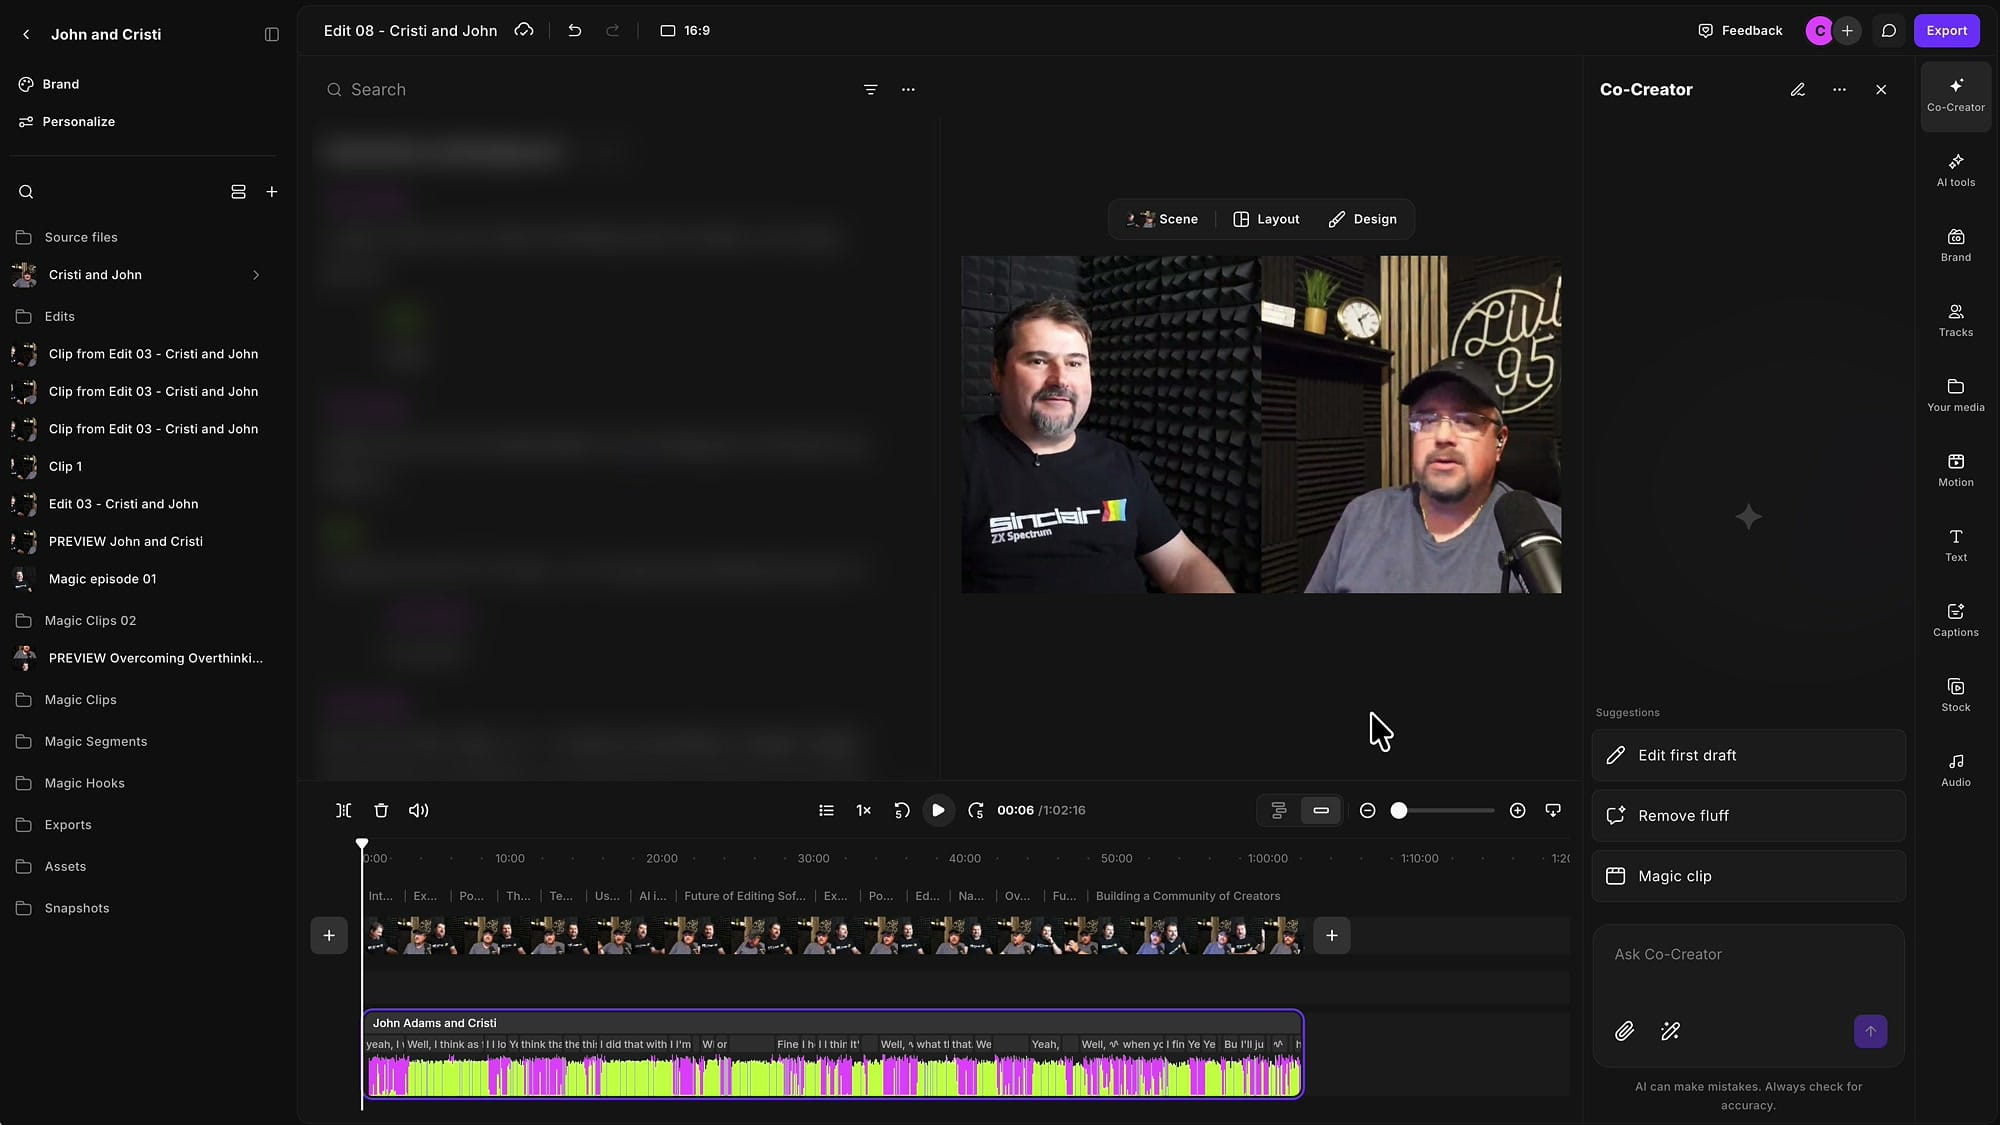
It gets more obvious when you expand one person to fill the screen. Click their box, switch the layout so they fill the frame, and the empty space on one side gives the crop away.
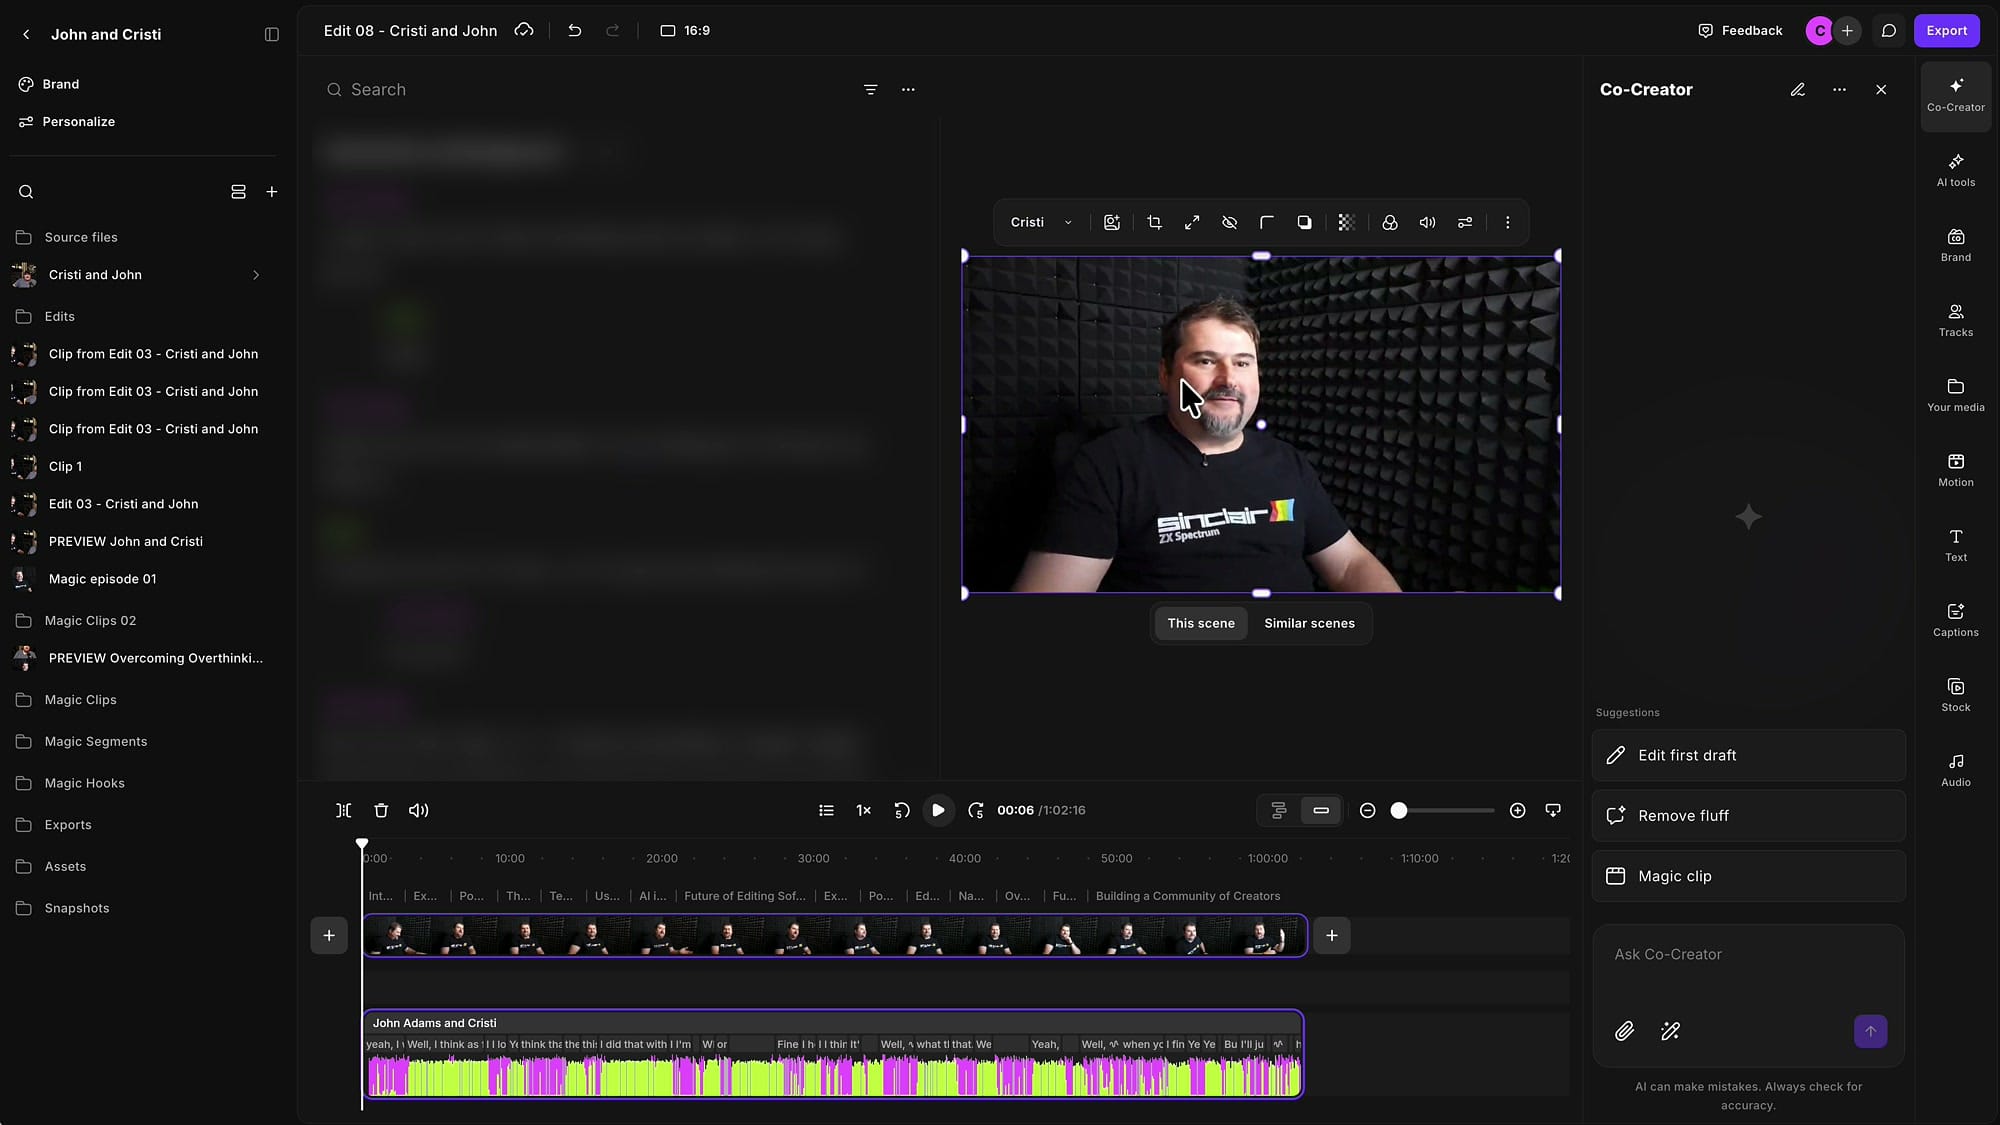
You can still fix this the manual way — enter crop mode and drag the box left or right, exactly as I covered in my guide to cropping, repositioning and reframing in Riverside. You just don't have to any more.
Centre a face with Auto-crop
Riverside now detects faces in every video stream in the project, so the centering is ready with one click the moment you open the edit.
Click the box holding the person you want to centre. The clip toolbar appears above the preview with the speaker's name on the left.
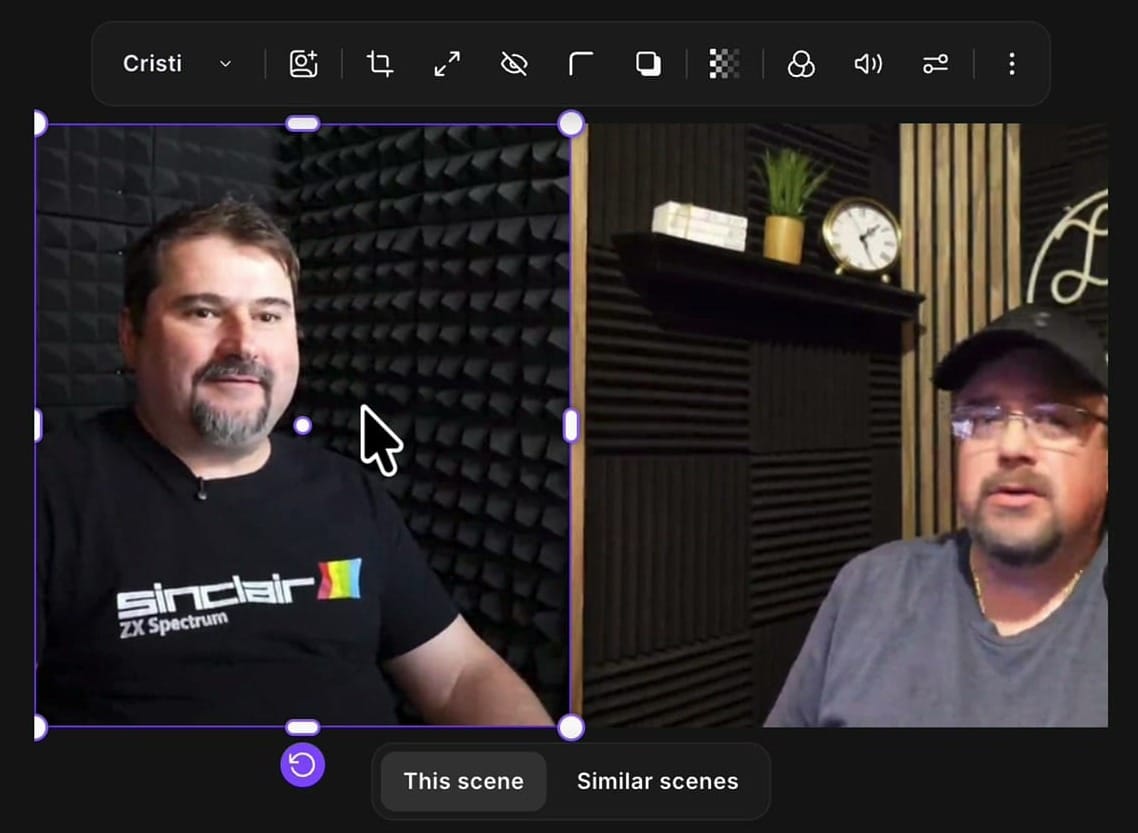
Click the crop icon. The toolbar swaps for the crop bar: an Auto-crop button, a zoom slider with a percentage field, and Cancel and Done buttons. A rule-of-thirds grid drops over the box so you can see how far off-centre the subject is.
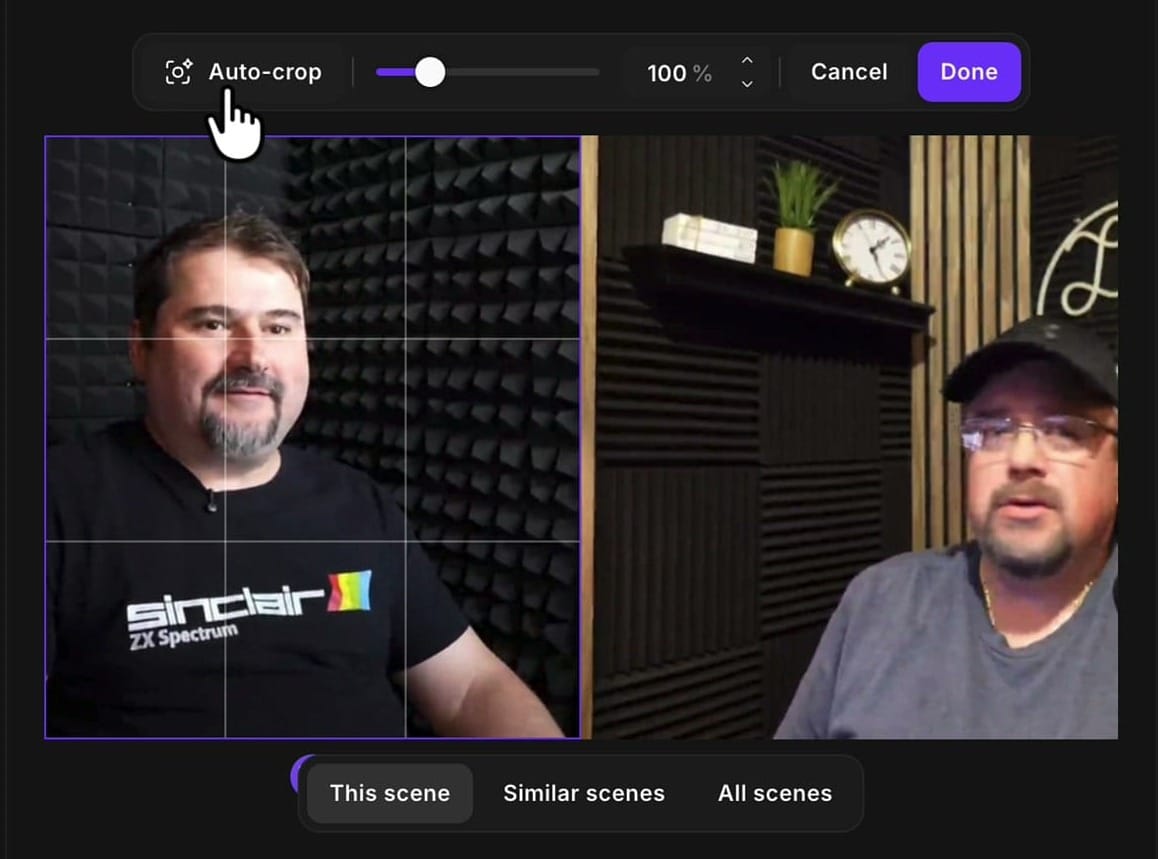
Now click Auto-crop. The face snaps to the middle of the box, nicely proportioned against the grid, and the zoom nudges up slightly to make the framing work — 116% in this case.
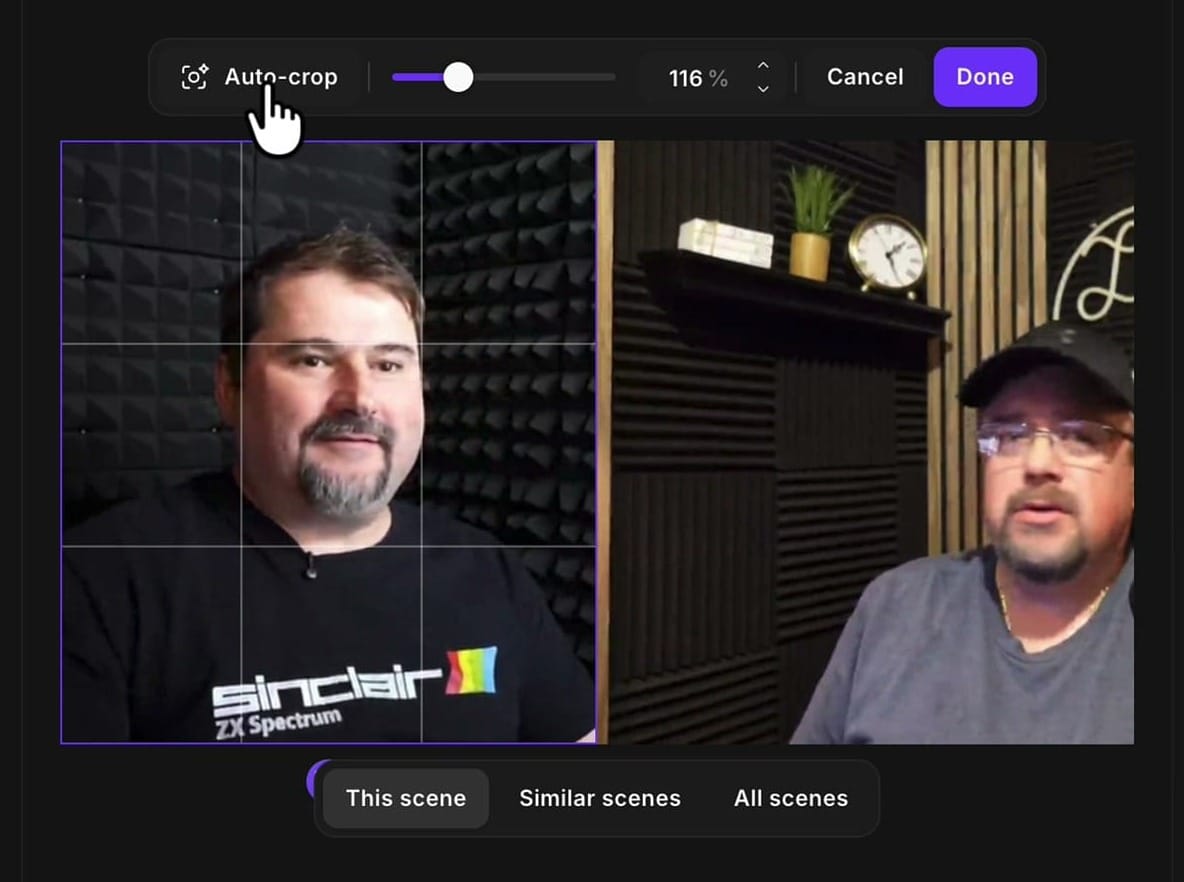
Repeat it for your guest: click their box, open the crop tool, click Auto-crop. Two clicks per person.
Do this before you cut your scenes and every scene you create afterwards inherits centred framing, which saves you the cleanup pass later.
Adjust the zoom without losing the centre
Auto-crop picks a zoom level, but you stay in control of it. Drag the slider, or type a value into the percentage field.
Pull it too far out and the crop shrinks inside the box, leaving black around the video.
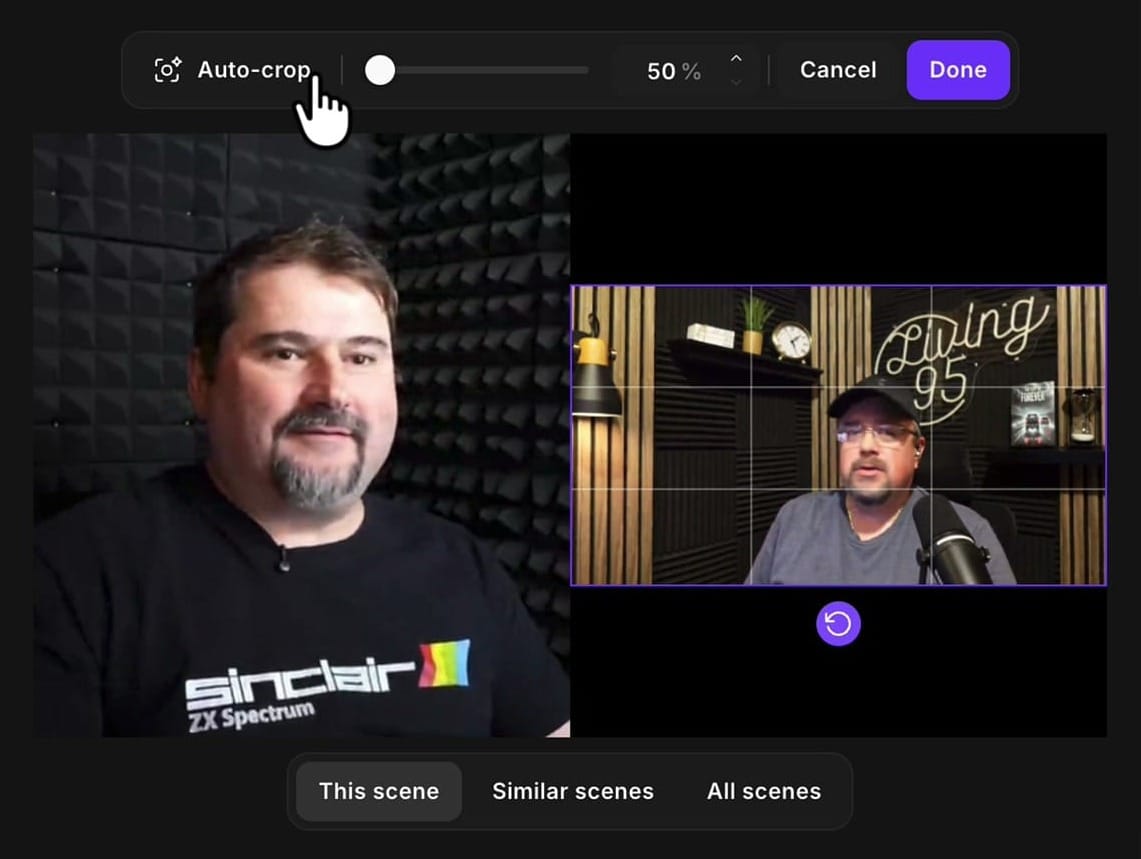
Click Auto-crop again and it pulls the shot back in so it fills the box properly. Push the other way and you get a tighter, closer crop.
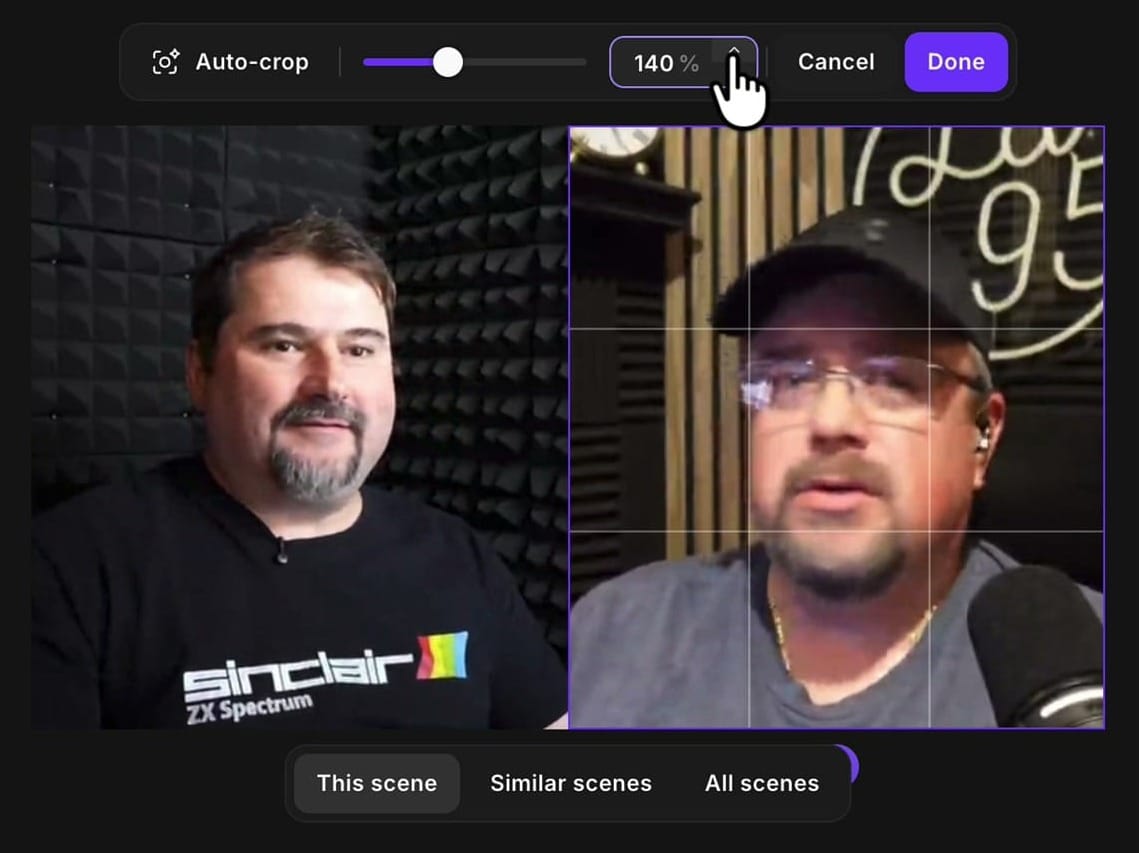
The old plus and minus buttons are gone, but you still have fine control: click the small stepper arrows next to the percentage to nudge the zoom up and down, or click inside the box and use the up and down arrow keys to shift the framing. The face holds its centre as you zoom, which is the part that used to take the most fiddling. If you build dynamic zoom edits on top of this, starting from a centred crop makes the whole sequence steadier.
If you’re eager to learn more about Riverside and wish to have a one-on-one Riverside coaching session, feel free to book a call with me.
I’m here to help you with any questions you have and to guide you through the best workflows, tips, workarounds, or just answer any questions you may have!
Fixing framing after Smart Layouts has already cut your scenes
Centering before you cut is ideal, but that is not always how the edit goes. Here is the situation I run into more often: I open the AI tools panel and run Smart layouts on a project that still has no scenes on the timeline.
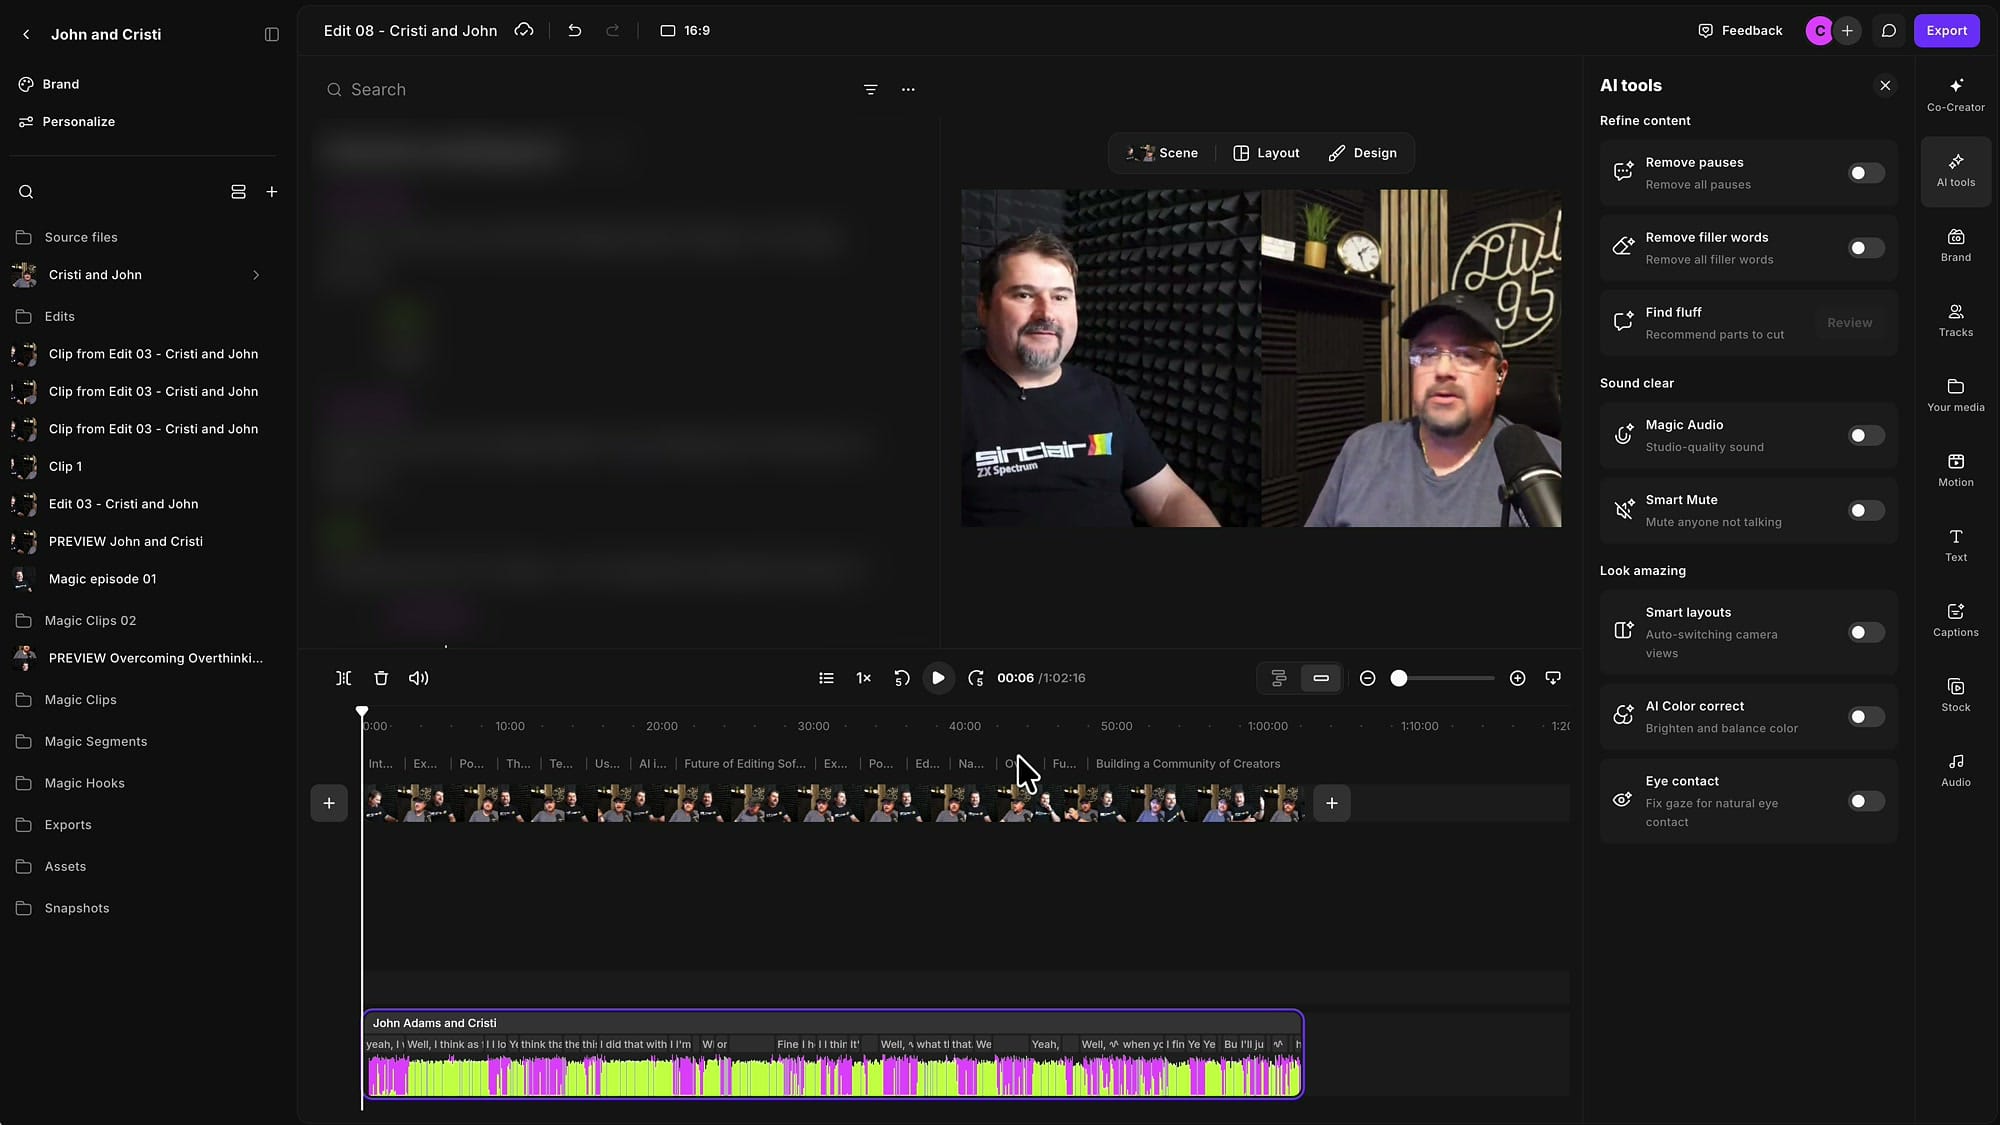
Smart layouts cuts the scenes for you and drops each speaker into whatever layout fits. It does a good job of choosing shots, but it does not fix framing. Scroll through the project afterwards and you are still drifting left and right in every side-by-side scene.
With scenes already cut, going back and centering each one by hand is a waste of an afternoon. That is what Similar scenes is for.
Push one crop to every matching scene with Similar scenes
Under the preview there is a row of buttons: This scene, Similar scenes and All scenes. They control how widely your change is applied.
The order matters here. Click the speaker's box, then choose Similar scenes before you make any changes. Riverside selects every scene that shares the same layout and track — all your side-by-side shots, in this case.
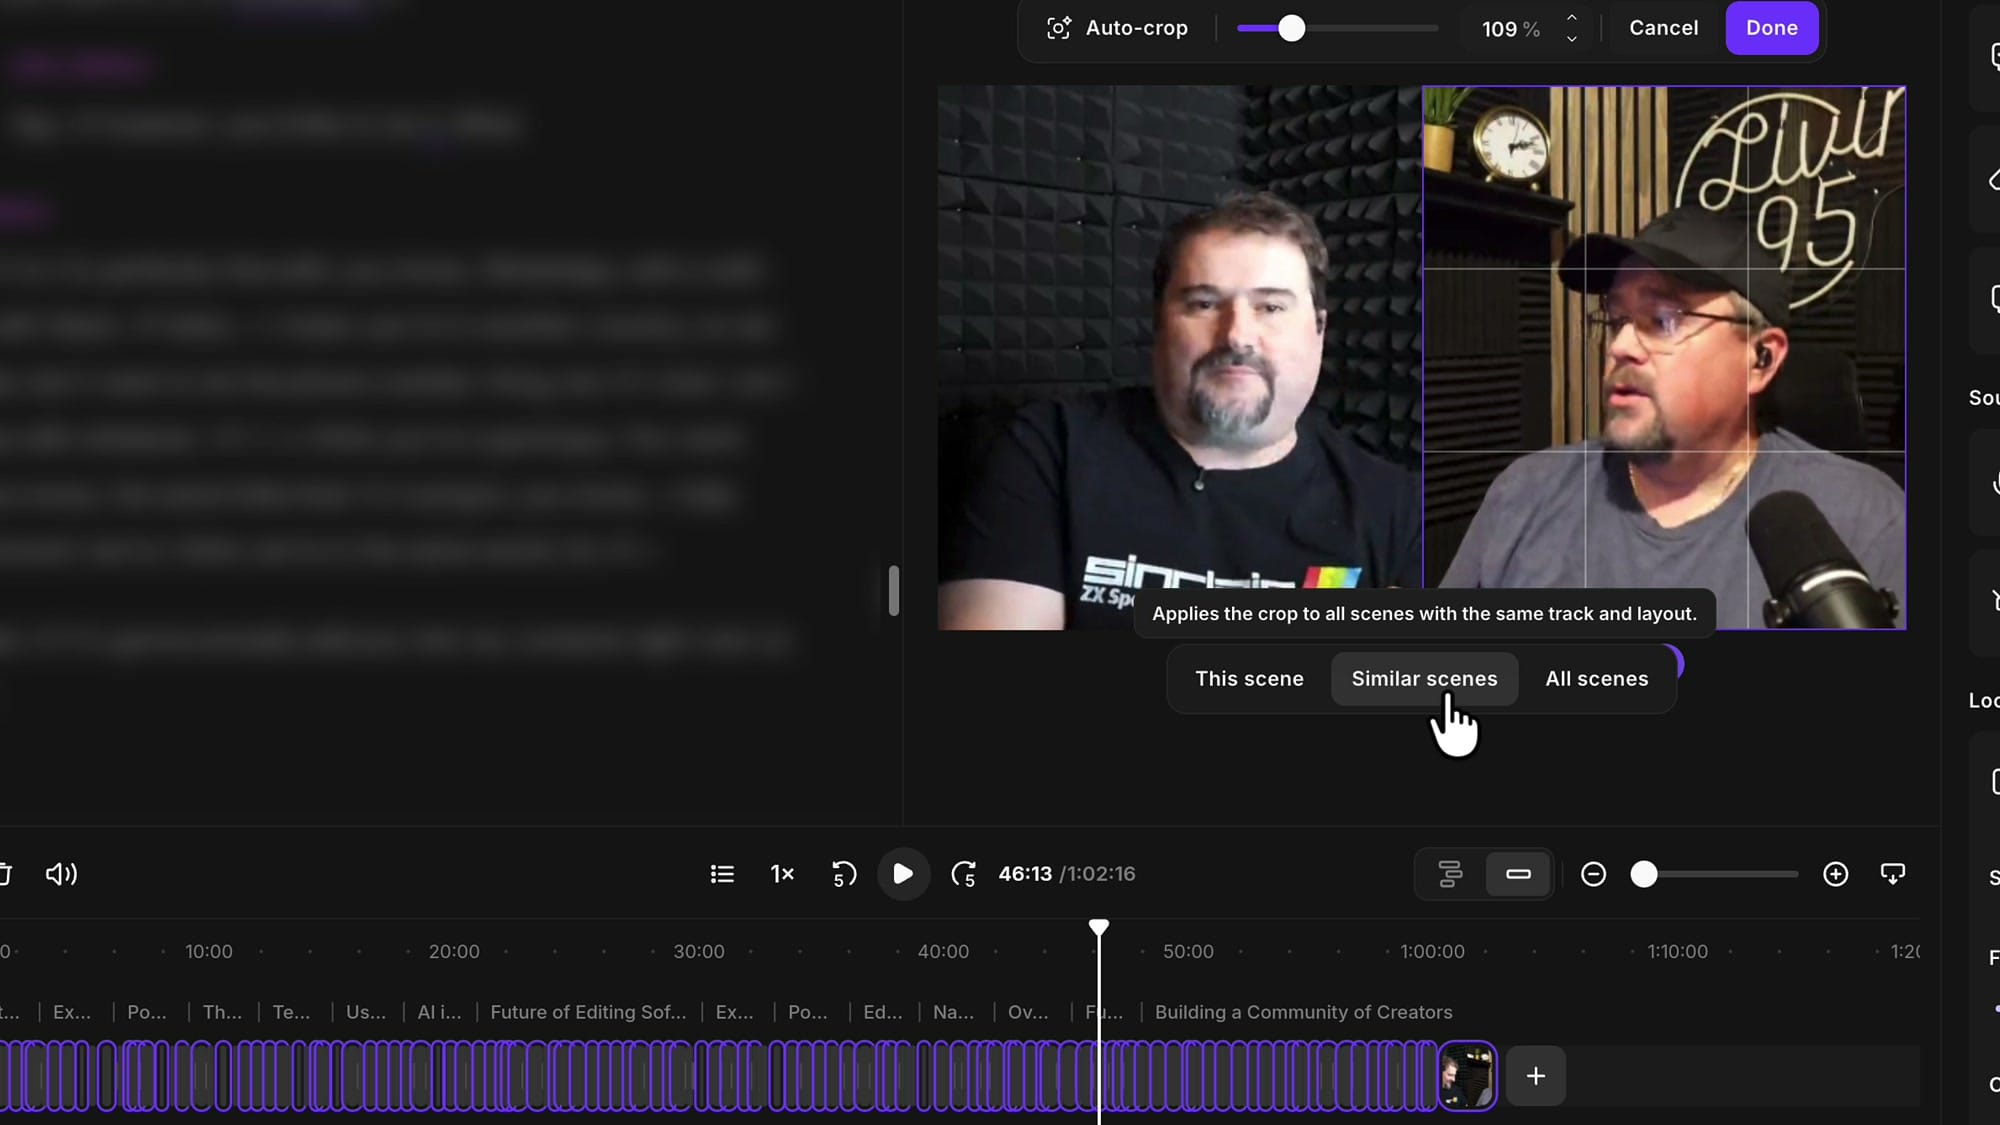
One thing to watch: the selection sometimes switches itself off when you open the crop tool. Glance at the button row and re-select Similar scenes if it has dropped back to This scene — otherwise you will only fix the scene you are parked on.
With Similar scenes selected, click Auto-crop, then Done. Every matching scene gets the same centred crop in one shot. Do the same for your guest — select their box, confirm Similar scenes is on, Auto-crop, Done.
It behaves the same way as saving and reusing scene layouts: you make the decision once and Riverside repeats it everywhere the layout matches, instead of you clicking through the timeline. If a particular scene needs its own treatment, you can always adjust the scene break and crop that one on its own with This scene.
Spot-check before you move on
Two clicks doing work across dozens of scenes is a big time save, and it is also a good reason to check the results. Jump back to the start of the edit and scrub through a handful of scenes.
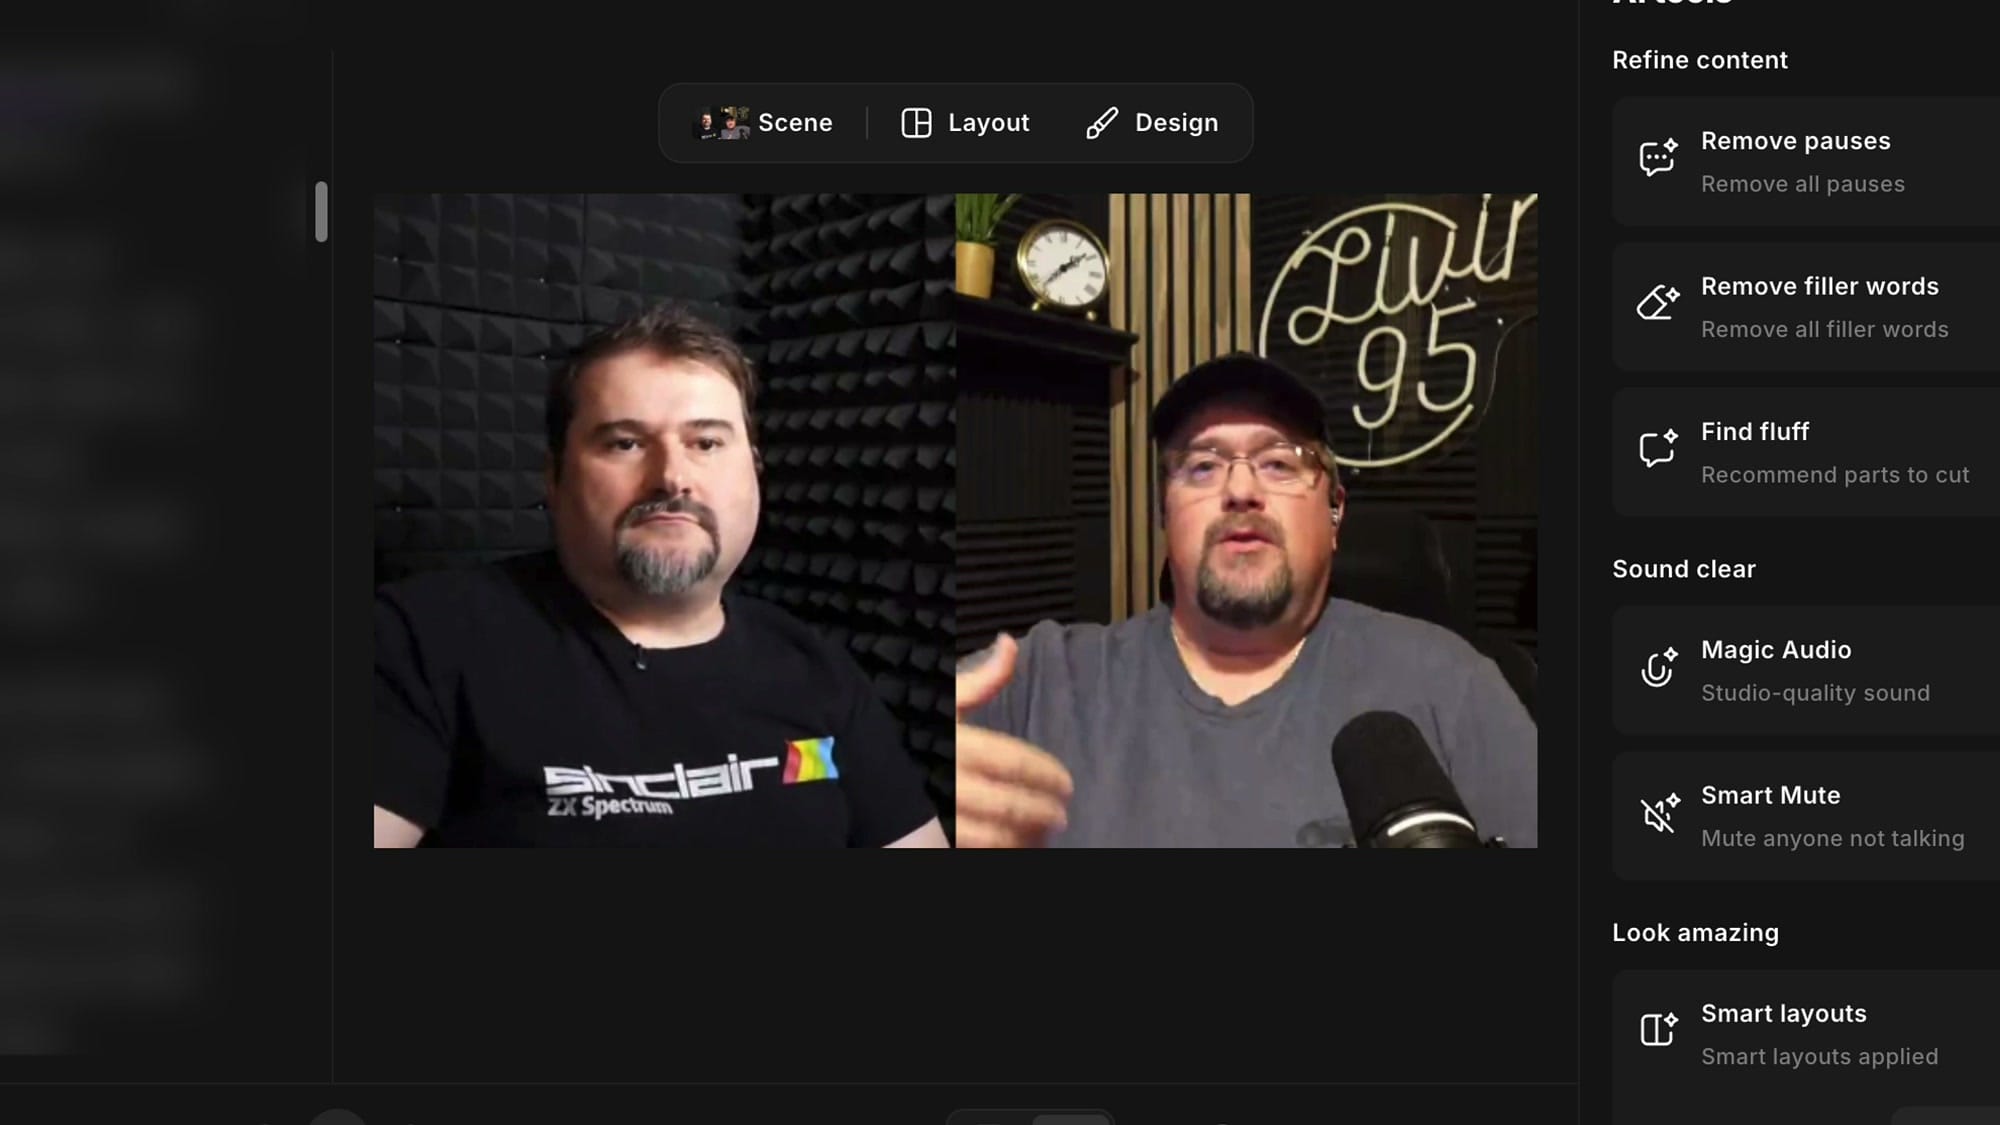
Face detection is very good, but it is still detection. A scene where someone turns away from camera or leans right out of shot can land differently from the rest. A quick spot-check catches those in under a minute, and you can drop into any single scene and correct it without disturbing the others.
Where this fits in your edit
My order of work now looks like this:
- Open the edit and check the raw framing on each speaker.
- Auto-crop each person before cutting scenes, so every scene starts centred.
- If scenes are already cut, use Similar scenes plus Auto-crop to fix them in bulk.
- Adjust the zoom on anything that wants a tighter or wider shot.
- Spot-check, then carry on with the rest of the edit.
It is a small feature, but framing is one of those things viewers notice without being able to say why. Getting it right used to cost real editing time. Now it is two clicks per speaker. If you are still finding your way around the redesigned workspace, my walkthrough of Riverside's new editor covers where everything else moved to.
If you want to try any of this yourself, you can get started with Riverside here.
Related guides
 Cristi Cotovan
 Cristi Cotovan
 Cristi Cotovan
 Cristi Cotovan
 Cristi Cotovan
If you're eager to learn more about Riverside and wish to have a one-on-one Riverside coaching session, feel free to book a call with me. I'm here to help you with any questions you have and to guide you through the best workflows, tips, workarounds, or just answer any questions you may have!