How I Save Time with Captions Presets in Riverside
I’ll show you a straightforward, repeatable process for creating and applying captions presets in Riverside so you don’t have to style captions from scratch for every video.

I use this when I edit episodes, separately for each studio: set the look once, save it to my brand, and have Riverside apply it automatically to future clips and episodes.
Step 1: Set the aspect ratio and add a captions block
I often create captions presets in Riverside for vertical videos, so I switch the player to 9:16 first, if that's what I'm designing for. That rearranges the layout and gives a realistic preview of where captions will sit on-screen.
Next, open the Captions panel and pick one of the built-in styles as a starting point. Riverside adds the captions to the timeline so you can immediately see how they behave with your footage.
If you’re eager to learn more about Riverside and wish to have a one-on-one Riverside coaching session, feel free to book a call with me.
I’m here to help you with any questions you have and to guide you through the best workflows, tips, workarounds, or just answer any questions you may have!
Step 2: Customize the caption style
Now tweak the details: text color, background color, font, alignment, corner radius, and animation. I usually match the background to a brand color (or pick a contrasting highlight color for visibility).

Riverside also offers animation options - none, highlight-as-you-speak, scale, boxed - so choose what fits your video’s energy.
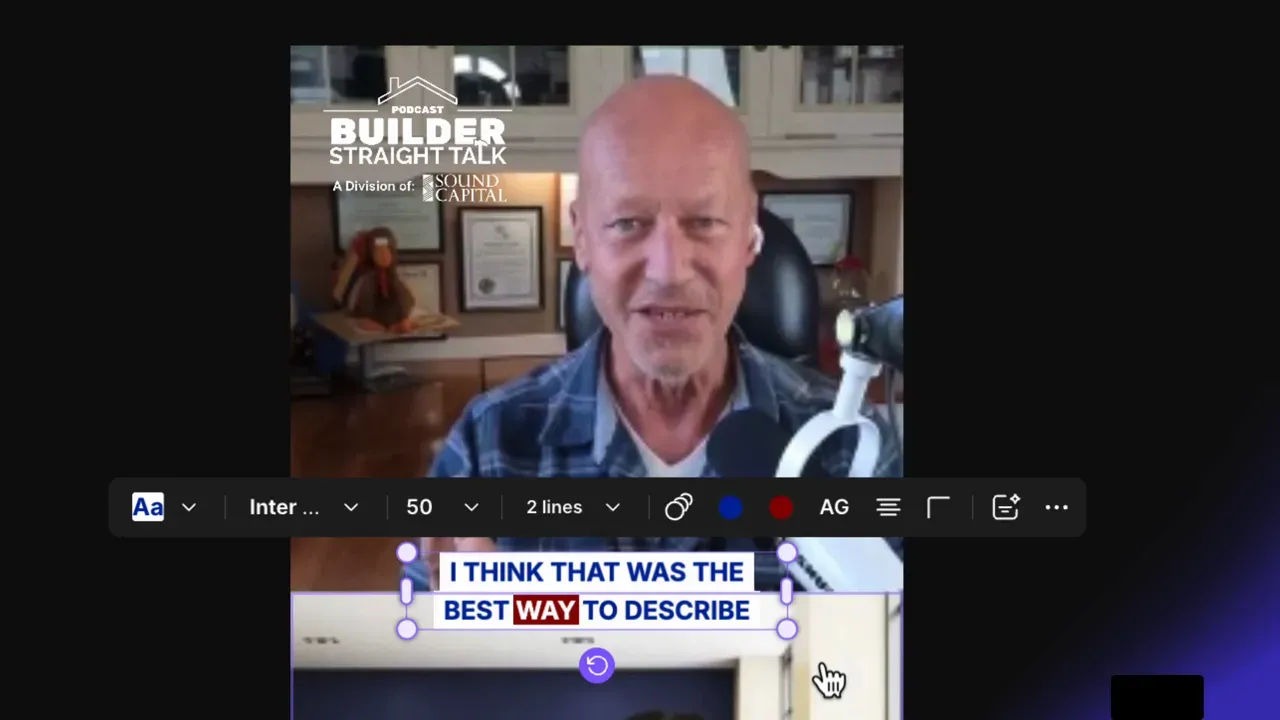
A few practical adjustments I make:
- Increase font size by typing an exact number for consistent readability across videos.
- Try the invert background option to swap text and background color without losing brand consistency.
- Use a bright highlight (even if it’s not a brand color) if legibility is the priority
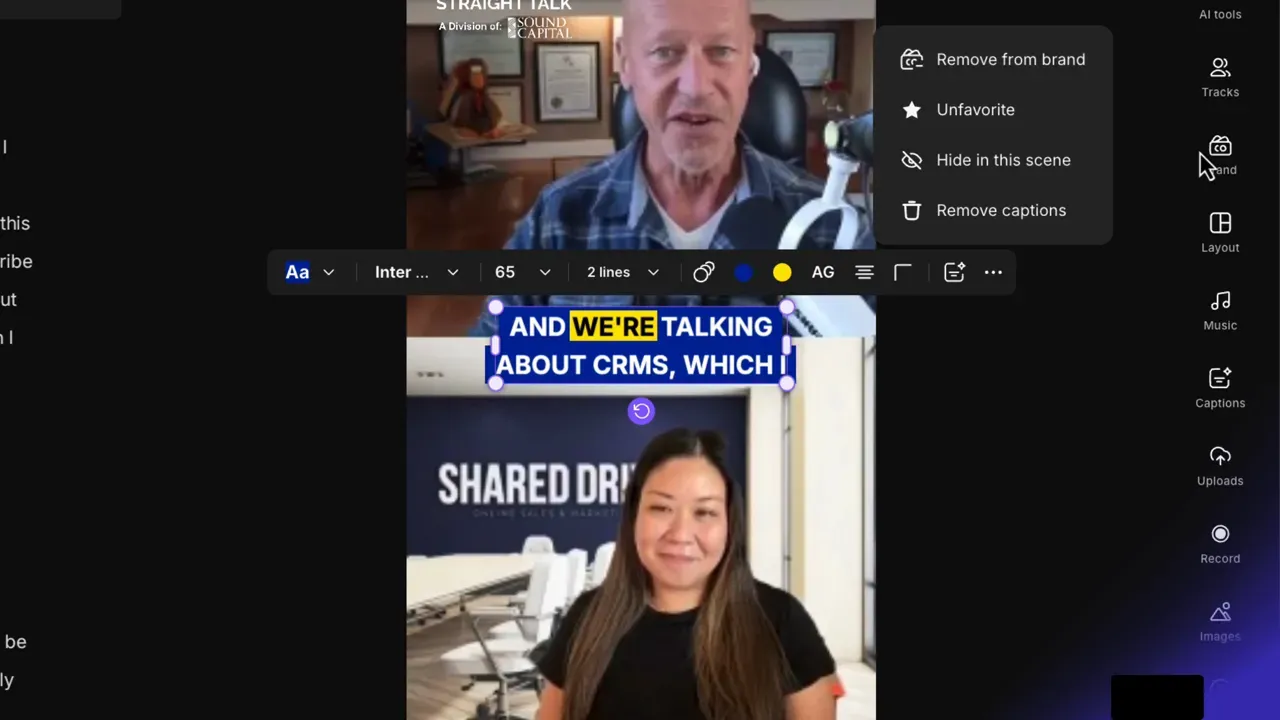
Step 3: Save the style as a captions preset
Once I’m happy with the look, I open the Captions Presets menu and save the style. You can mark any preset as a favorite so it appears at the top of the caption picker.
To make the preset part of your brand, use the three-dot menu on the preset and choose “Add to my brand.” That stores the caption style alongside your logo, colors, and other brand assets.
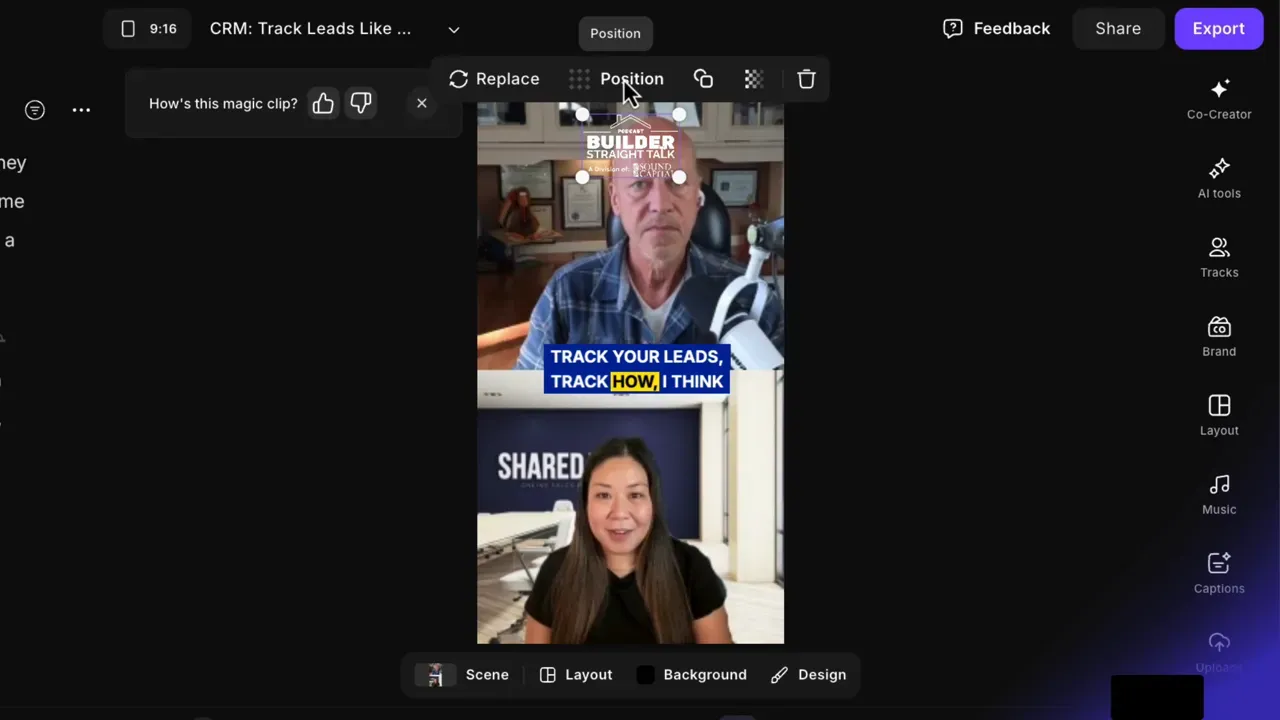
Step 4: Apply the brand and adjust per scene
Applying your saved brand to an edit brings in the caption preset and your logo in one action. Keep in mind that logos apply across the entire edit, so move and position the logo once and it will hold for every scene.
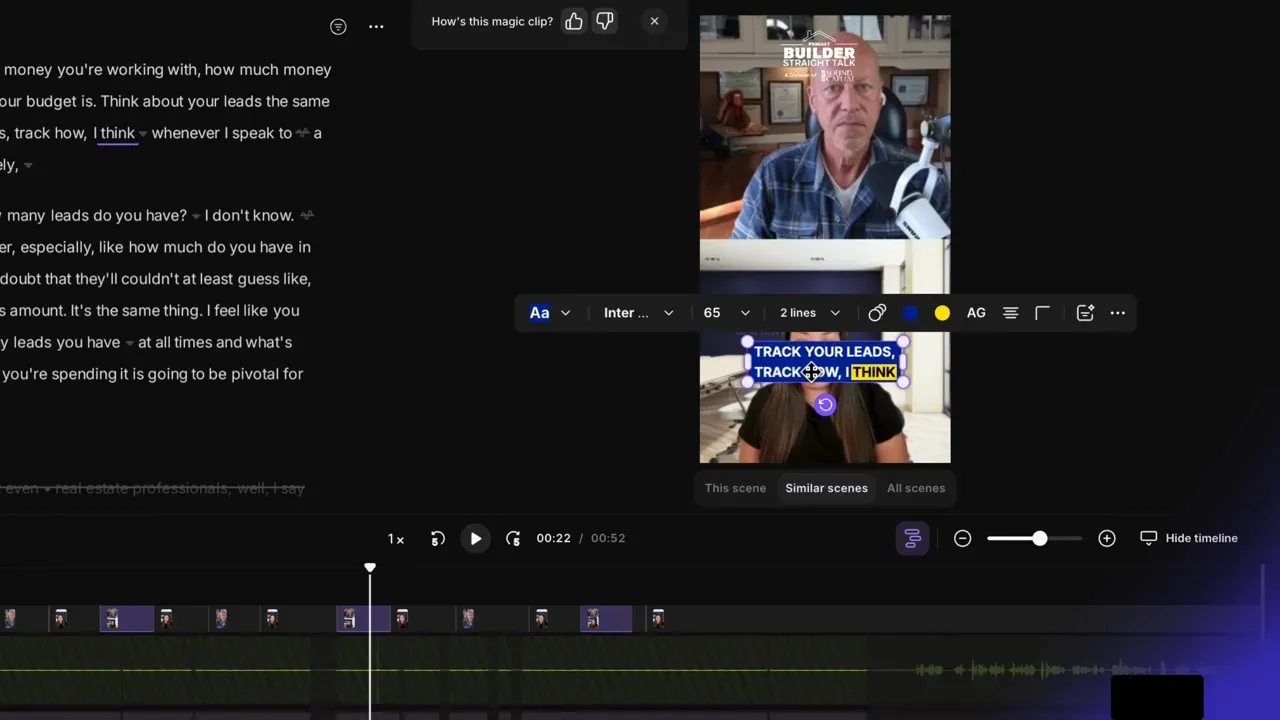
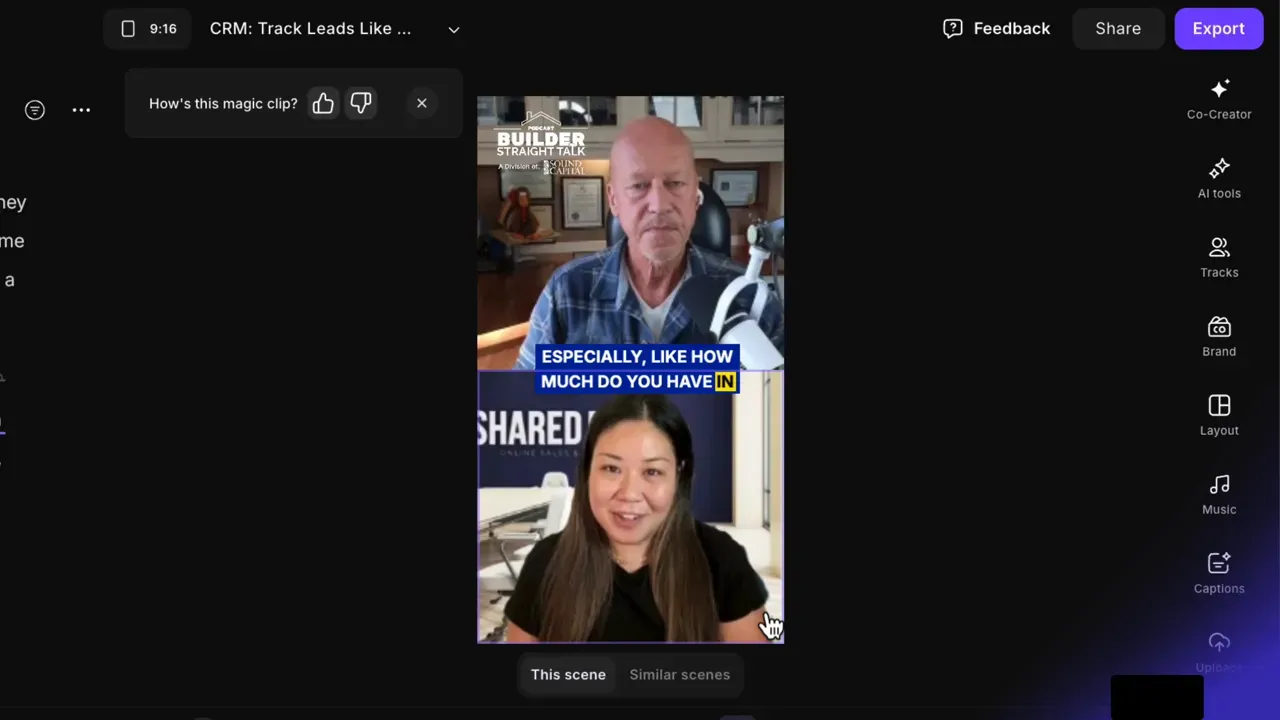
Captions can be placed differently depending on who’s on screen. When a scene contains both host and guest, captions can cover faces unless you adjust them. Here’s the quickest way to fix that in Riverside:
- Select the captions block you want to move.
- Click “Similar Scenes.” Riverside selects every scene with the same layout (for example, both speakers on screen).
- Move the captions to the safe position and then deselect.
That ensures captions shift consistently across all matching scenes. If the logo clashes with a particular background, you can swap it for a dark or light version for those parts.
Step 5: Use the preset across future videos
After you add captions presets in Riverside to your brand, any new episodes recorded in that studio will automatically pull the brand styling - logo, captions preset, and other branding - into the edit. That saves me repeated formatting work and keeps every clip visually consistent.
Small tips:
- If a highlight color isn’t legible on some footage, invert the background or pick a high-contrast accent for the highlight only.
- For cross-format publishing, create separate caption presets for vertical (9:16), horizontal, and square outputs so placement and size are optimized for each format.
Summary
Captions presets in Riverside let you design a consistent caption style once and apply it reliably across edits. I create the style, save it as a preset, add it to my brand, and then use “Similar Scenes” to make sure the captions don’t block faces. This workflow reduces repetitive work and keeps branding consistent across episodes.