How to Touch Up Your Appearance in Riverside Studio


Riverside added a control inside the recording studio that helps you smooth your skin, improve your lighting, and generally look more polished before you ever press record. If you've ever missed the appearance and skin-smoothing options you had in Zoom, this closes that gap — a lot of that same polish now lives right inside Riverside, and it's one less reason to record anywhere else.
One thing to know up front: these Appearance effects currently live only in the recording studio — on the setup screen and inside the live session. They aren't part of post-production yet, though that may well change. For now, you apply them before or during recording.
Open the recording studio
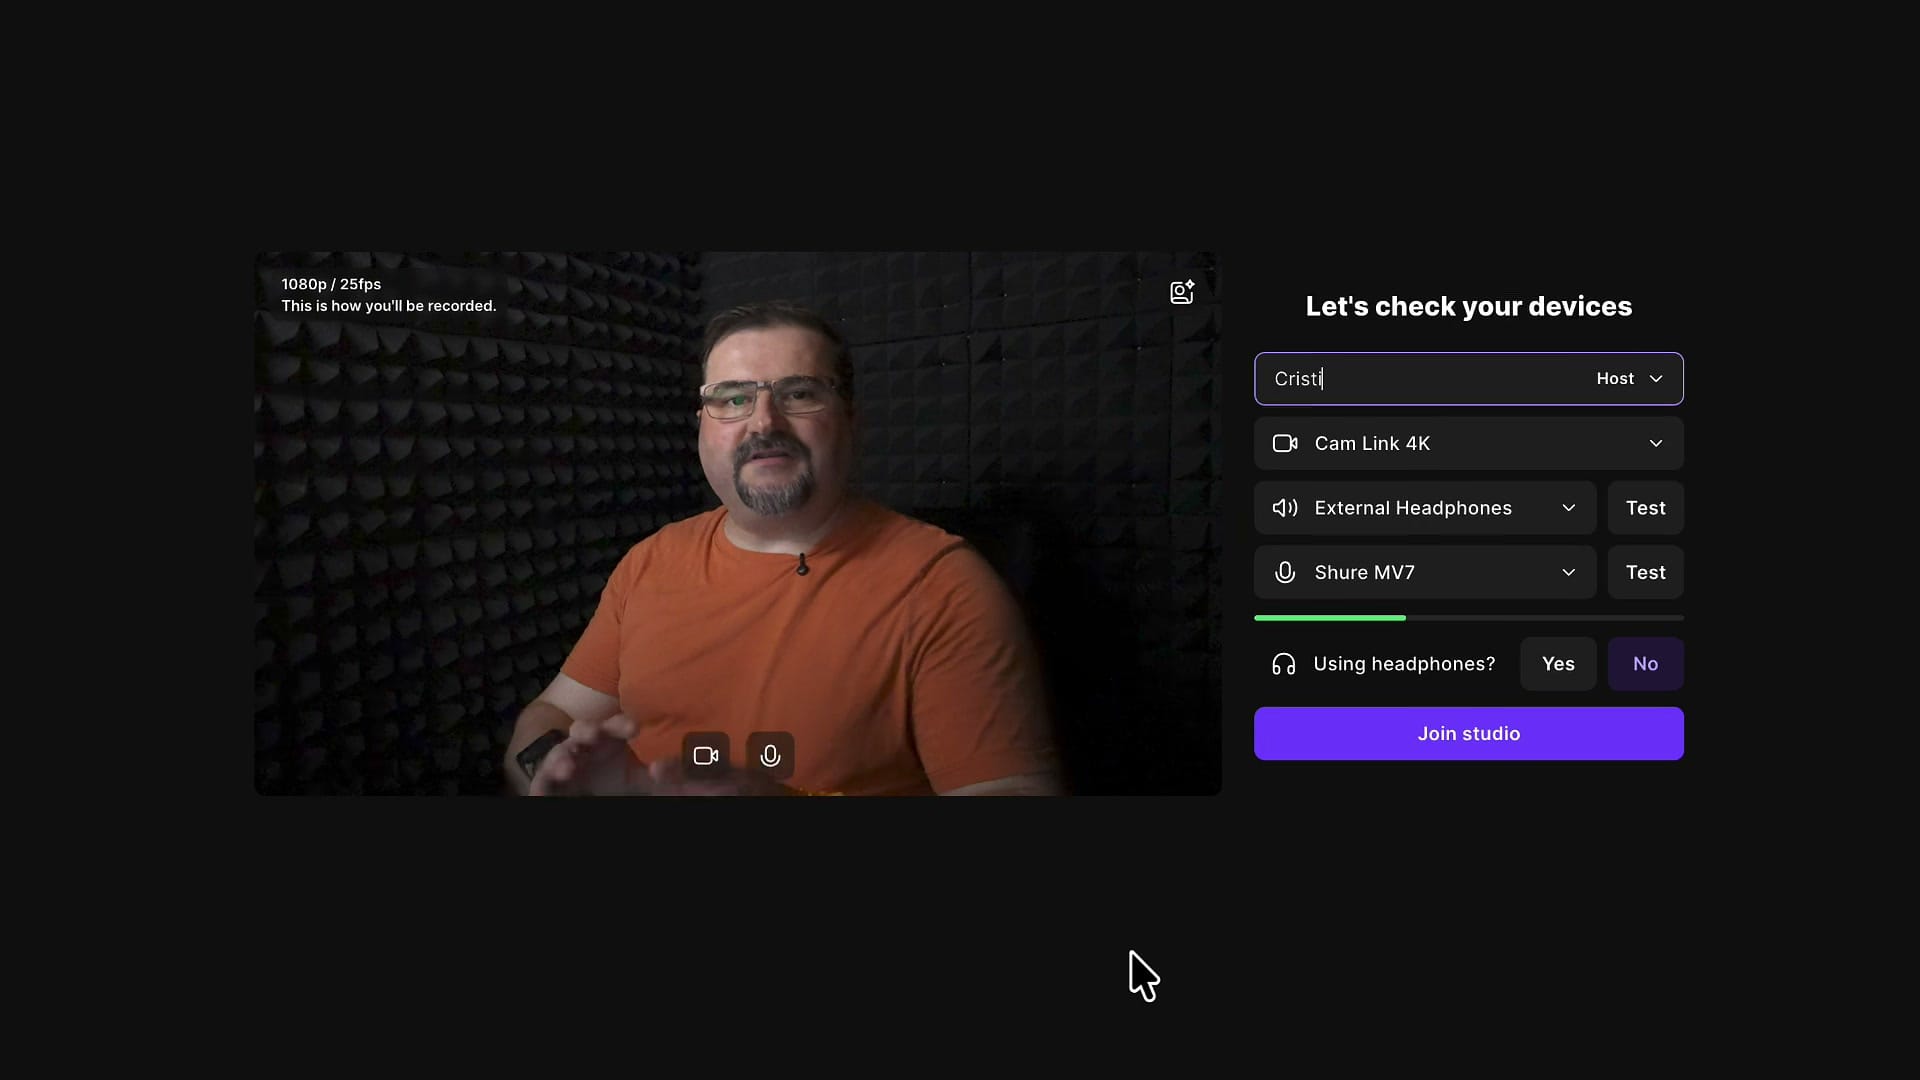
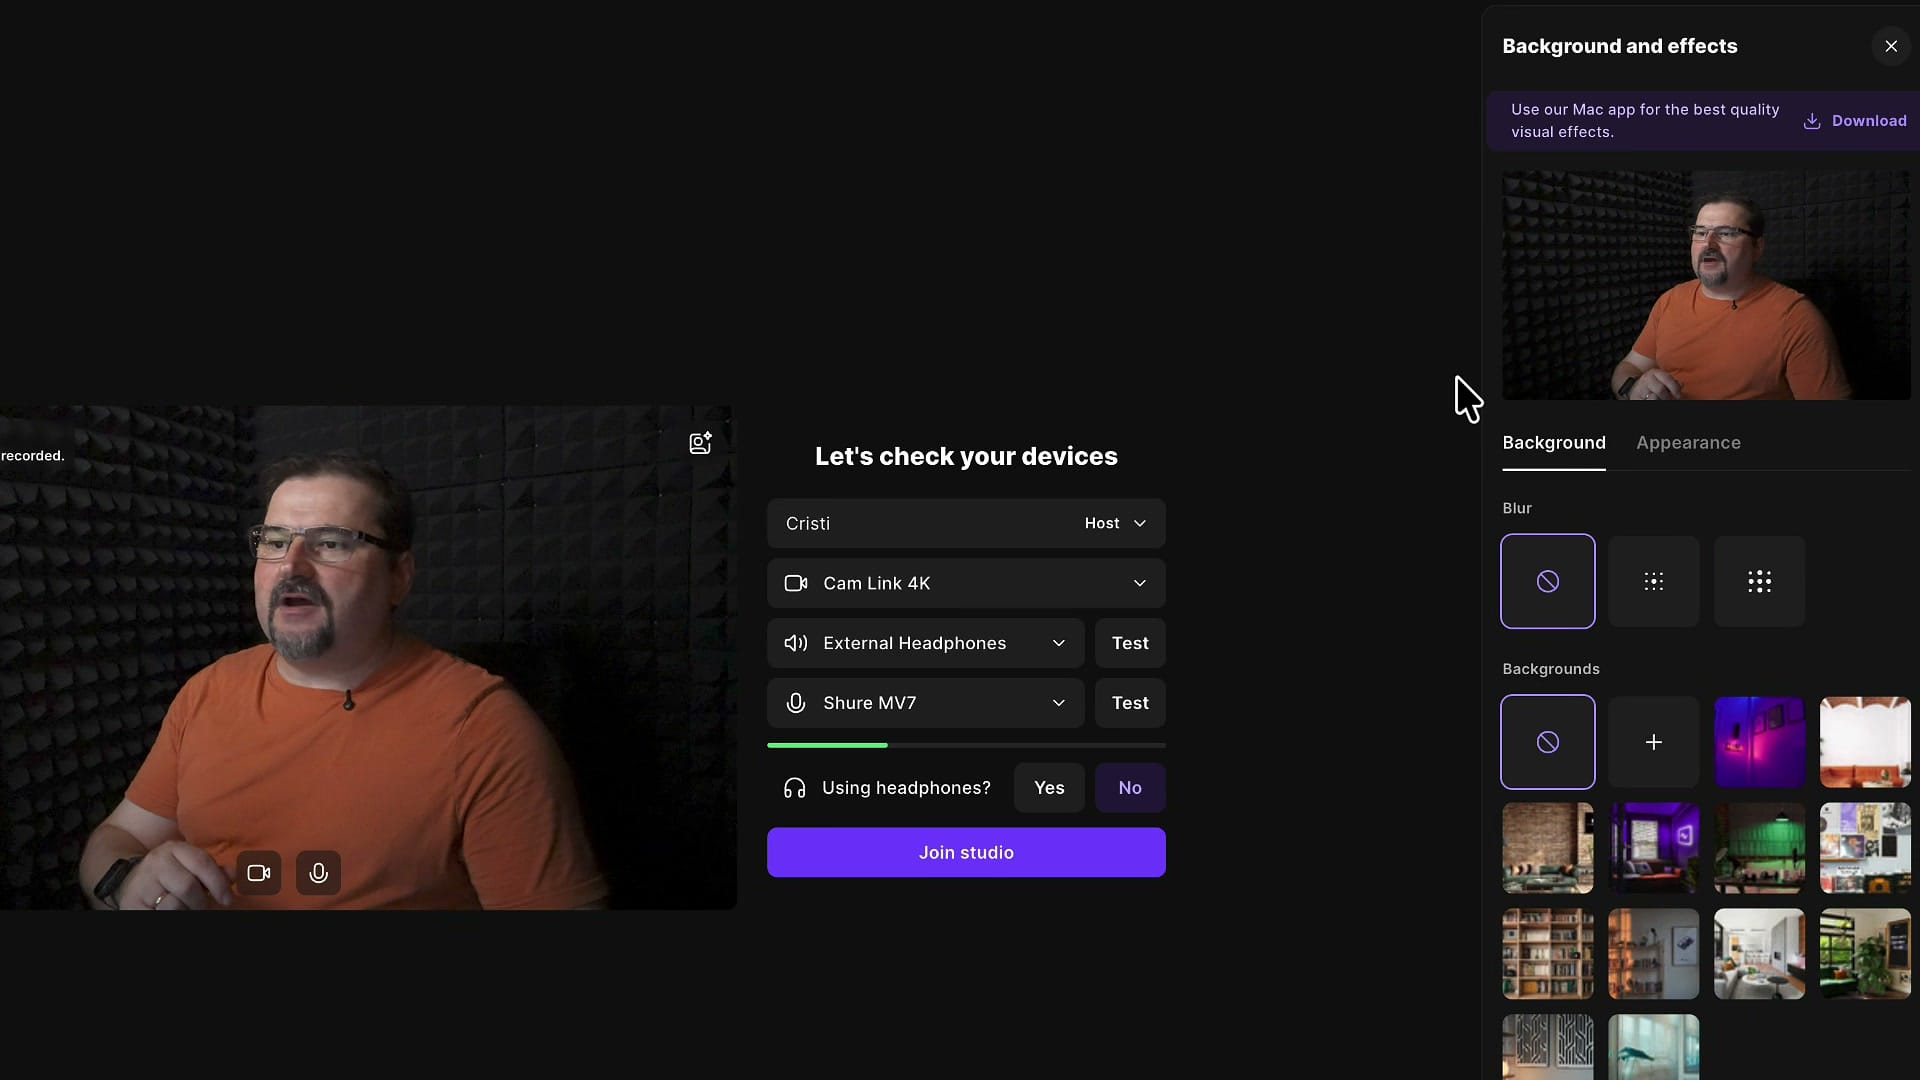
Open one of your projects and click Record to launch the studio. You'll land on the redesigned entry screen — the "Let's check your devices" page where you confirm your camera, microphone, and headphones. The new appearance controls are already available right here, before you even join the studio, so you can dial in your look while you're checking your gear. It's a good moment to review the rest of your studio settings at the same time.
Open the Effects panel
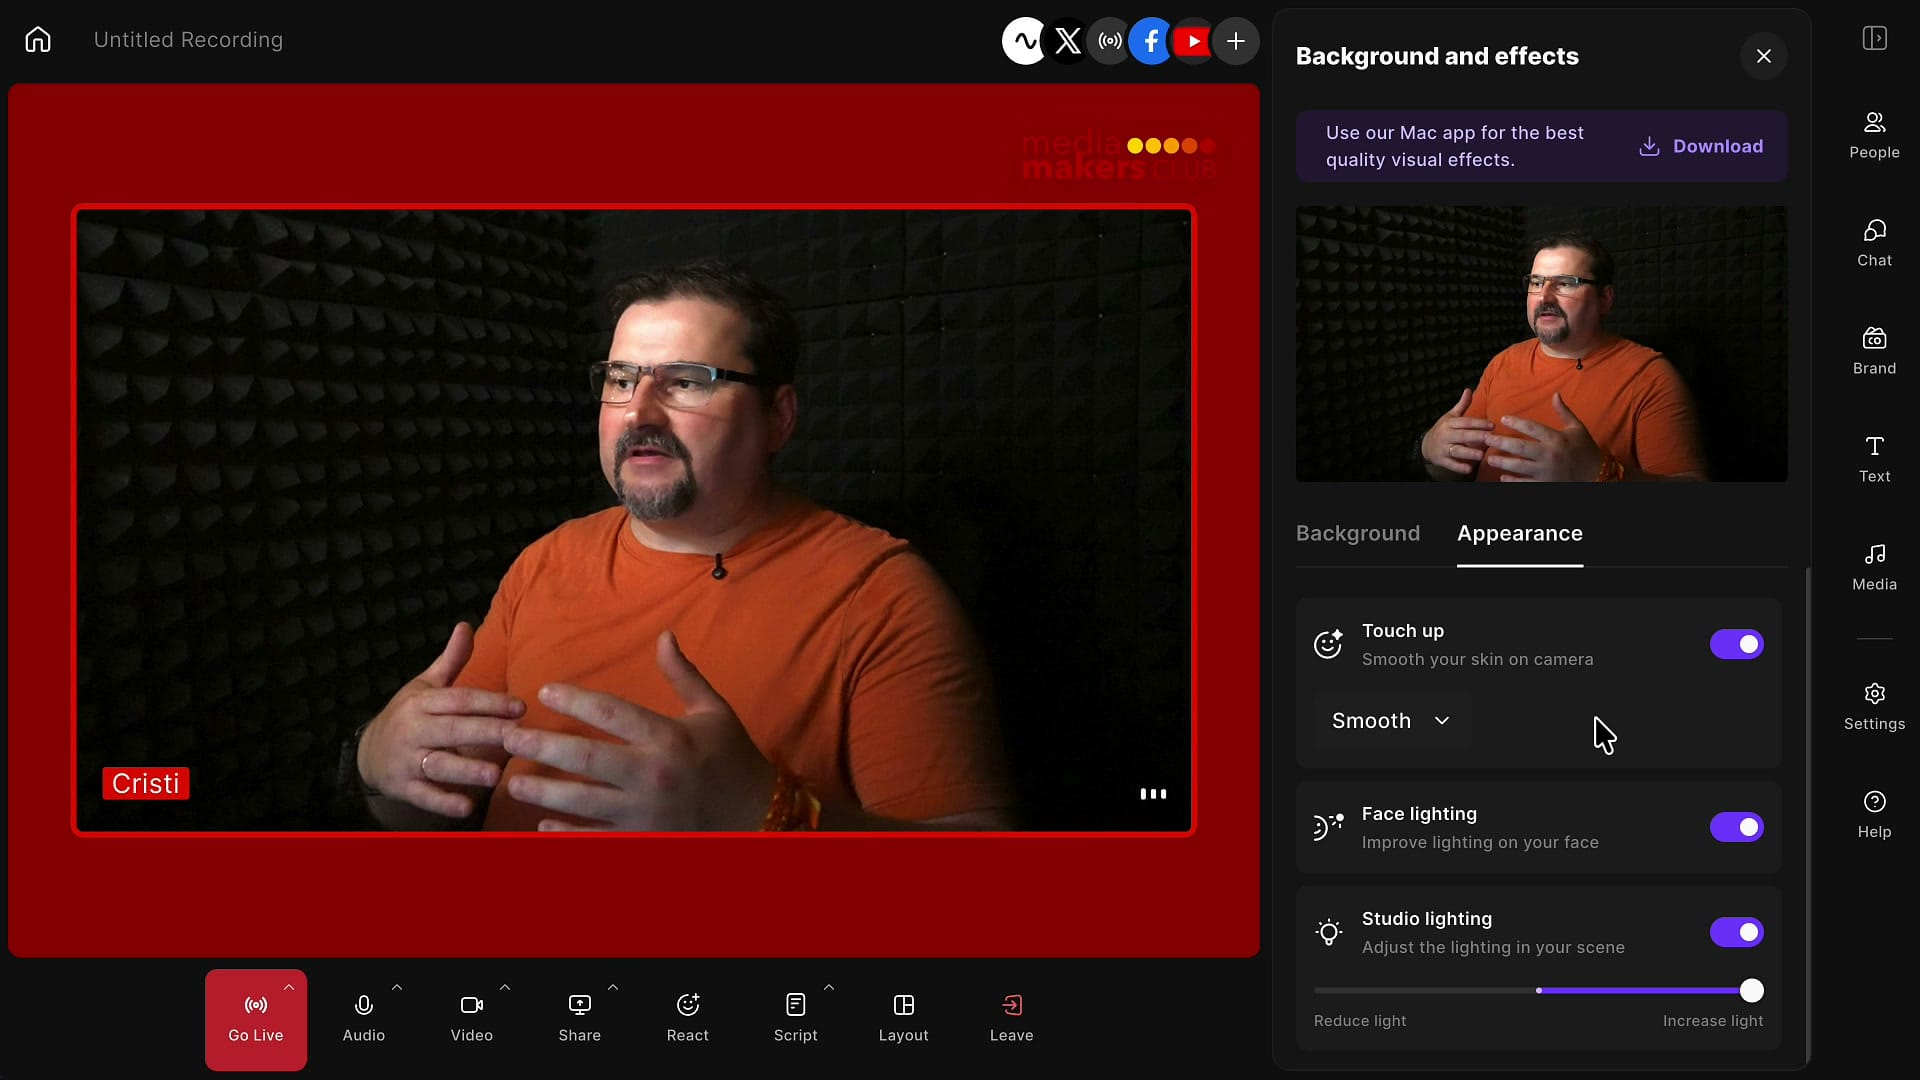
In the top-right corner of your video preview, click Effects. That opens the side panel you may already recognize from background settings. On the Background tab you can blur your background or swap it for an image — even one you upload yourself. The appearance controls sit one tab over, so switch to Appearance next.
Touch Up: smooth your skin
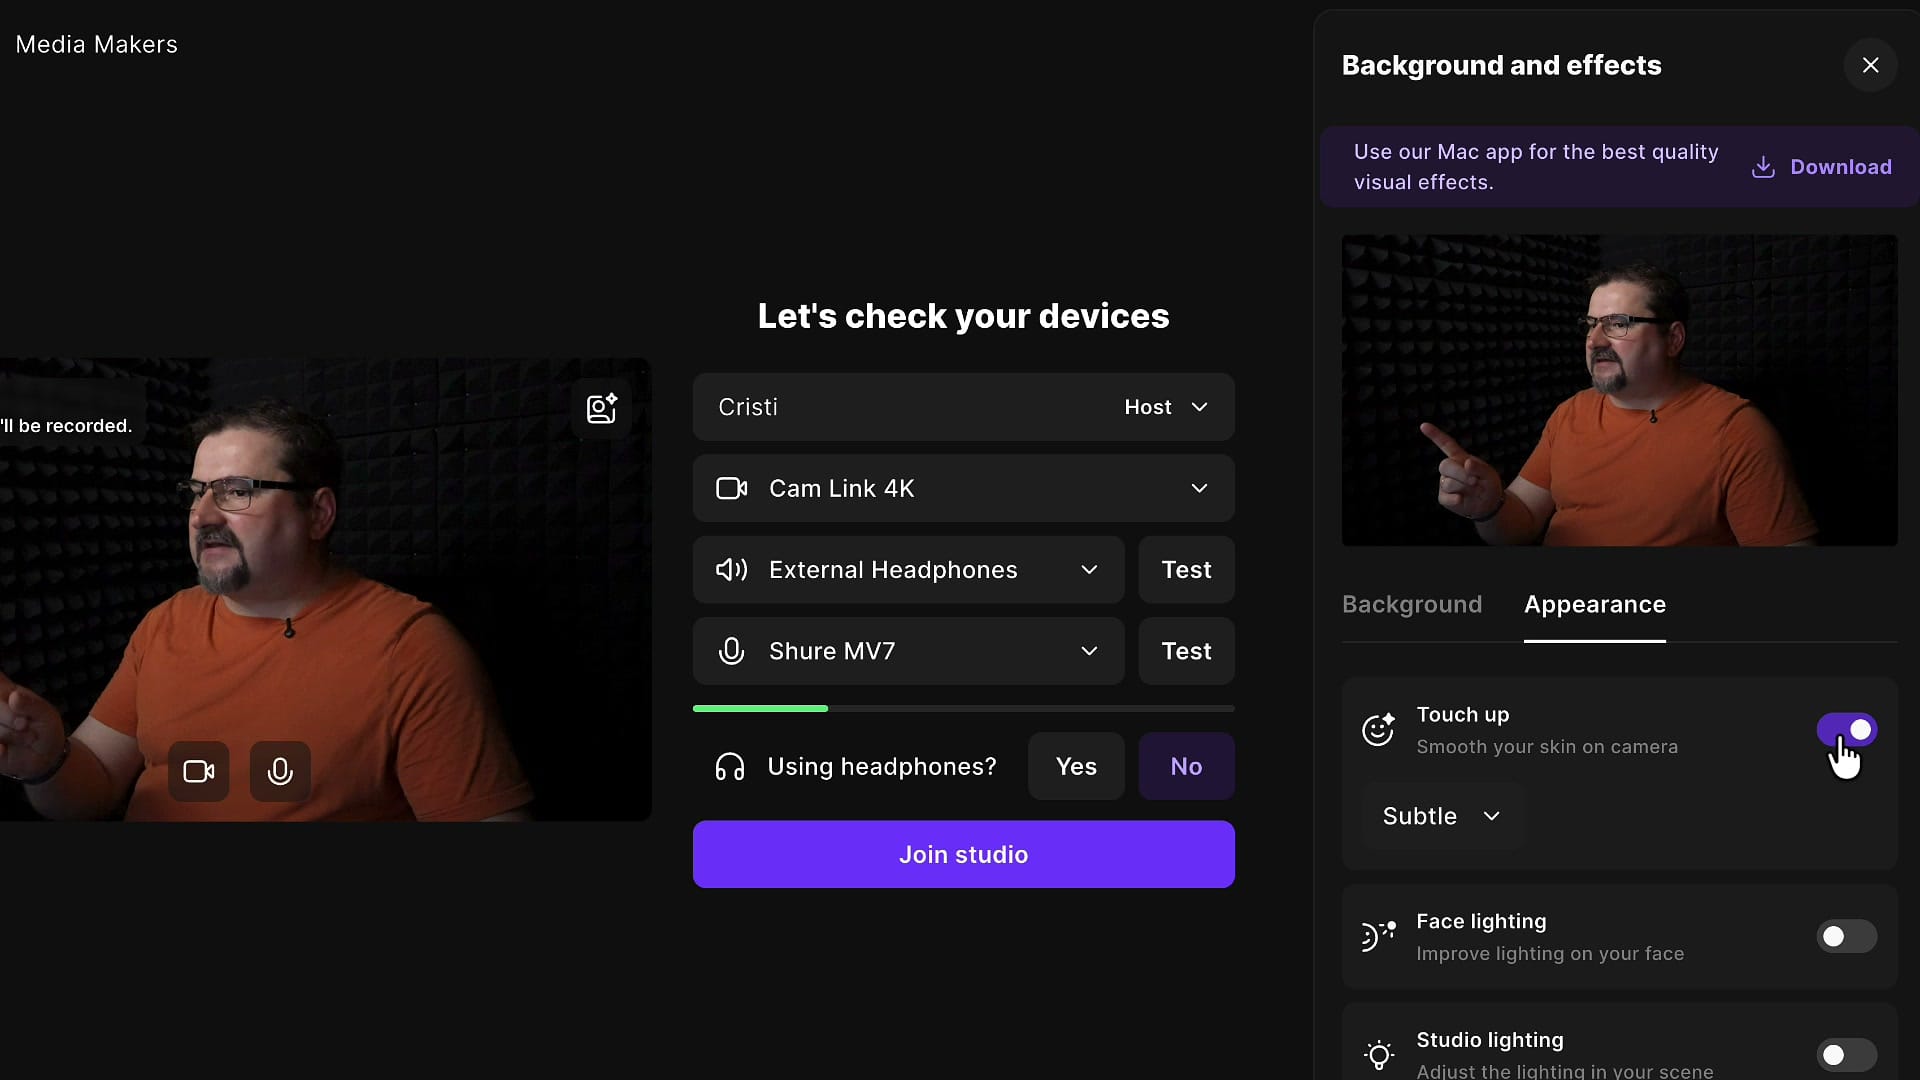
On the Appearance tab, the first control is Touch Up, which smooths your skin on camera. It has two strengths in a dropdown — Subtle and Smooth — with Smooth being the stronger of the two.
When you turn it on you might notice a slight delay in the preview; that's just the effect processing, and it's normal.
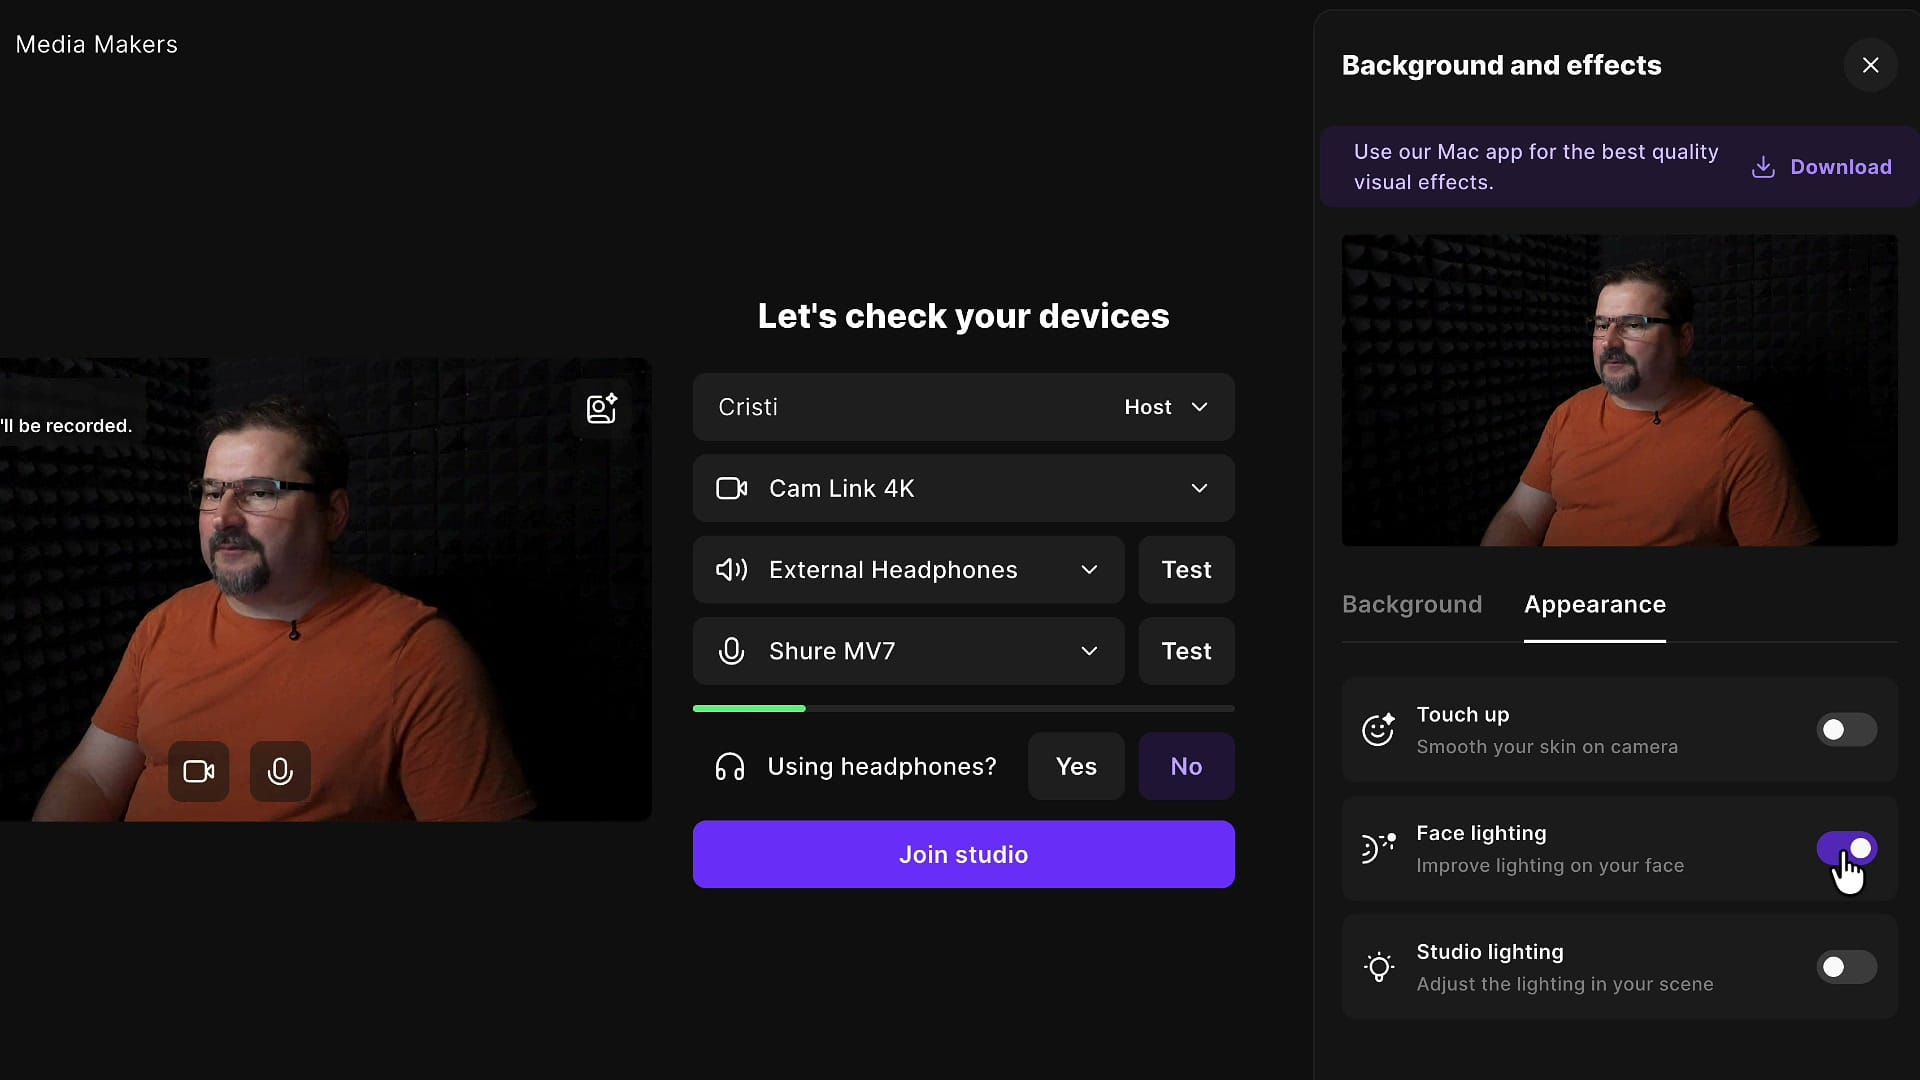
Face Lighting
The next control is Face Lighting. It relights your face and gently darkens the area around you, so your features stand out more. Even in a reasonably well-lit room the difference is visible — the background drops back a touch and the focus shifts onto your face.
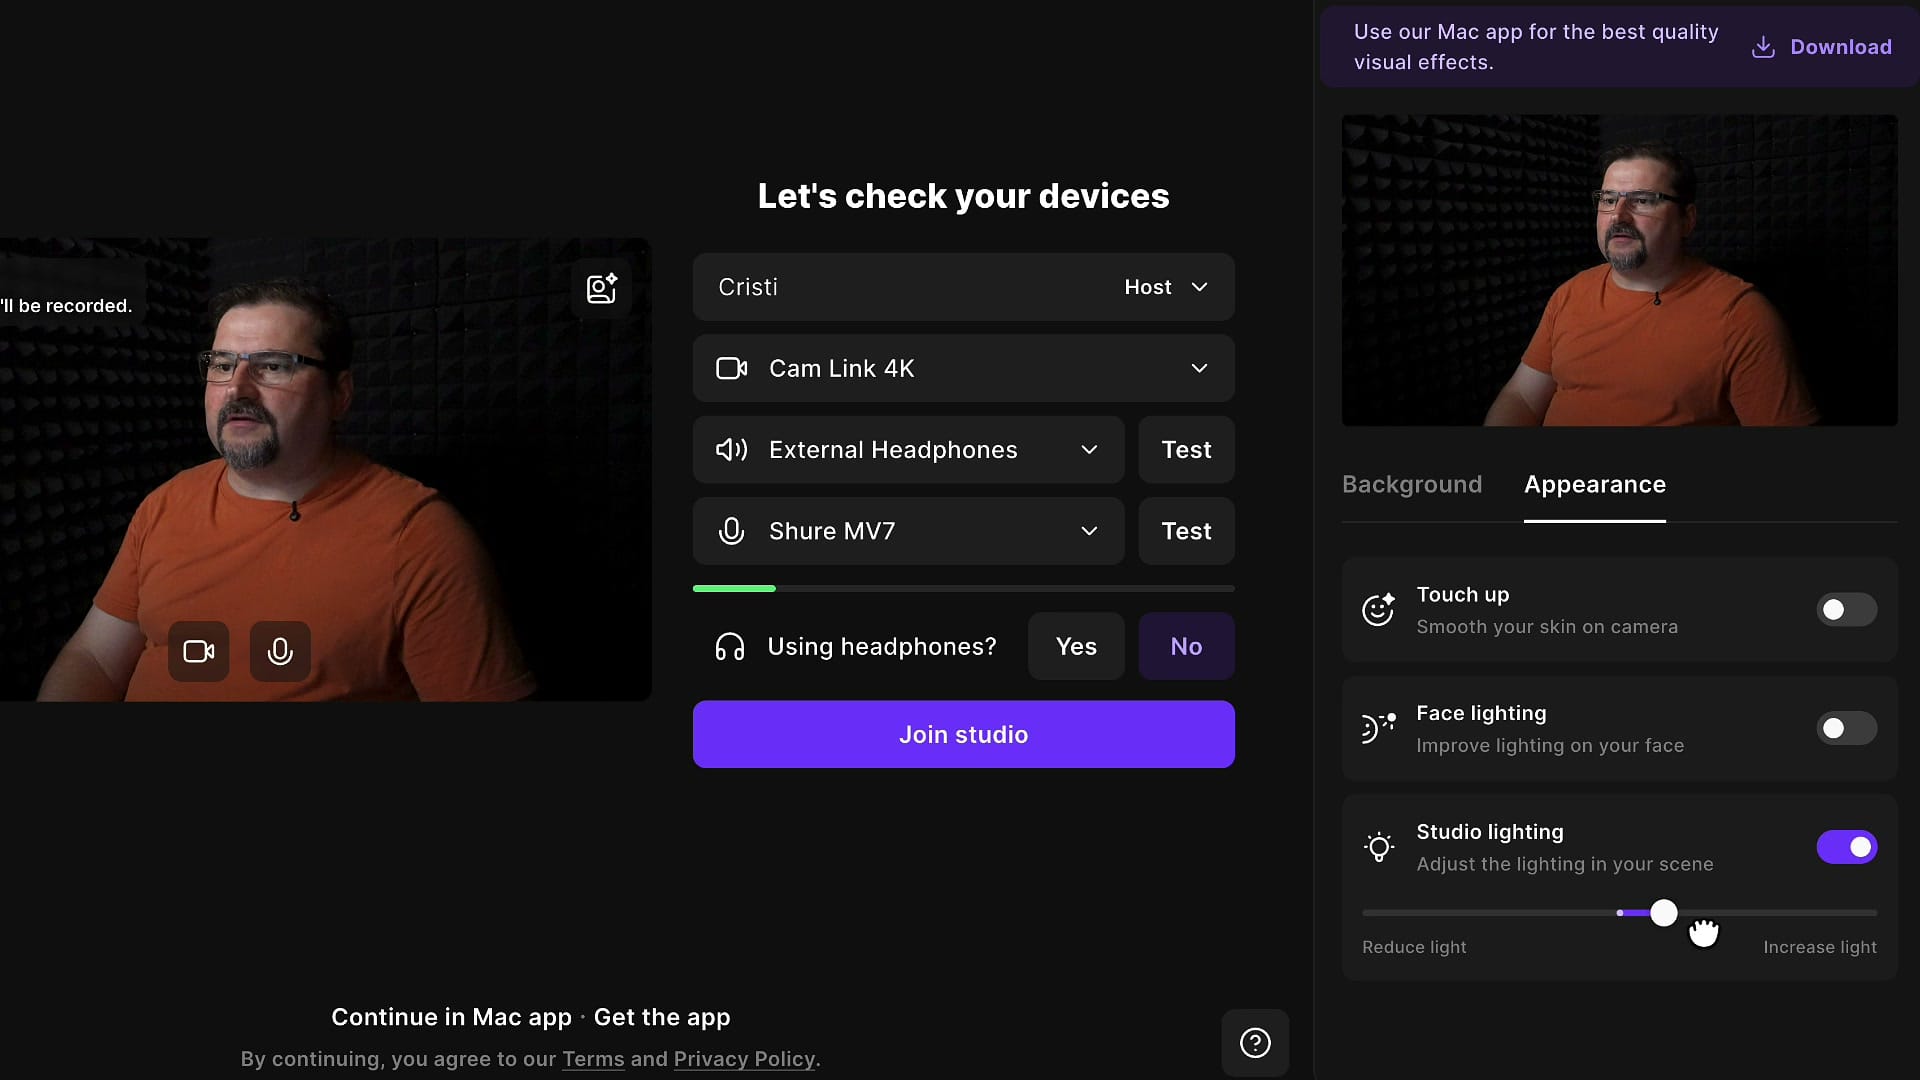
Studio Lighting
Finally there's Studio Lighting, which works on a slider rather than a simple on/off toggle. Slide it up and it's almost like turning your lights up — the whole scene brightens. Slide it down and everything dims (go too far and it gets too dark). Find the point that looks natural for your room and camera.
Adjust the effects inside the studio
If you set these on the device-check screen and then click Join studio, your effects carry straight over and are already applied. You can also change them mid-session: hover over your own video tile and click the same Effects button. The Appearance tab opens right there, so you can toggle Touch Up, Face Lighting, and Studio Lighting on the fly without leaving the recording.
When these effects help most
None of this is dramatic, and that's the point — it's a natural touch-up, not a heavy filter. You'll notice it most when you're working with a lower-resolution camera or less-than-ideal lighting, where a little skin smoothing and some extra light make the biggest difference. For me the skin looks a touch smoother and the lighting a bit cleaner, without ever looking artificial.
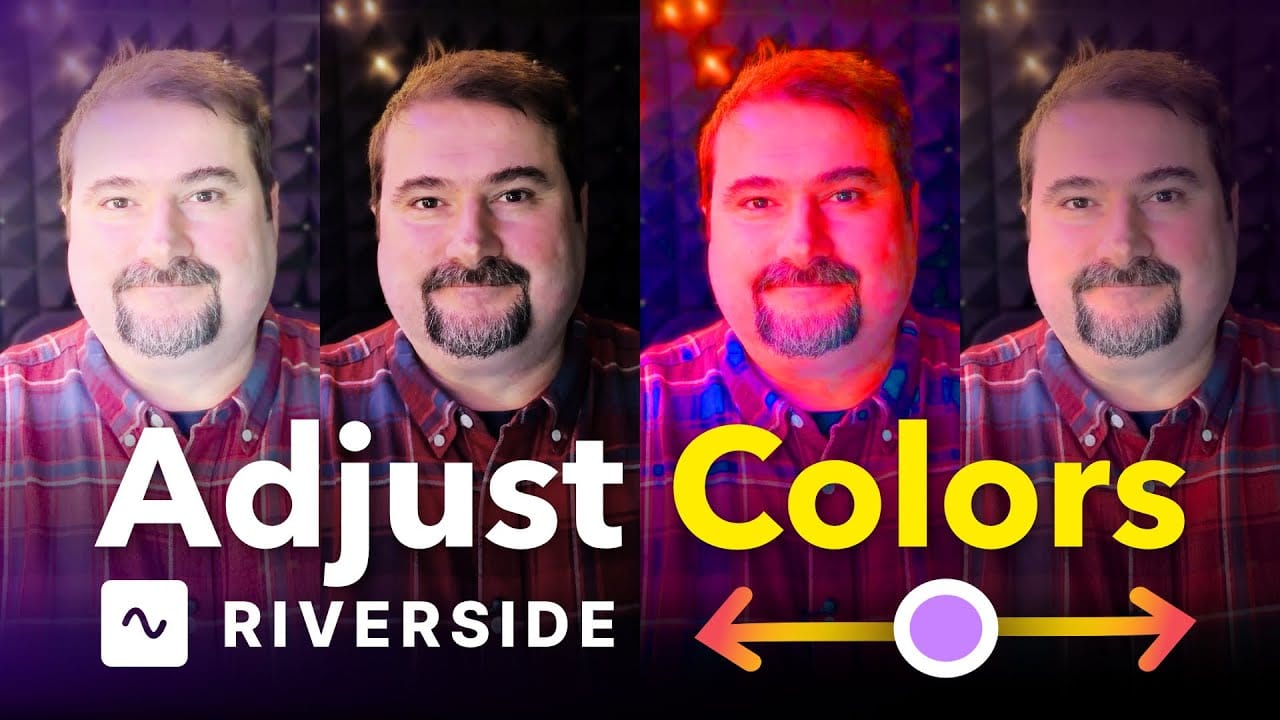
If your footage still comes out darker or more off-color than you'd like, you can fix it afterward with color adjustments in the editor. And if you're shooting with a webcam, it helps to record in the highest resolution your setup supports so these effects have more detail to work with.
Related guides


If you're eager to learn more about Riverside and wish to have a one-on-one Riverside coaching session, feel free to book a call with me. I'm here to help you with any questions you have and to guide you through the best workflows, tips, workarounds, or just answer any questions you may have!