Add AI Motion Graphics in Riverside 2.0

Riverside 2.0 adds a Motion panel that lets you build animated titles and motion graphics right inside the editor — and instead of hunting through properties panels and color pickers, you customize everything by simply telling the AI what you want.
In this guide I'll show you how I take a stock subscribe animation that comes included with the new Motion library, change the name, handle, colors, and avatar to match my channel, drop it onto the timeline, position it on the canvas, save it as a reusable scene, and then try a second prompt-style graphic — all without leaving Riverside.
Where to find the Motion panel
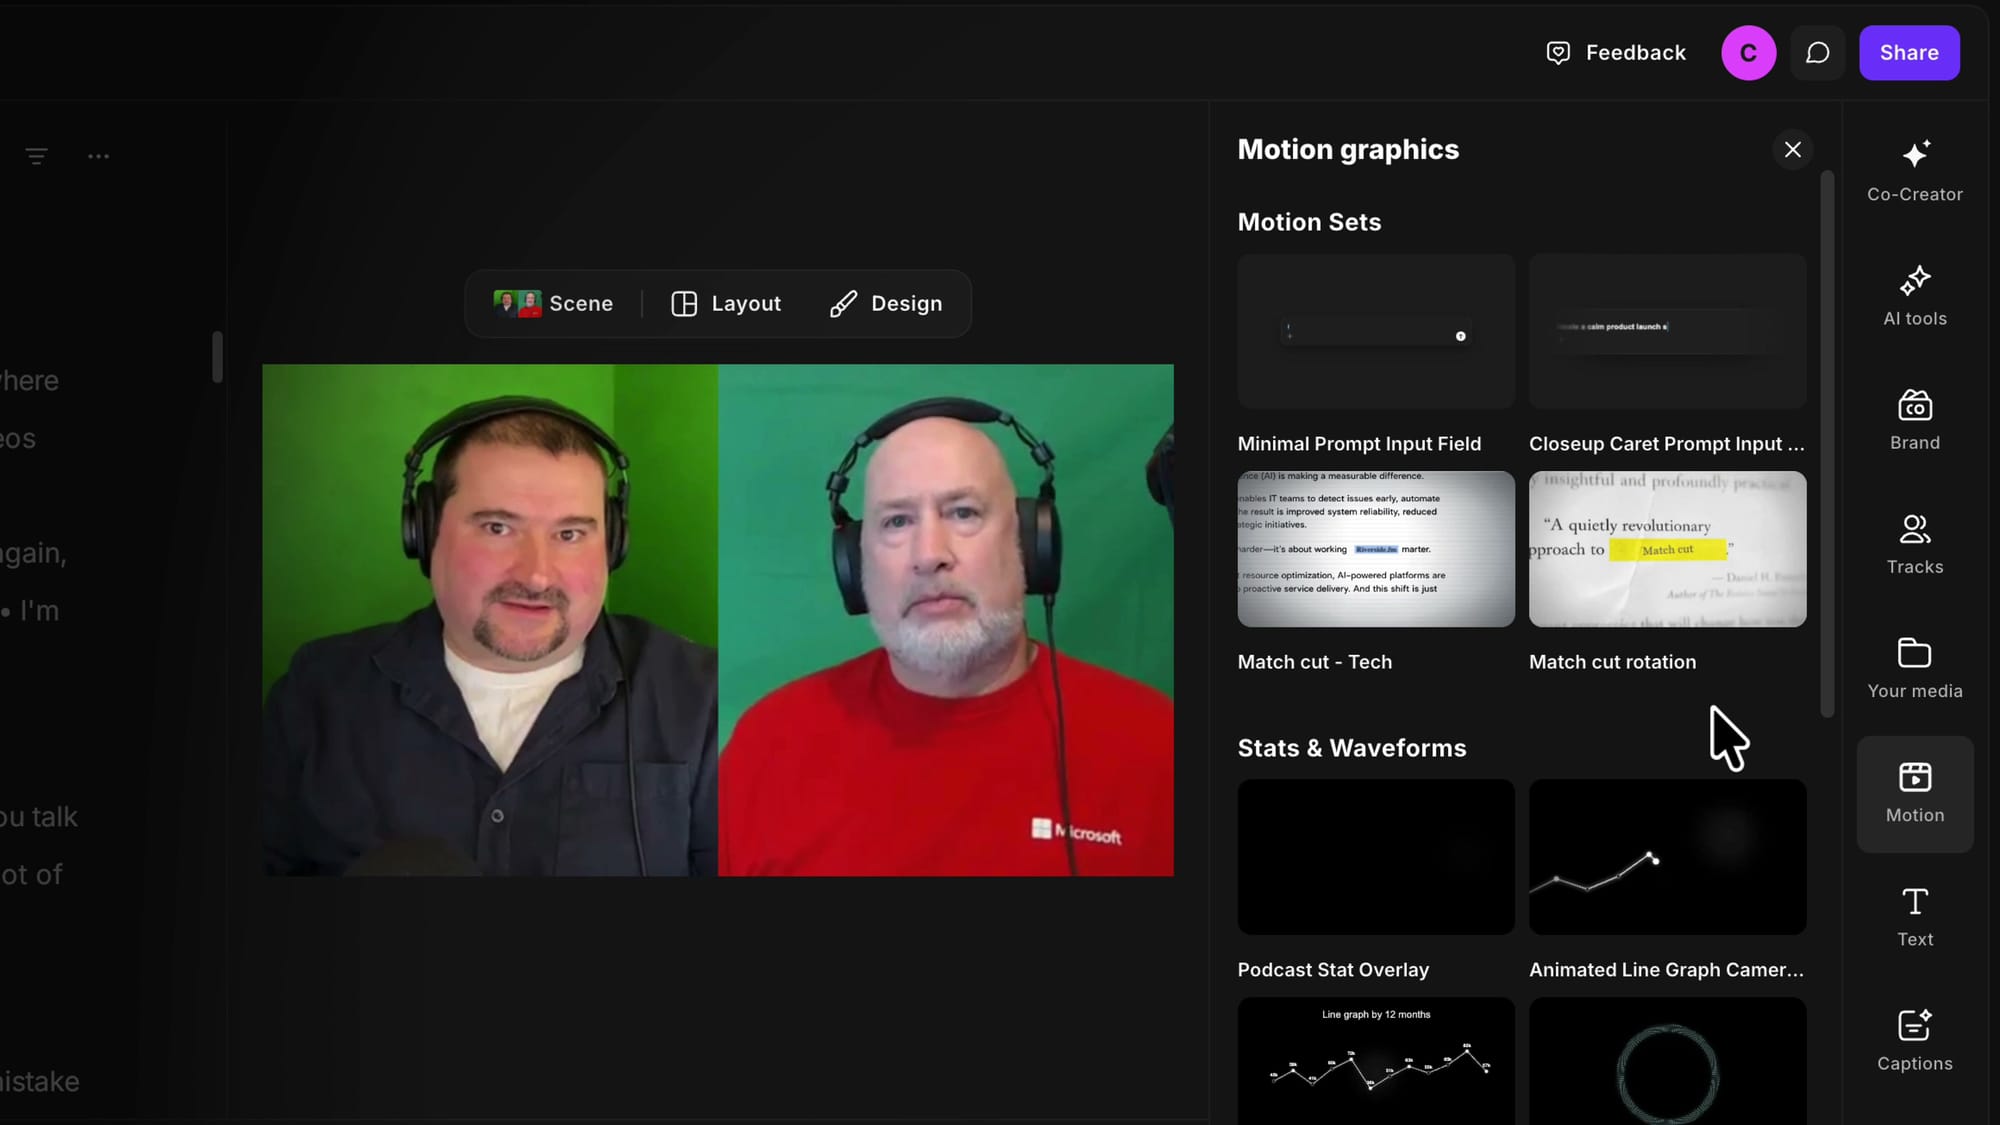
Open any edit in the new Riverside editor and look at the toolbar running down the right-hand side. There's a new entry called Motion, sitting alongside Co-Creator, AI tools, Brand, Tracks, and the rest. Click it and the Motion graphics library slides open.
This isn't a traditional stock library. Everything here is animated and built to be personalized, and the graphics are organized into categories: Motion Sets, Stats & Waveforms, name tags, intros, and Subscribe and Follow buttons. What you see today is essentially version 1.0 of the panel — expect a lot more graphics, plus search and favorites, to show up over time, including ability to create your own from scratch (which sounds quite cool).
Pick a subscribe or follow graphic
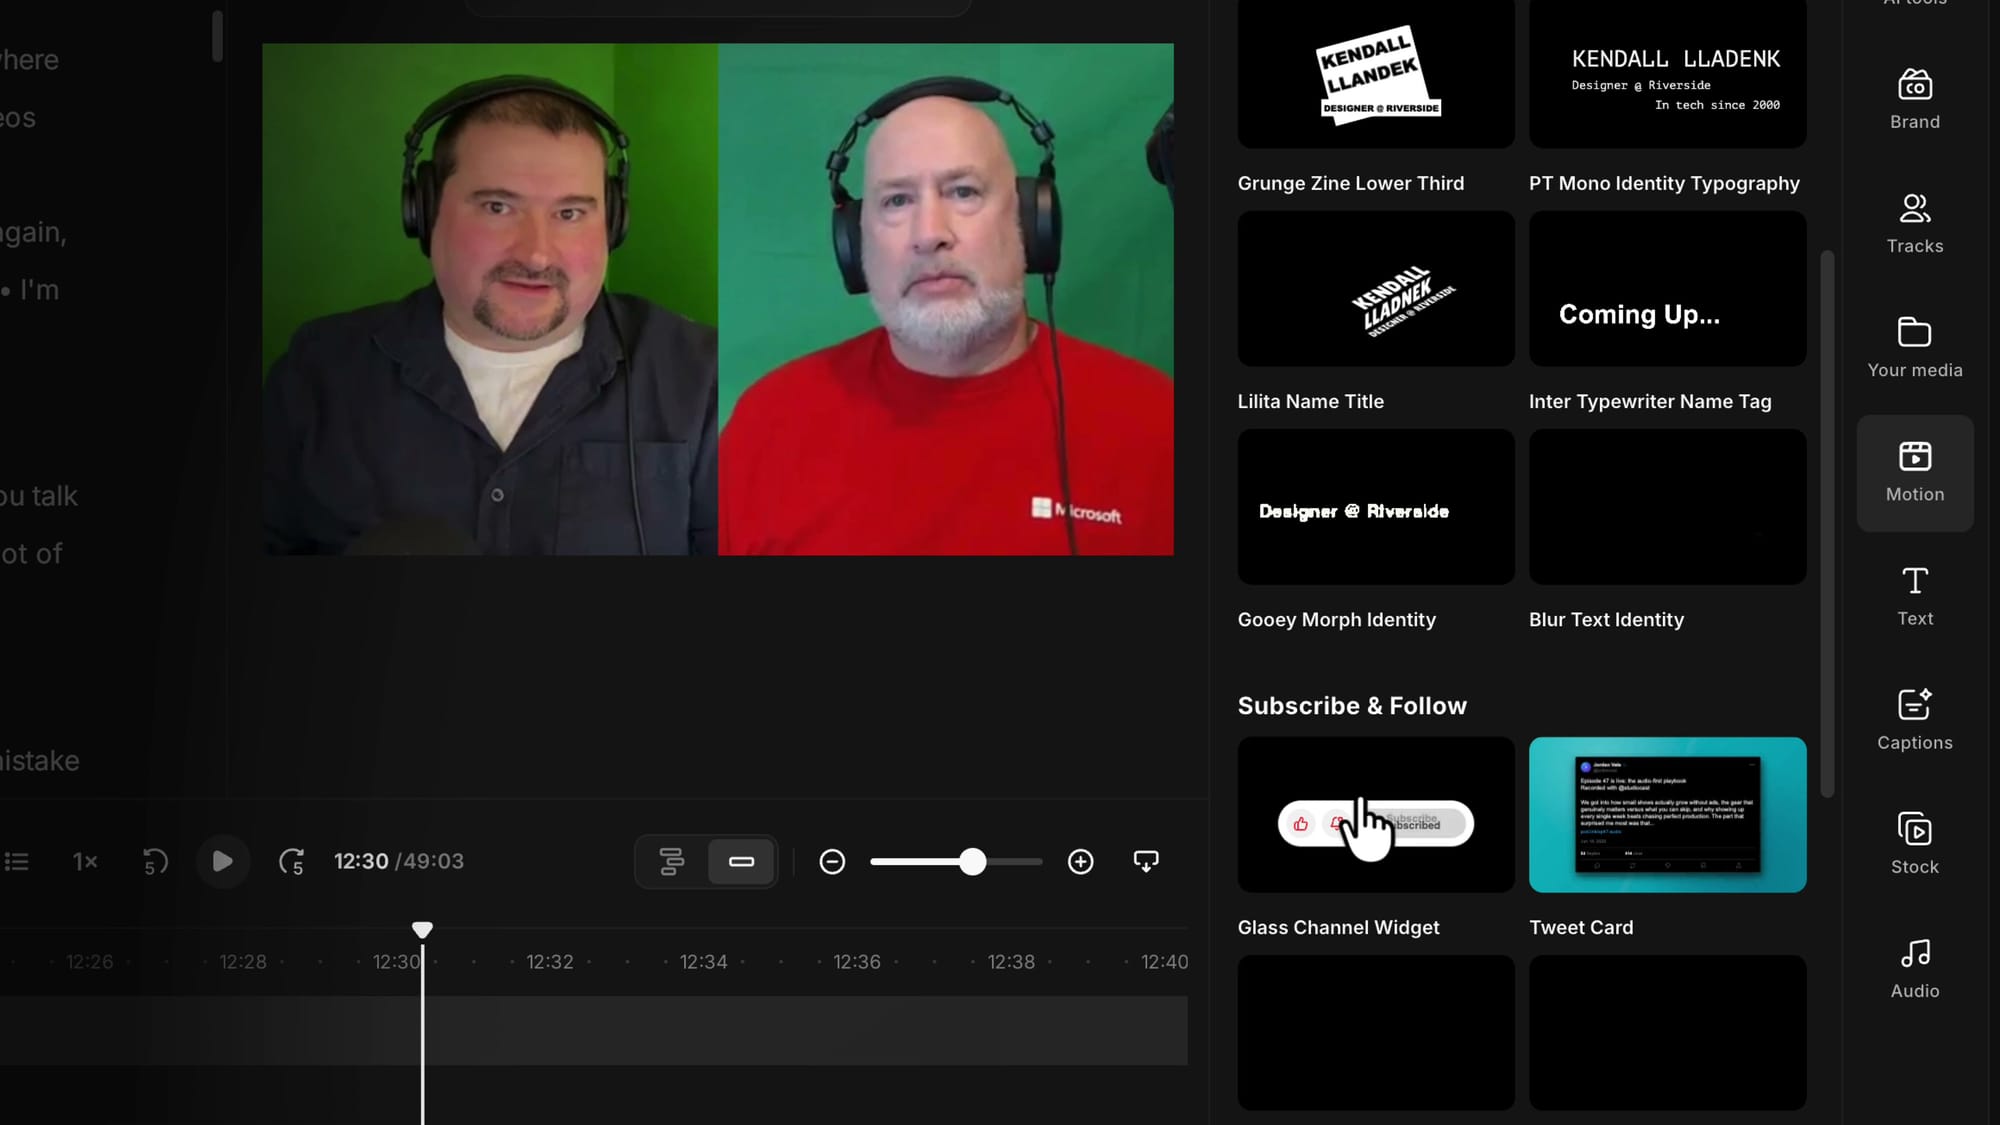
Scroll down to the Subscribe and Follow buttons. These are the kind of animated call-to-action assets I used to build in an external tool and import — a real pain whenever I needed to change a single word. Now they live inside the editor. Pick one that fits your channel; for this walkthrough I'll grab a social profile follow pill.
Customize it with AI in Co-Creator
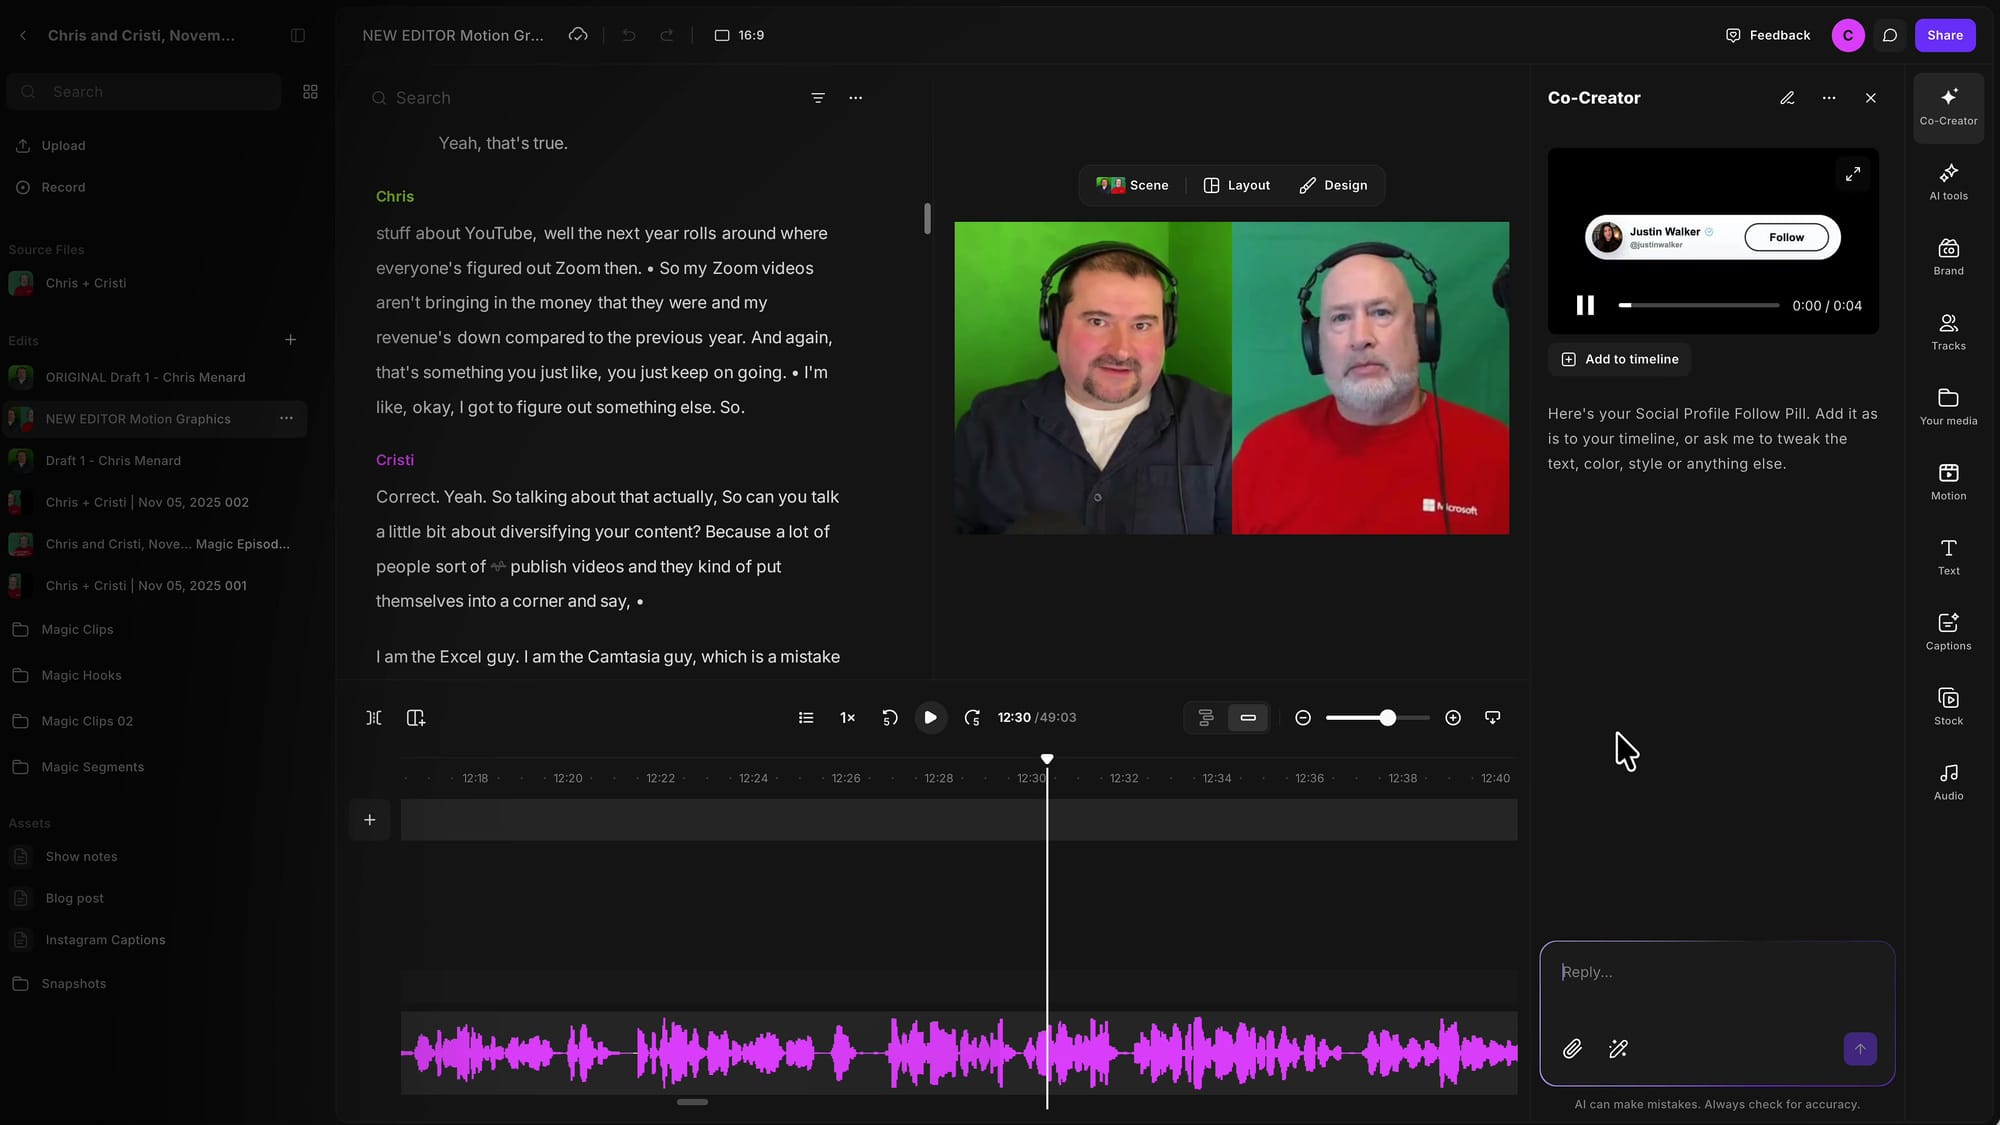
Here's where it gets interesting. When you click a graphic, it doesn't just drop onto your timeline — it opens Co-Creator, the same AI assistant that builds AI thumbnails in Riverside. Co-Creator previews the animation, tells you what it's looking at, and invites you to either add it as is or ask it to tweak the text, color, style, or anything else.
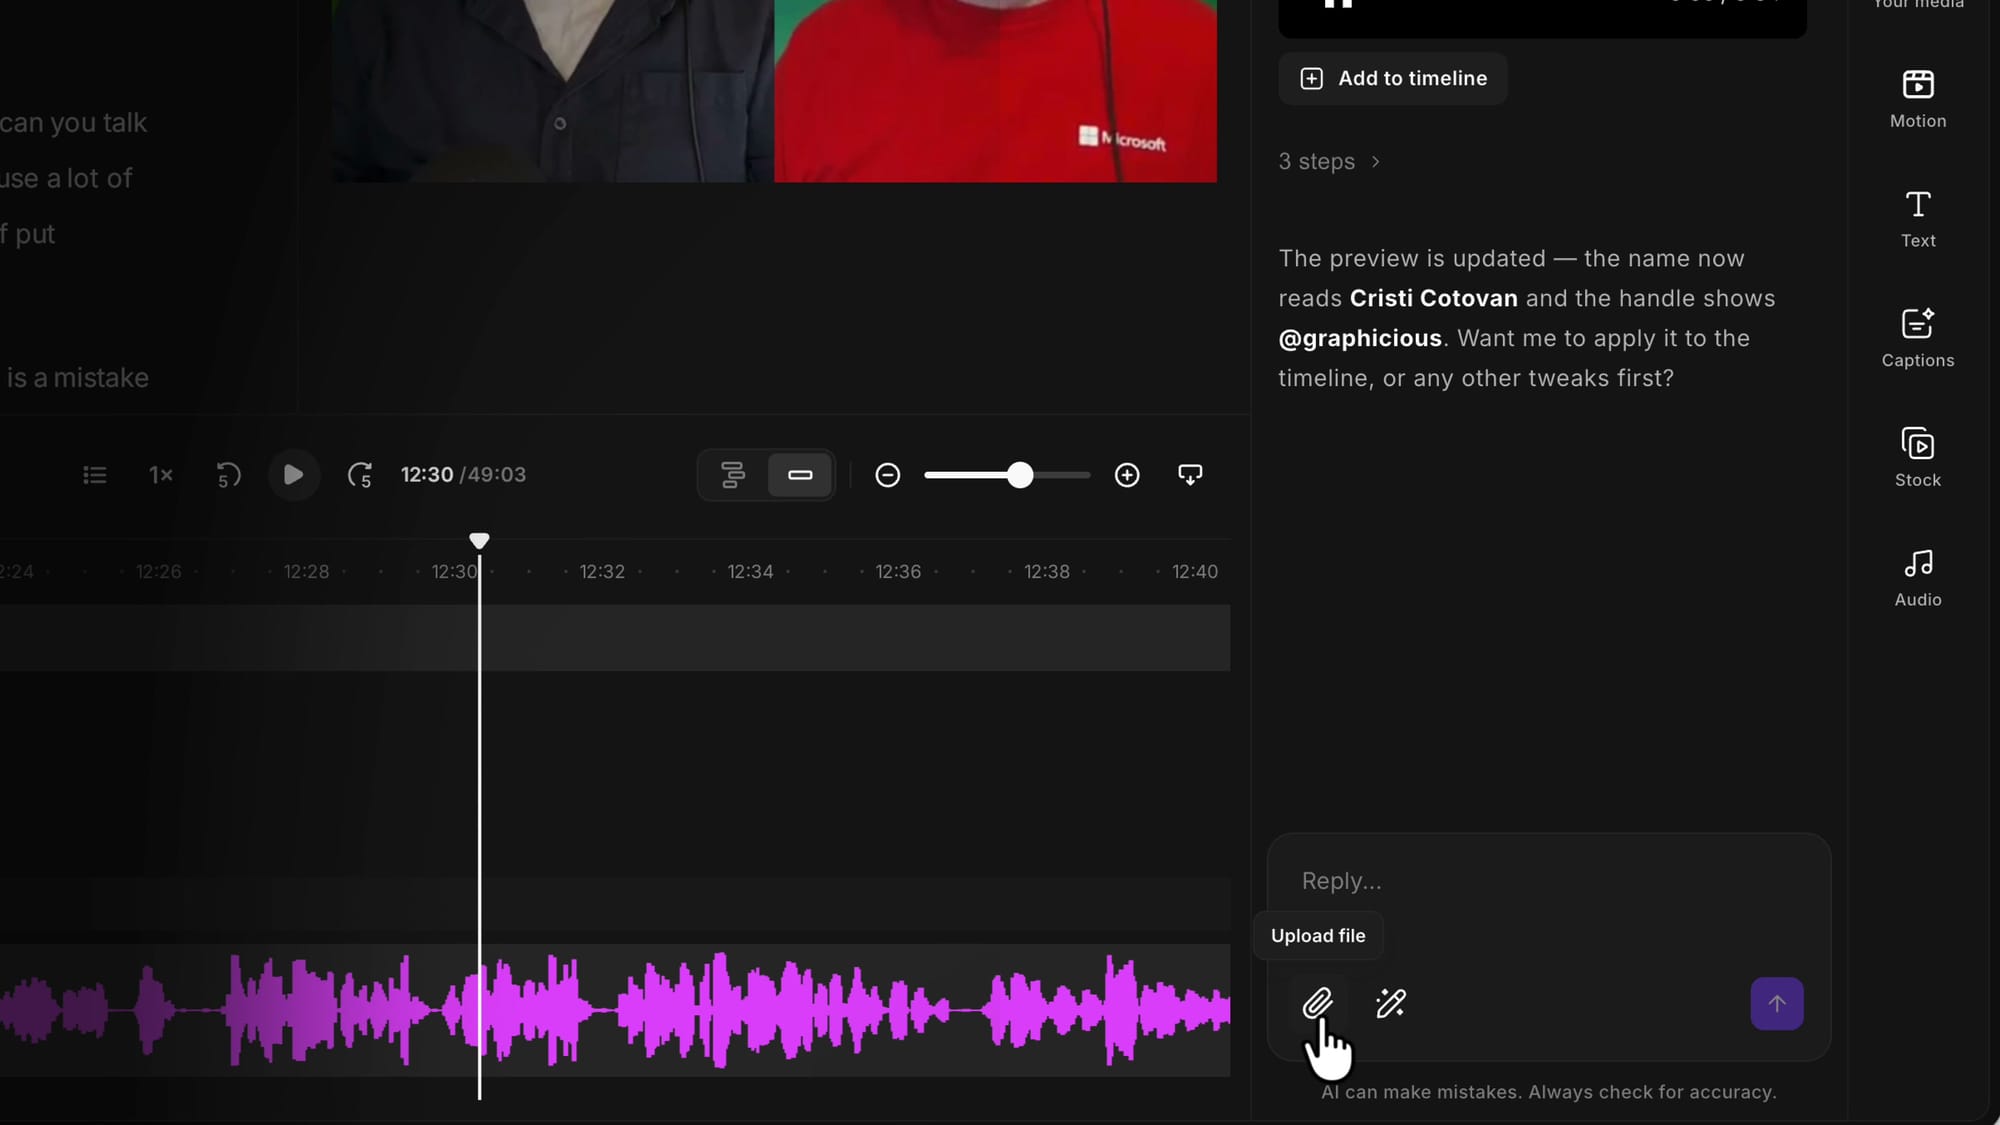
Instead of clicking buttons, describe the change in plain language. I typed: "Change the name to Cristi Cotovan, and the handle underneath to @graphicious." Press Enter and Co-Creator works for a few seconds, generating a new version that matches exactly what you asked for. The result comes back in very high resolution — click the preview to see it larger.
Replace the channel avatar
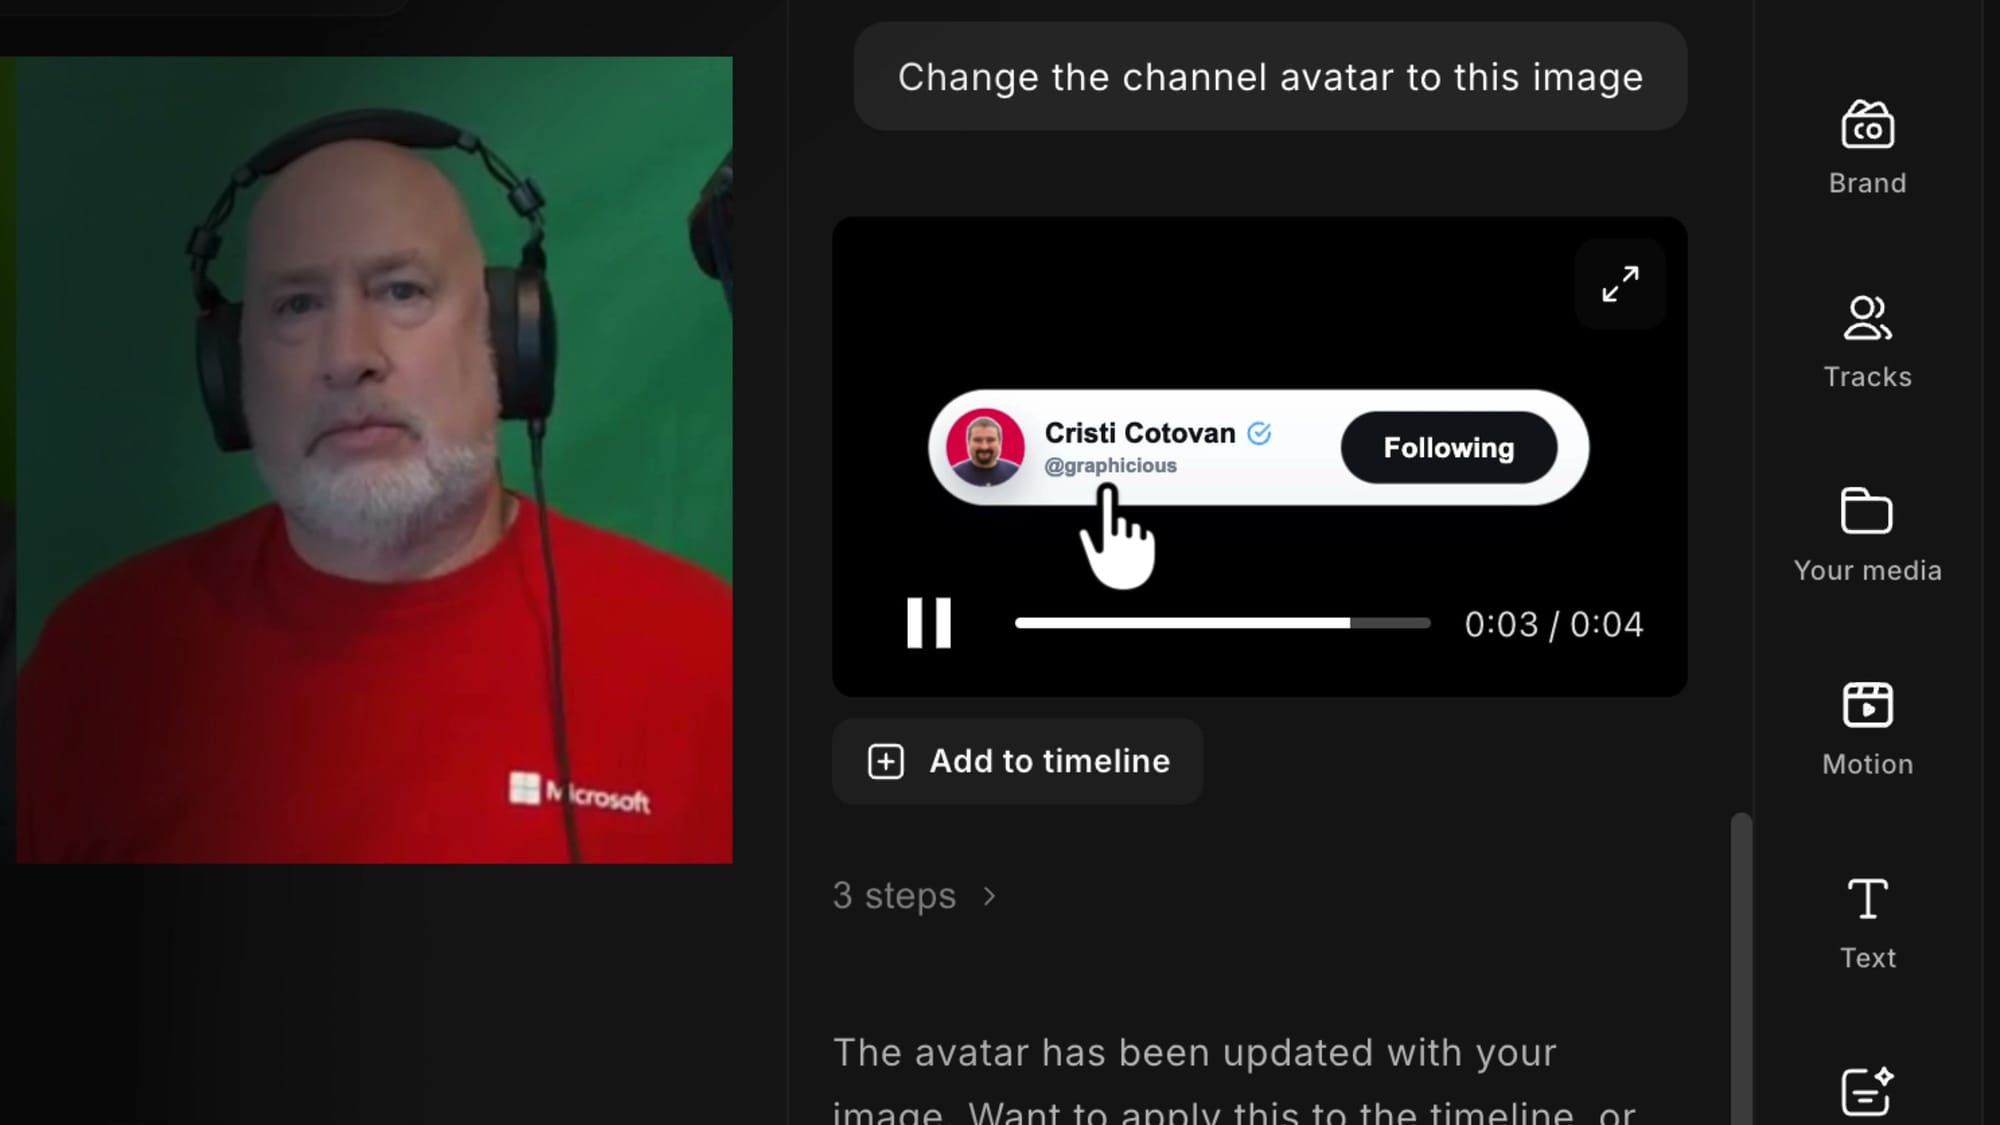
Text isn't the only thing you can change. To swap the avatar, attach an image from your computer using the upload button in the reply box, select your photo, and then tell Co-Creator what to do with it: "Change the channel avatar to this image." A tip from experience — these edits each take a few seconds, so if you have several changes in mind, it helps to ask for them all in one message rather than one at a time.
Add it to the timeline
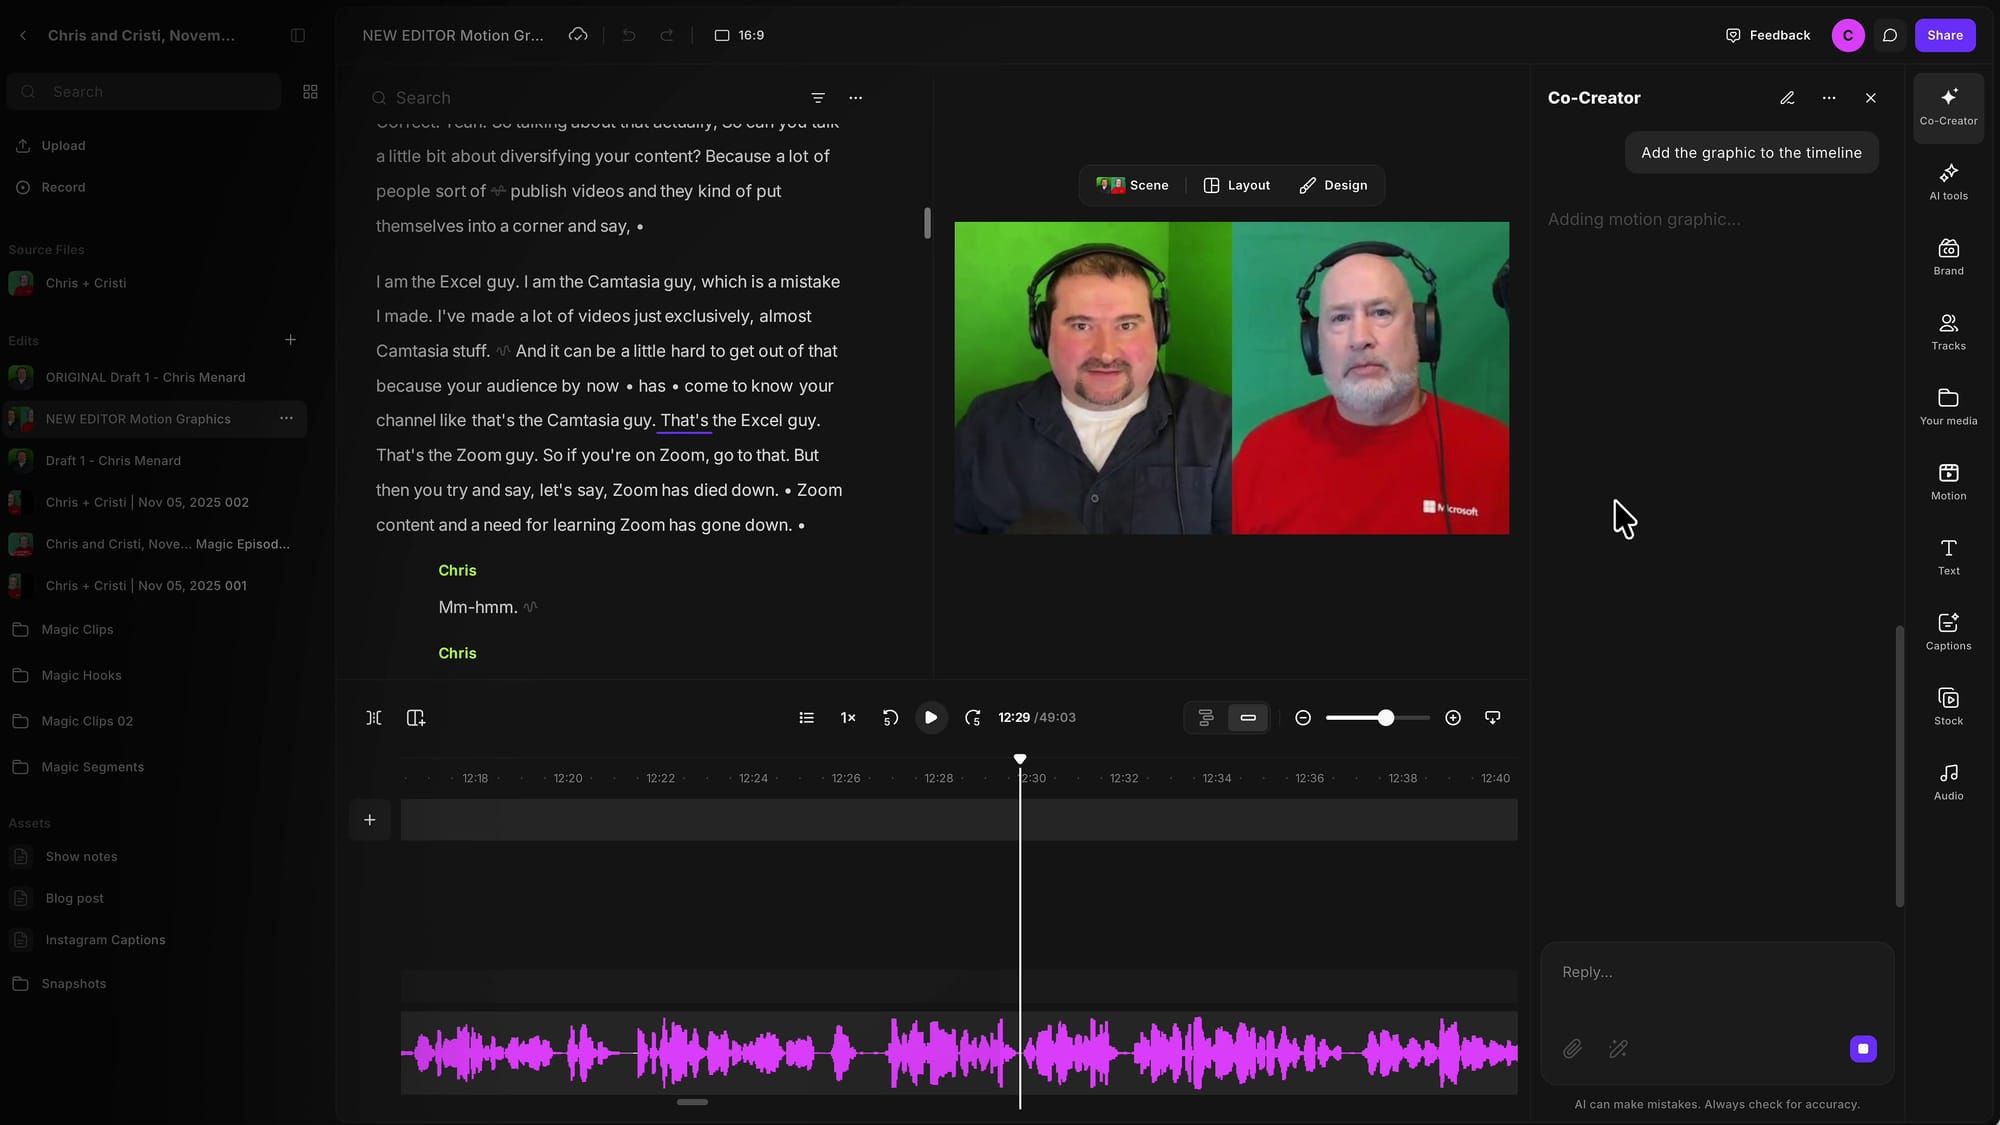
When you're happy with the graphic, click Add to Timeline. That turns into a command to Co-Creator — effectively "go ahead and add it to the timeline" — and it places the animation where your playhead is. It's a small preview of where things are heading with Riverside's MCP integration, which will let you connect the editor to an AI chat or agent like Claude or ChatGPT and drive it by conversation. That's a topic for another day, but it's worth noticing.
Position it on the canvas
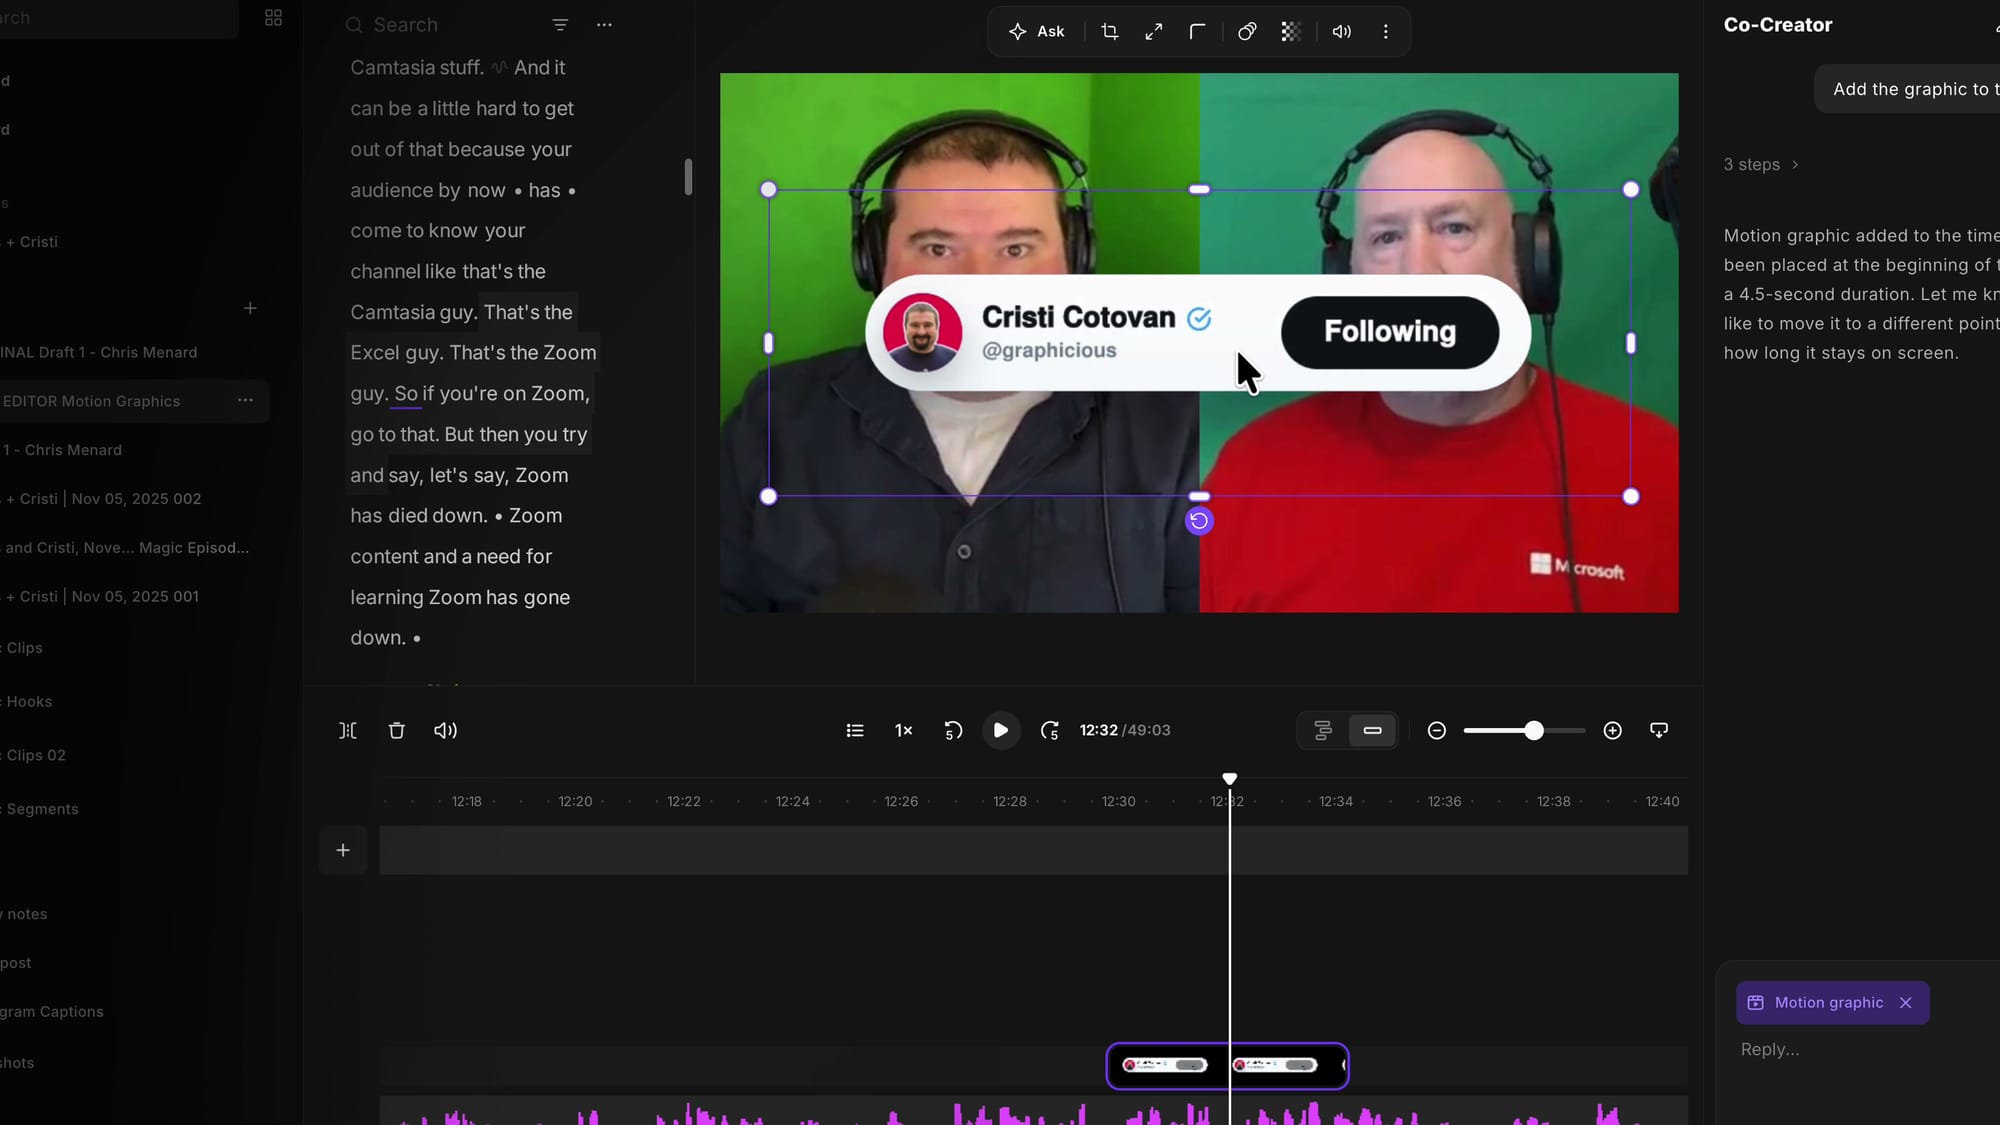
By default the graphic lands in the middle of the frame, but the new editor's canvas is fully flexible — every element can be moved, scaled, and repositioned freely. Drag the graphic down, pull a corner to make it smaller, and place it wherever it looks best over your video. This flexibility is one of the biggest wins in the new editor.
Save it as a reusable scene
Once a graphic is placed the way you like, you can reuse it. For a quick copy, select the element and copy and paste it elsewhere in the timeline. But the better move is to save it as a scene.
Press slash (/) at the start of the segment, then slash again at the end, to create a scene that includes the graphic. Go to Scene at the top, choose Save current scene, and it's stored under Your scenes.
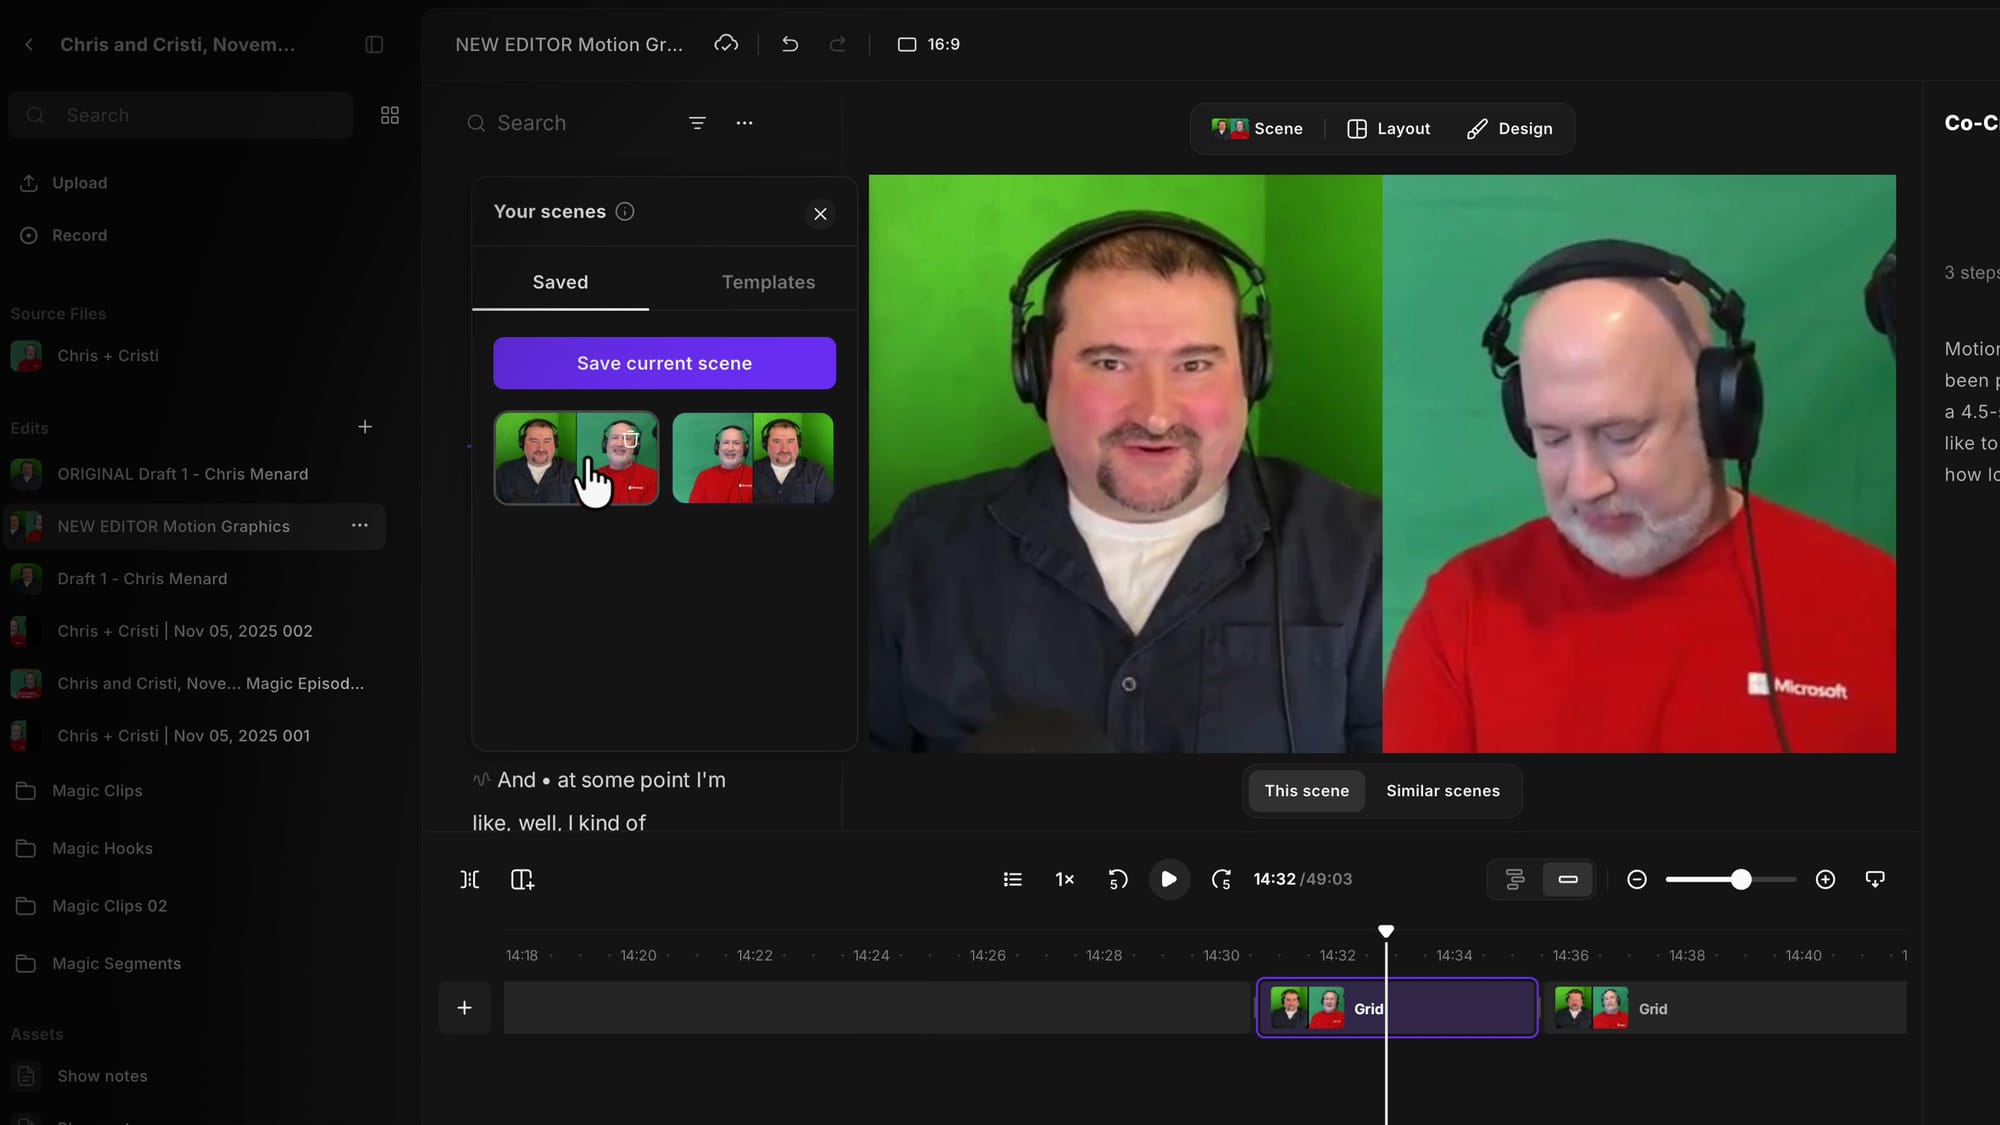
Now you can jump anywhere in the timeline — add a new scene with the slash shortcut or the add-scene button — open Scene > Your saved scenes, and click the one you saved. The animation reappears in that spot, and because saved scenes carry across edits, you're essentially building your own custom scene templates. If you want to go deeper on organizing these, see how I save and reuse scene layouts.
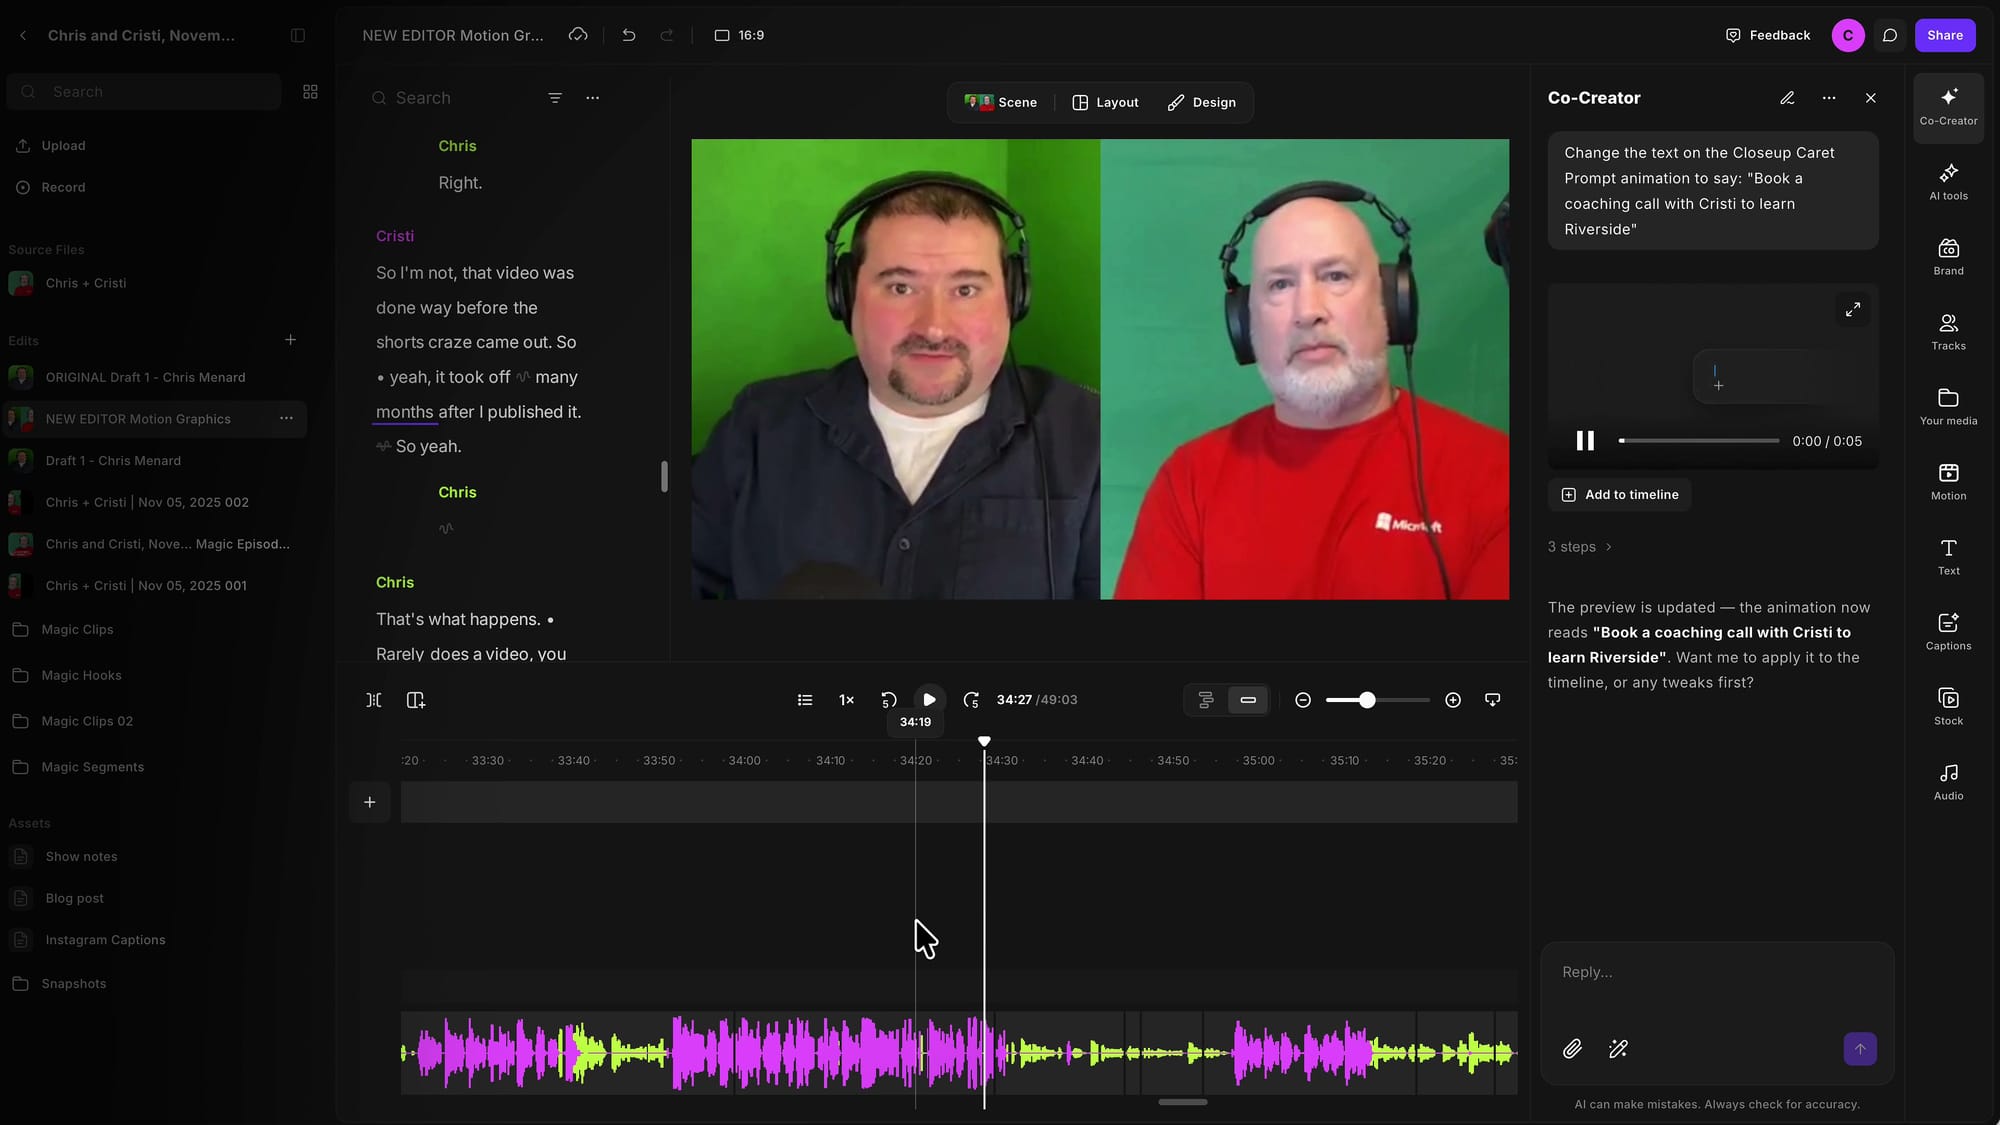
Try a prompt-style text graphic
Subscribe pills are just one category. There are quirky options too — paper-cutout looks, chat simulations, and typing animations you can fill with your own words. Pick one of the caret prompt animations, and in Co-Creator ask it to change the text: "Change the text on the closeup caret prompt animation to say 'Book a coaching call with Cristi to learn Riverside.'" Wait a few seconds and it's personalized, ready to drop wherever you want it in the timeline.
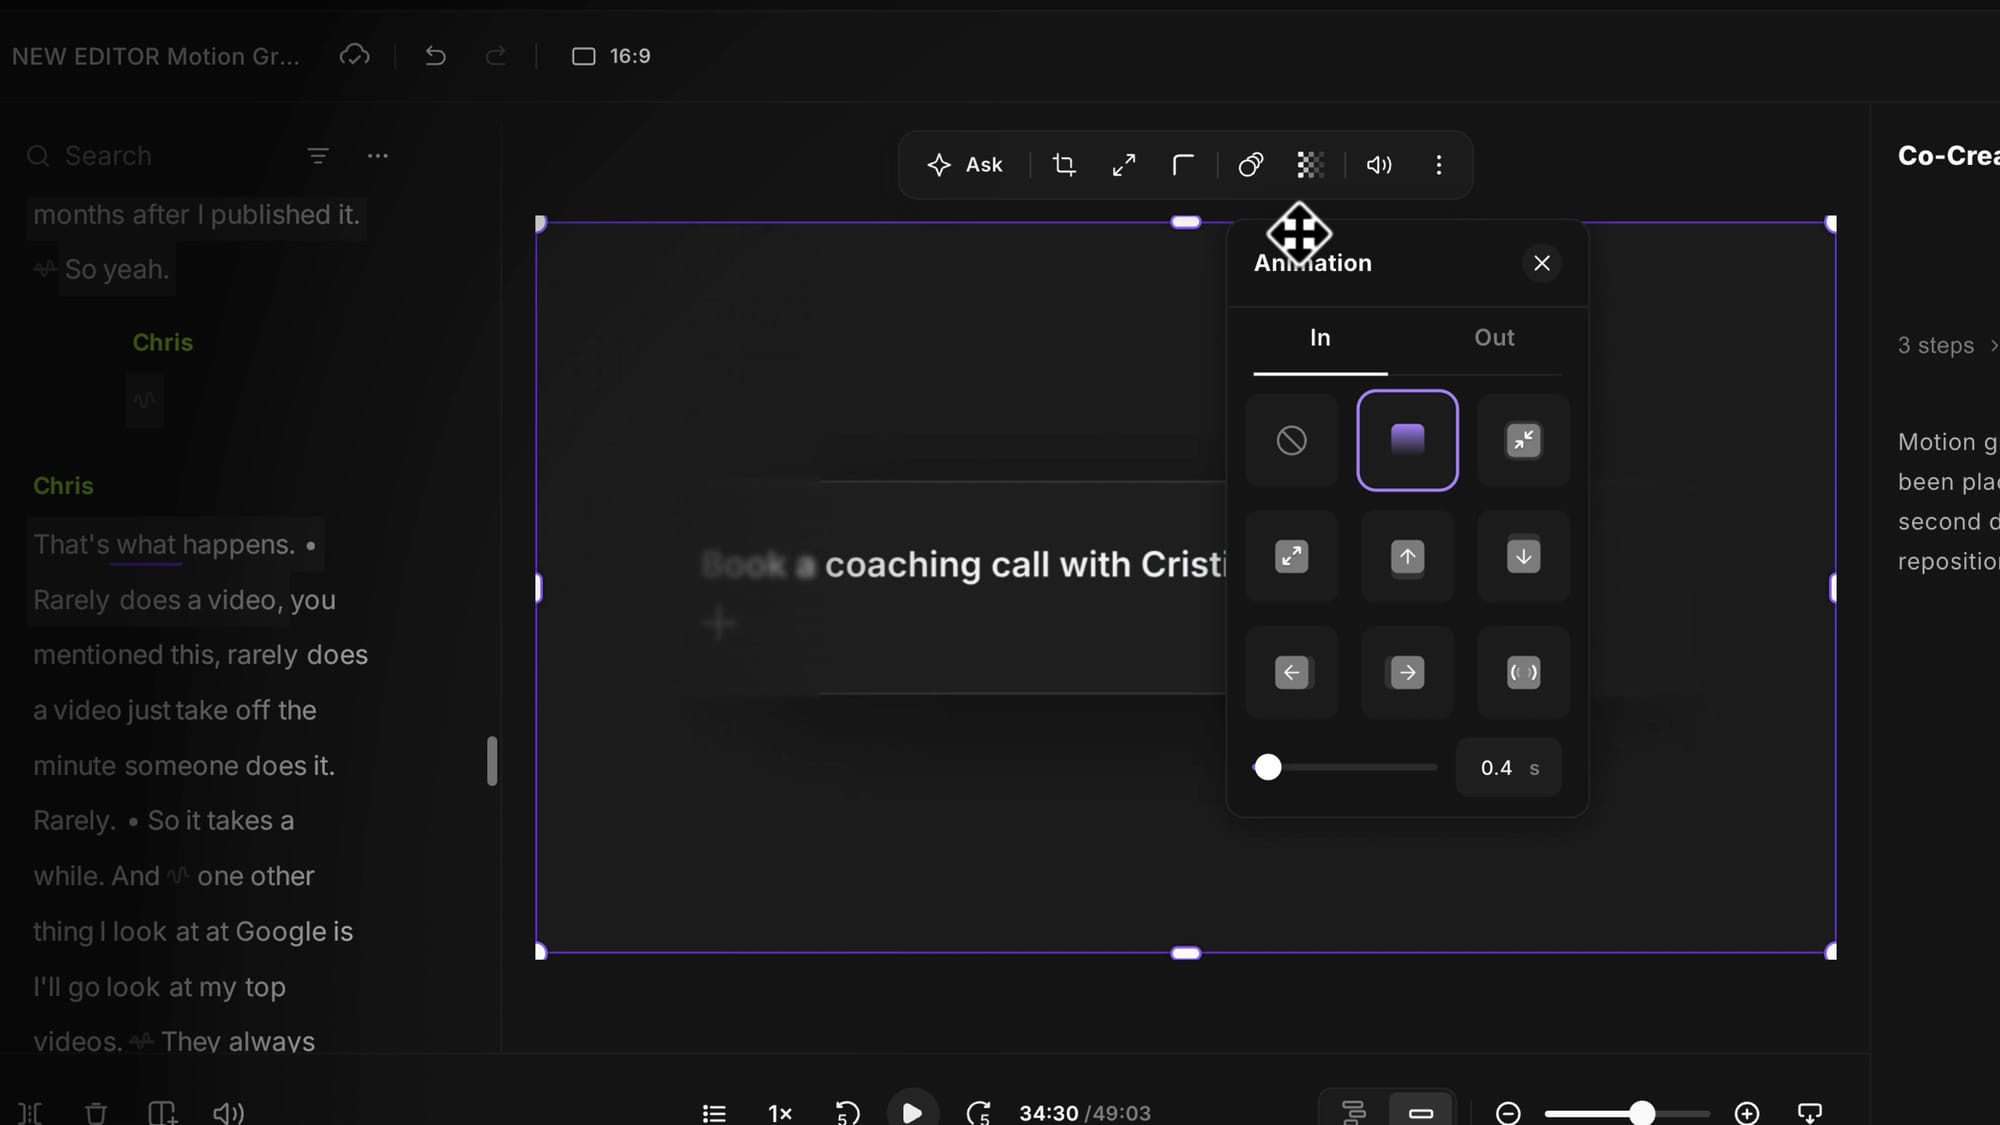
Resize and add transitions
Any graphic you add can be selected, resized, or set to fill the video. Select it and press fill video if you want it edge to edge. You can also give it transitions: open the Animation panel and set an In and an Out — for example, fade in when it appears and fade out when it leaves. Simple, but it makes the graphic feel intentional rather than abrupt. If you're layering these with openers and closers, my guide to adding intros, outros, hooks, and music pairs well with this.
Why this approach works
What impressed me most is that motion graphics were built into the AI workflow instead of handed to you as a wall of buttons, properties panels, and color pickers to dig through. Describing what you want — and letting Co-Creator handle the how — keeps a genuinely complex feature easy to use. As more variety shows up, you'll be able to assemble your own library of animated assets to spice up any edit.
This is just one taste of what's new in Riverside 2.0. Over the coming weeks I'll be walking through the new editor, the recording tools, the AI features, newsletters, and much more — Riverside is clearly building toward an entire creator stack in a single platform: recording, editing, social, scheduling, newsletters, and podcast hosting all in one place. If you want a hand getting set up, you can always book a coaching call.
Related guides
If you're eager to learn more about Riverside and wish to have a one-on-one Riverside coaching session, feel free to book a call with me. I'm here to help you with any questions you have and to guide you through the best workflows, tips, workarounds, or just answer any questions you may have!