How to Upload Riverside Exports to Google Drive

Riverside can now send your finished exports straight to Google Drive — no downloading to your computer and re-uploading. It's a server-to-server transfer, so Riverside pushes the file directly into your Drive in a second or two. It's something a lot of people had been asking for.
One thing to know up front: this is for exports only — the full episodes and clips you've already edited and rendered. It doesn't (yet) move your original raw recordings. So whether you're sending out a full episode or a batch of social media clips, here's exactly how it works.
Find the Google Drive option in your exports
Open the studio and go to the project that holds your finished work. Switch to the Exports tab — these are the files you've already edited and rendered, like full episodes or short clips for social. Find the export you want to send over, and click Share next to it.
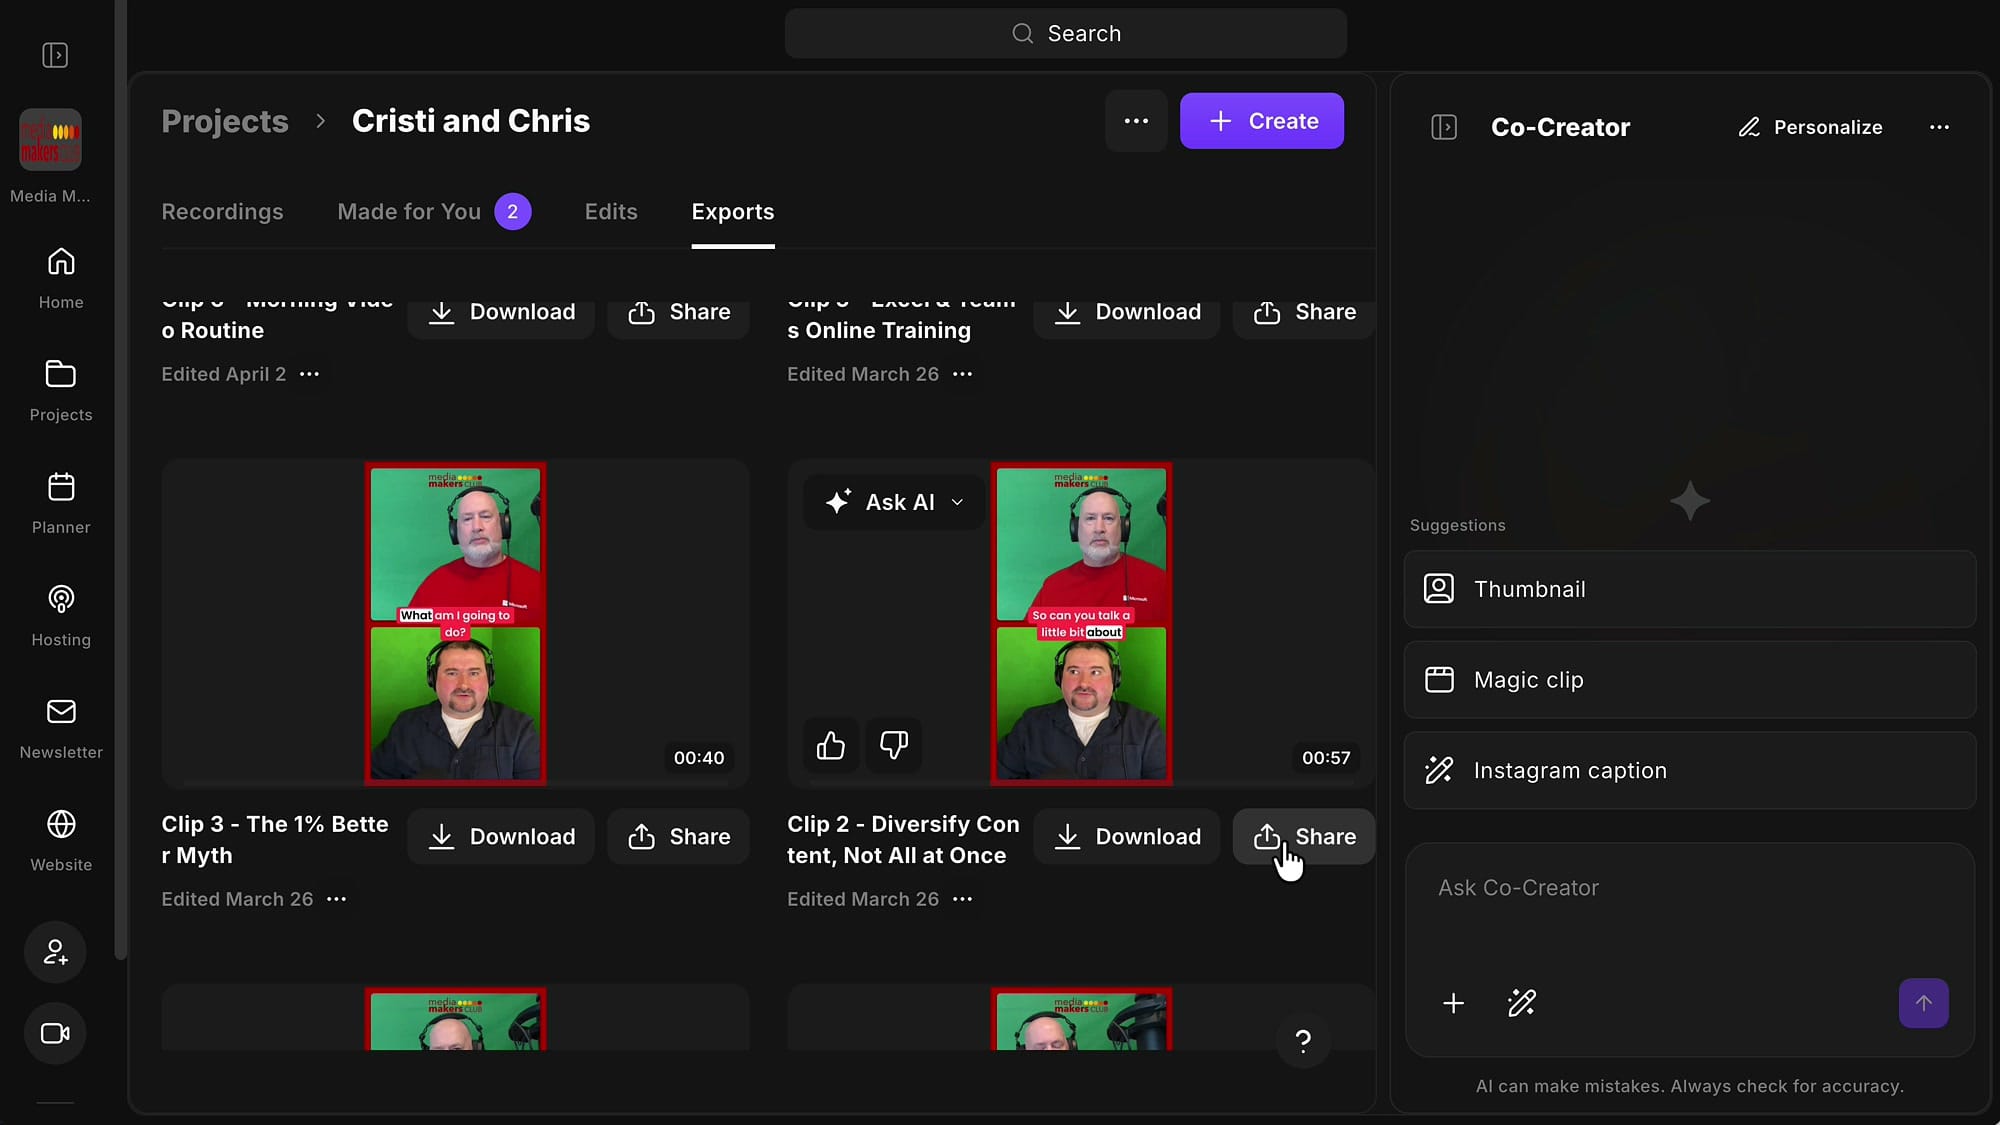
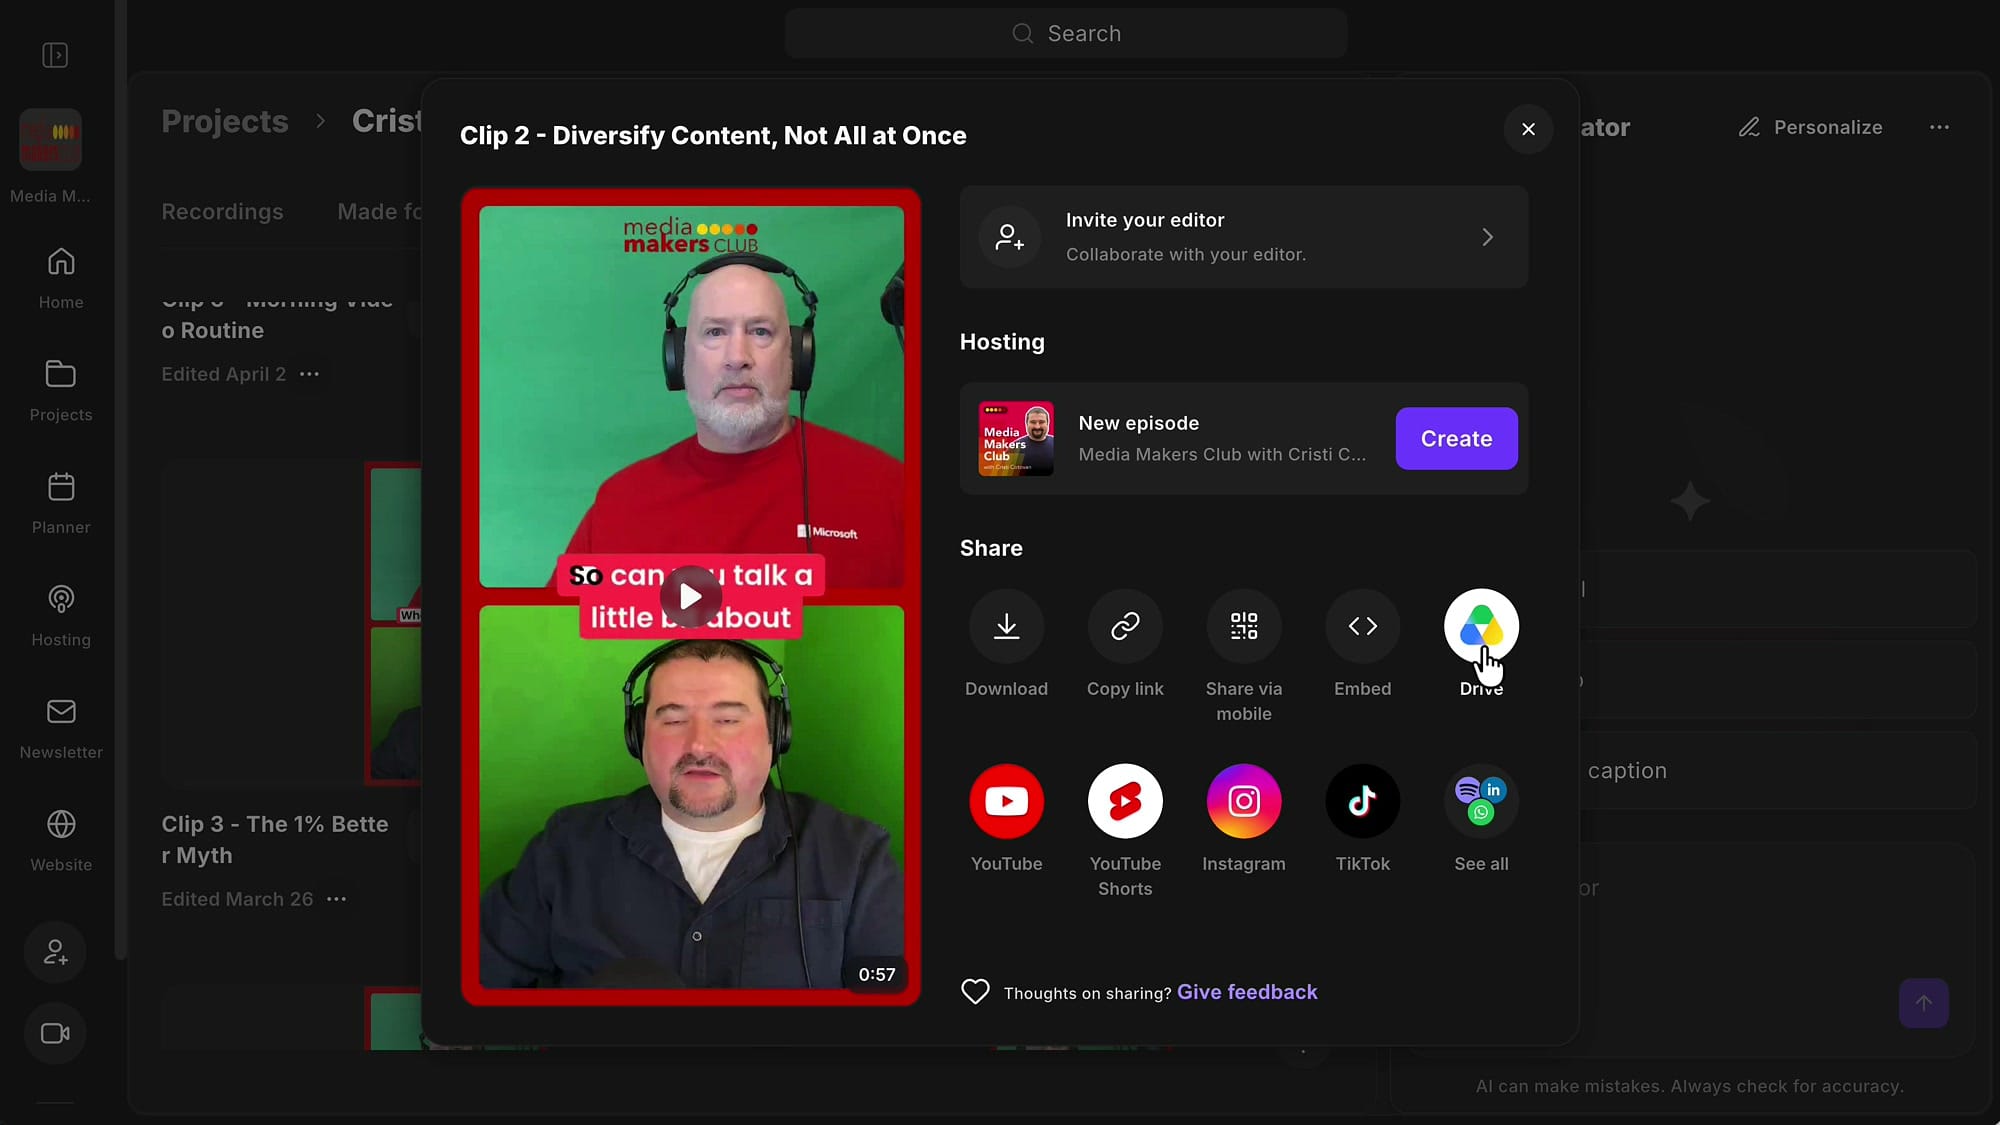
The Share panel gives you several options. You can turn the export into a new podcast episode if you host your show on Riverside, download the file yourself, or — the one we want — send it to Google Drive. Click the Drive icon.
Connect your Google account (first time only)
The first time you do this, Riverside asks you to connect your account. A browser window opens so you can sign in to Google, pick the account you want, and grant permission. You only have to do this once — after that, Riverside remembers the connection and skips straight to the upload.
Choose the file name and save
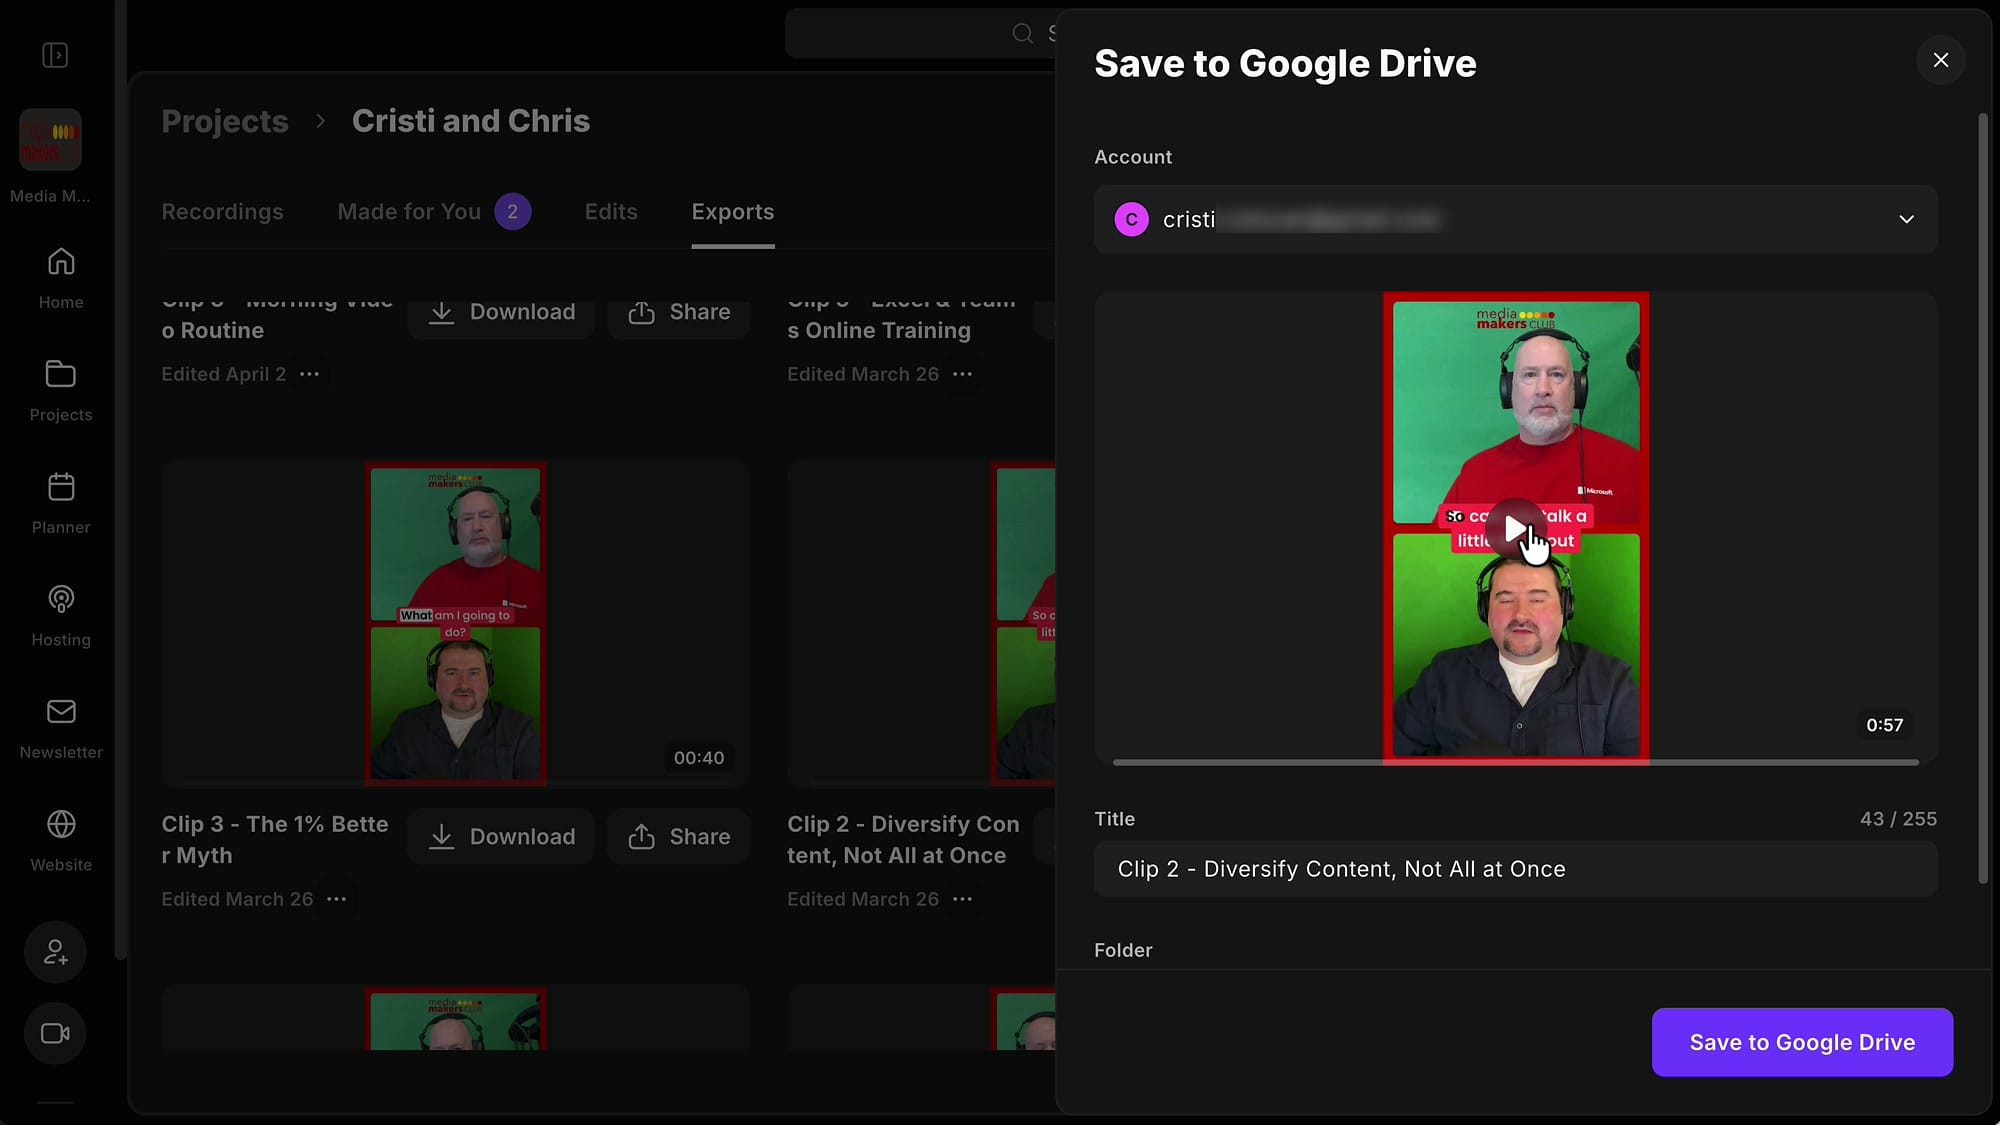
Once connected, a Save to Google Drive panel appears. It shows three things: the Google account you're saving to, a preview of the clip you're uploading, and the destination folder — a folder called Riverside that's created for you automatically.
You can rename the file right here so it lands in Drive with a name that makes sense to you. When you're happy, click Save to Google Drive.
The transfer is quick — usually a second or two — because it happens server to server. Riverside sends the file straight to Google without it ever passing through your computer. When it's done, you'll see a View Folder link you can click to jump right to the file in Drive.
Where your files land in Google Drive
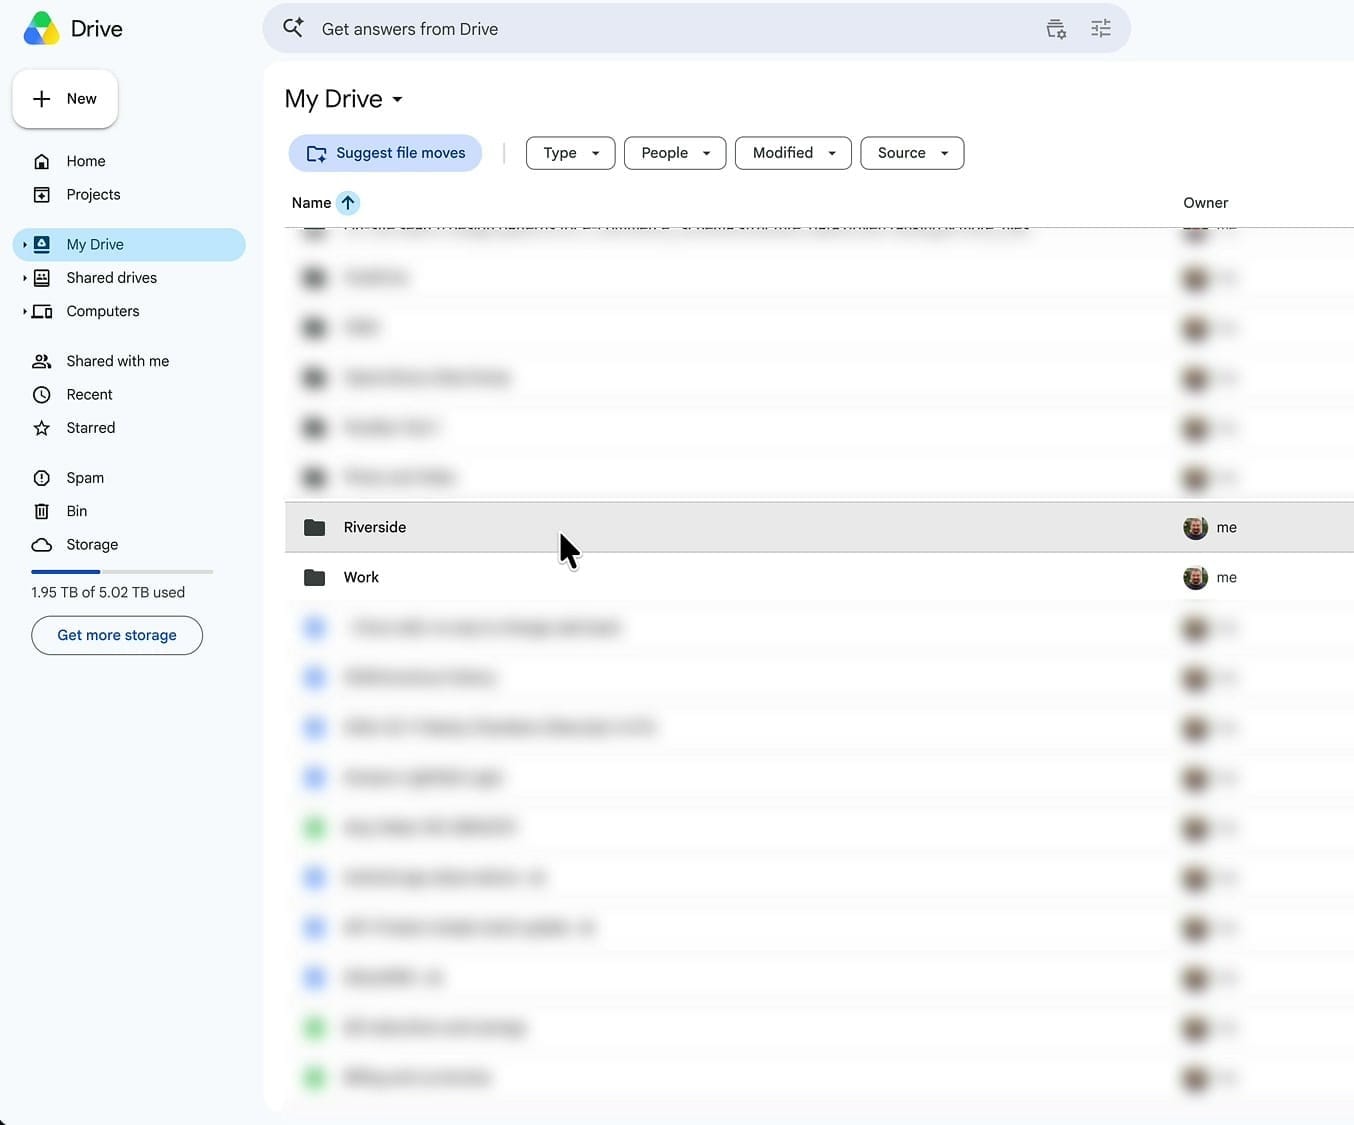
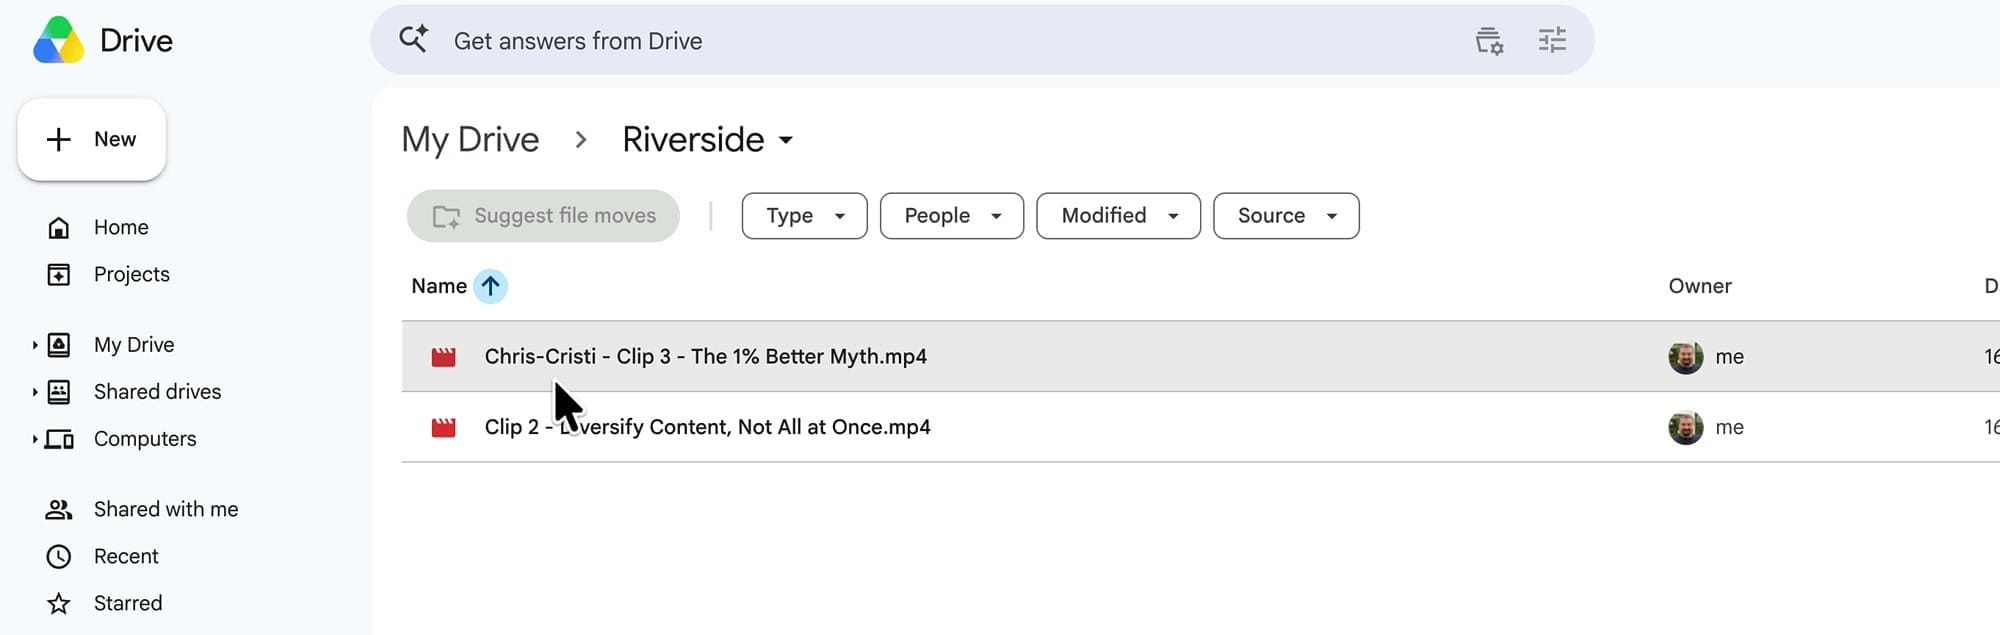
Head to your Google Drive and open My Drive. You'll find a new folder called Riverside, and your exported file will be sitting inside it.
Keep things organized with a file-name prefix
Here's the current limitation to plan around: you can't change the destination folder. Every export goes into that one Riverside folder — you can't rename it or pick a different one. The only thing you control is the file name.
So if you're uploading several clips and you don't want them mixed up with everything else, give each file a clear prefix. I add something like "Chris-Cristi" in front of the clip name, so related files group together and are easy to spot in the folder.
From there it's easy to send clips onward — posting to social platforms from your phone, or wiring up an automation. If you publish on a schedule, Riverside's own content planner is worth a look too.
What I'd like to see next
This is a first version, so it's still a little rough. Two things would make it much more useful: the ability to bulk upload several exports at once instead of one at a time, and support for sending the original raw recordings to Drive — ideally into a subfolder named after the project. Archiving those big recording files is always time-consuming, so being able to push them straight to Drive would save real effort. I'd expect the folder controls and organization to improve over time.
That's the whole workflow. If you're still setting up your account, my guide on organizing studios and projects pairs well with this. And if you're new to Riverside, you can try it out here.
Related guides